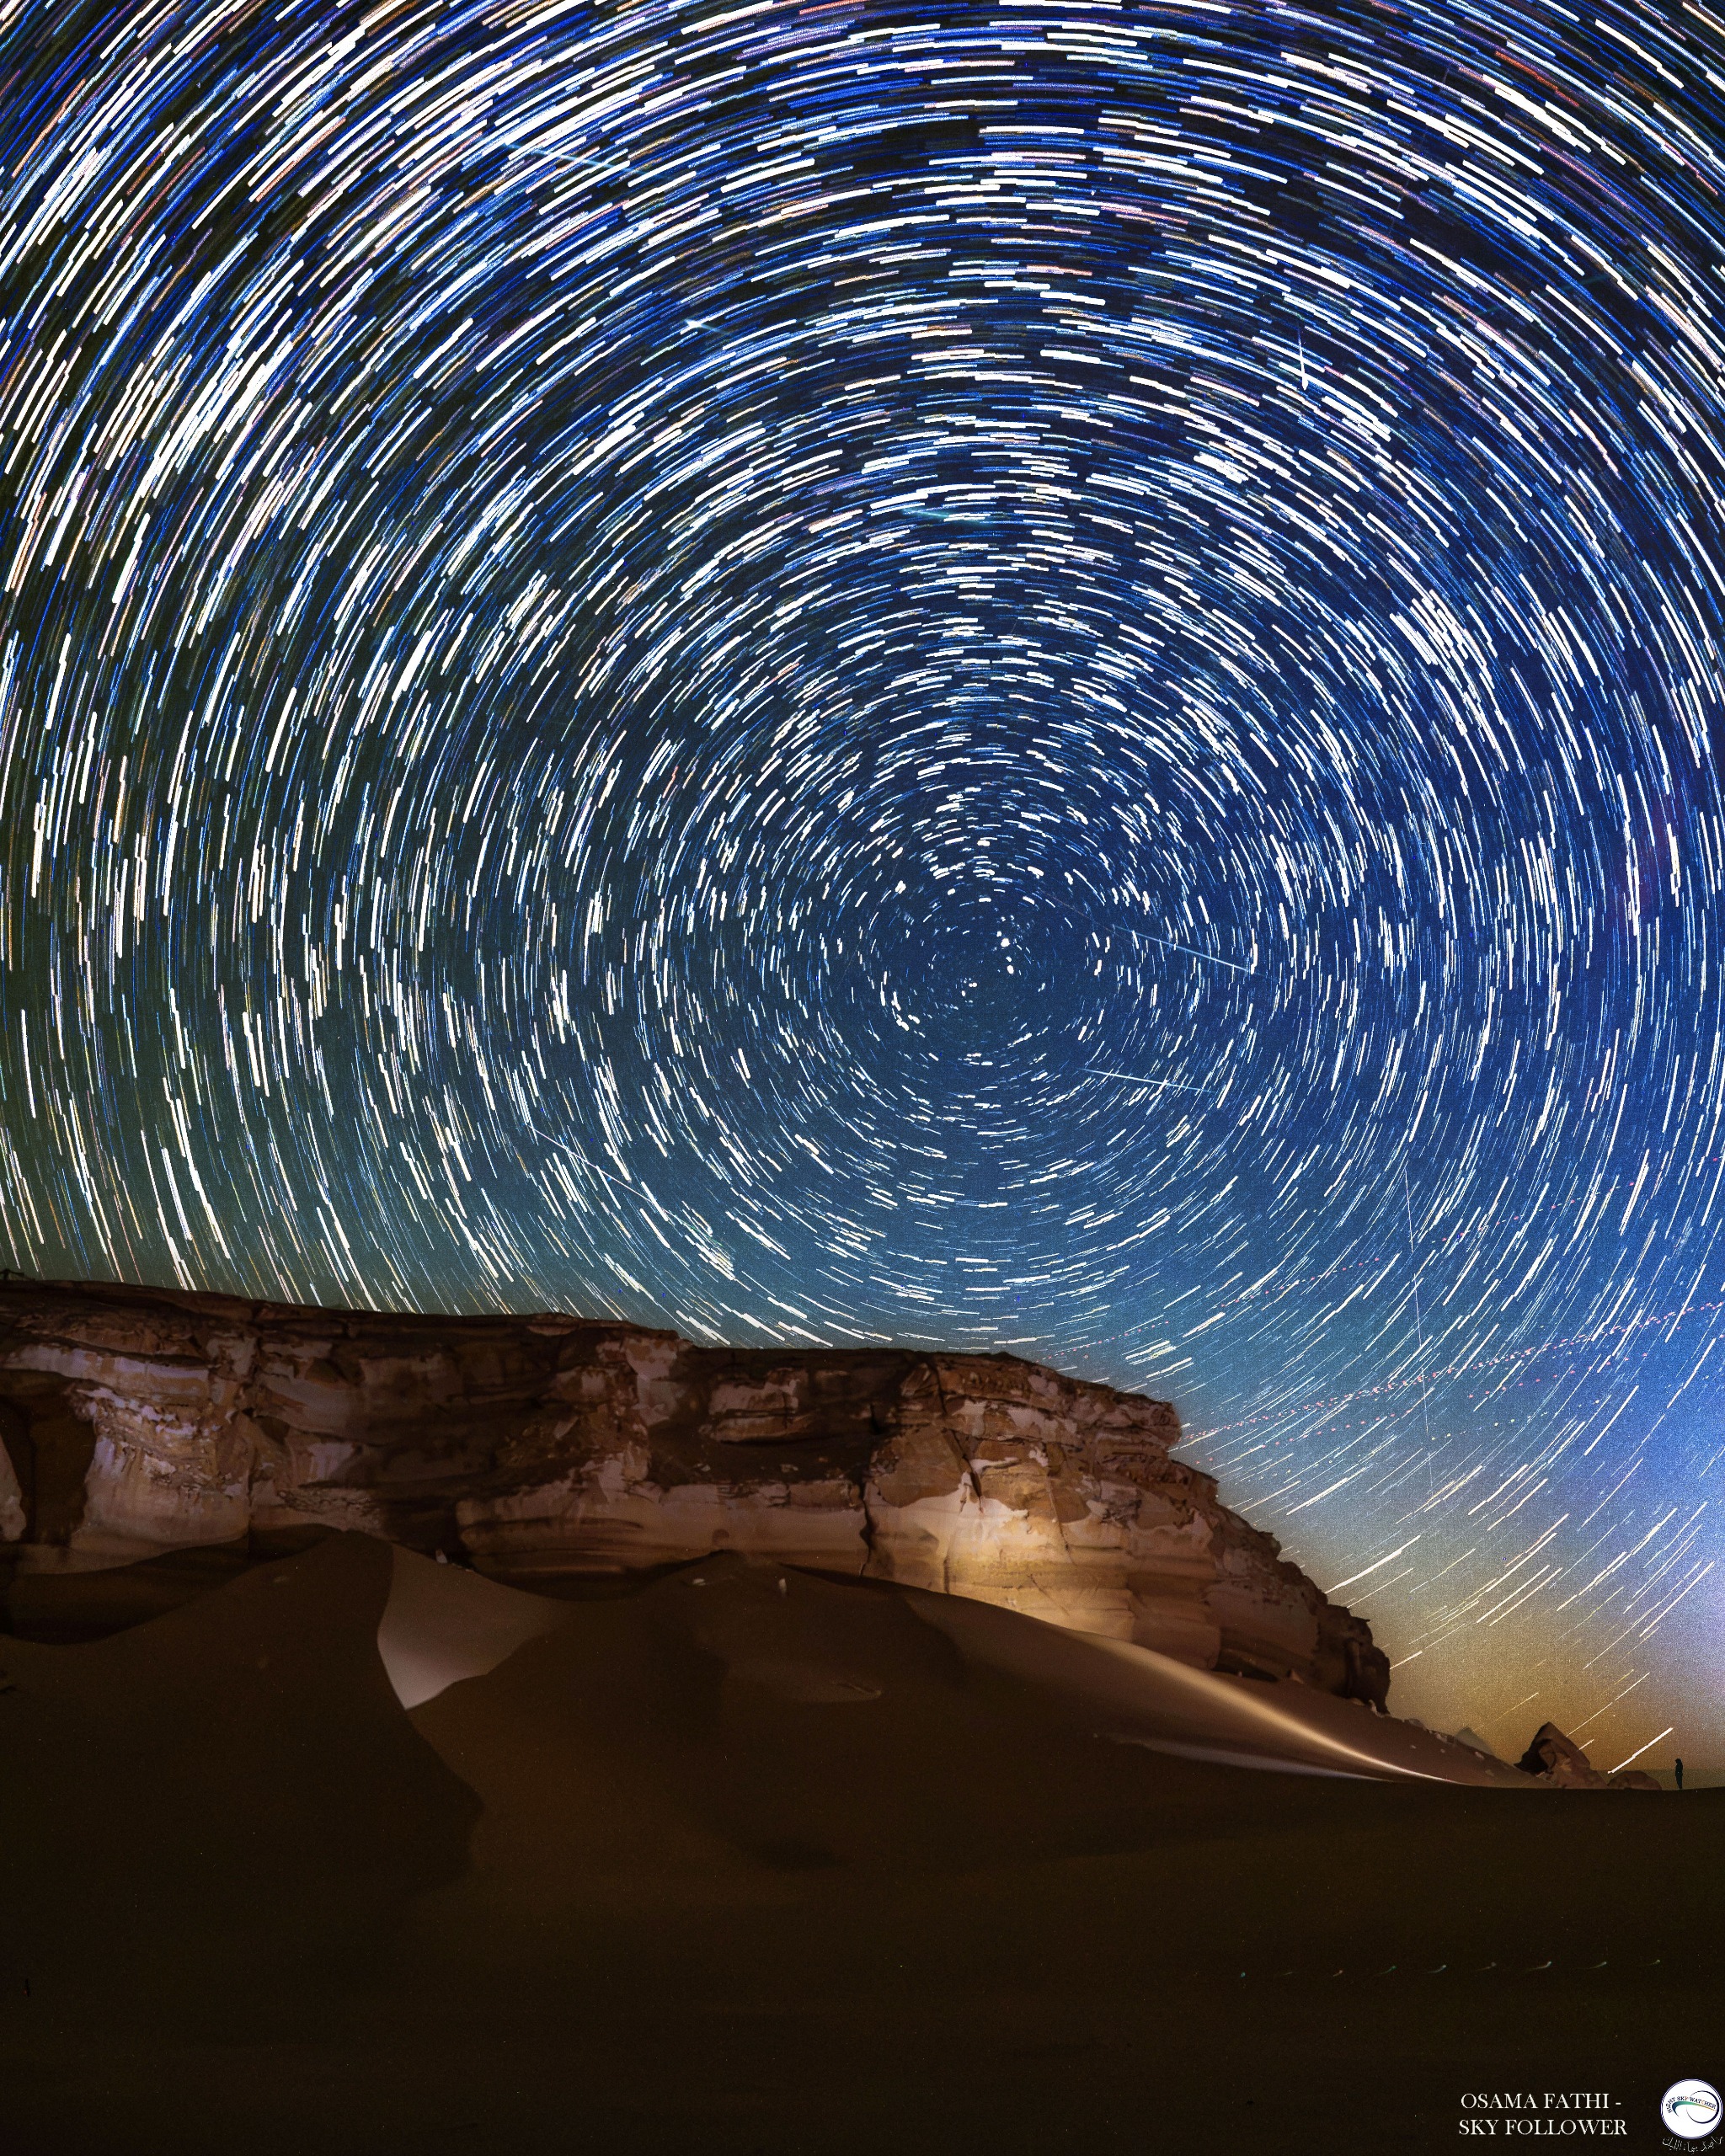
Astrophotographer Osama Fathi created this incredible view of Perseid meteors streaking through circling star trails above Egypt's Western Desert on Aug. 13-14, the night following the shower's peak under dark new-moon skies.
Fathi imaged the star trails in 240 consecutive 25-second exposures, which captured the apparent motion of the stars in Earth's sky as they seemed to circle the celestial north pole and the North Star Polaris. The length of each trail reveals how far the stars appeared to move as Fathi captured their ancient light with his Sony A7 III camera and a 16-35 mm lens during the 100-minute shoot.
But Fathi wasn't alone beneath the desert skies as he captured the scene.
"Capturing this photo in Egypt's Western Desert during the Perseids was an unforgettable experience," Fathi told Space.com in an email. "The night was exceptionally clear and I was surrounded by around 200 fellow astronomy enthusiasts sharing stories, stargazing and photographing the sky."
Perseid meteors and satellites intersect star trails in the skies over Egypt. (Image credit: Osama Fathi)
Perseid meteors appear as unbroken streaks of light, captured in a single exposure as tiny particles — often no larger than a grain of sand — burn up in Earth's atmosphere in the blink of an eye.
Dotted trails closer to the horizon depict the trajectories of satellites as they passed silently through the skies over Egypt's Western Desert. Fathi captured the landscape and starscape separately before combining, or stacking, the images into a mesmerizing image.
The result is a gorgeous nightscape that highlights the beauty of the natural landscape, the rotation of Earth and the natural light show of the Perseid meteor shower that we experience as Earth passes through the trail of debris shed by comet 109P/Swift-Tuttle.
Editor's Note: If you would like to share your photos of the night sky with Space.com's readers, then please send your photo(s), comments, name and location to spacephotos@space.com.
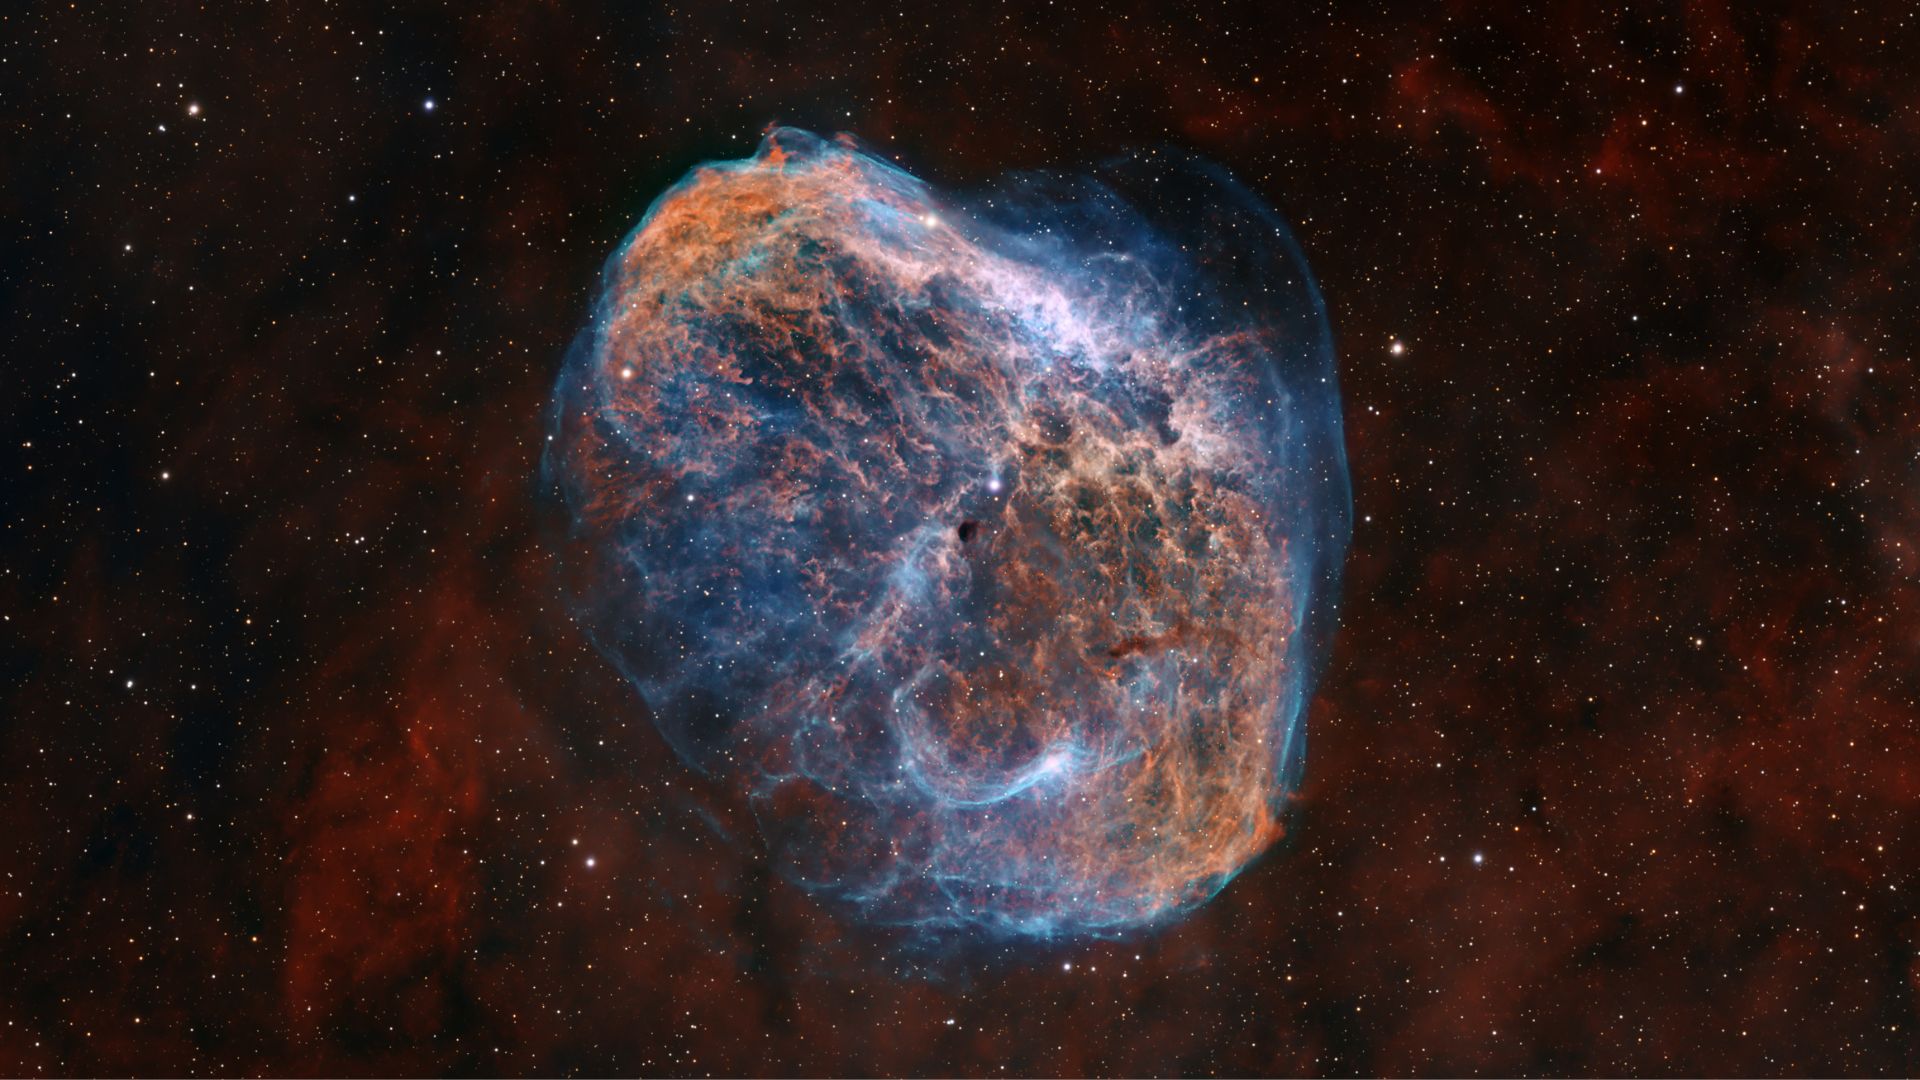
The Crescent Nebula shines in the constellation Cygnus. (Image credit: Kevin Boardman)
Astrophotographer Kevin Boardman captured this spectacular view of the Crescent Nebula, revealing intricate filaments of gas surrounding a massive star nearing the end of its life some 4,700 light-years from Earth in the constellation Cygnus.
Boardman's image represents a turbulent chapter in the life of the colossal Wolf-Rayet star WR 136 (HD 192163), which, visible as a blue point of light at the center of the image, is expected to end its life in a dramatic supernova explosion in about 100,000 years.
The 25-light-year-wide bubble is formed from stellar material cast off by WR 136 during its transformation into a red giant star, according to NASA. Repeated impacts by fast-moving stellar winds later send shockwaves through the outer shell, creating the complex filaments we see today.
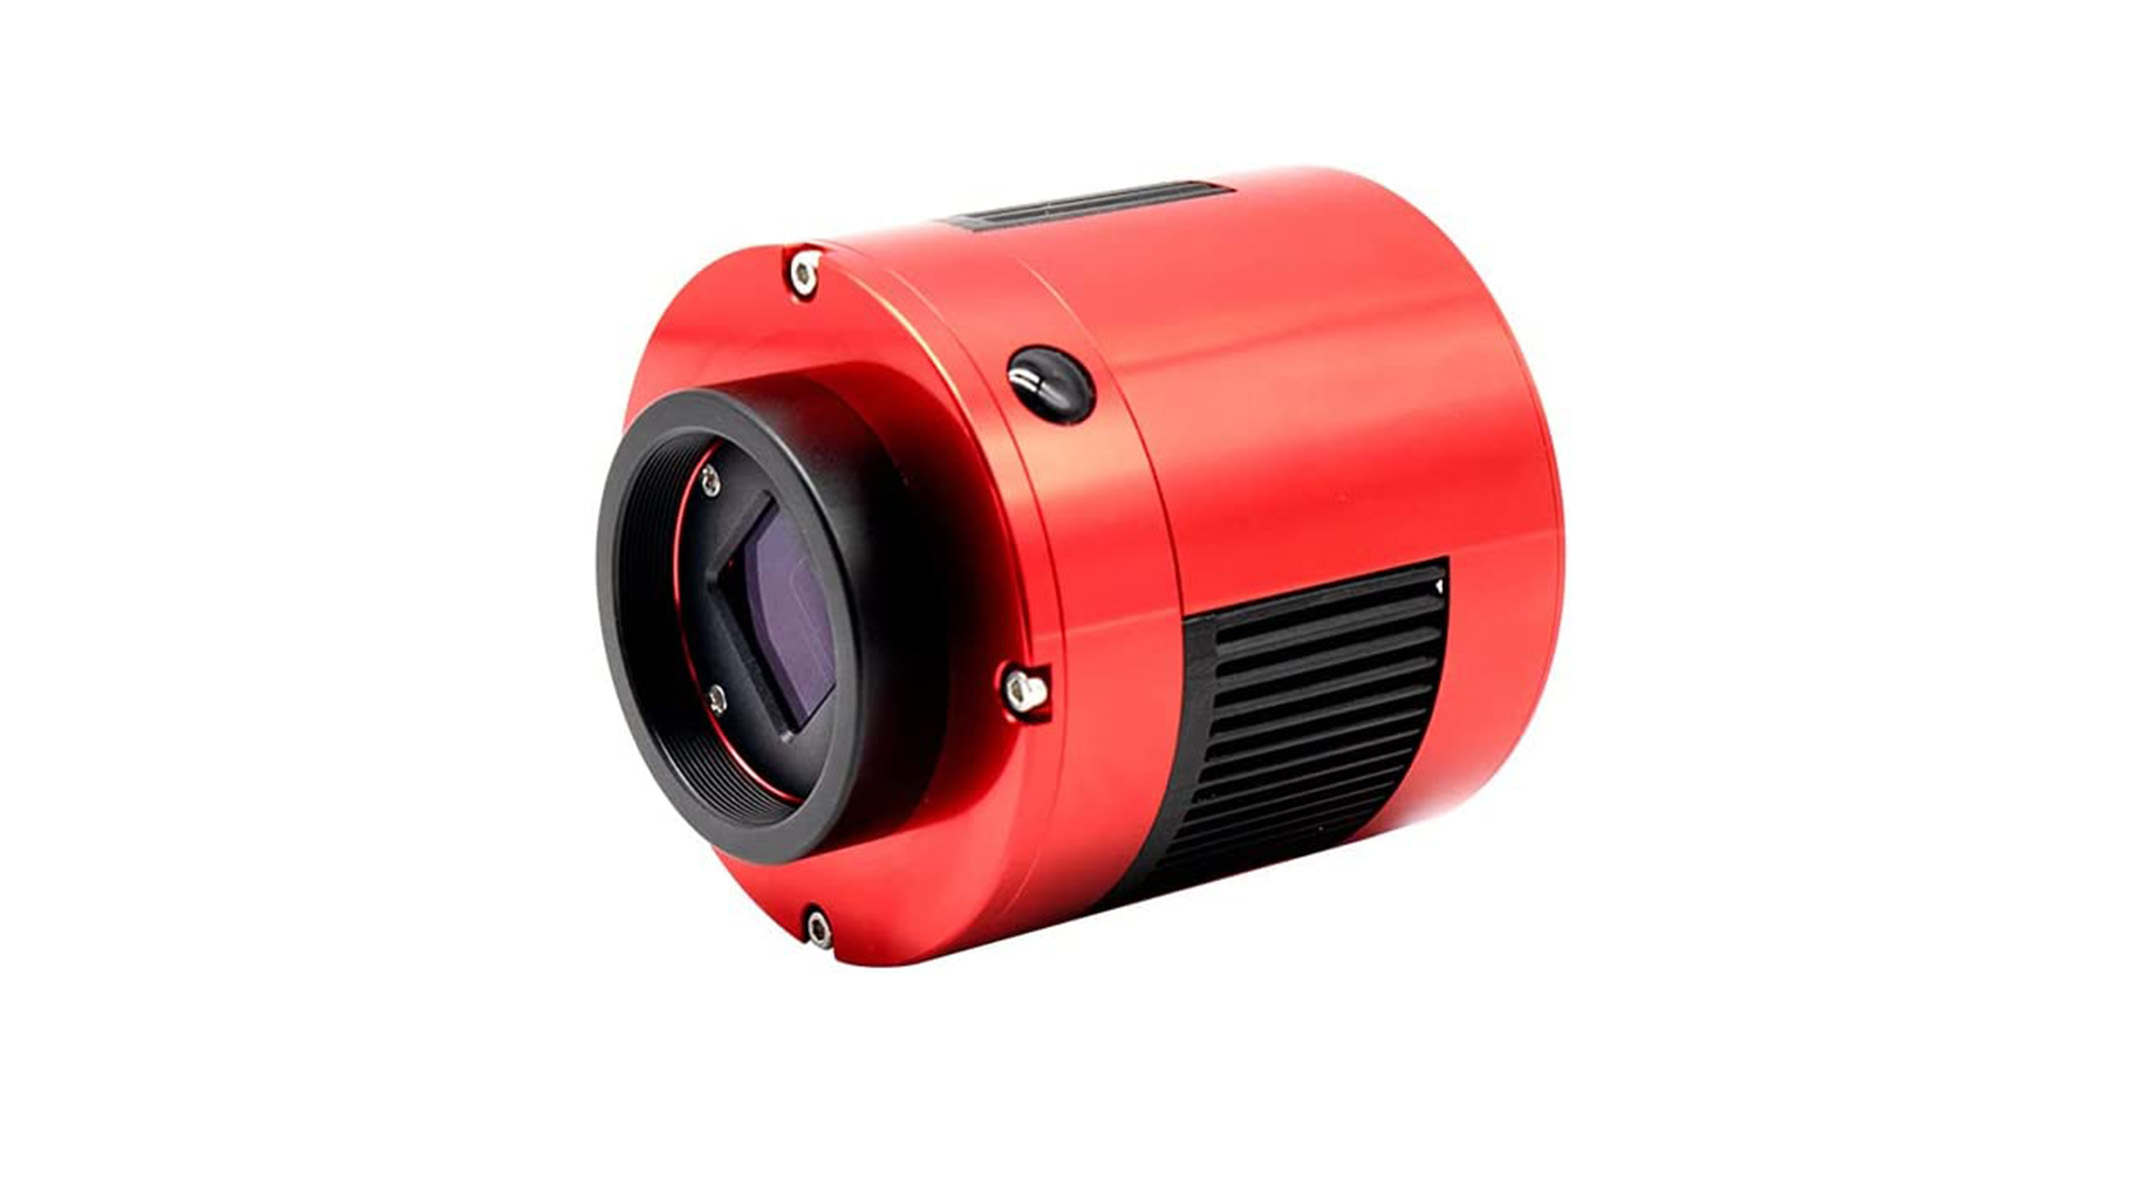
ZWO ASI533MC Pro
(Image credit: Amazon)
The ZWO ASI533MC Pro camera is the best dedicated astro camera out there, in our opinion. It features zero amp glow, 80% quantum efficiency and a 20FPS frame rate. It also features a 9MP sensor and you can check out our ZWO ASI533MC Pro review for a more in-depth look.
Catalogued as NGC 6888, or Caldwell 27, the Crescent Nebula, gets its nickname from its crescent-moon like appearance when observed in certain wavelengths of light. Boardman revealed spectacular detail in the nebula by imaging it with a set of narrowband filters over 16 hours and 18 minutes spread across five nights in late July.
"In the image, orange-red H-alpha reveals the tangled filaments while blue-cyan [O III] outlines emission from doubly ionized oxygen around the shell," Boardman told Space.com in an email. Each filter isolates specific wavelengths of light emitted by ionized gases, allowing different structures within the nebula to stand out.
Boardman collected roughly 12 hours of narrowband data from the nebula itself, along with four hours and 20 minutes of data capturing the surrounding stars, before combining exposures using the astronomy software PixInsight during post-processing.
The Crescent Nebula is too faint to be spotted with the naked eye, but can be seen with a moderate-to-large telescope equipped with a light pollution filter throughout September.
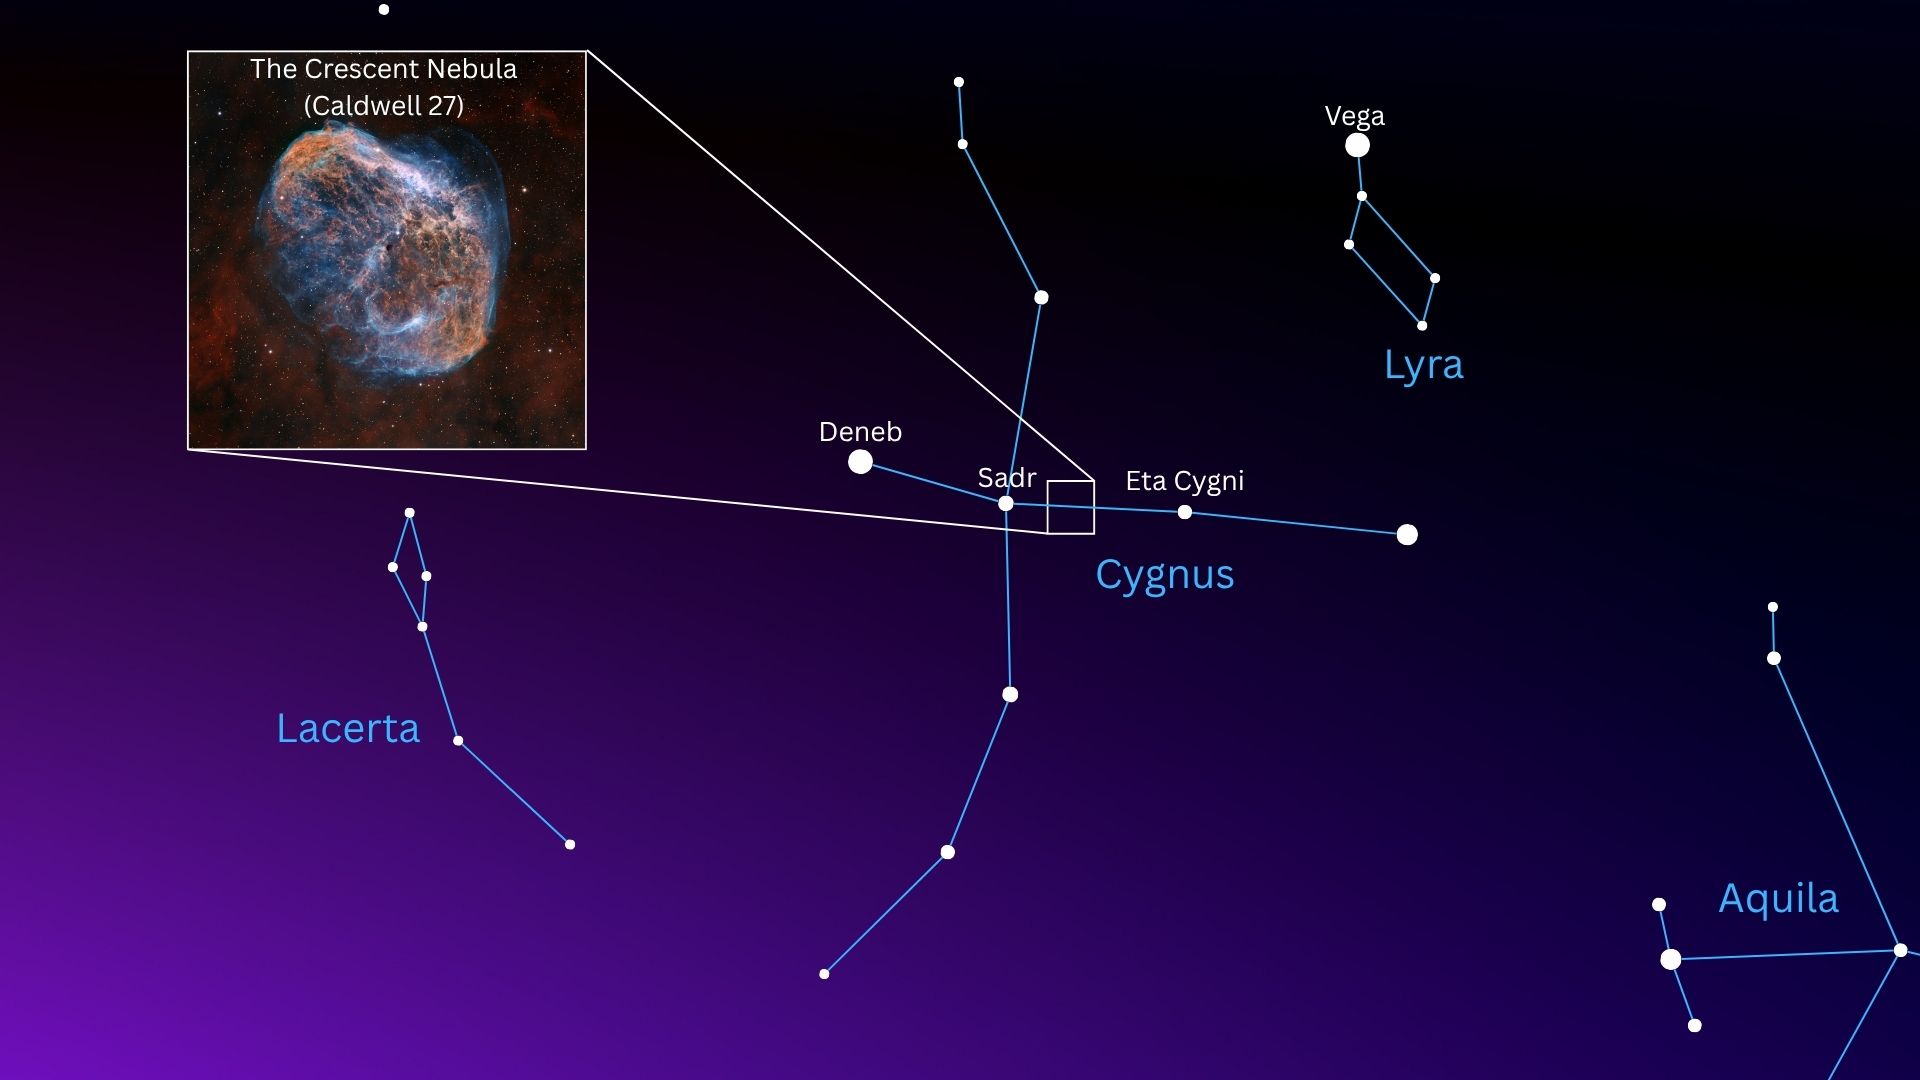
How to find the Crescent Nebula among the stars of the constellation Cygnus. (Image credit: Inset image: Kevin Boardman, created by Anthony Wood in Canva.)
First, locate the magnitude +2.34 star Sadr at the center of the cross-shaped constellation Cygnus, which appears high overhead for Northern Hemisphere observers in late summer.
Next, locate the dimmer magnitude +4.03 star Eta Cygni using the simplified star chart above, or with the aid of a smartphone astronomy app. The Crescent Nebula lies directly between these two bright stars and is best seen on the dark nights surrounding this month's new moon phase on Sept. 10-11.
Editor's Note: If you would like to share your astrophotography with Space.com's readers, then please send your photo(s), comments, and your name and location to spacephotos@space.com.
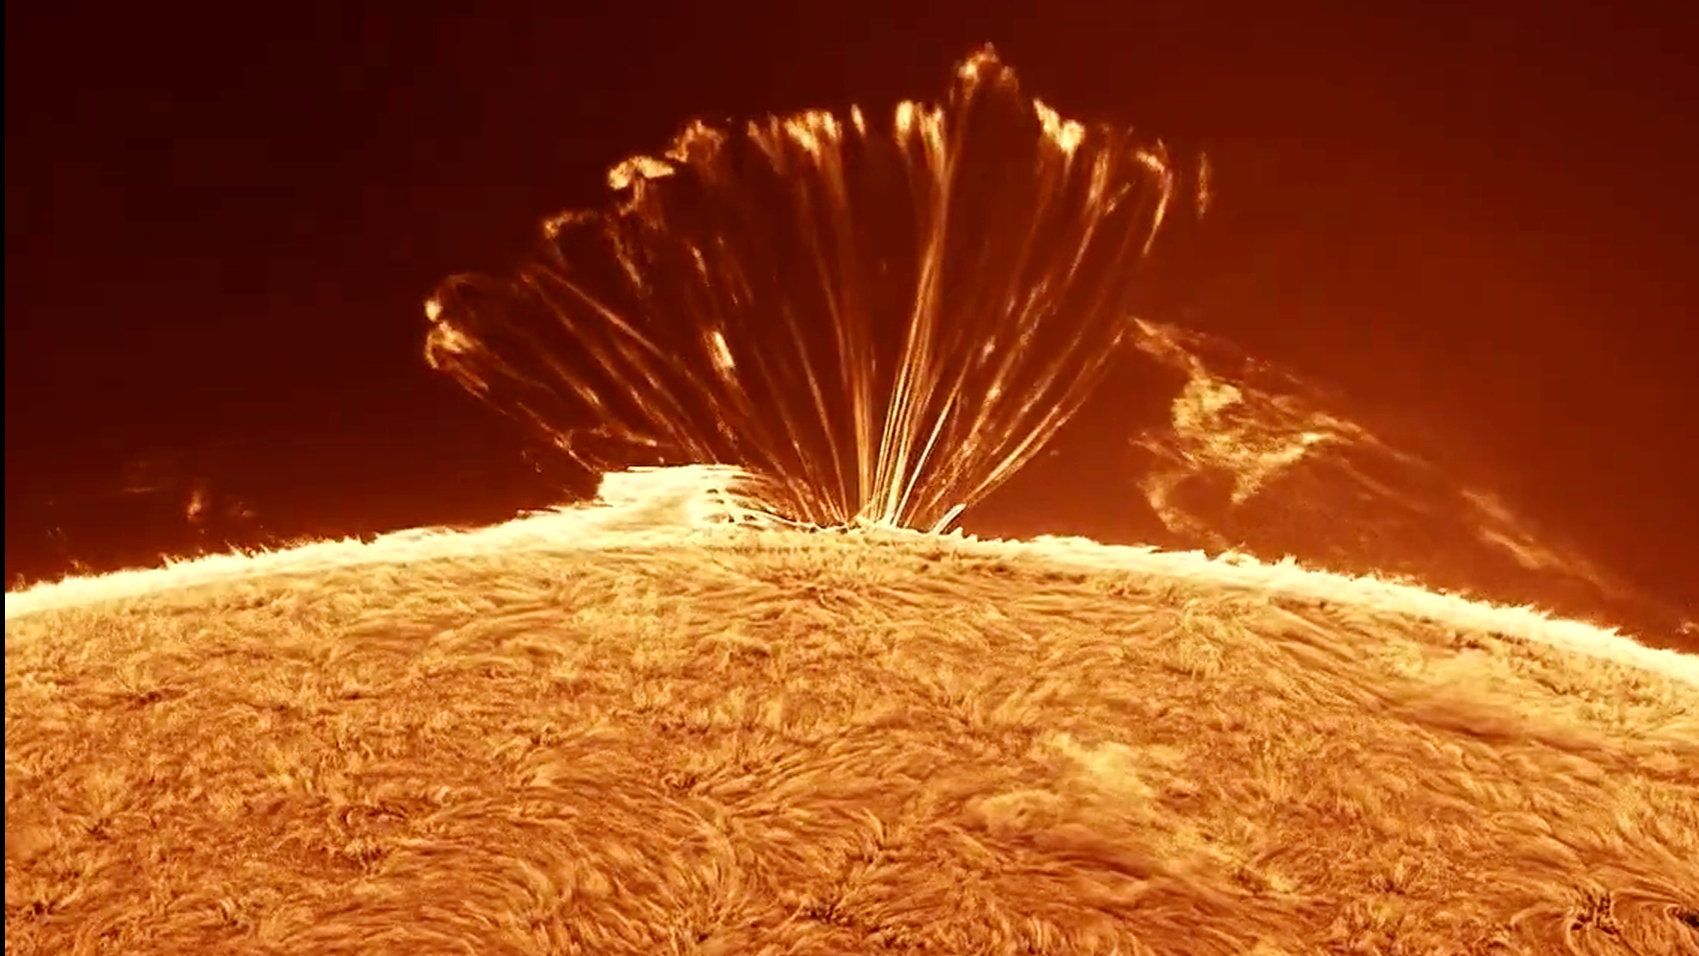
Astrophotographer Mark Johnston captured the sun in remarkable detail from his backyard in Arizona. (Image credit: Mark Johnston)
A spectacular series of glowing plasma loops arcs above the sun in this remarkable view captured from an astrophotographer's backyard.
What is it?
This image is a still from a high-resolution timelapse captured by astrophotographer Mark Johnston from Scottsdale, Arizona on Aug. 21, 2026.
The footage shows a coronal loop arcade — a series of arching loops of hot plasma shaped by the sun's magnetic field — extending high above the solar limb, or apparent edge of the sun.
Johnston recorded the scene for more than two hours, from 7:56 a.m. to 10:12 a.m. local time. His footage reveals the movement of plasma within the loops, including 'coronal rain' as material cools and falls back towards the lower solar atmosphere along magnetic field lines.
The sequence was captured using a TEC160FL refractor equipped with specialized hydrogen-alpha (H-alpha) solar imaging equipment, which helps reveal structures in the sun's atmosphere that would otherwise be very difficult to see.
Why is it incredible?
Coronal loop arcades like this one are a rare sight, but Johnston was particularly lucky to catch this one almost side-on at the edge of the sun, revealing the dramatic arching shape in exquisite detail.
"To see one AND catch it right on the limb AND have it happen on a clear day when I'm home and able to catch it was a real treat," Johnston told Space.com in an email.
Lucky for us, Johnston keeps a close eye on our star. The first thing he does each morning is check real-time imagery from NASA's Solar Dynamics Observatory (SDO) to see what the sun is up to.
"One day I saw this and leapt out of bed and dashed to get set up to capture it," Johnston said.
And this isn't the first spectacular solar show Johnston has captured from his backyard. Back in June, he imaged a colossal 'Godzilla' plasma cloud seemingly stalking the edge of the sun, complete with streams of coronal rains cascading back towards the solar surface.
In a rare first for me, I actually used autofocus for this entire astrophotography shoot. If I'm being honest? I prefer it when shooting astro with a mirrorless camera. Why? Because it is quicker and that means more time capturing the stars and less time setting up. I can get a star in sharp focus using autofocus in half the time that it would take me to do it manually and it's way easier to focus with the shutter or back button than play about with the focus ring, especially with cold fingers.
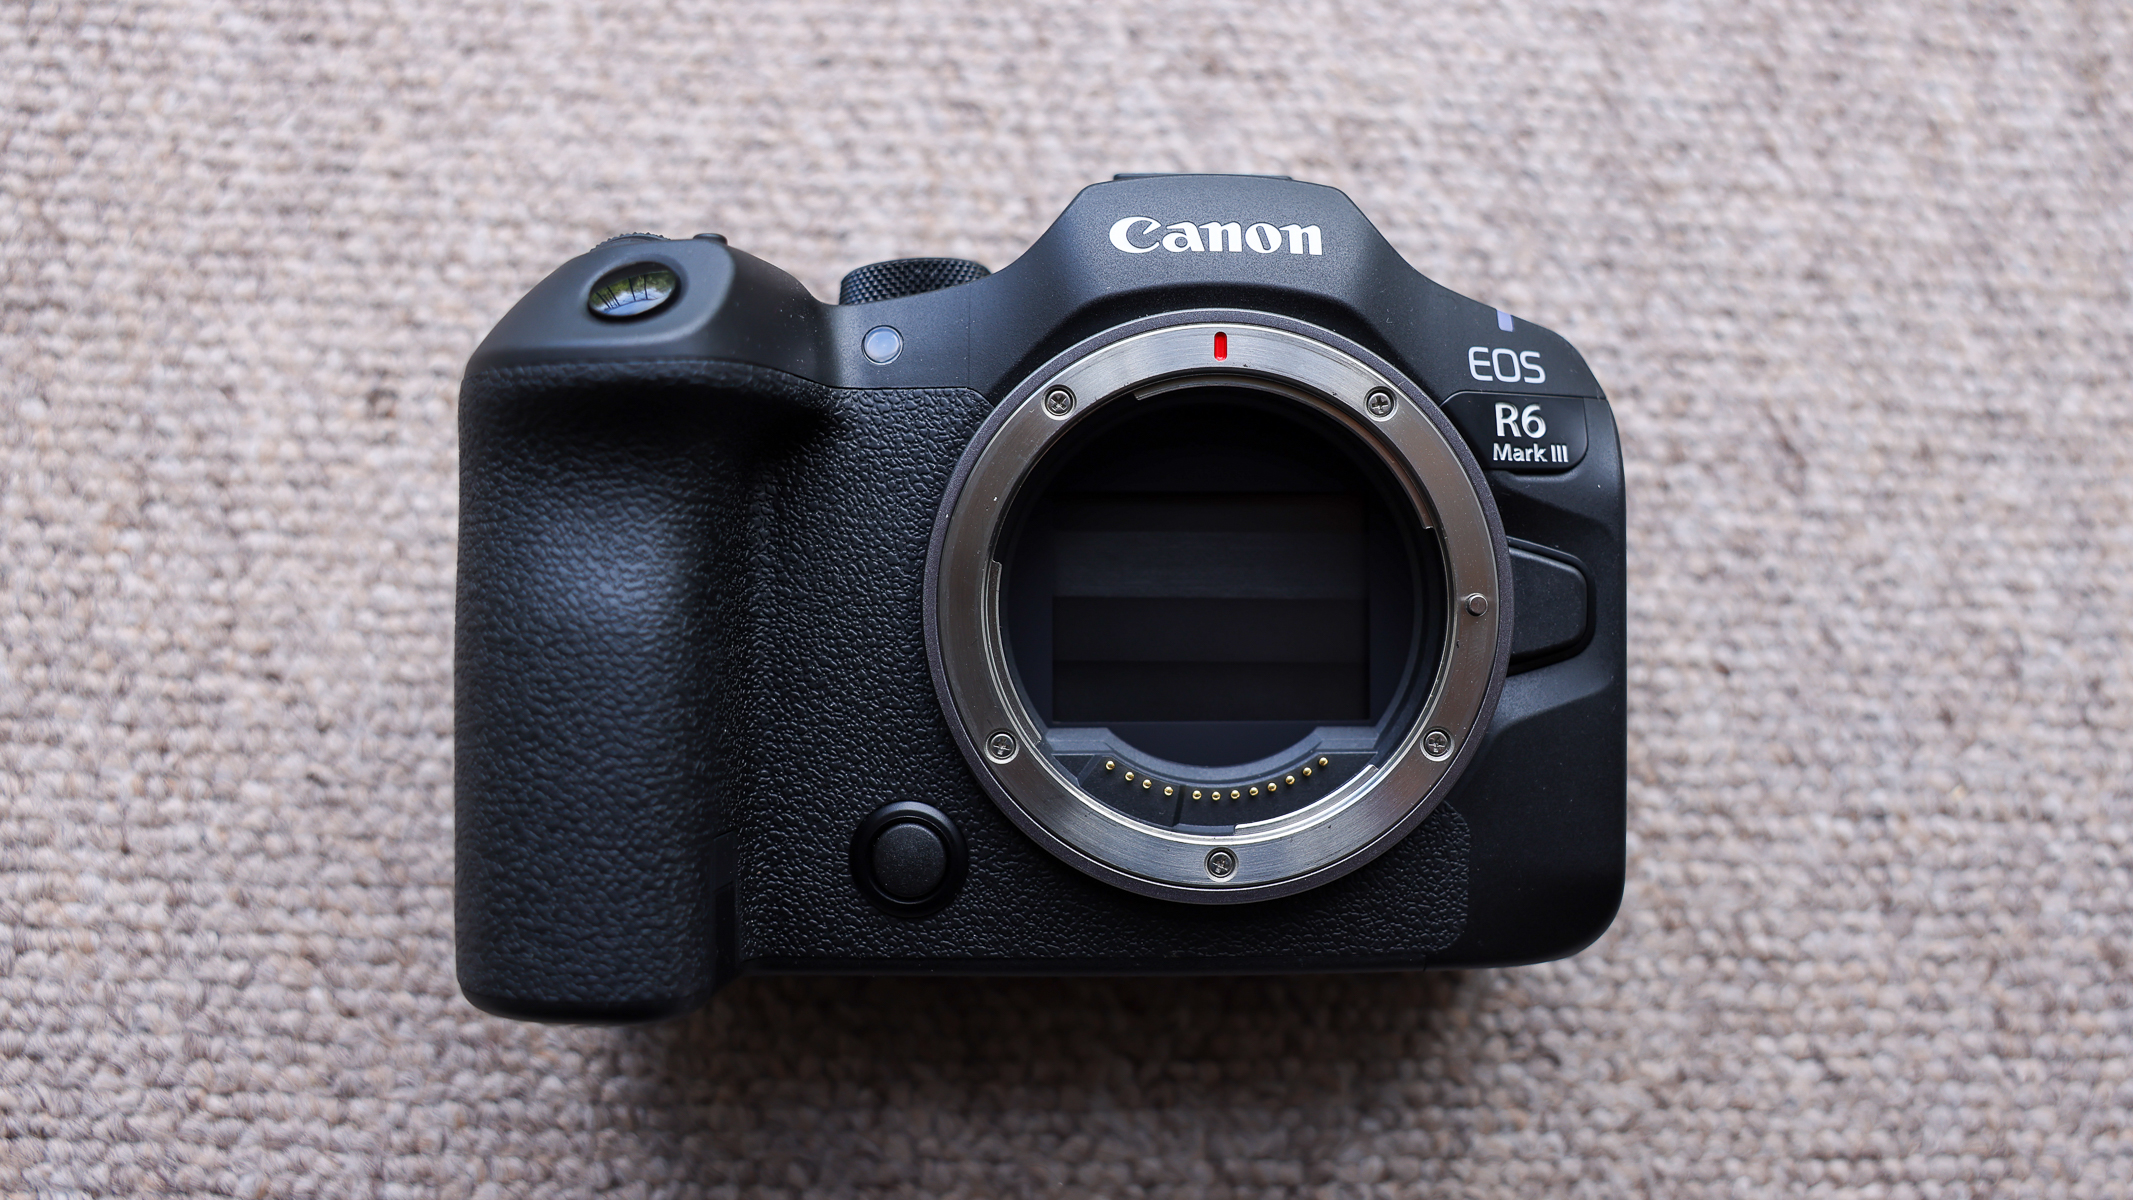
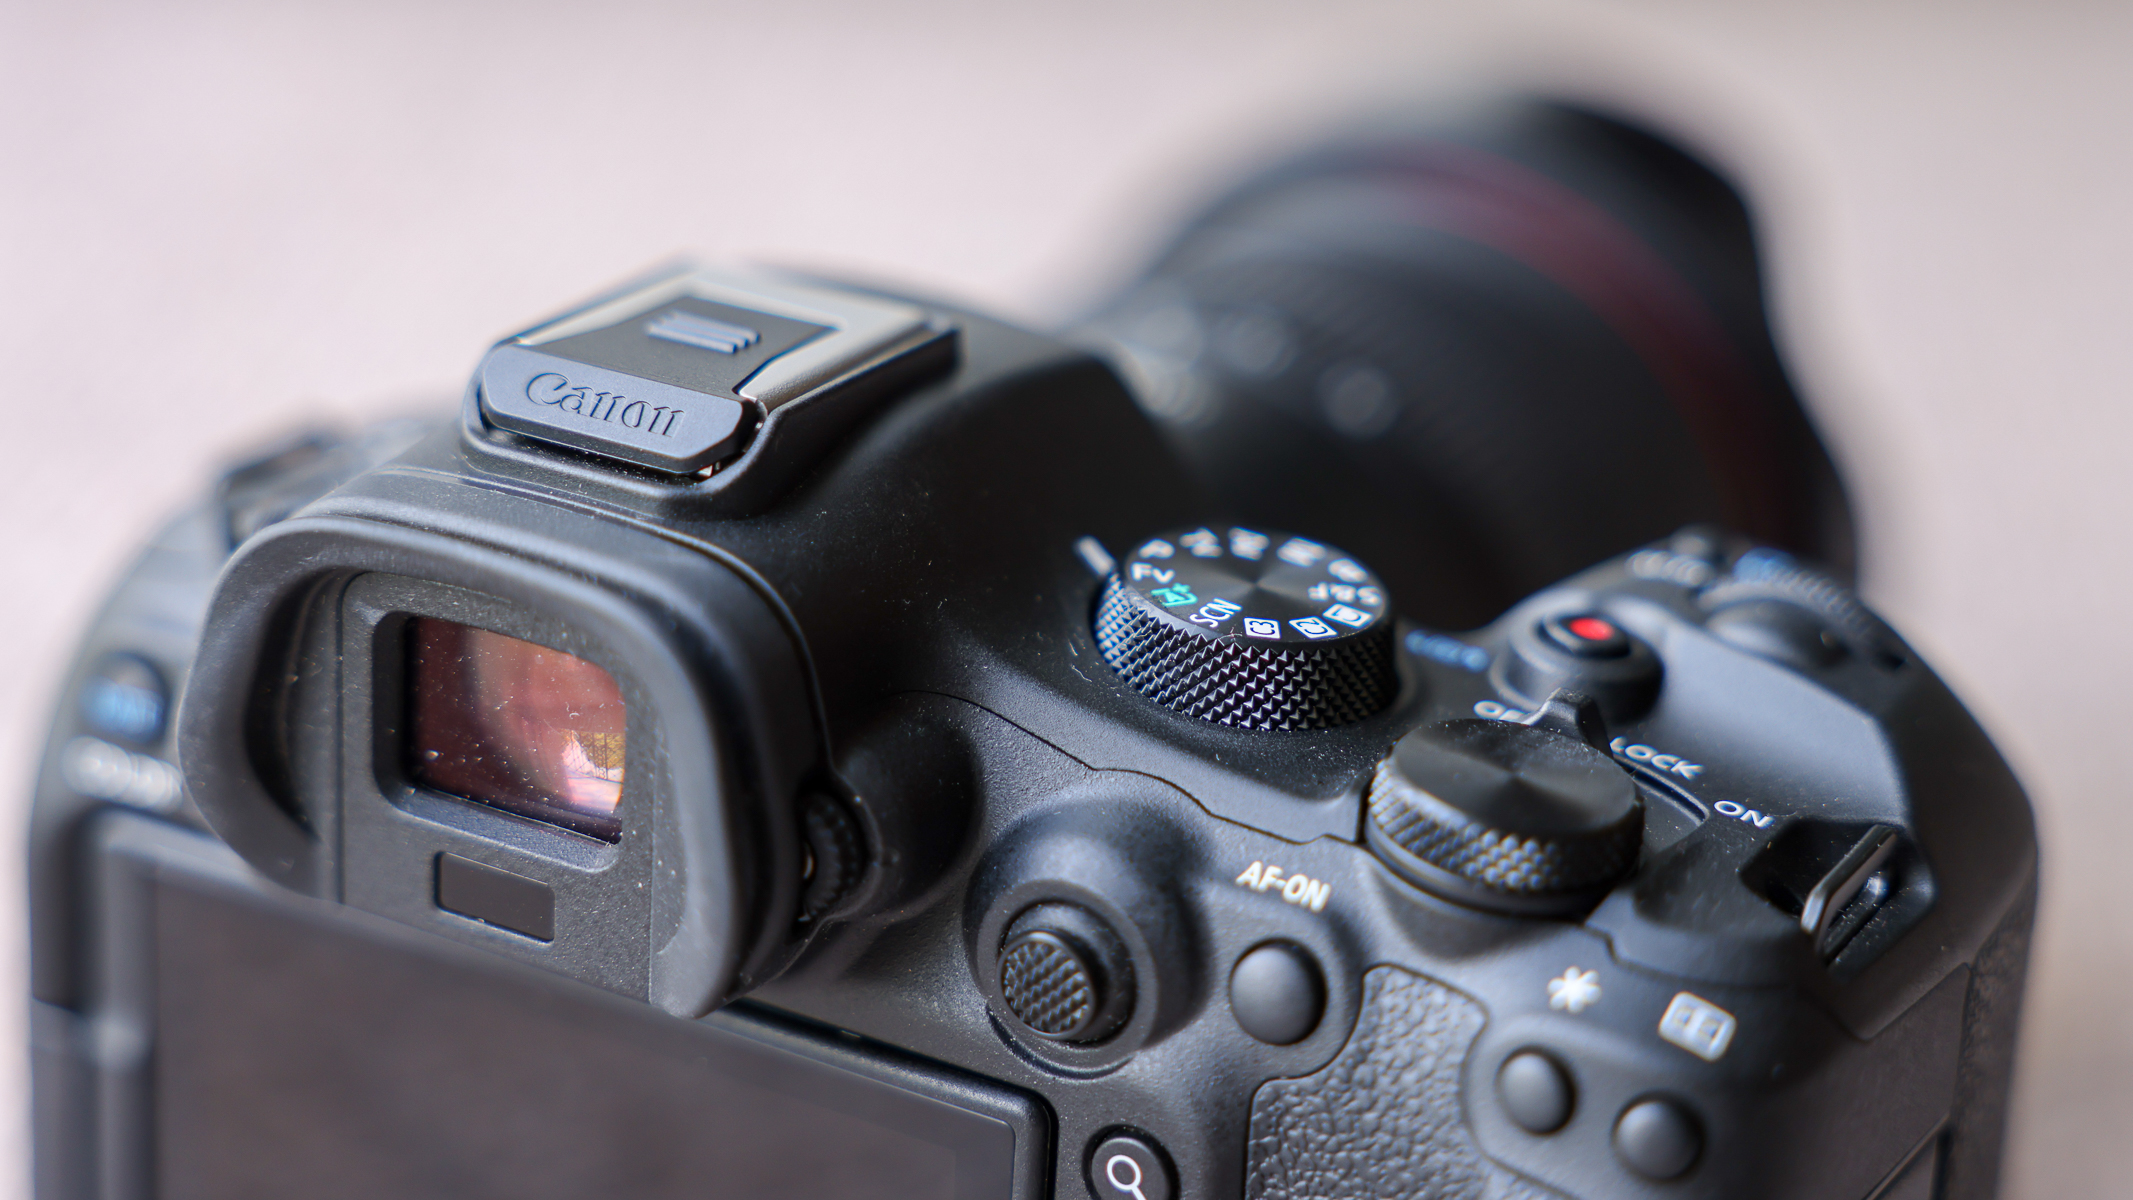
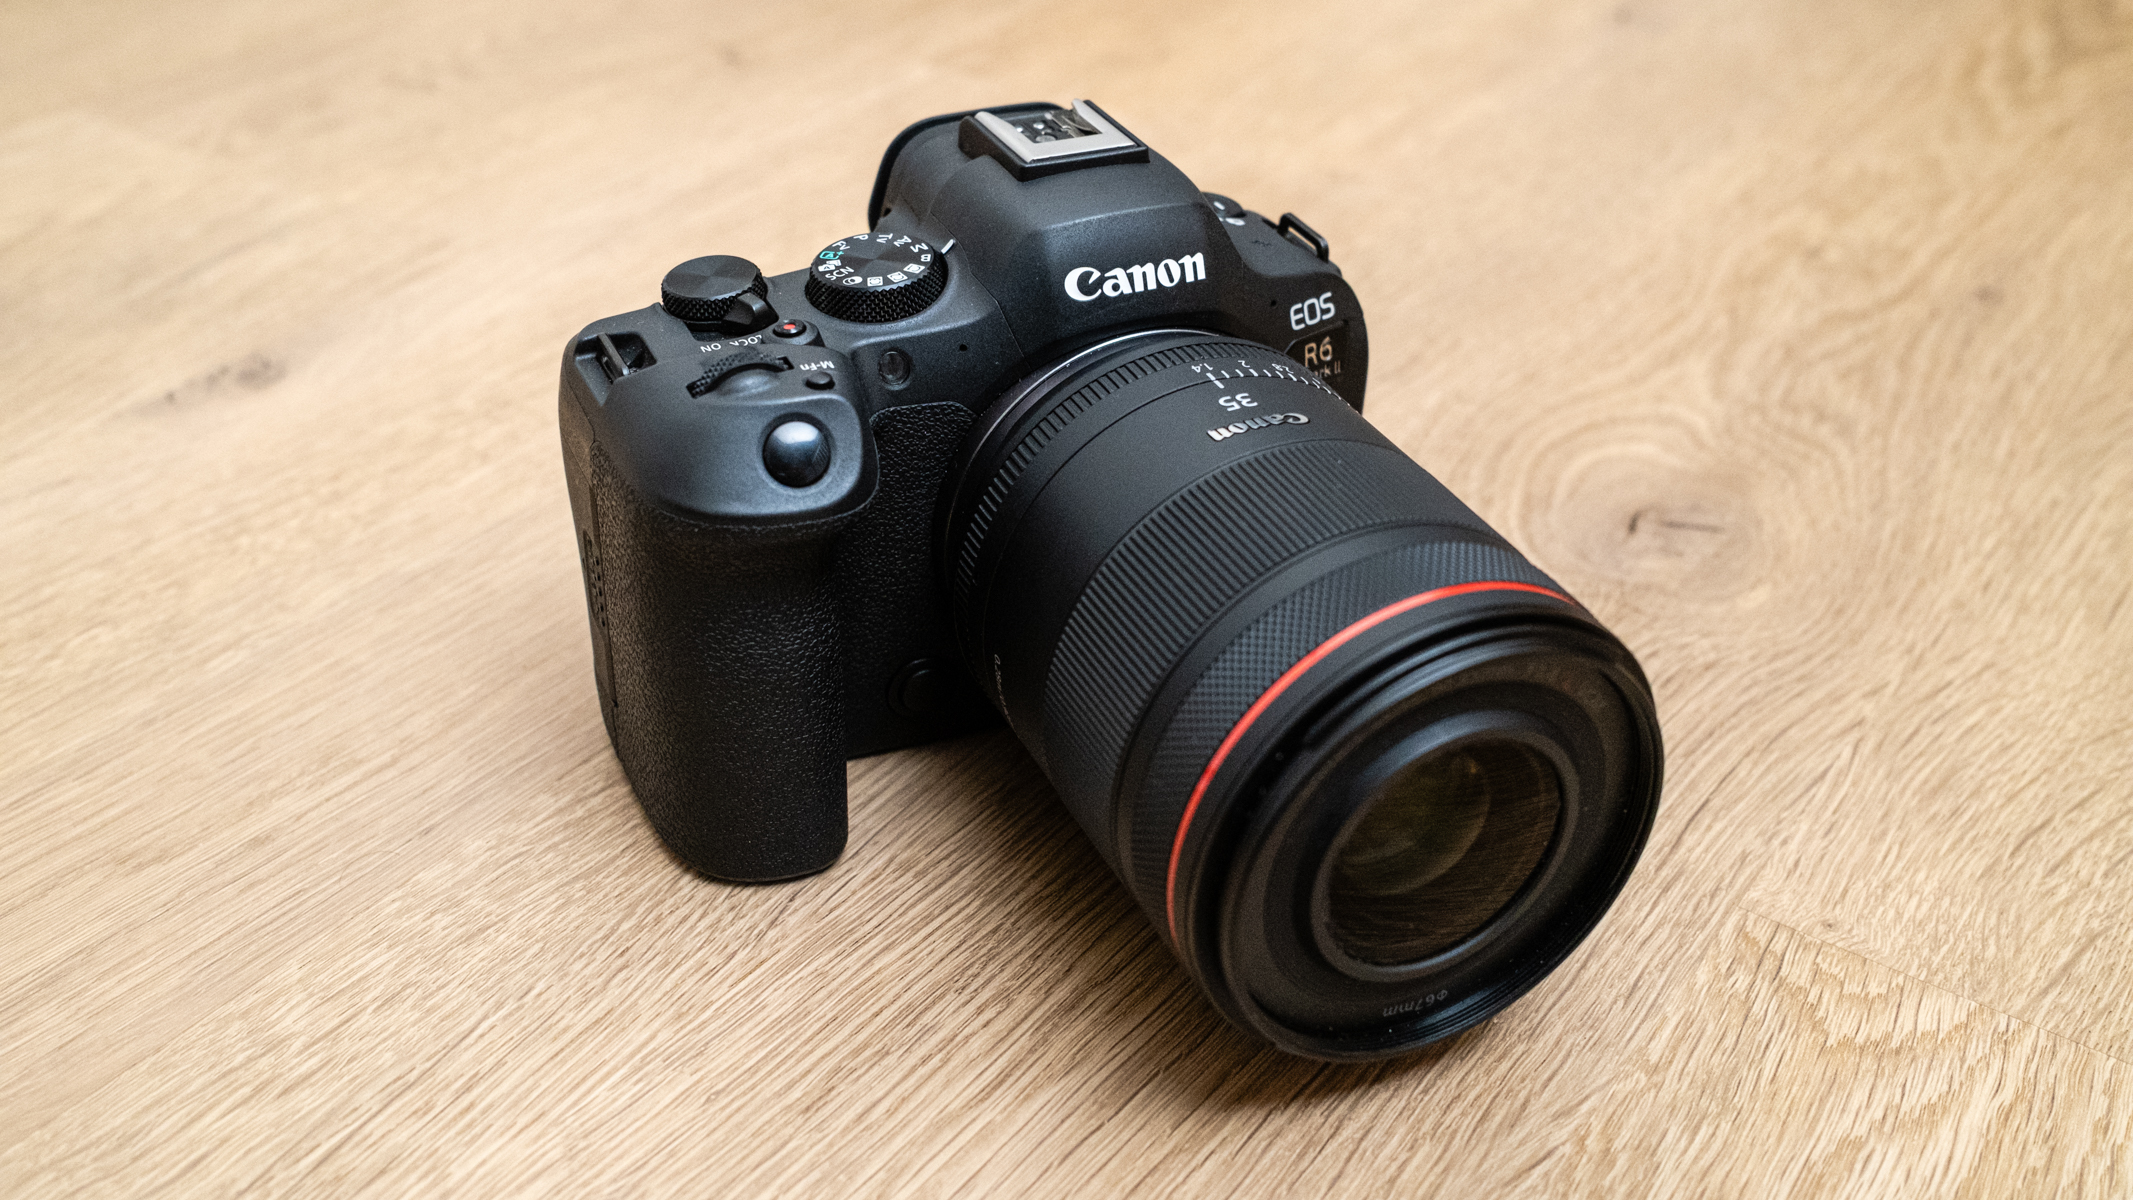
The Canon EOS R6 III makes shooting astro much quicker with its rapid low-light autofocus. (Image credit: Harry Bennett / Future)
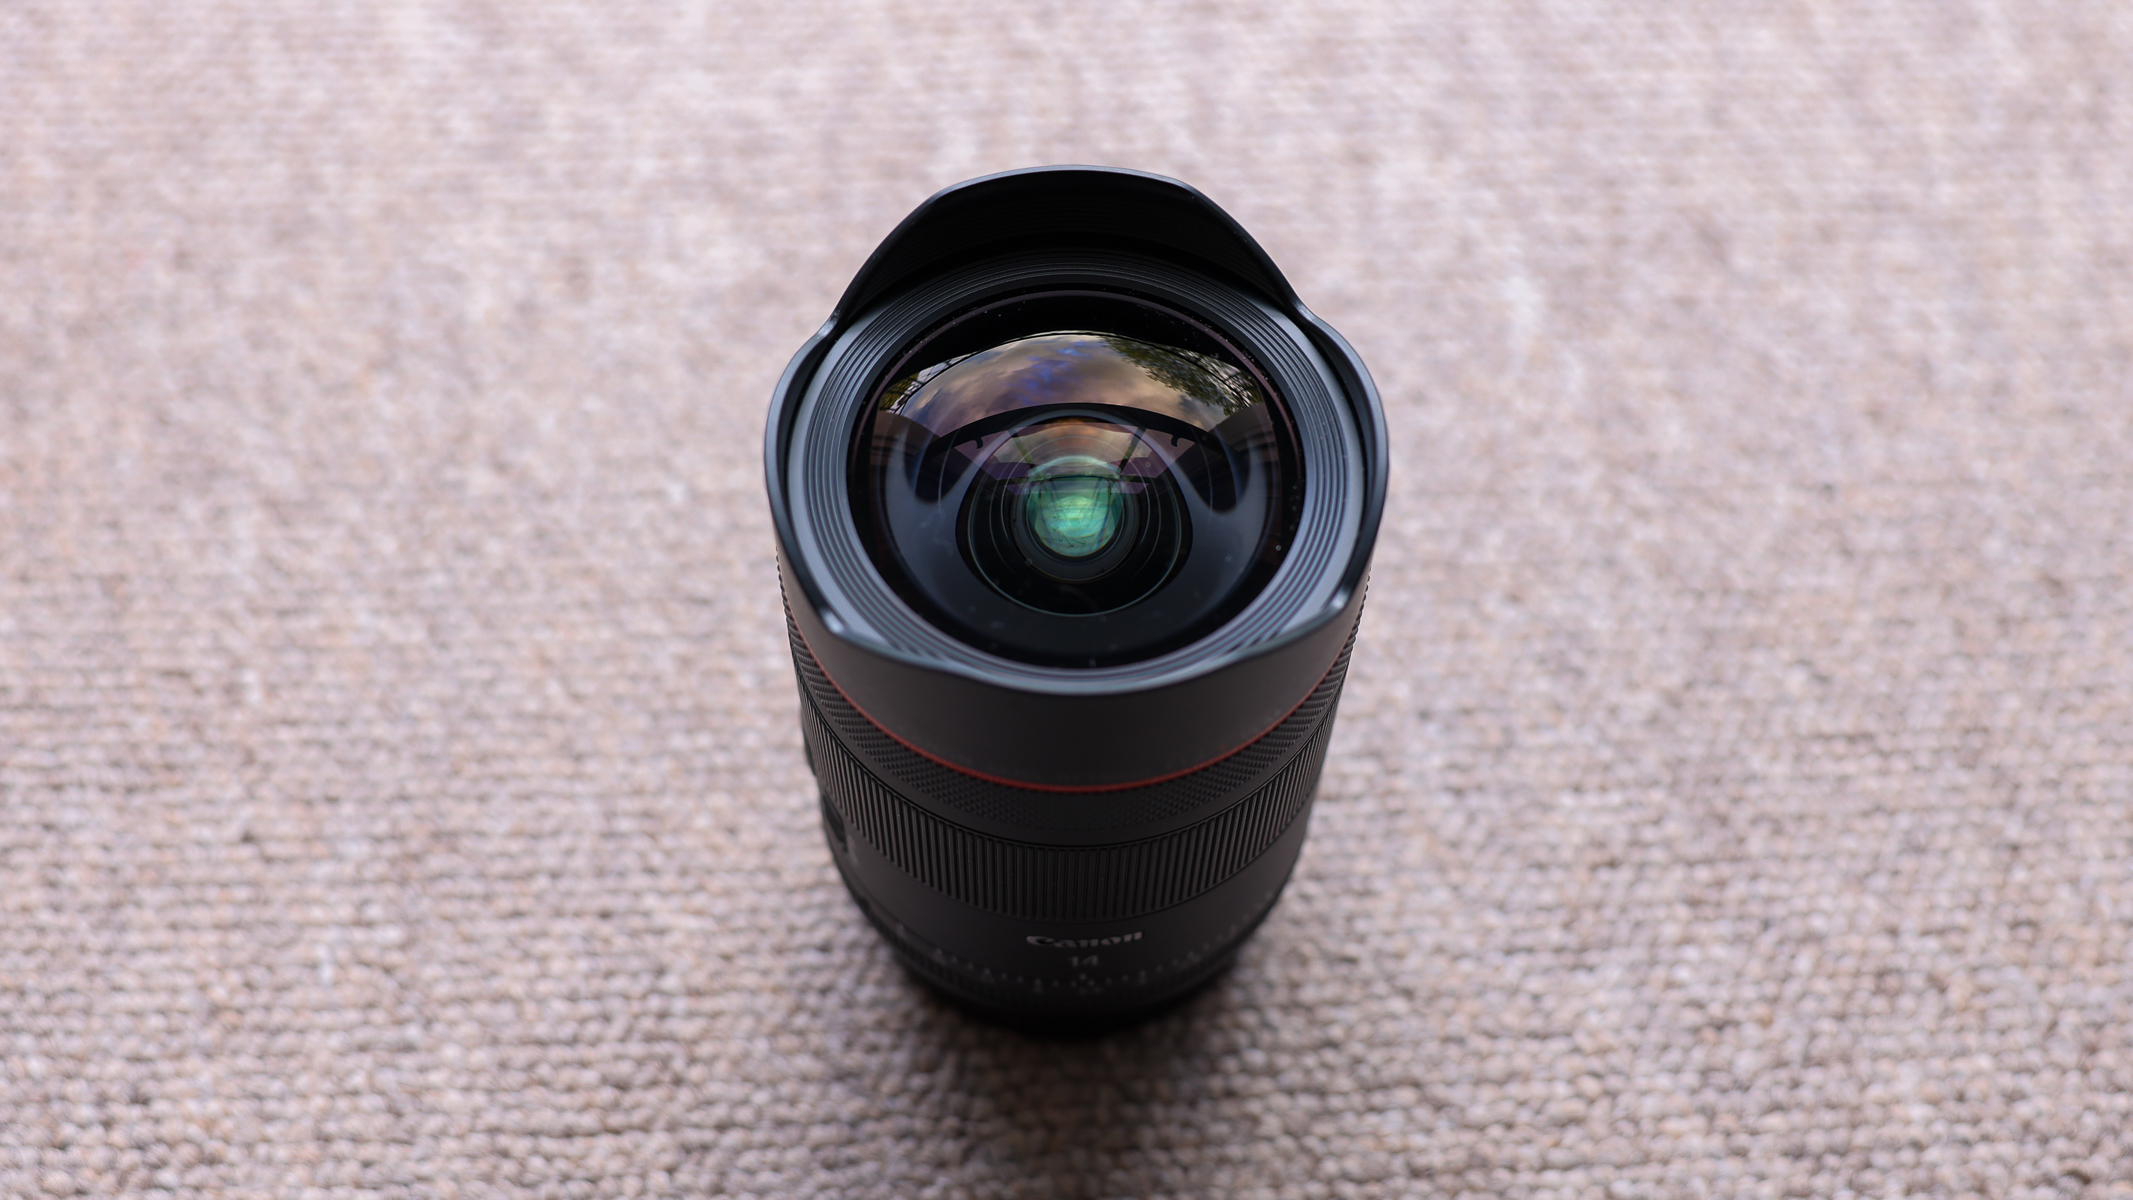
I only managed to get out under one clear sky to test the new R6 III but it was a wonderful session at my usual dark hill spot surrounded by a sea of stars and celestial shapes. After setting up my tripod, I was ready to start shooting, armed with the Canon 14mm f/1.4 and 45mm f/1.2 lenses.
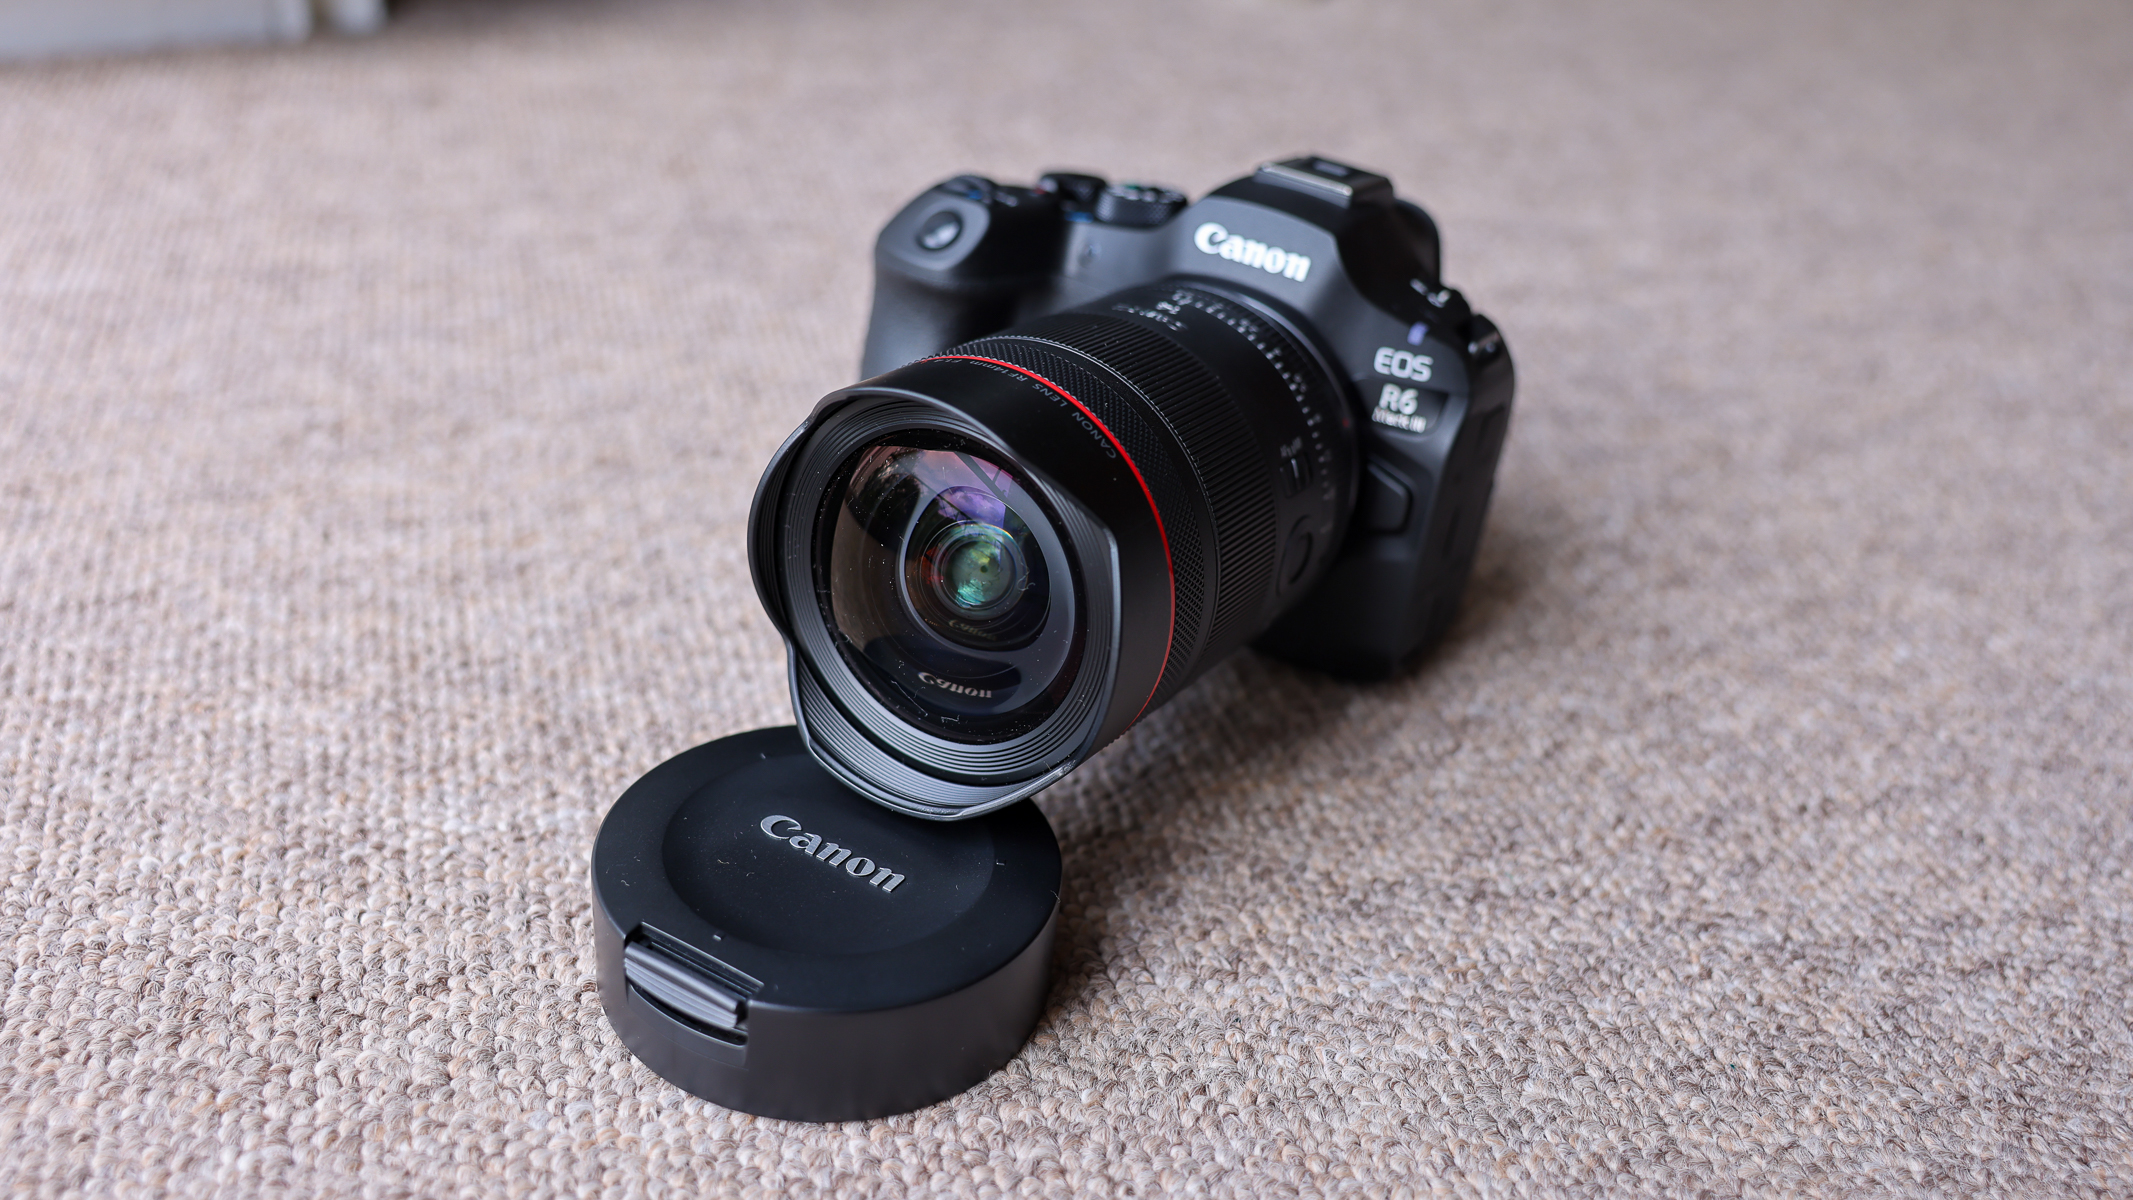
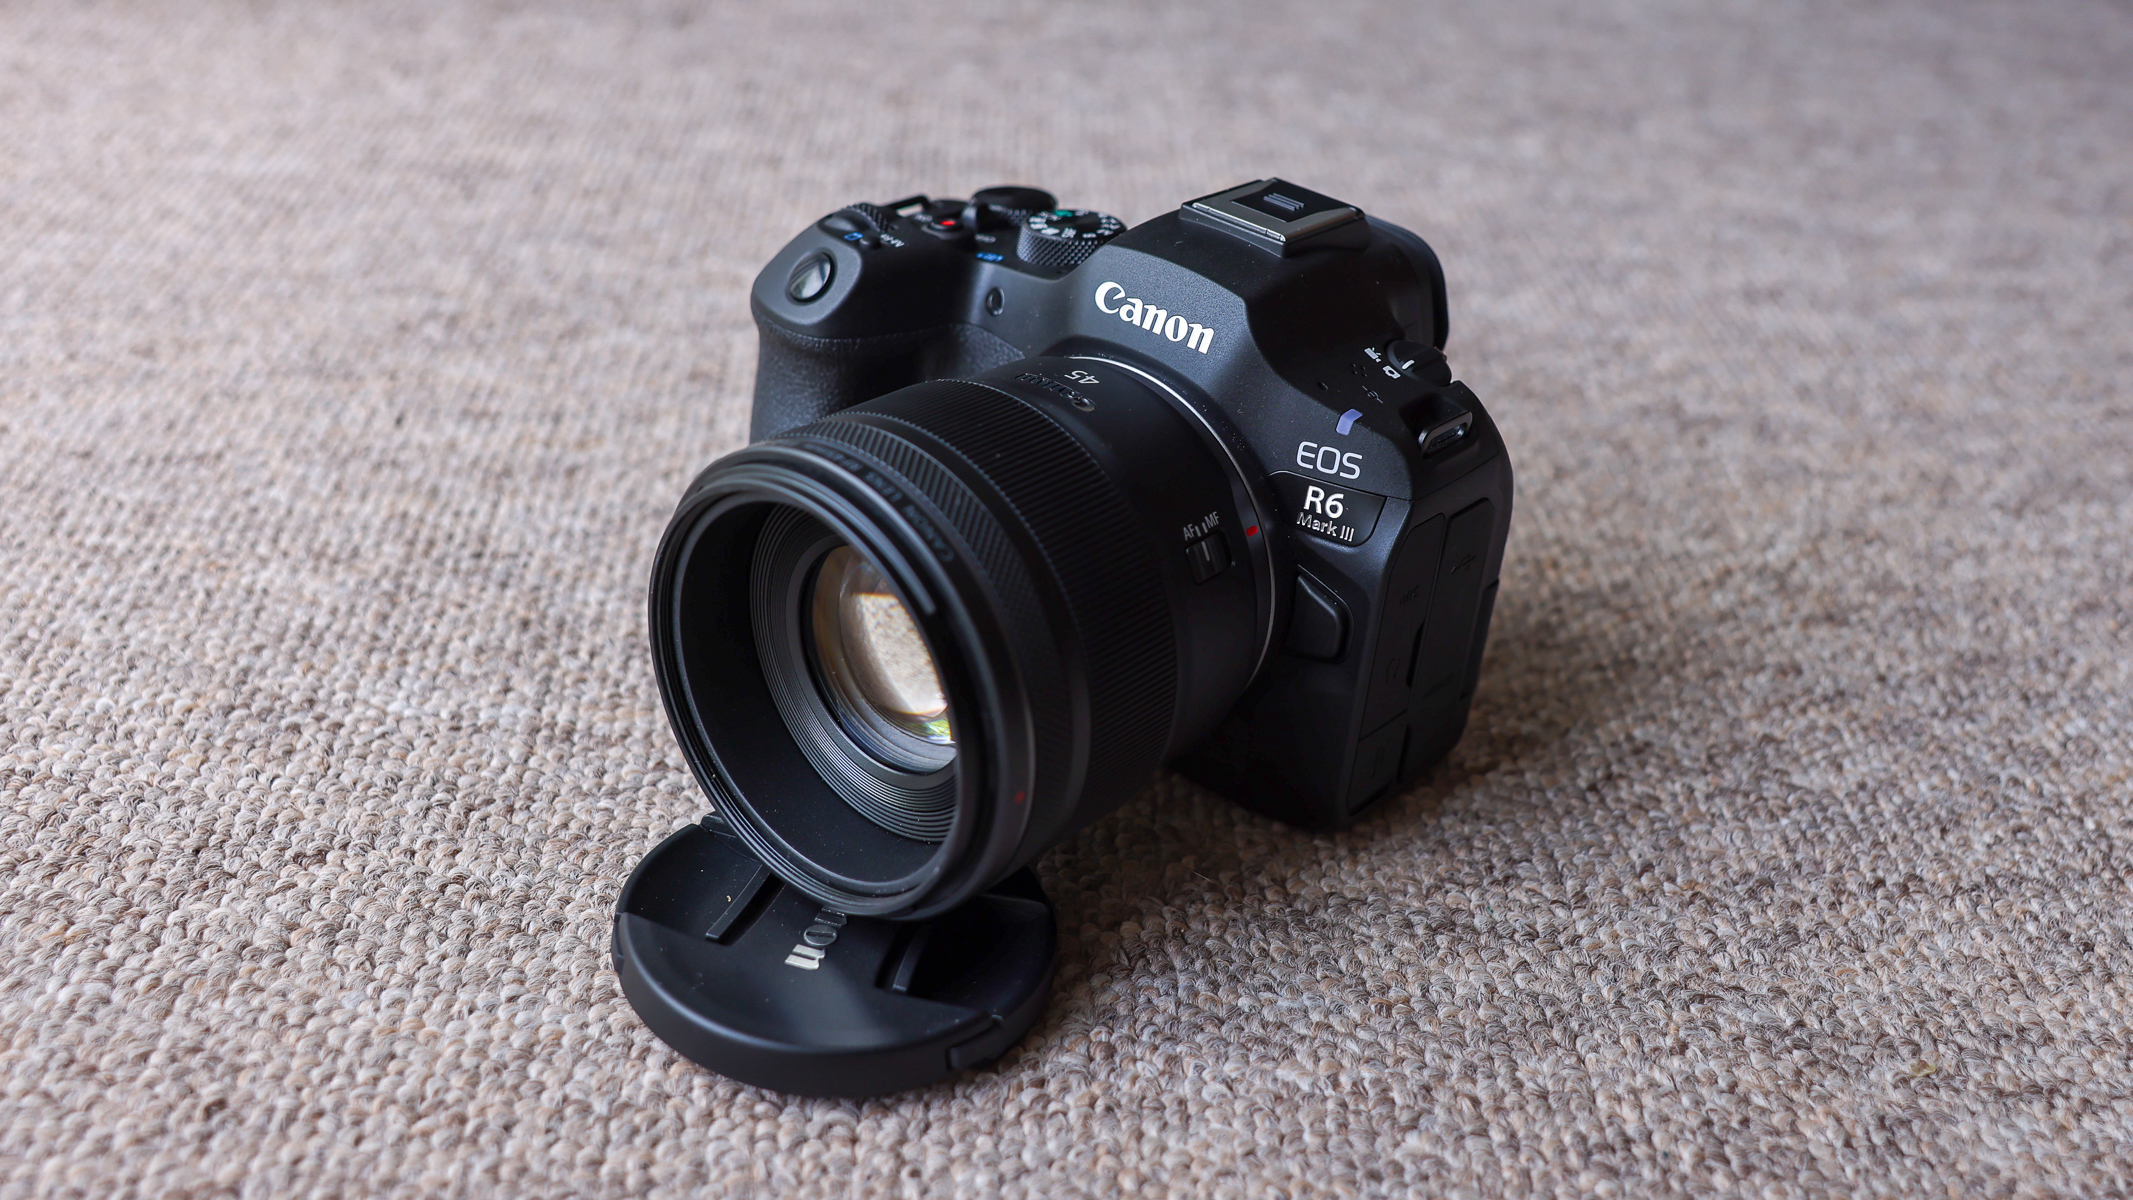
Pairing the R6 III with the RF 14mm f/1.4 lens is a perfect set up for astrophotography.Harry Bennett / FutureI also tried it with the Canon RF 45mm f/1.2 lens, which delivered exceptional aperture performance, albeit with a few spots of chromatic aberration.Harry Bennett / Future
If you are a seasoned astrophotographer, you will undoubtedly have started your craft by learning how to manually focus on stars to get them crisp and sharp in the frame. Everyone does. Whilst the manual focus (MF) versus autofocus (AF) debate continues within the community, the technology for low-light autofocusing capability has come a long way since mirrorless cameras were first introduced and the R6 III is physical proof of that.
The astrophotography
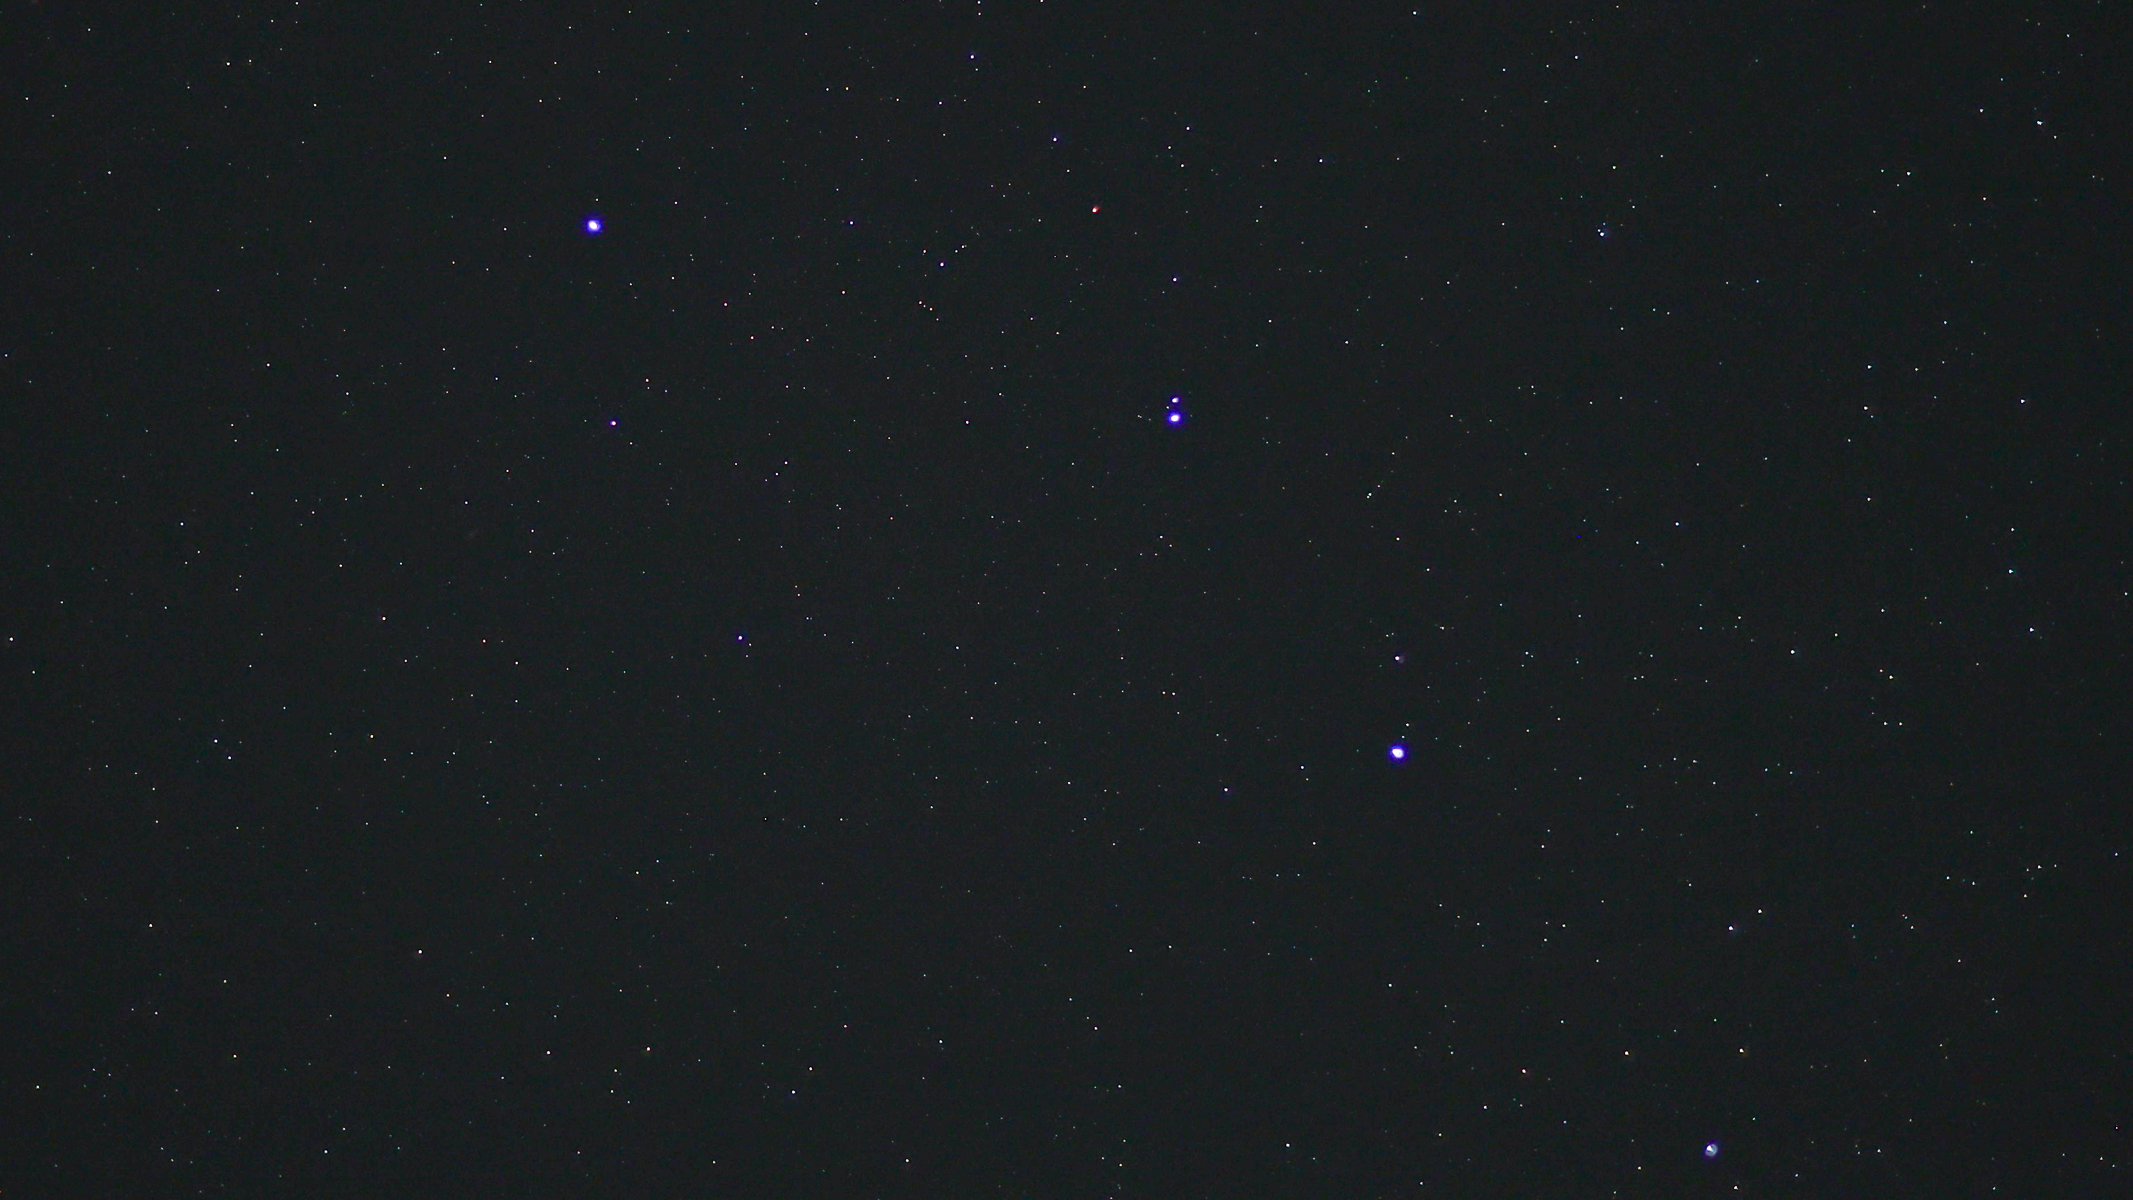
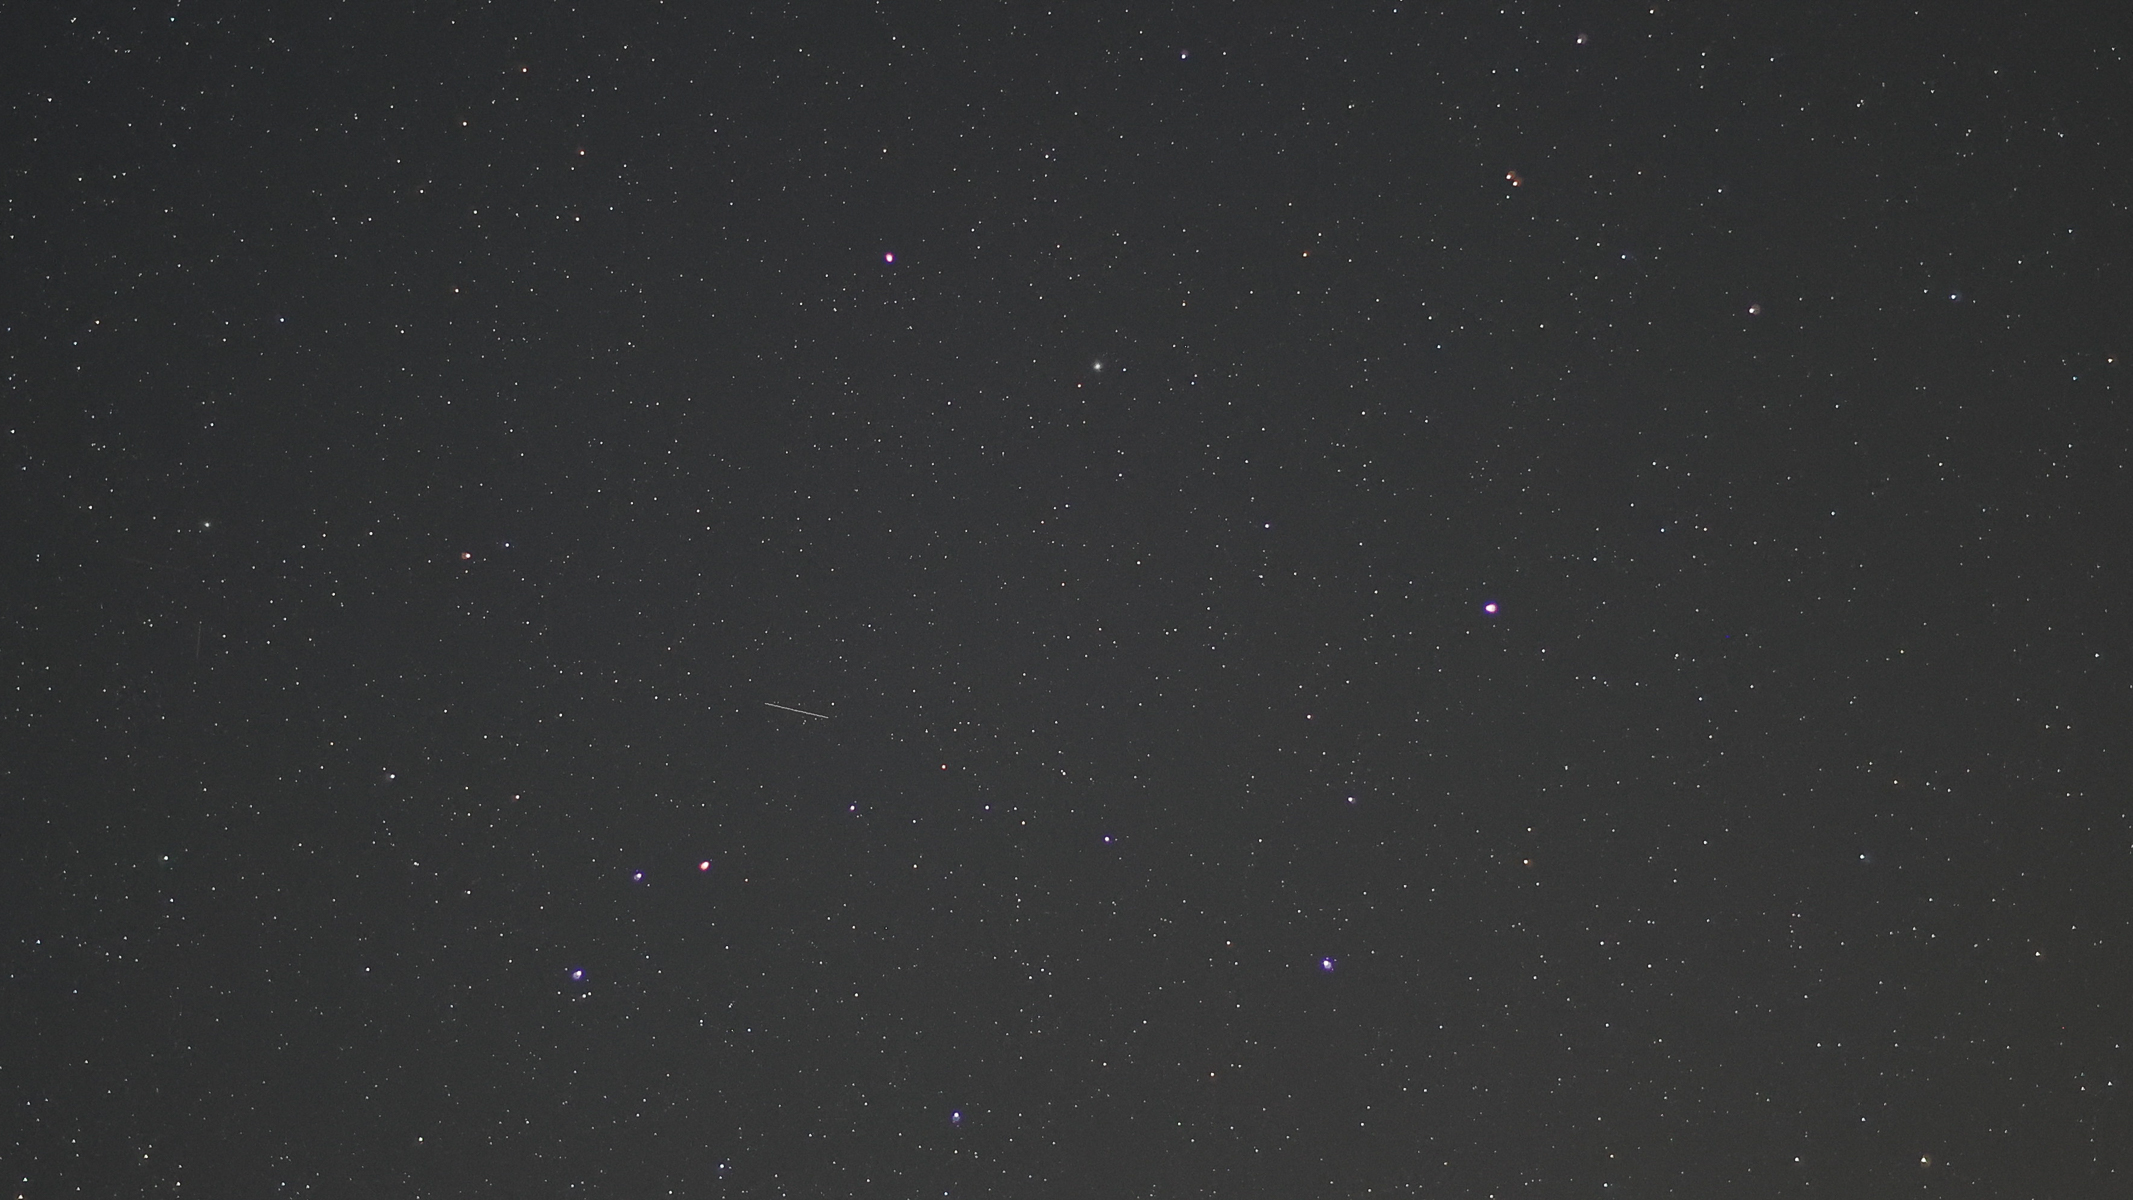
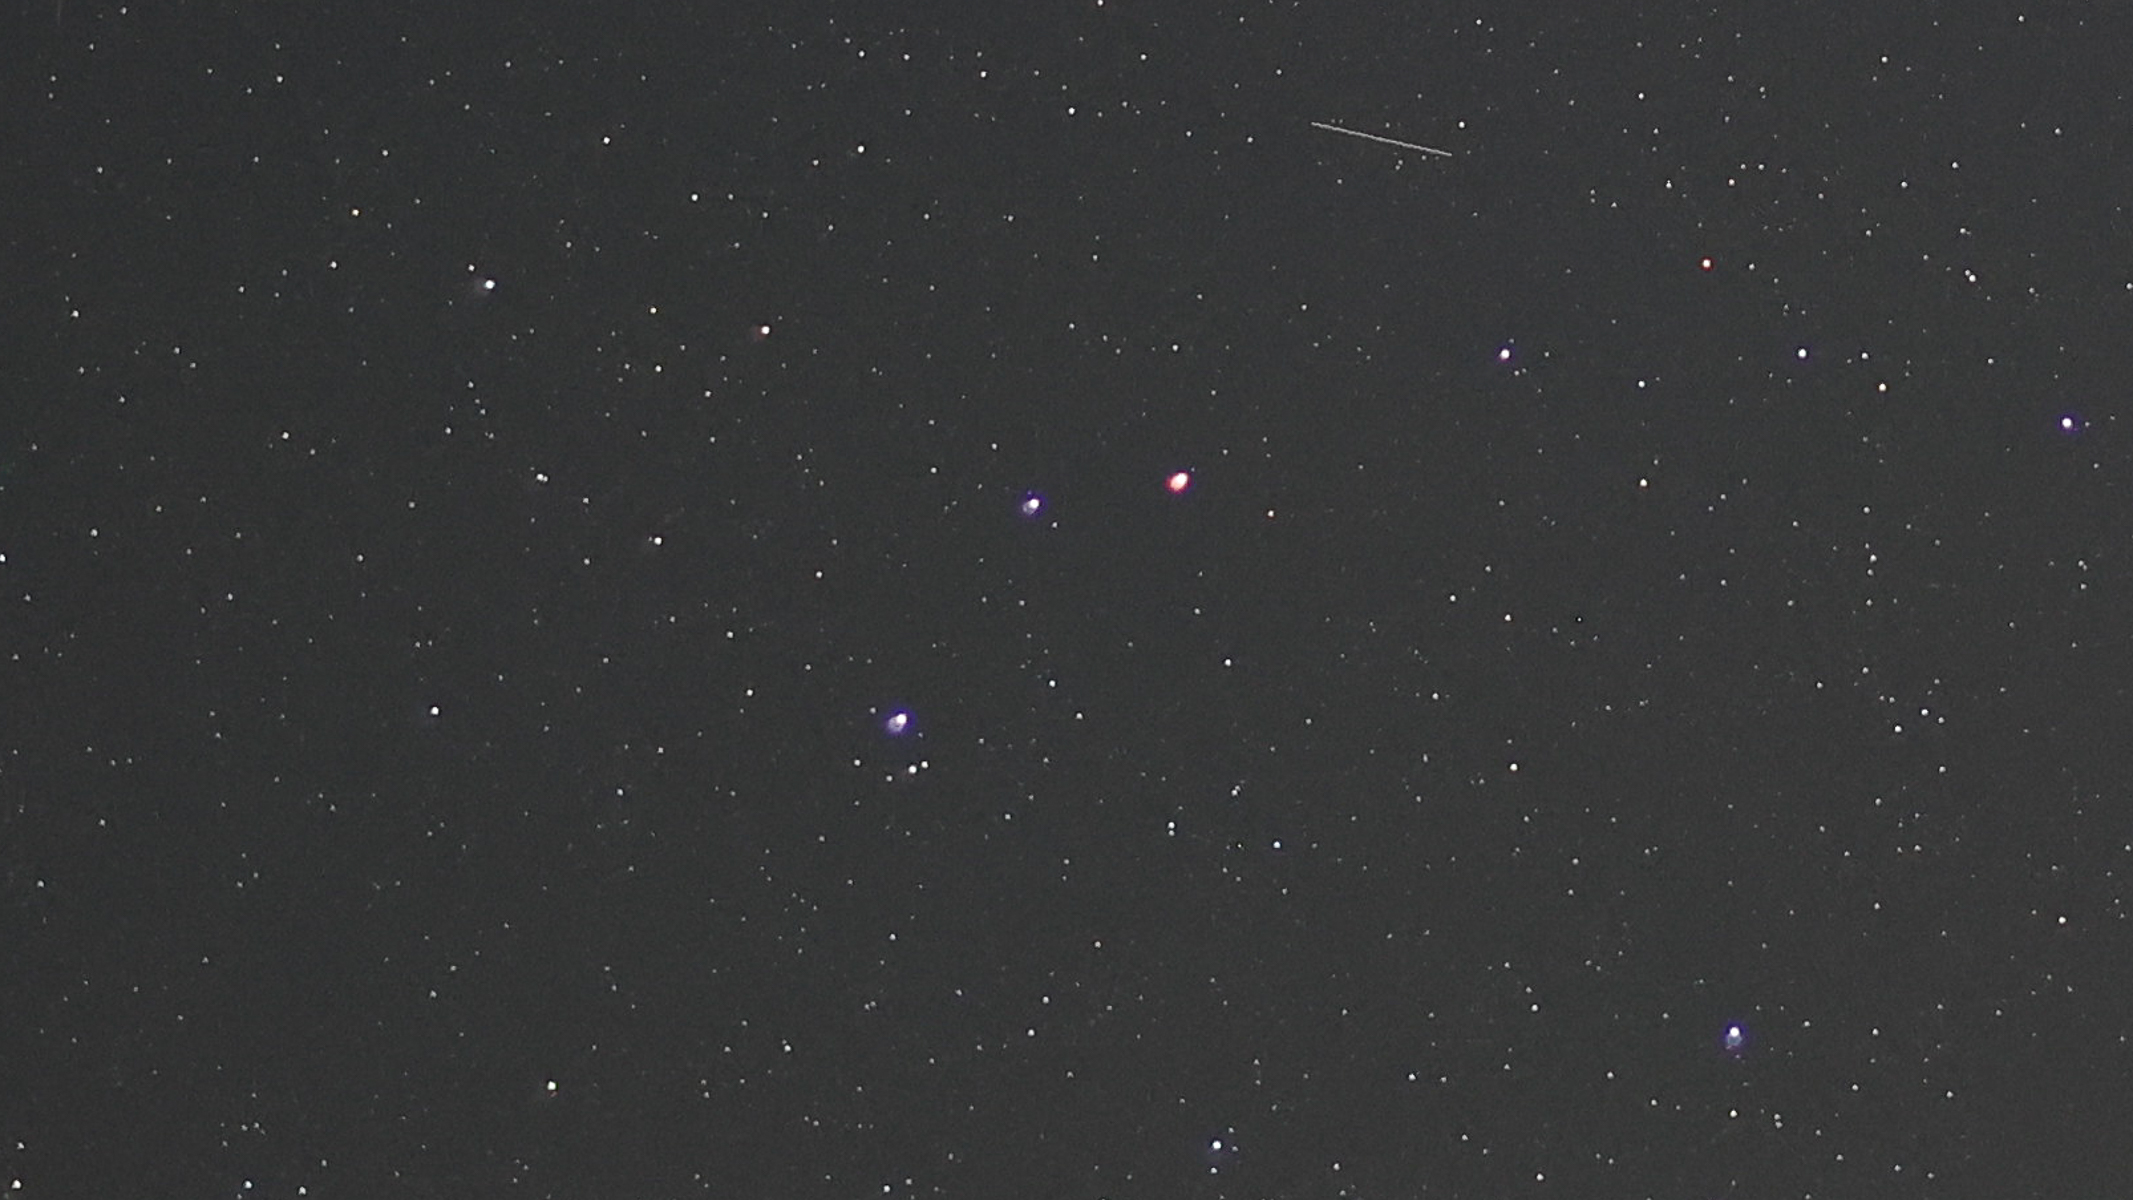
Mizar and Alcor in the panhandle of the Big Dipper. Shot with Canon EOS R6 III and RF 45mm f/1.2 lens, Aperture: f/1.2, Shutter speed: 2 sec, ISO 500 | Bortle class 4. (Image credit: Harry Bennett / Future)
You only get the luxury of being able to do this if your camera is actually good at autofocusing in low light and for starry nightscapes. All three versions of the Canon EOS R6 feature a low-light autofocus range of -6.5 exposure value (EV), so they already have a strong baseline for shooting under dark skies. The Canon EOS R6 III features a higher resolution and advanced autofocus algorithms, so the AF system actually has more data to use and is better at using it.
I was able to capture bright objects easily and start shooting without having to spend ages using manual focus for each new shot. The autofocus was powerful enough to capture at least one star in each of my frames. I simply used autofocus on the brighter points of light in my composition, waited for the green box and then switched to manual to avoid any refocusing if I decided to recompose the shot.
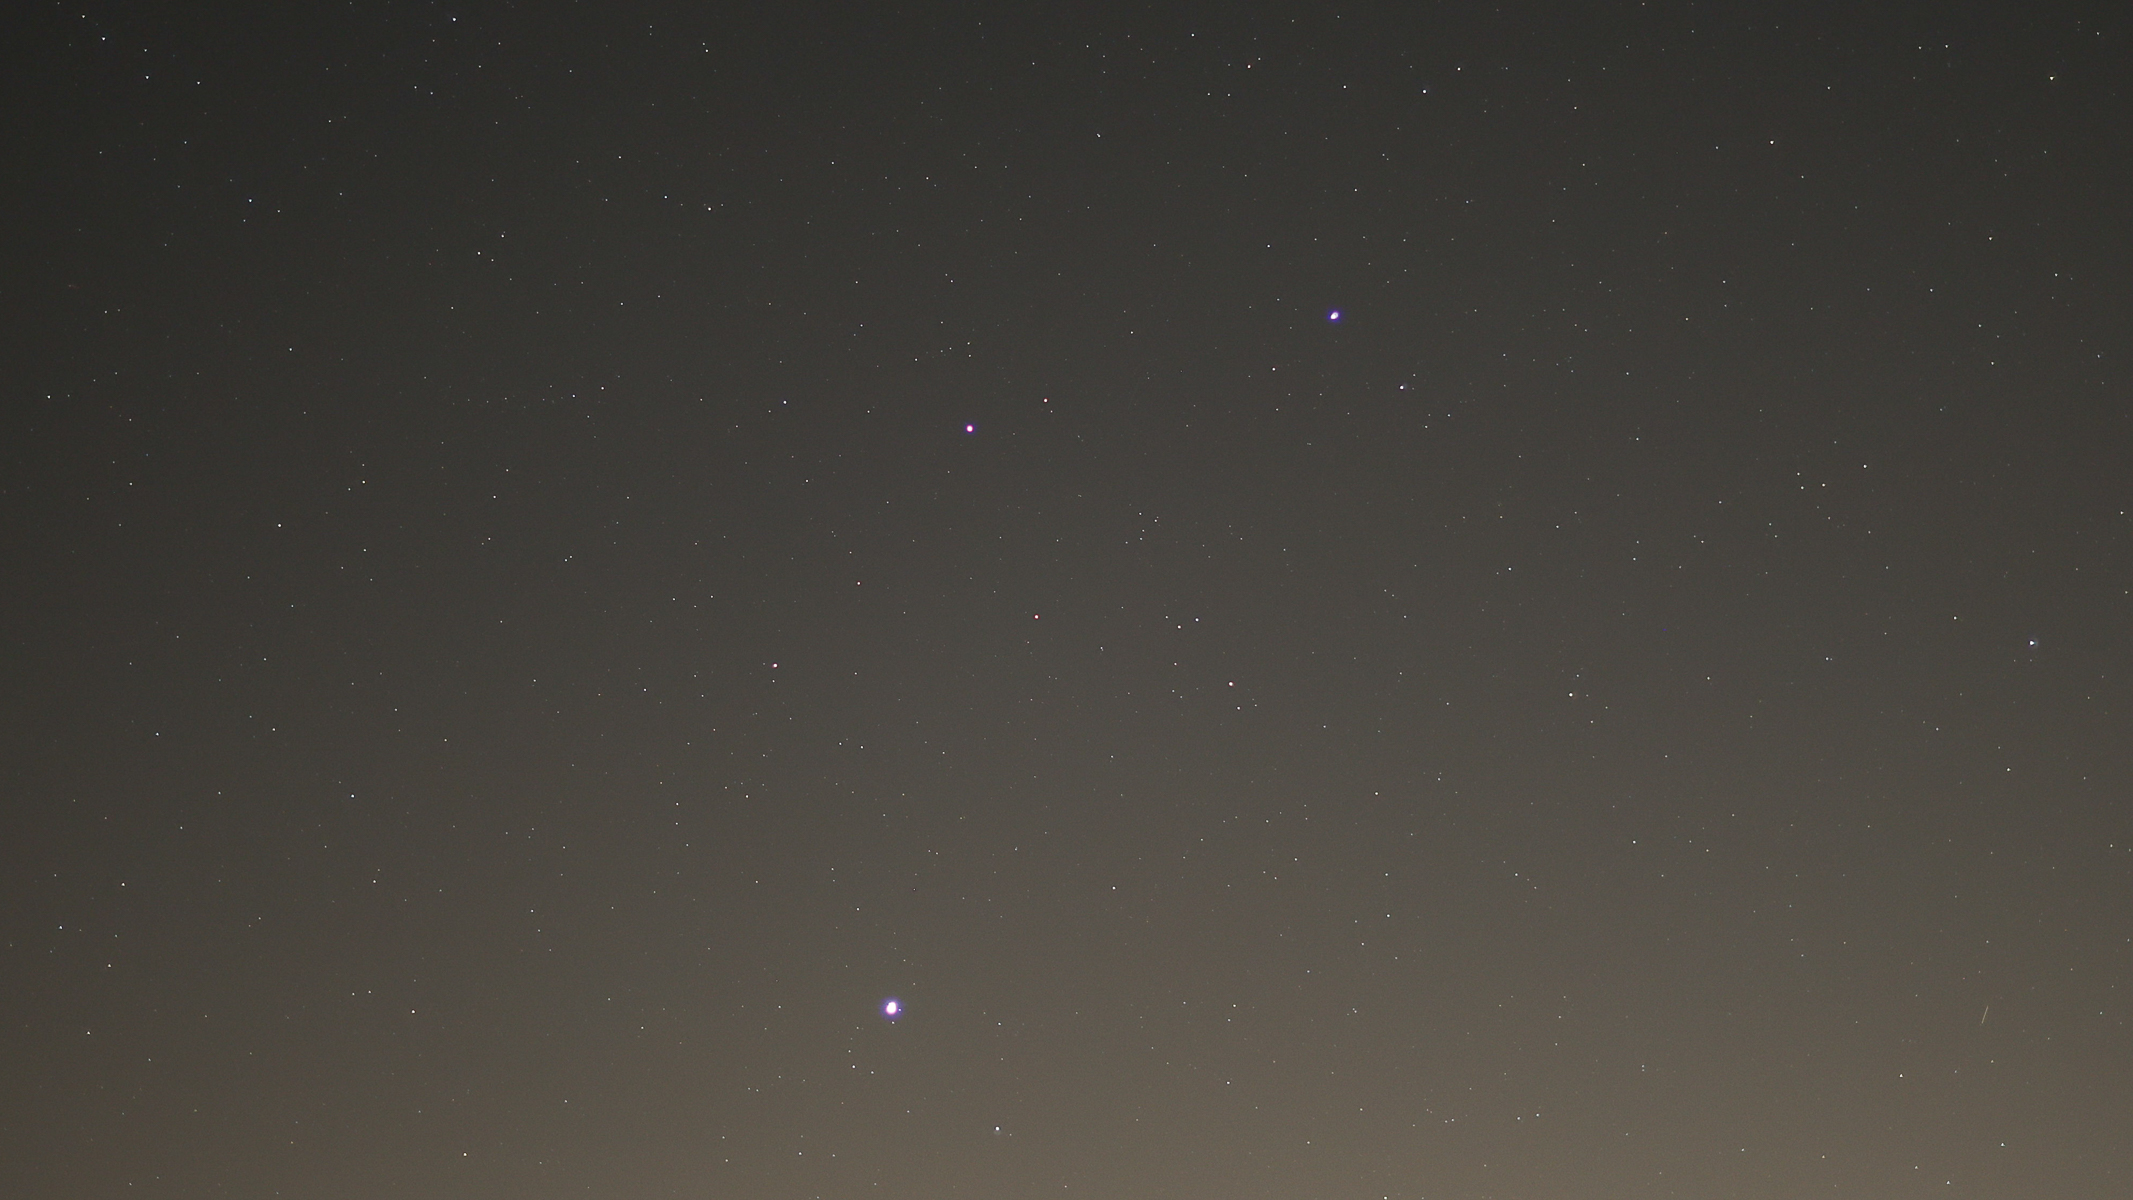
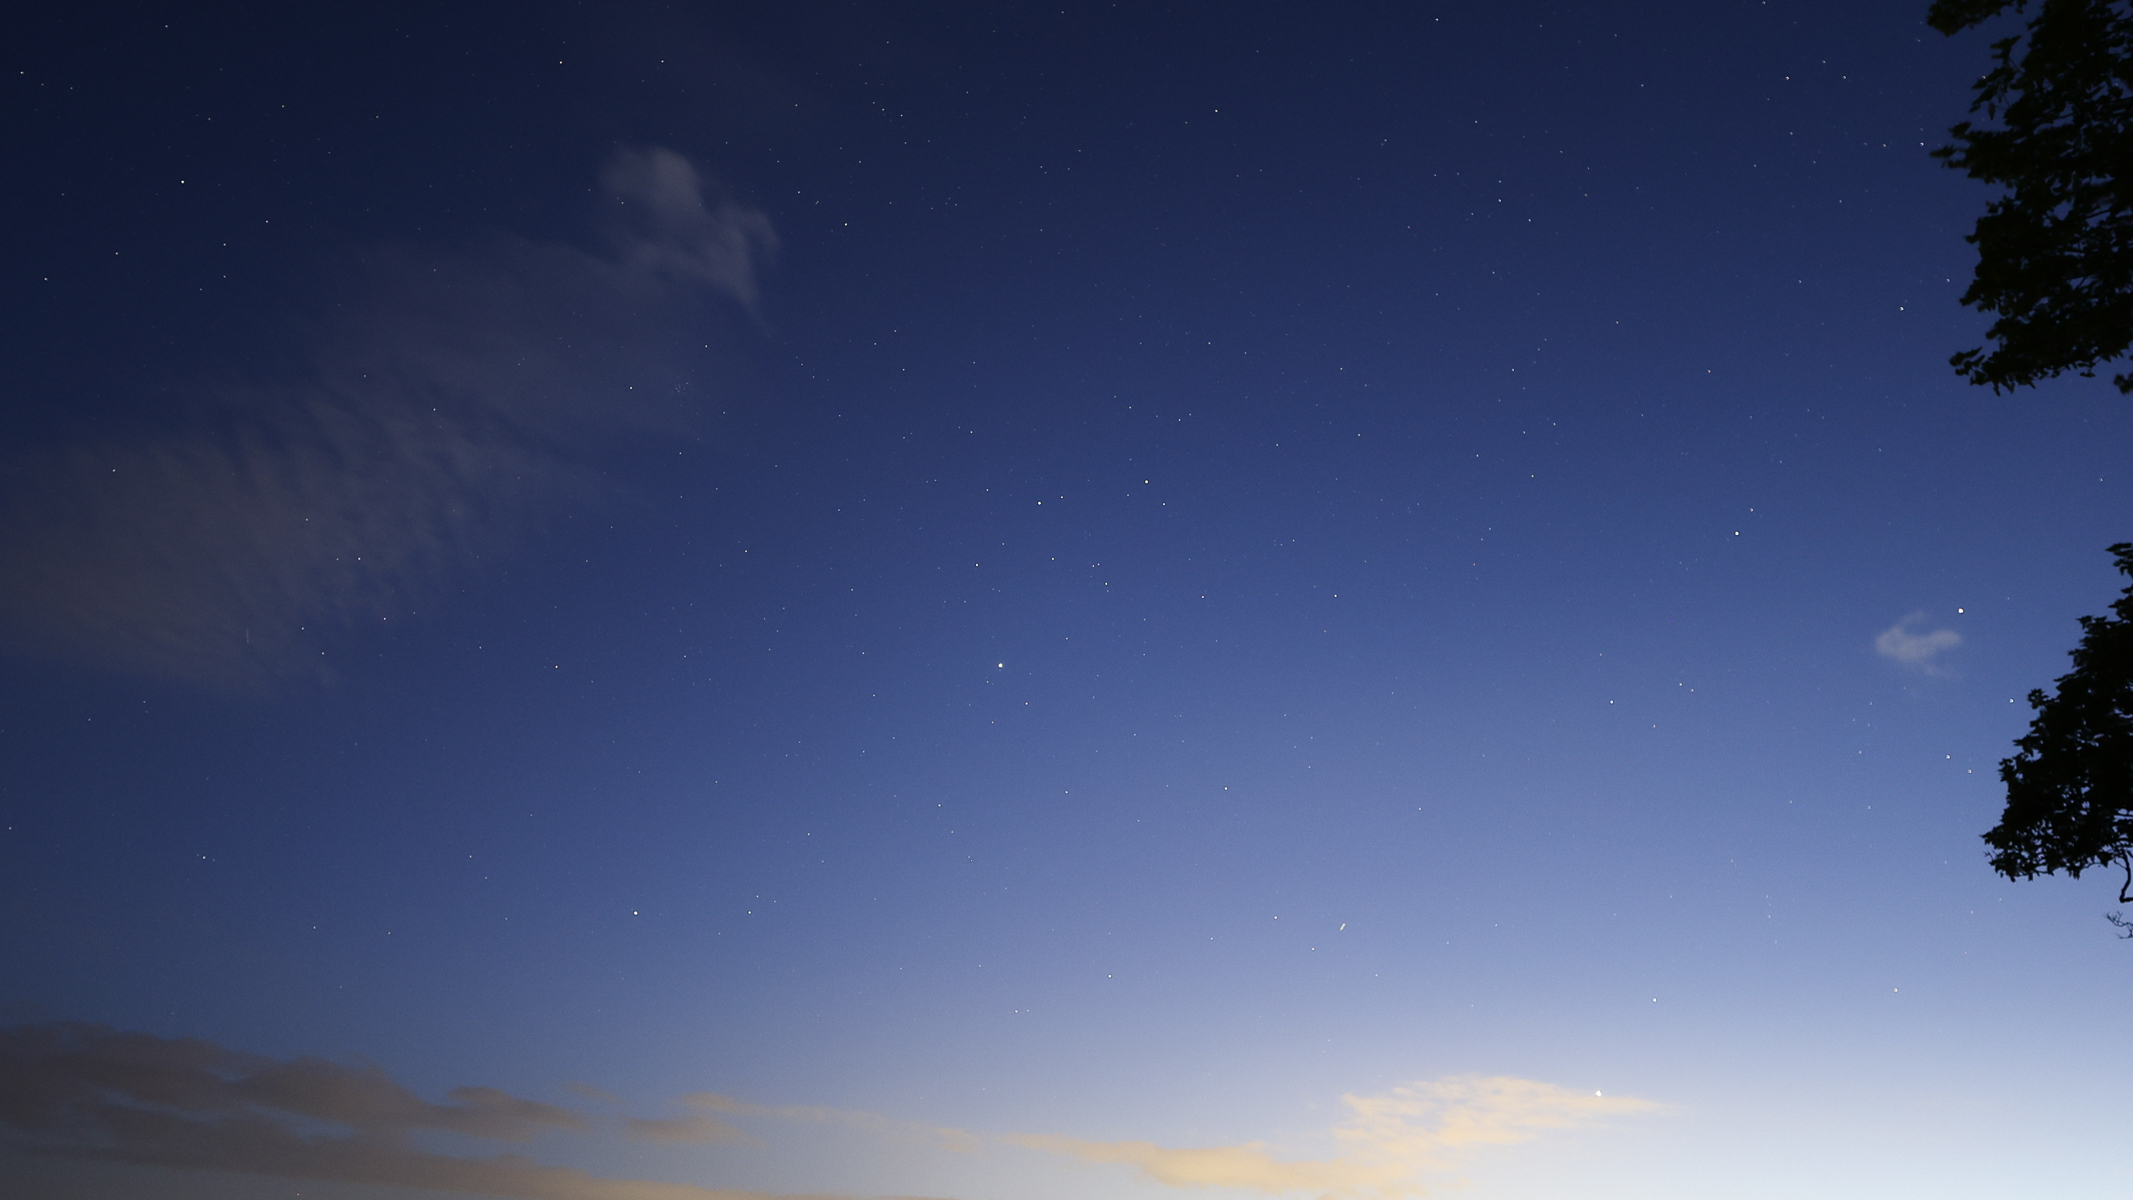
Pollux and Castor above Jupiter. Shot with Canon EOS R6 III and RF 45mm f/1.2 lens, Aperture: f/1.2, Shutter speed: 2 sec, ISO 500 | Bortle class 4. (Image credit: Harry Bennett / Future)
Bright objects were the easiest to capture, with Jupiter, Pollux and Castor easily captured in the western sky. Light pollution washed out the contrast in this shot but it was the quickest autofocus because of the brightness of the objects.
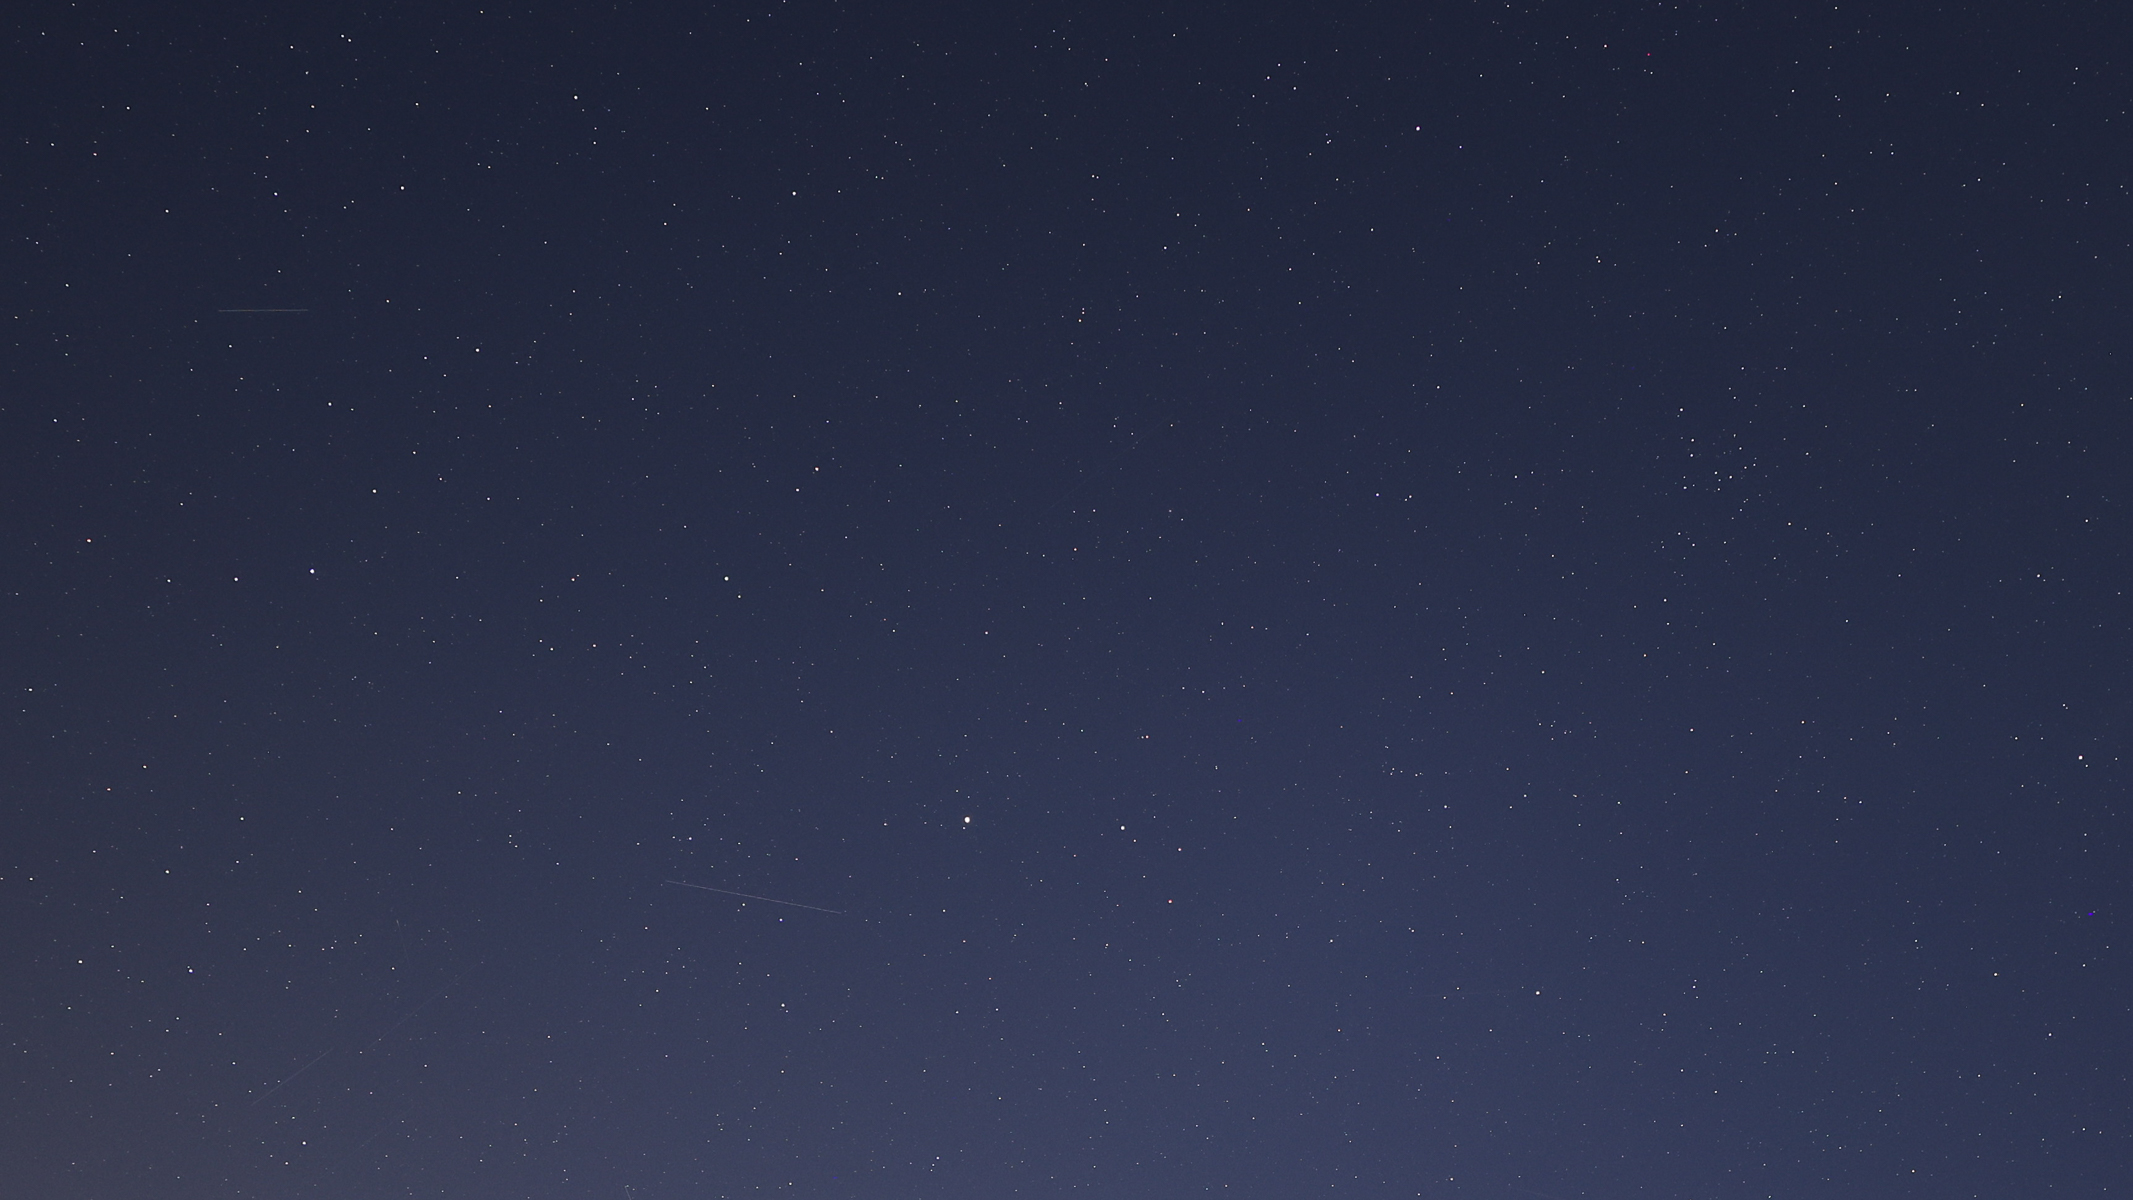
The autofocus helped me capture a range of other constellations too. With the R6 III focusing on the bright starArcturus, along with the rest of Boötes and Coma Berenices next to the Coma Star Cluster (Melotte 111).
Arcturus, Boötes, Coma Berenices and the Coma Star cluster (Melotte 111). Shot with Canon EOS R6 III and RF 14mm f/1.4 lens, Aperture: f/1.4, Shutter speed: 8 sec, ISO 800 | Bortle class 4. (Image credit: Harry Bennett / Future)
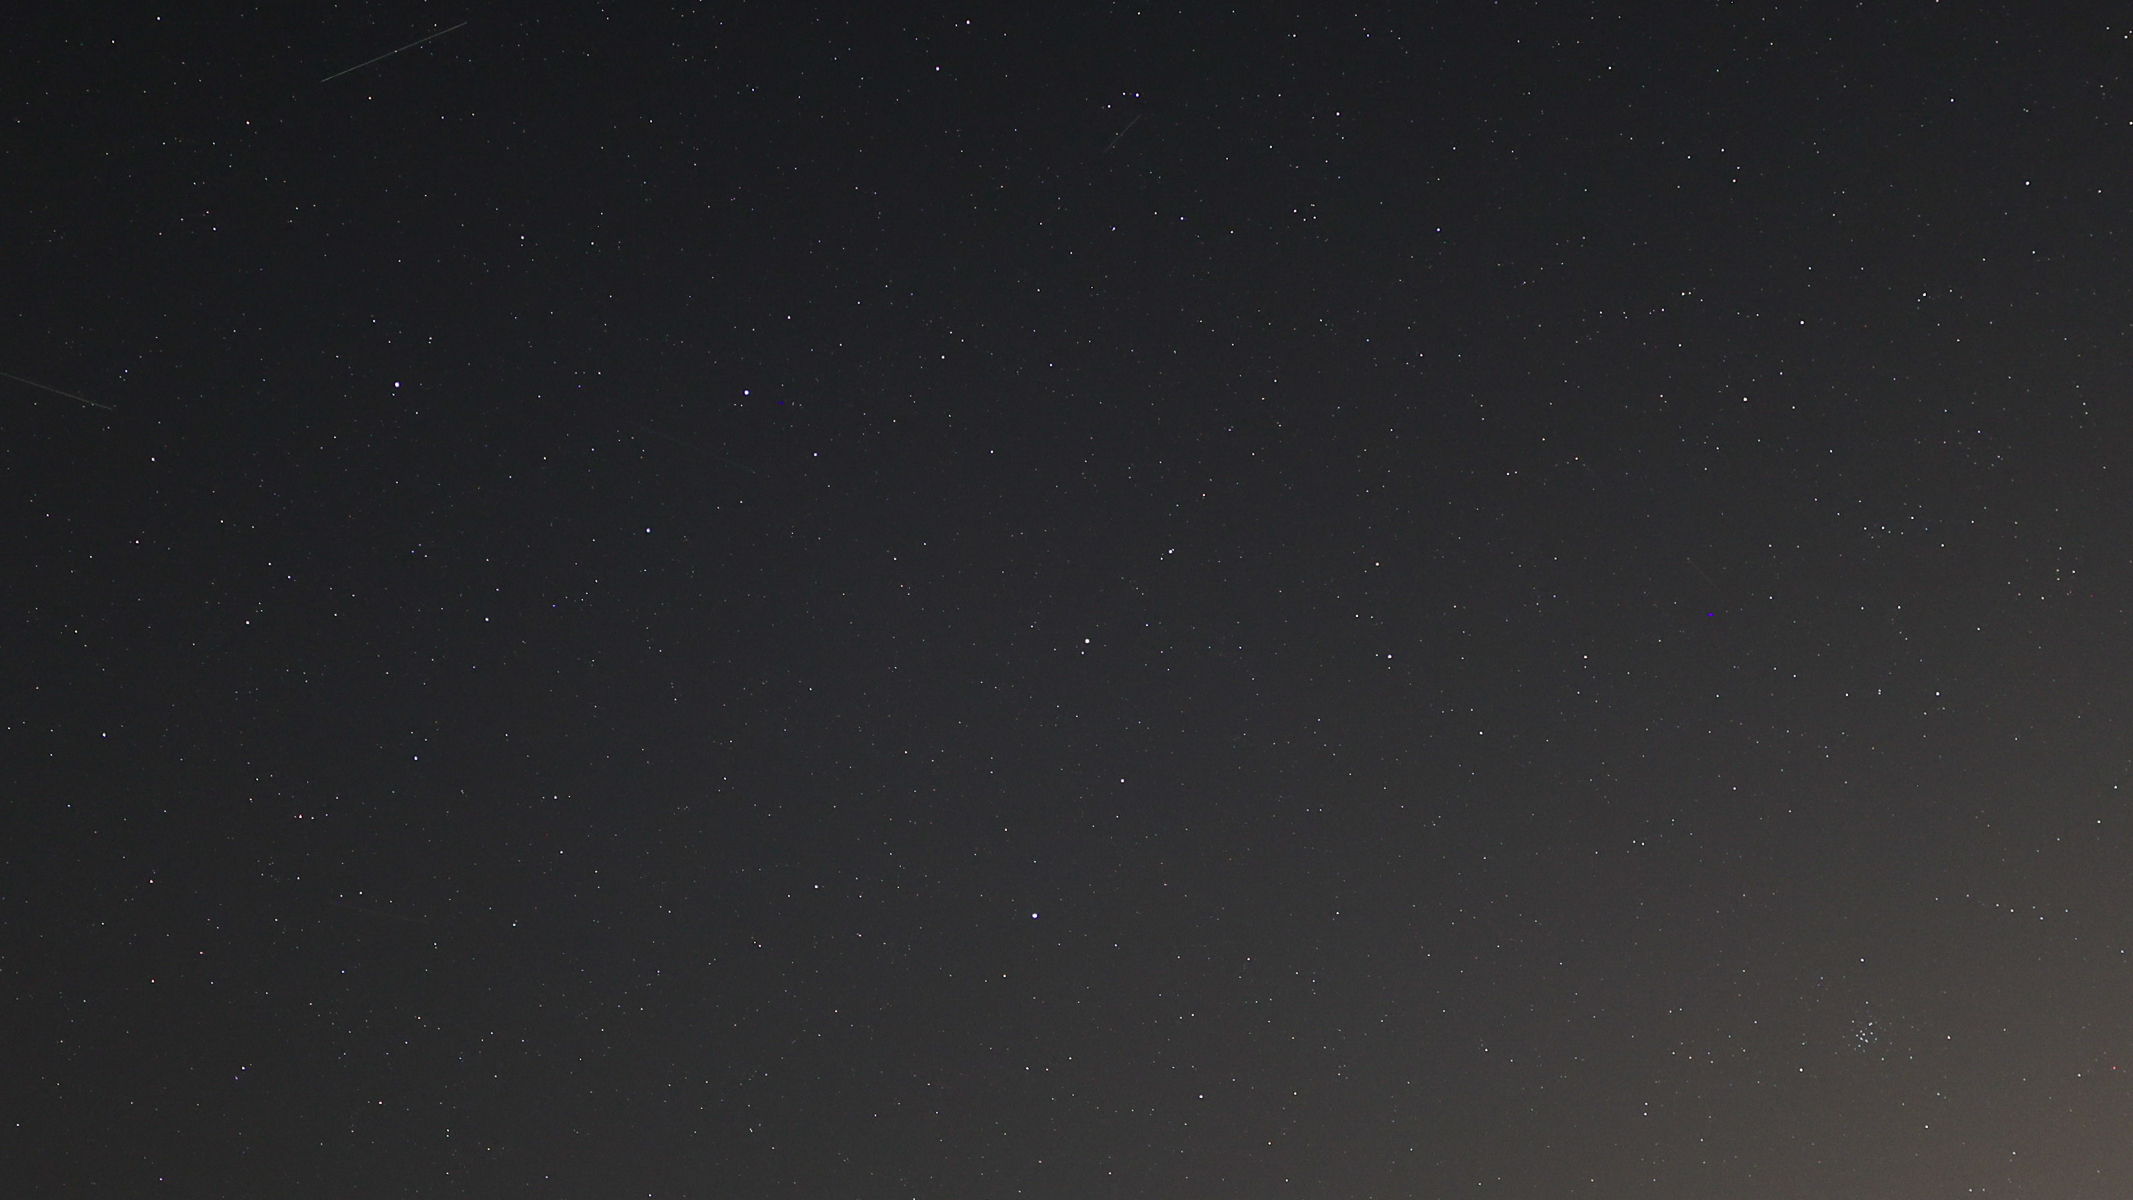
The shape of Leo is recognisable and the autofocus captured the brightest star, Regulus, to bring the rest of the stars in the constellation into focus. You can even spot the Beehive Cluster (M44) in Cancer, to the right of the frame and it is fairly sharp in focus. Barring some minor star trailing from my lack of a star tracker, the stars are nicely in focus, including on minor objects like star clusters.
Regulus in Leo, with the Beehive Cluster (M44) in the bottom right. Shot with Canon EOS R6 III and RF 14mm f/1.4 lens, Aperture: f/1.4, Shutter speed: 6 sec, ISO 640 | Bortle class 4. (Image credit: Harry Bennett / Future)
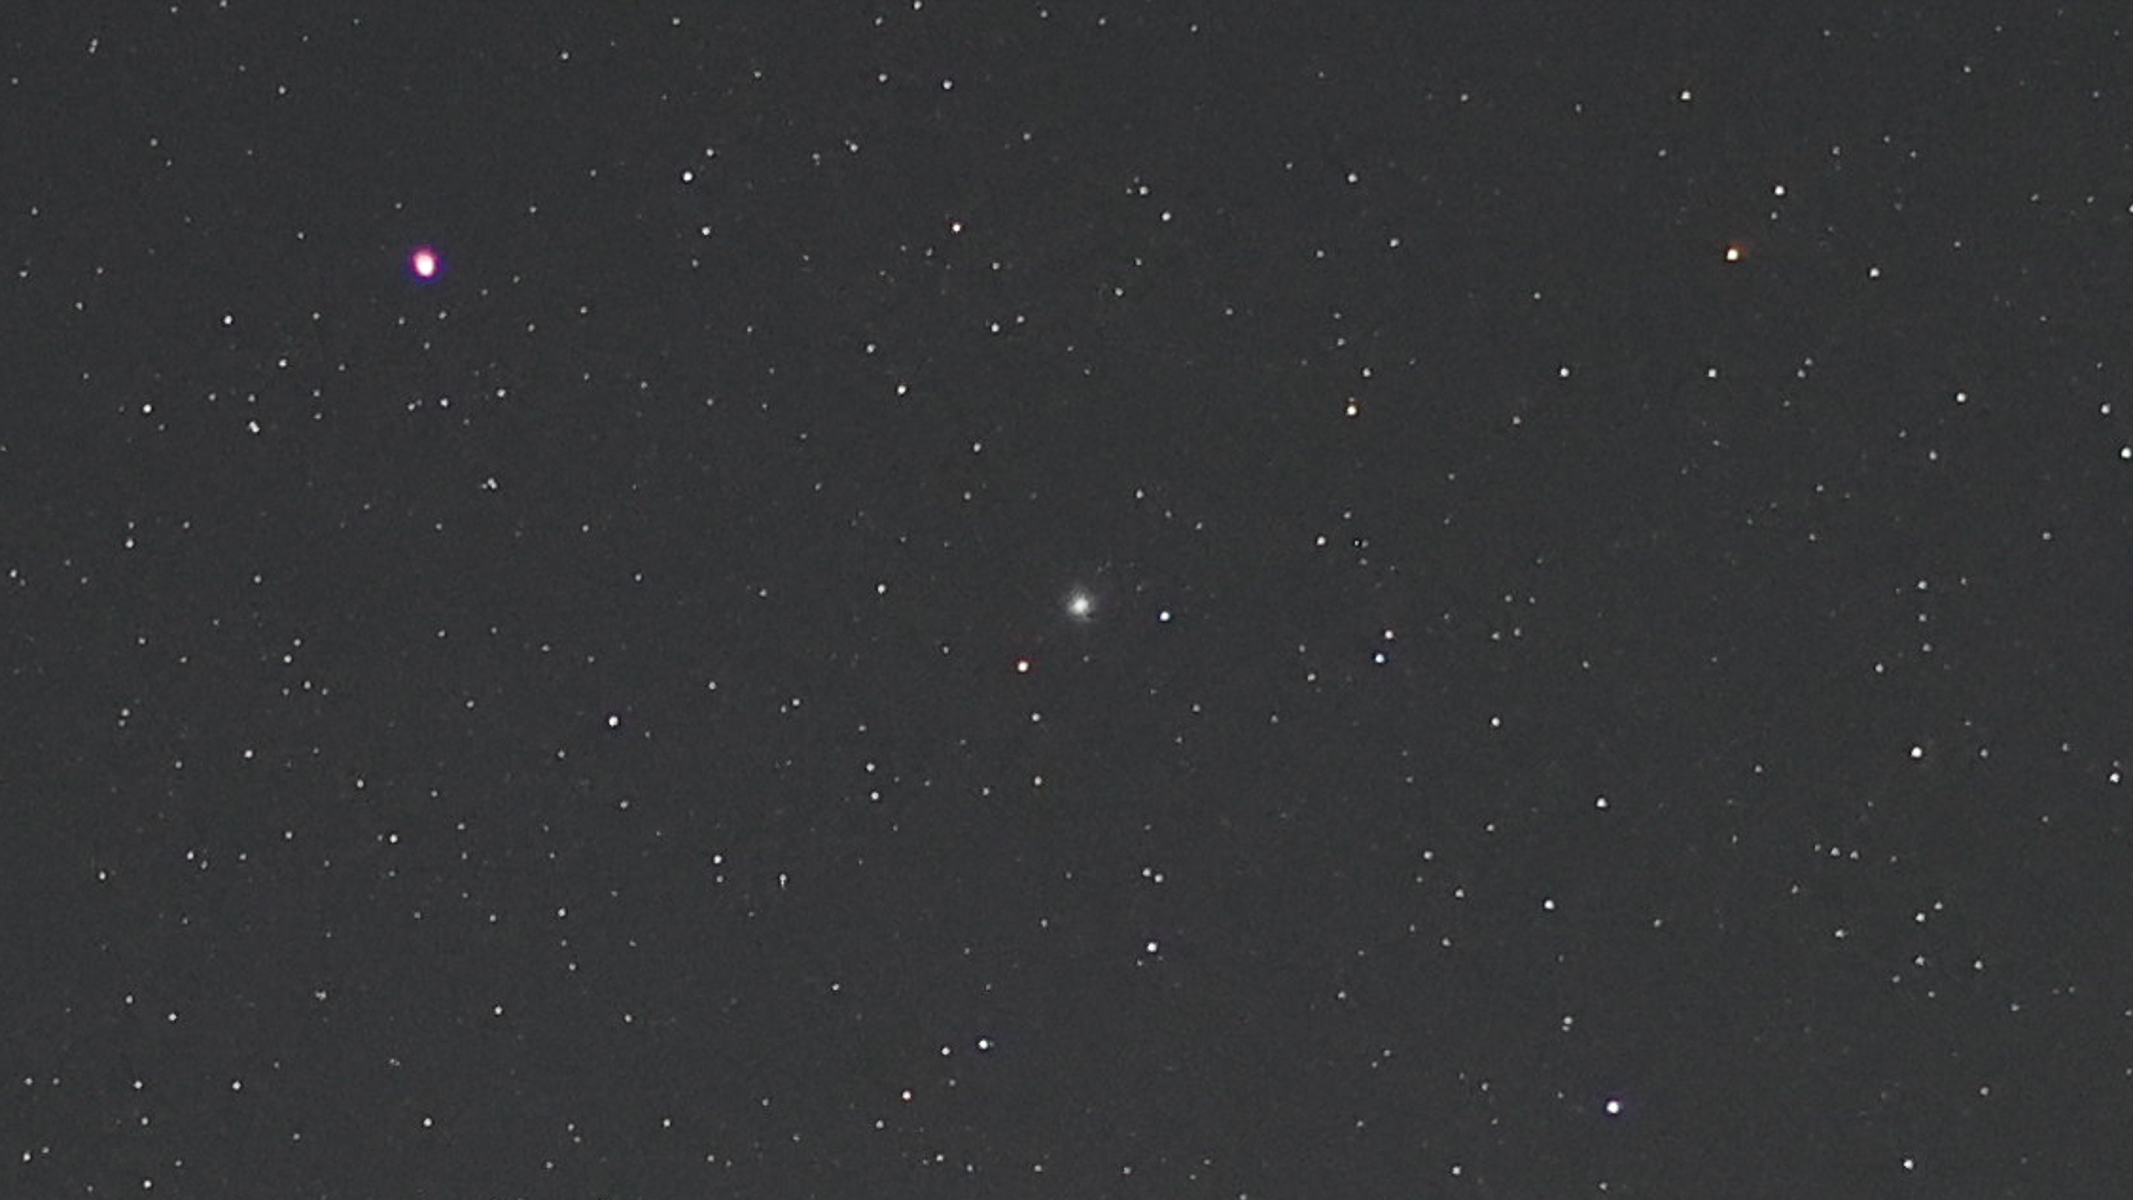
Using the 45mm lens, I got some close-ups of some quadrilateral shapes in the sky. Hercules' prominent trapezoidal keystone is visible and one of the corners, Zeta Herculis, was picked up by the autofocus. It is not exactly a bright star, with a magnitude of 2.88, but the R6 III picked it up easily and brought the rest of the corners into focus. Whilst barely a smudge along one of the sides of Hercules, I even managed to capture the Hercules globular cluster (M13) with the R6 III and the Canon RF 45mm wide open at f/1.2.
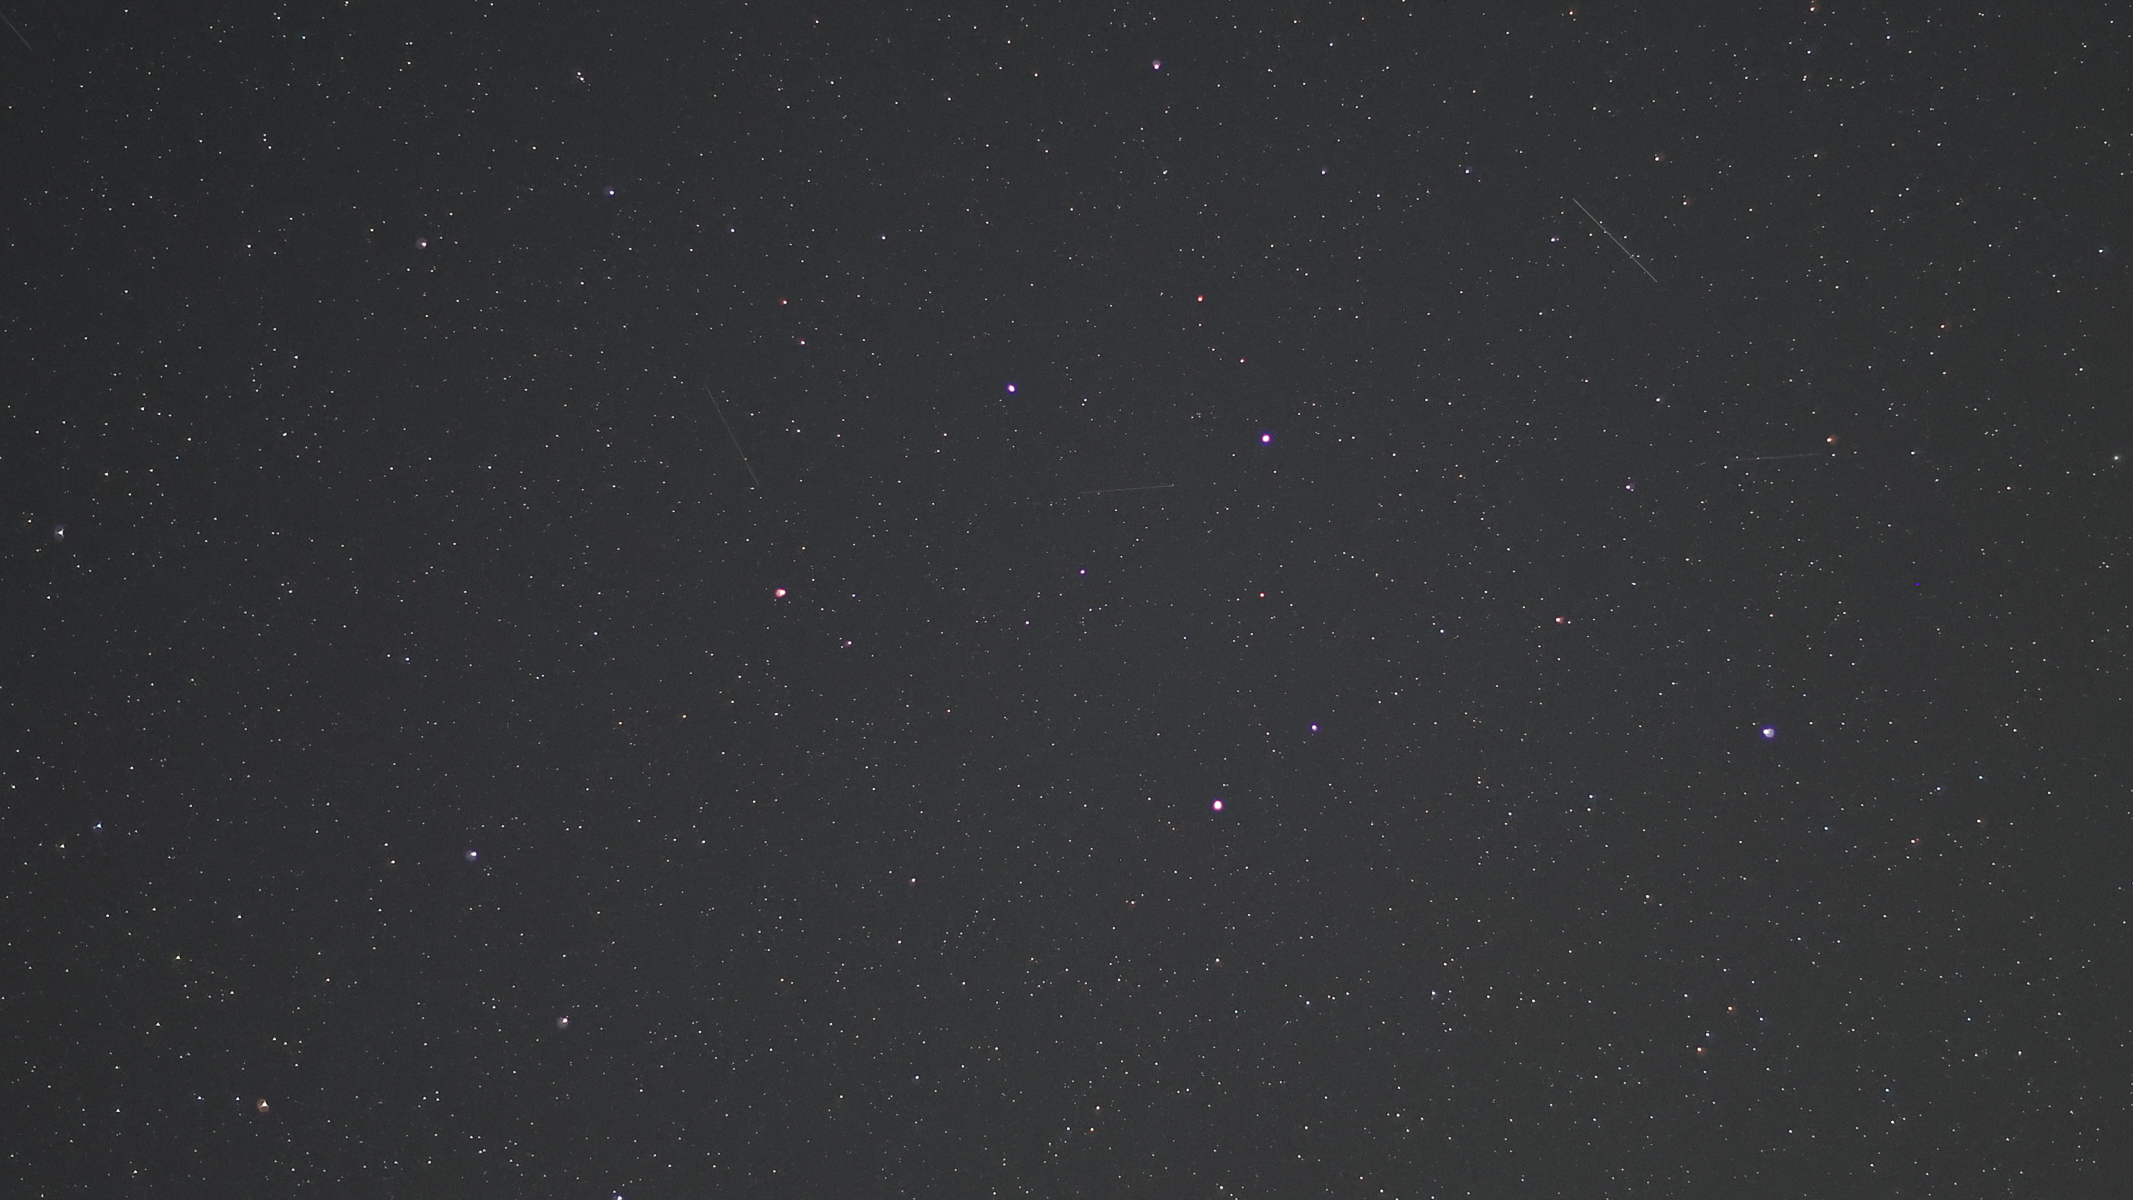
The keystone of Hercules. Shot with Canon EOS R6 III and RF 45mm f/1.2 lens, Aperture: f/1.2, Shutter speed: 2 sec, ISO 2500 | Bortle class 4.Harry Bennett / FutureA cropped view of the Hercules Globular cluster (M13). Shot with Canon EOS R6 III and RF 45mm f/1.2 lens, Aperture: f/1.2, Shutter speed: 2 sec, ISO 2500 | Bortle class 4.Harry Bennett / FutureThe 'head of the dragon' in Draco, with Iota Herculis to the right. Shot with Canon EOS R6 III and RF 45mm f/1.2 lens, Aperture: f/1.2, Shutter speed: 2 sec, ISO 2500 | Bortle class 4.Harry Bennett / Future
The polygonal head of the dragon in Draco was easily captured in the centre of the frame, with bright stars Eltanin (2.23), Rastaban (2.79) and even Iota Herculis (3.8) showing prominently. The autofocus capabilities of the EOS R6 III are maximised when used alongside a lens with a very fast aperture like f/1.4 and f/1.2. Without these types of lenses, you would be much less likely to be able to autofocus on such dim stars.
The upgrades
The big question when looking at the third iteration of a camera model is to figure out if the upgrades are actually worth it. First, you have to think about your budget and also what you are using the camera for. For astrophotography, there are a few upgrades in the EOS R6 III that can be considered to see whether they are worth it.
The most noticeable upgrade on the R6 III is the resolution, which has been upgraded from the R6 II's 24.2MP sensor to a 32.5 MP sensor. On top of improved resolution for general and astrophotography, the boosted number of pixels allows the Dual Pixel CMOS AF II to collect even more data points because there are more pixels. Dual Pixel architecture splits each pixel into two separate photodiodes and allows each photodiode to read the light from the star at two different positions and allows the lens motor to bring those points together into perfect focus.
(Image credit: Harry Bennett / Future)
The upgraded sensor resolution combined with upgraded tracking algorithms from the flagship Canon EOS R5 II make the R6 III better at locking onto low-light points and make autofocus for astrophotography much more reliable than in previous models.
I initially expected the higher resolution to translate into more image noise on photographs but this was not the case. The R6 III utilizes dual-gate gain architecture, which means that every pixel has a switchable path at the hardware level depending on the ISO level used and allows images with higher ISOs to have a heavily reduced base amount of noise and thus makes them less grainy.
A cropped view of the orange star Pi Herculis in the keystone of Hercules. Shot with Canon EOS R6 III and RF 45mm f/1.2 lens. Aperture: f/1.2, Shutter speed: 2 sec, ISO 2500 | Bortle class 4.Harry Bennett / FutureJupiter beneath Pollux and Castor, with Venus and Auriga to the right. Shot with Canon EOS R6 III and RF 14mm f/1.4 lens, Aperture: f/1.4, Shutter speed: 2 sec, ISO 800 | Bortle class 4.Harry Bennett / Future
Photos at lower ISOs on the R6 III have an incredibly high dynamic range (HDR) thanks to the low conversion gate (LCG) circuit. This allows the natural color of the stars to be preserved instead of coming across as indeterminate white blobs, as well as the subtle hues of the dark surrounding sky in the photograph.
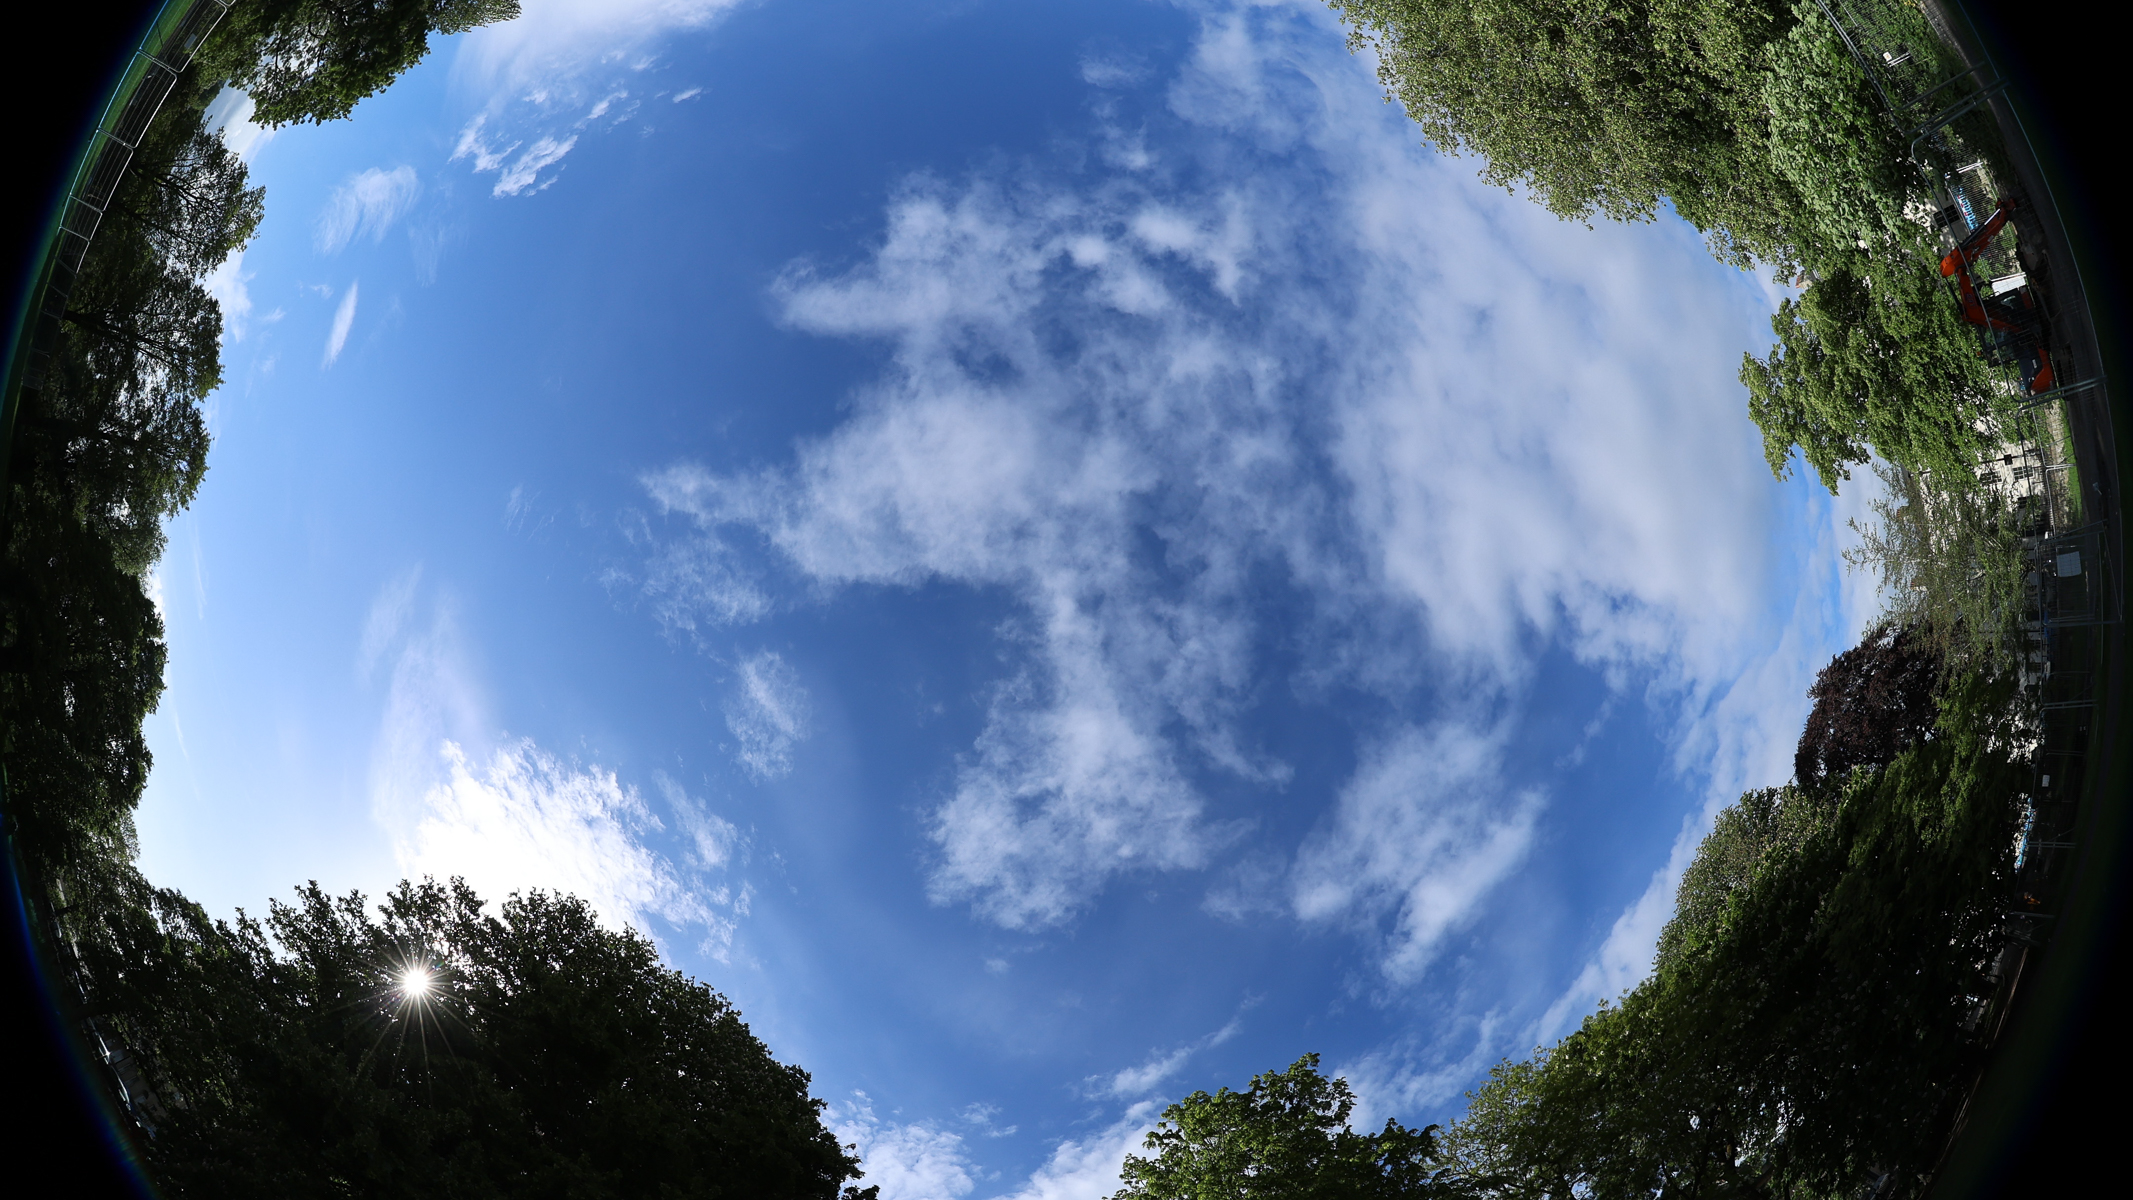
A cloudy blue sky. Shot with Canon EOS R6 III and RF 7-14mm f/2.8-3.5 fisheye lens, Aperture: f/8, Shutter speed: 1/125 second, ISO 125. (Image credit: Harry Bennett / Future)
Aside from the technical aspects of how the resolution improves the autofocus, the detail in images from the R6 III is noticeable and is great for picking up finer stellar structures such as star clusters and smaller stars. When paired with a distorted lens like the Canon RF 7-14mm f/2.8-3.5 fisheye lens, extra resolution really helps details pop. I didn't get to use the fisheye lens for astro but general daytime shooting delivered some high-quality photographs.
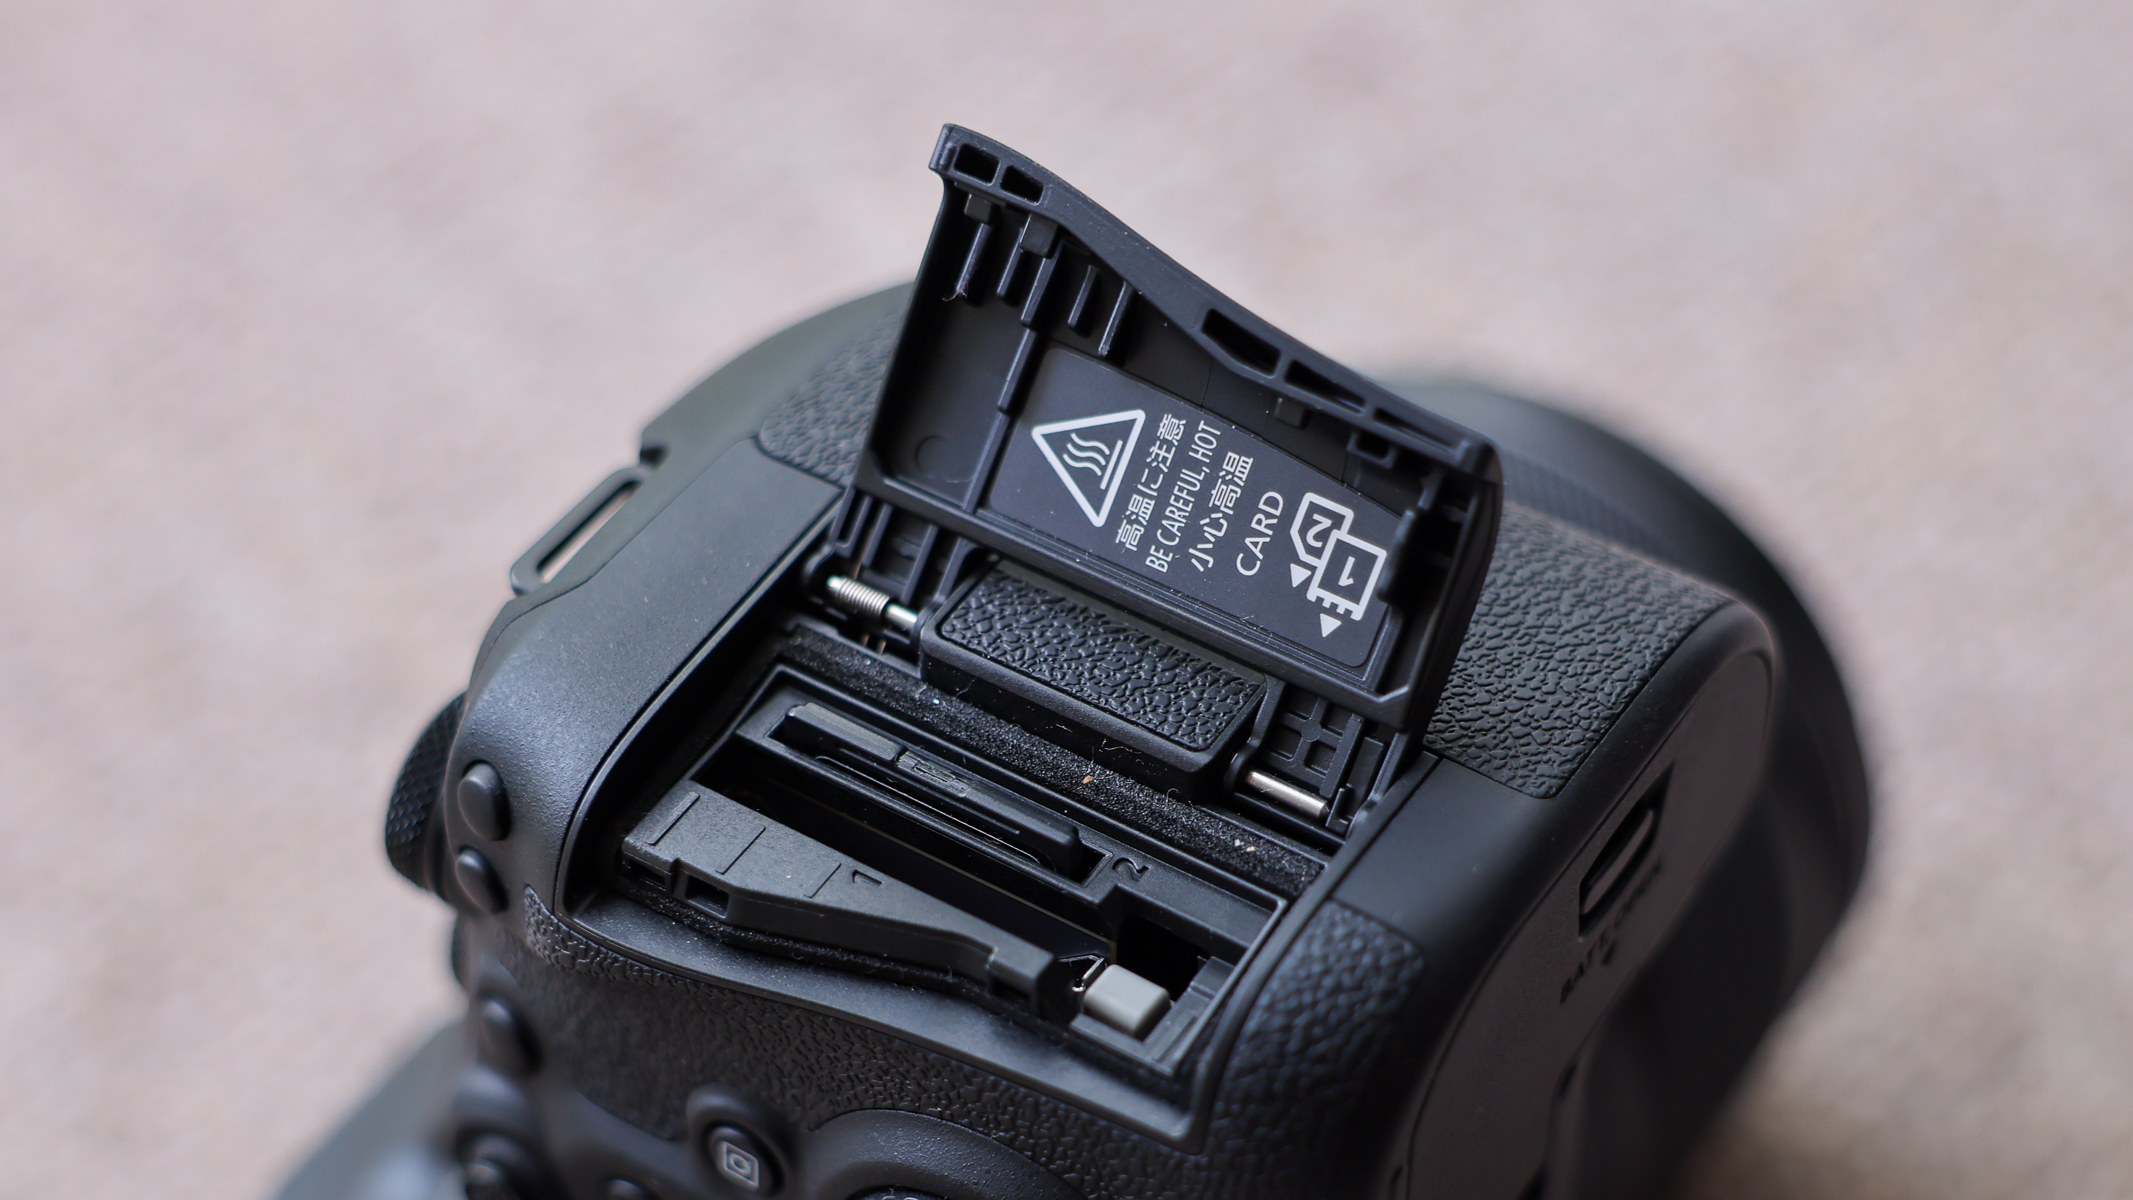
The addition of CFexpress card slot will please professional photographers who need the fastest read and write speeds for their workflow. (Image credit: Harry Bennett / Future)
The final important upgrade on the R6 III is the inclusion of a CFexpress card slot, which allows faster writing and reading speeds both in camera and during media downloads. A UHS-II SD card has an average read speed of 300MB/s and an average write speed of 260MB/s.
This may seem fast but the most advanced CFexpress cards have a read and write speed of over 3000MB/s, which makes huge workloads so much easier to process. This may only be of benefit to professional photographers who shoot a lot of video or need to do a huge amount of burst photography in RAW format, but it does vastly improve the performance of this camera. Bear in mind that CFexpress cards are much more expensive than SD cards and require an additional CFexpress reader to transfer data to a computer.
Is it worth it?
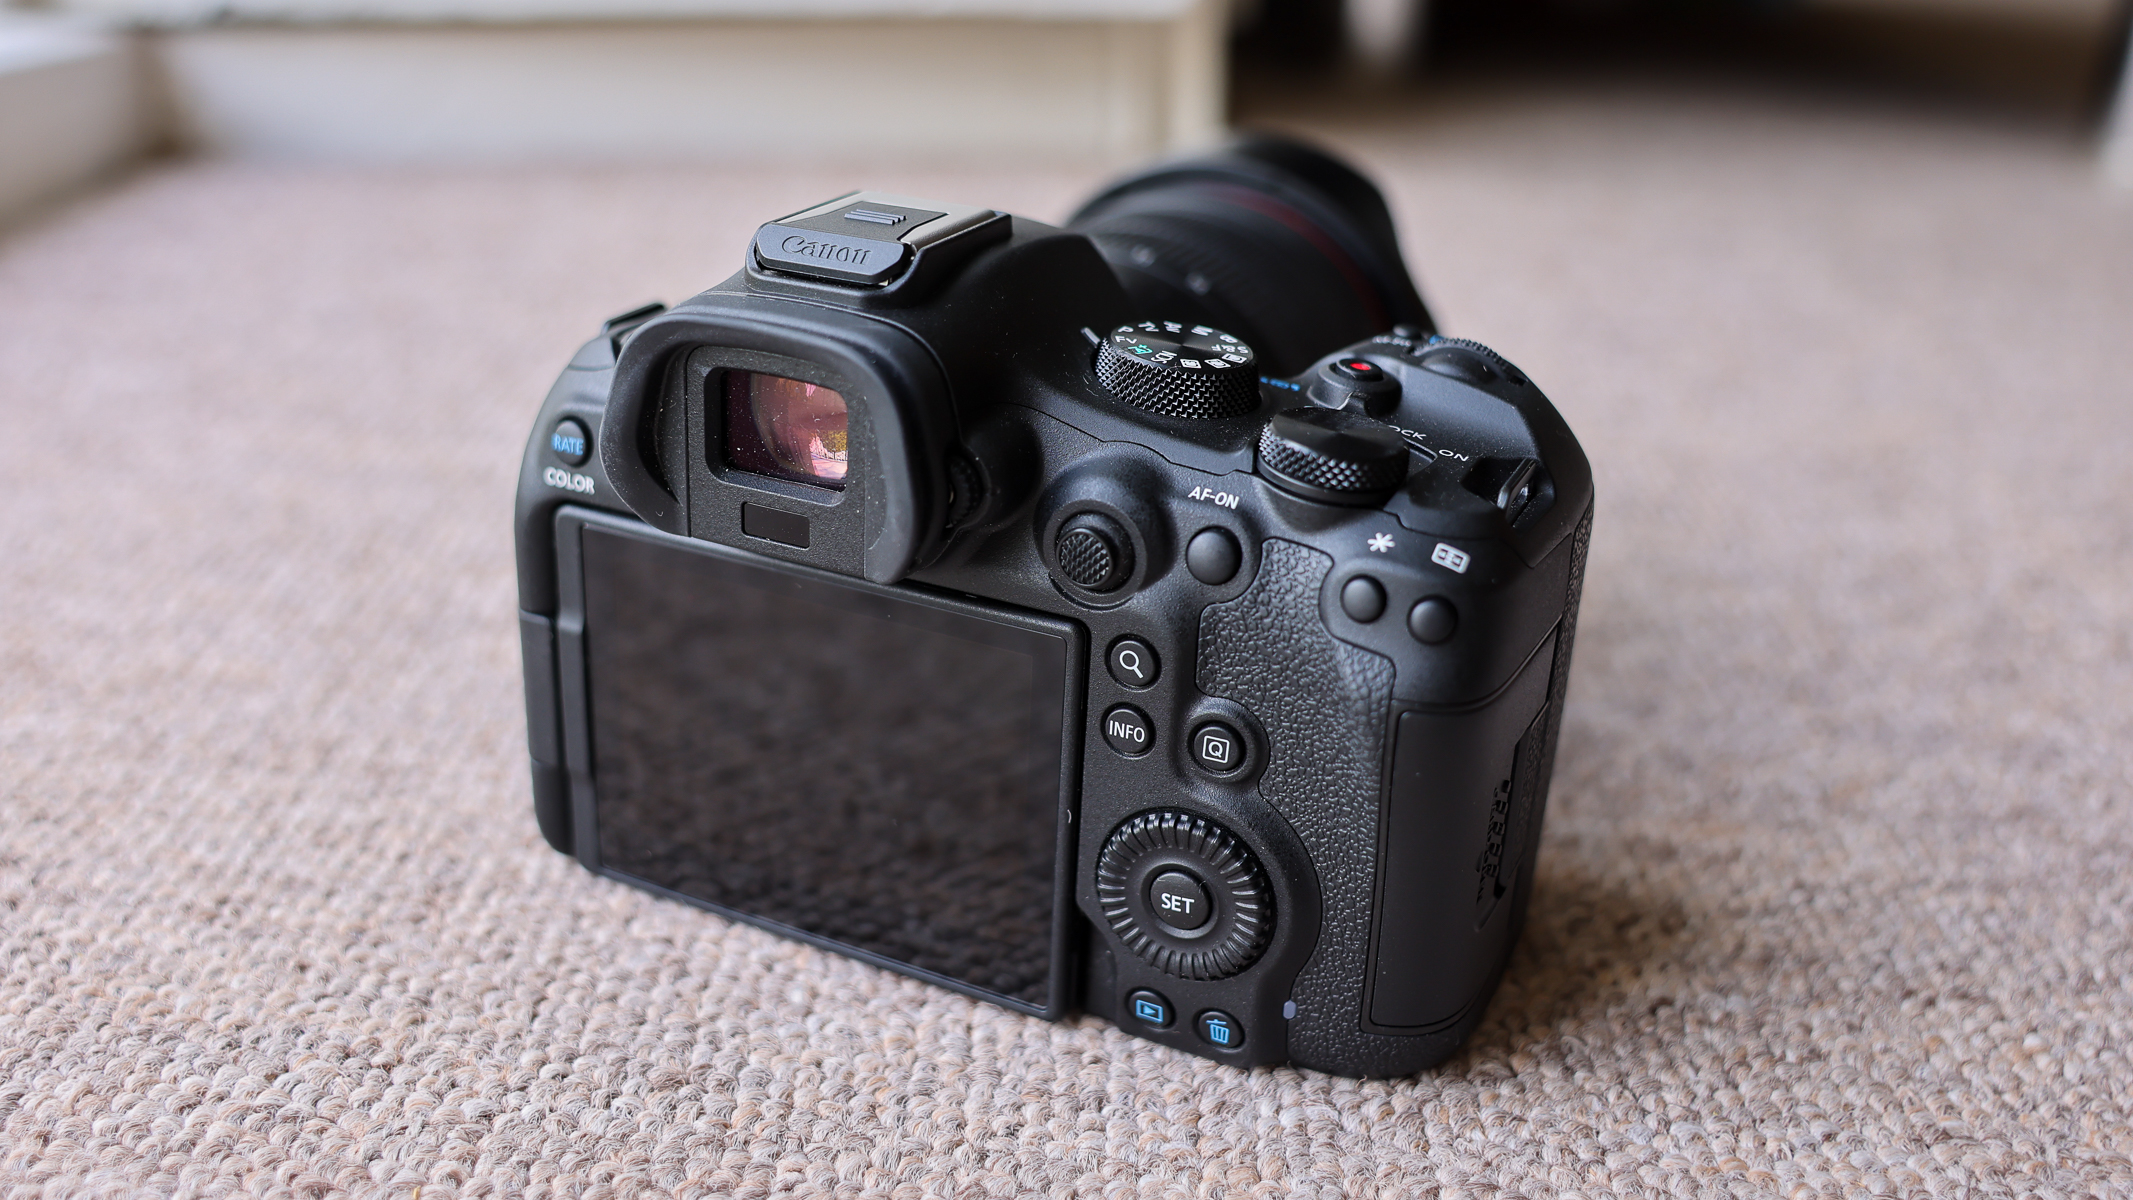
The controls on the EOS R6 III are essentially the same as the EOS R6 II. (Image credit: Harry Bennett / Future)
The price difference between the R6 Mark II and the Mark III is just under $1000 and for that amount of money, justifying the move up to the latest model comes down to a few factors that you will have to consider. The power of the low-light autofocus is tempting but you should think about the camera as a whole to see whether it is worth making the investment.
We gave the Canon EOS R6 II a huge five stars. (Image credit: James Abbott)
If you are looking to boost resolution in your night-time scenes and have been shooting astrophotography for a long time, the R6 III could be worth the extra investment thanks to the 32.5MP sensor, which retains the powerful dual-gain architecture for getting high dynamic range images at lower ISOs and delivering high ISO images with significantly less grain.
If you have a heavy workflow, you are likely to be frustrated with the lack of a CFexpress card slot on the earlier R6 models and would benefit from the advanced functionality the new slot will give you, especially if you shoot a lot of RAW imagery and video.
Wide aperture lenses, like an f/1.4 lens, can deliver exceptional low-light performance but they are also extremely expensive, so buyers should consider how they want to invest in their camera gear. (Image credit: Harry Bennett / Future)
Stick with an earlier model or a different mirrorless camera if you are a very casual astrophotographer who does most of your shooting in the daytime. I just can't justify the massive jump in price for basic shooting, where a beginner or intermediate photographer's money might be better spent on getting a fast f/1.4 lens for superior astro. I used the Canon RF 14mm f/1.4 lens for astrophotography testing and I don't think the images would have looked half as good if I had used a lens with a smaller aperture. If you already own the R6 II, the only reason you might upgrade is if you need to do more heavy cropping into your images or need better hybrid video functionality from a camera.
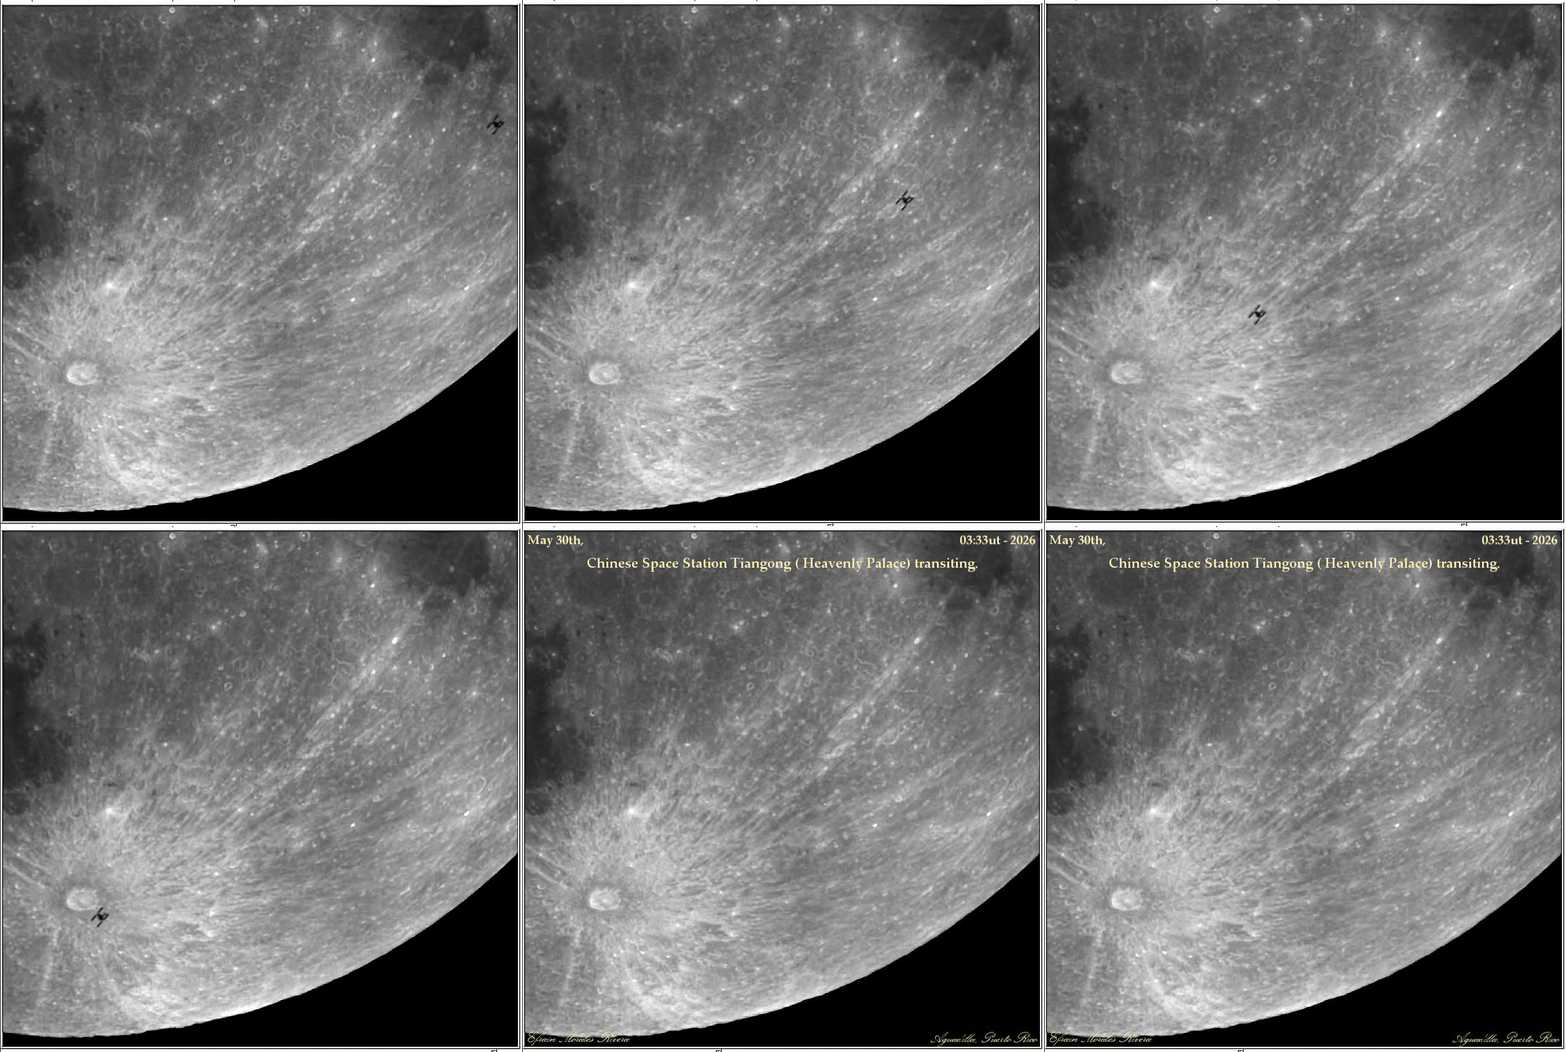
Efrain Morales captured a breathtaking view of the Tiangong space station crossing the moon from Puerto Rico. (Image credit: Efrain Morales)
Astrophotographer Efrain Morales captured spectacular footage of China's Tiangong space station as its silhouette buzzed Tycho Crater during a lunar transit on May 29, one night before May's Blue Moon.
Morales recorded the outlines of Tiangong's vast solar panels and habitable modules using a 12-inch telescope and astronomy camera as it passed silently across the lunar surface in the skies above Puerto Rico at 11:33 p.m. EDT on May 29 (0333 GMT on May 30).
"It is a challenge in less then a second to capture this event," Morales said in an email to Space.com. "Using a program the ISS Transit Finder helps in giving information to capture the space station. Adjusting the FOV and at times calculating last minute deviations in time and positions in which makes it more challenging."
The orbital outpost appeared to dive directly toward Tycho Crater, whose 53-mile-wide (85 kilometer) impact site and bright ejecta dominate the southern region of the lunar disk on the nights surrounding the full moon phase.
The dark expanses of Mare Nubium (the Sea of Clouds) and Mare Nectaris (the Sea of Nectar) can also be seen scarring the lunar disk to the left and upper right of the footage, respectively, where ancient lava flows hardened to form basaltic plains billions of years ago.
What is the Tiangong space station?
The Tiangong space station, which translates to "Heavenly Palace" from Mandarin, is made up of the core module Tianhe and theMengtian and Wentian laboratory modules, which orbit Earth at an altitude ranging between 217 and 280 miles (340 to 450 km).
Editor's Note: If you would like to share your night sky photography with Space.com's readers, then please send your photo(s), comments, and your name and location to spacephotos@space.com.