How to safely observe eclipses and the solar surface with a smart telescope

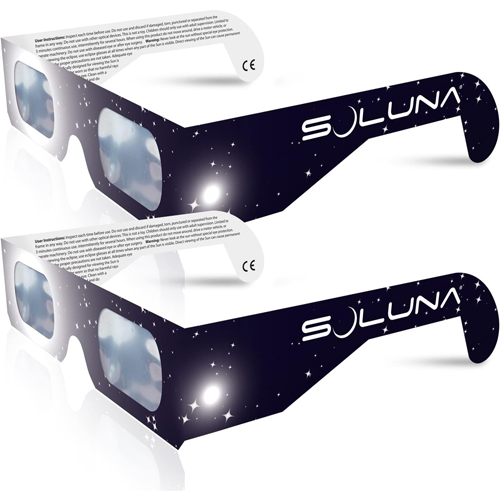
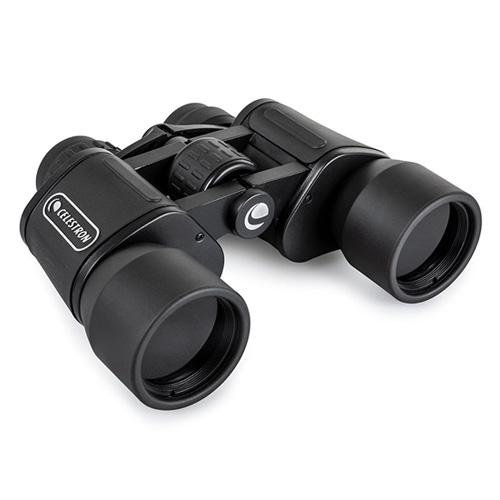
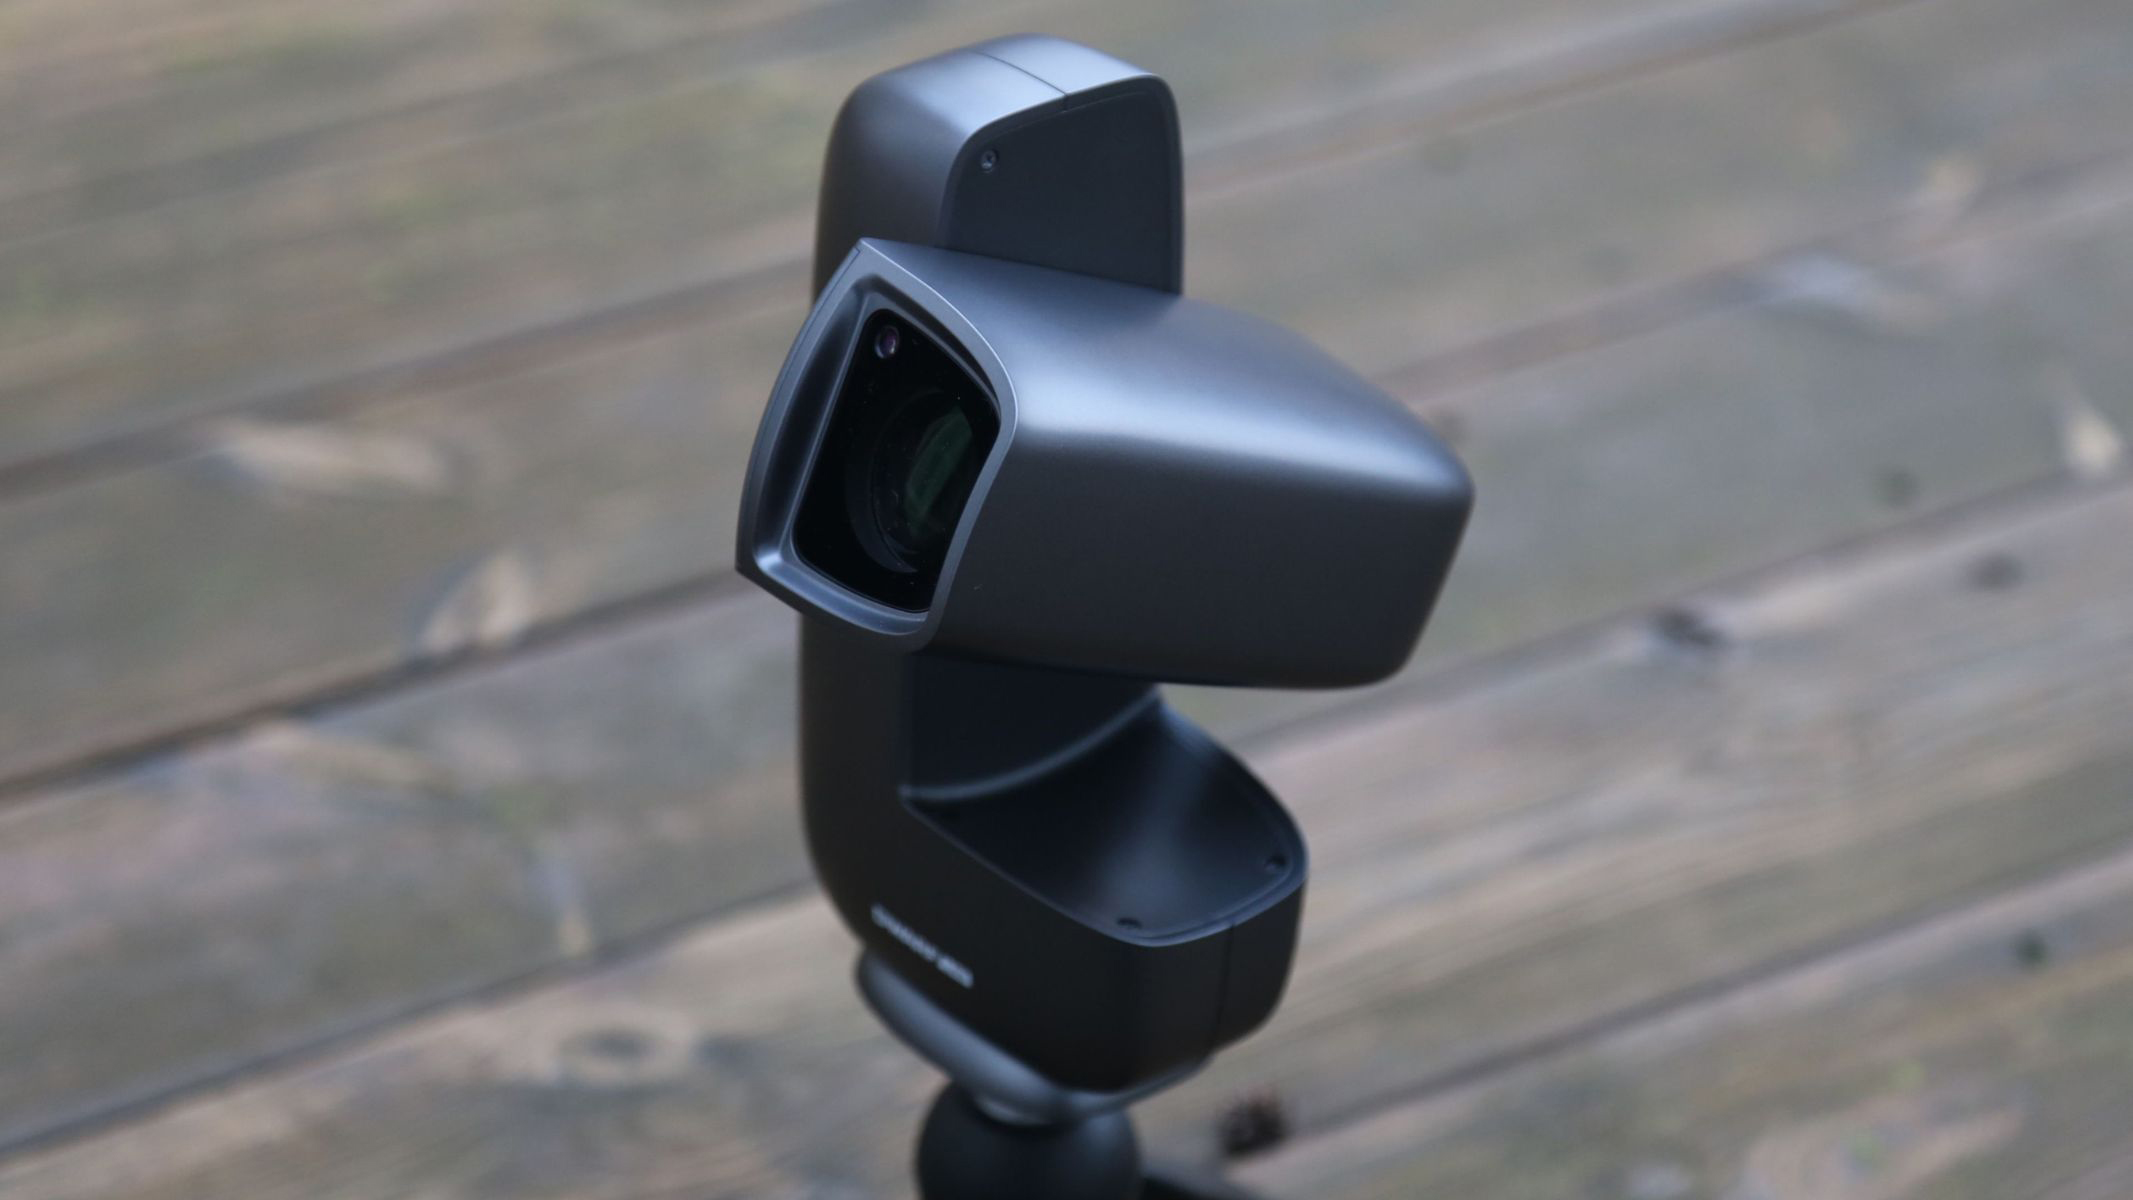
Solar observation can be tricky or underwhelming when trying to observe with handheld methods such as using solar eclipse glasses and solar binoculars. Hunting for the sun with binoculars can be tricky due to the essential ISO 12312-2 rated solar filters on the glass blocking all vision except for the solar disk itself. This is where a smart telescope like the entire Unistellar range can help; it automatically finds and tracks the solar disk from a few presses on your smartphone.

Need a smart telescope? Skip ahead to pick from our list of recommendations to suit all budgets.
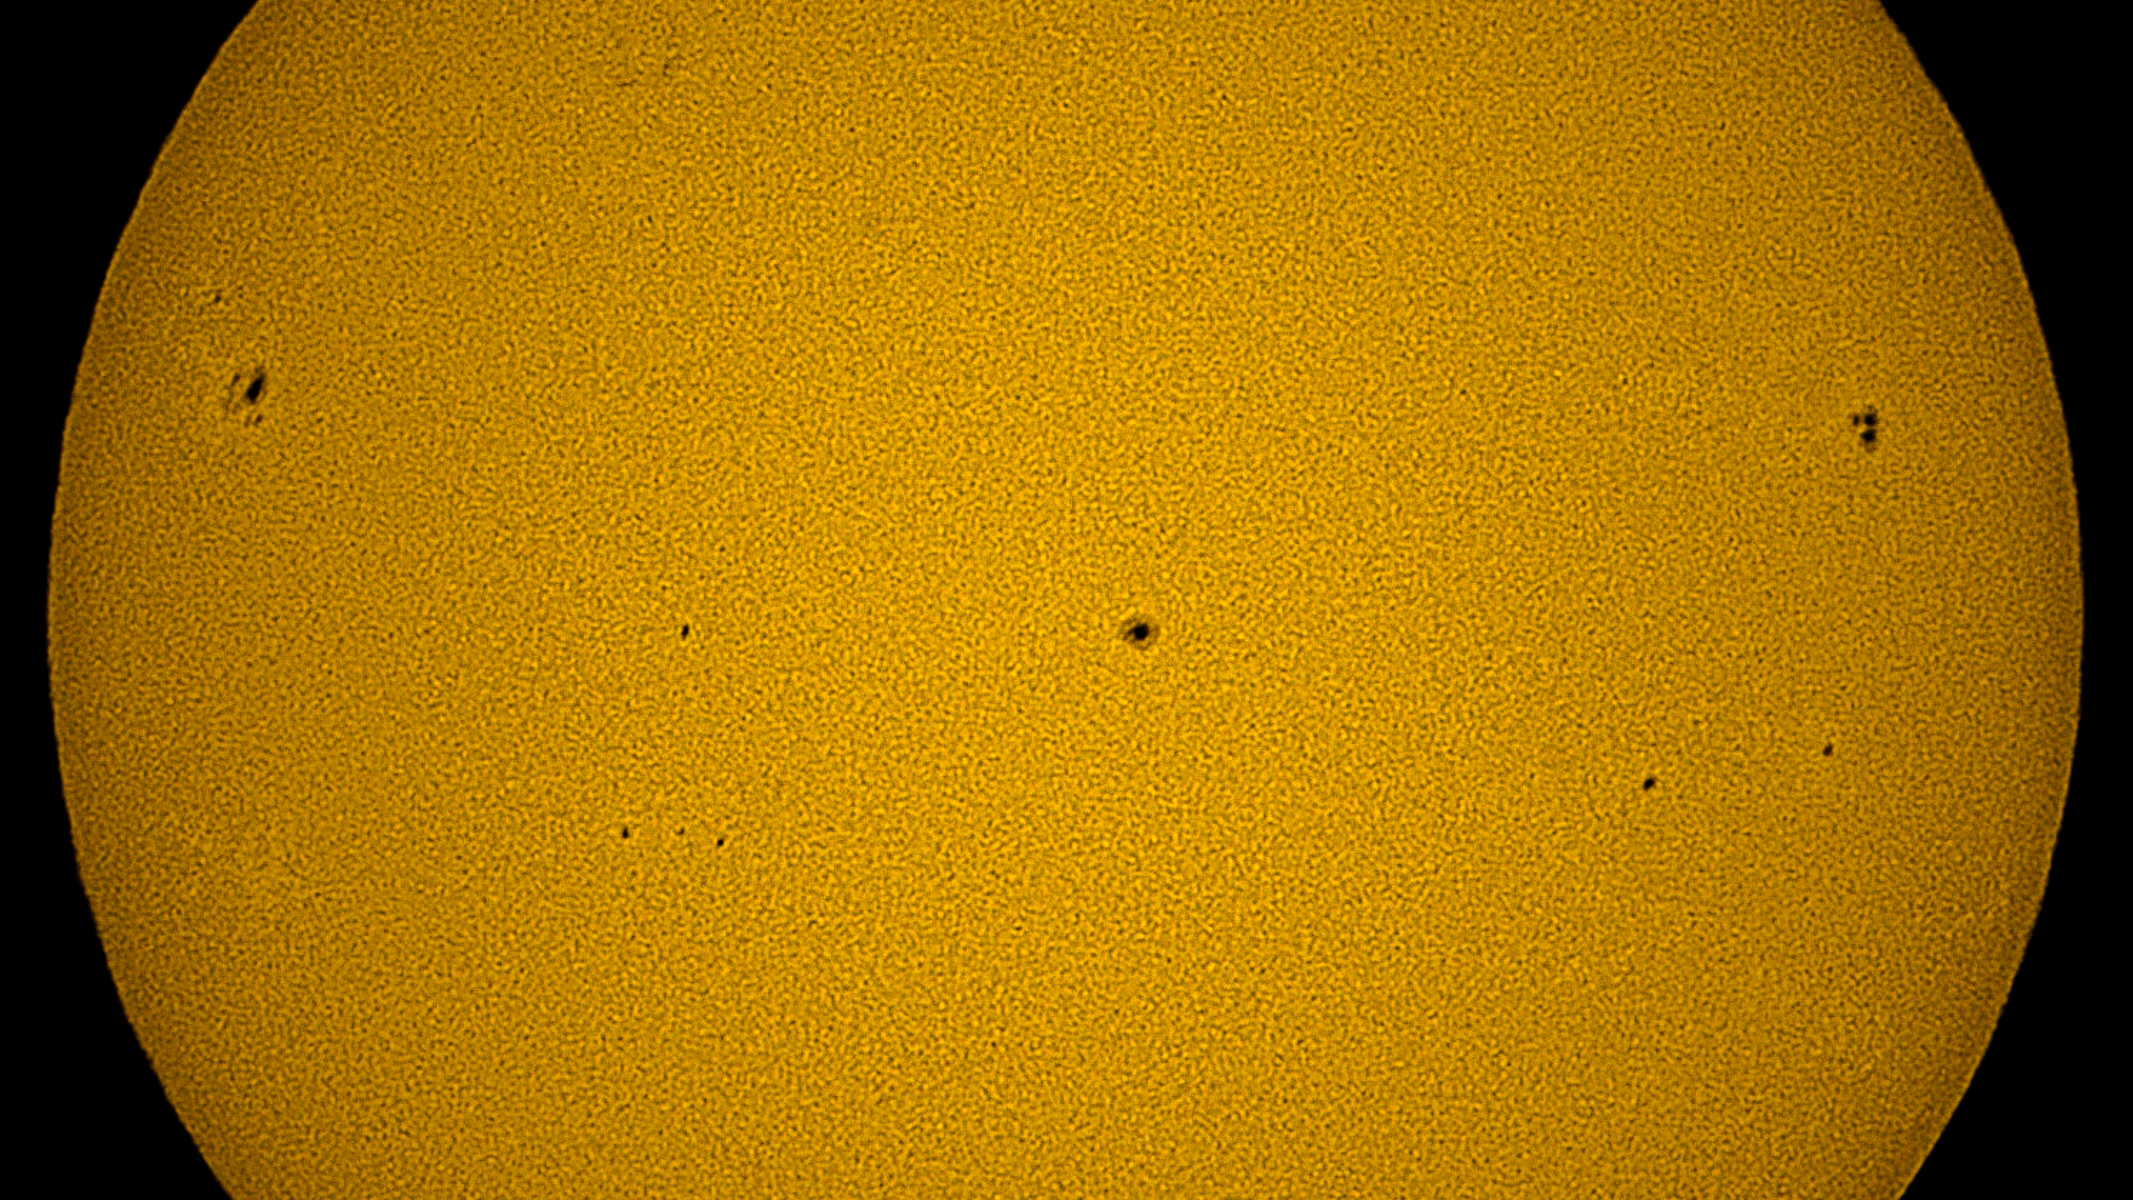
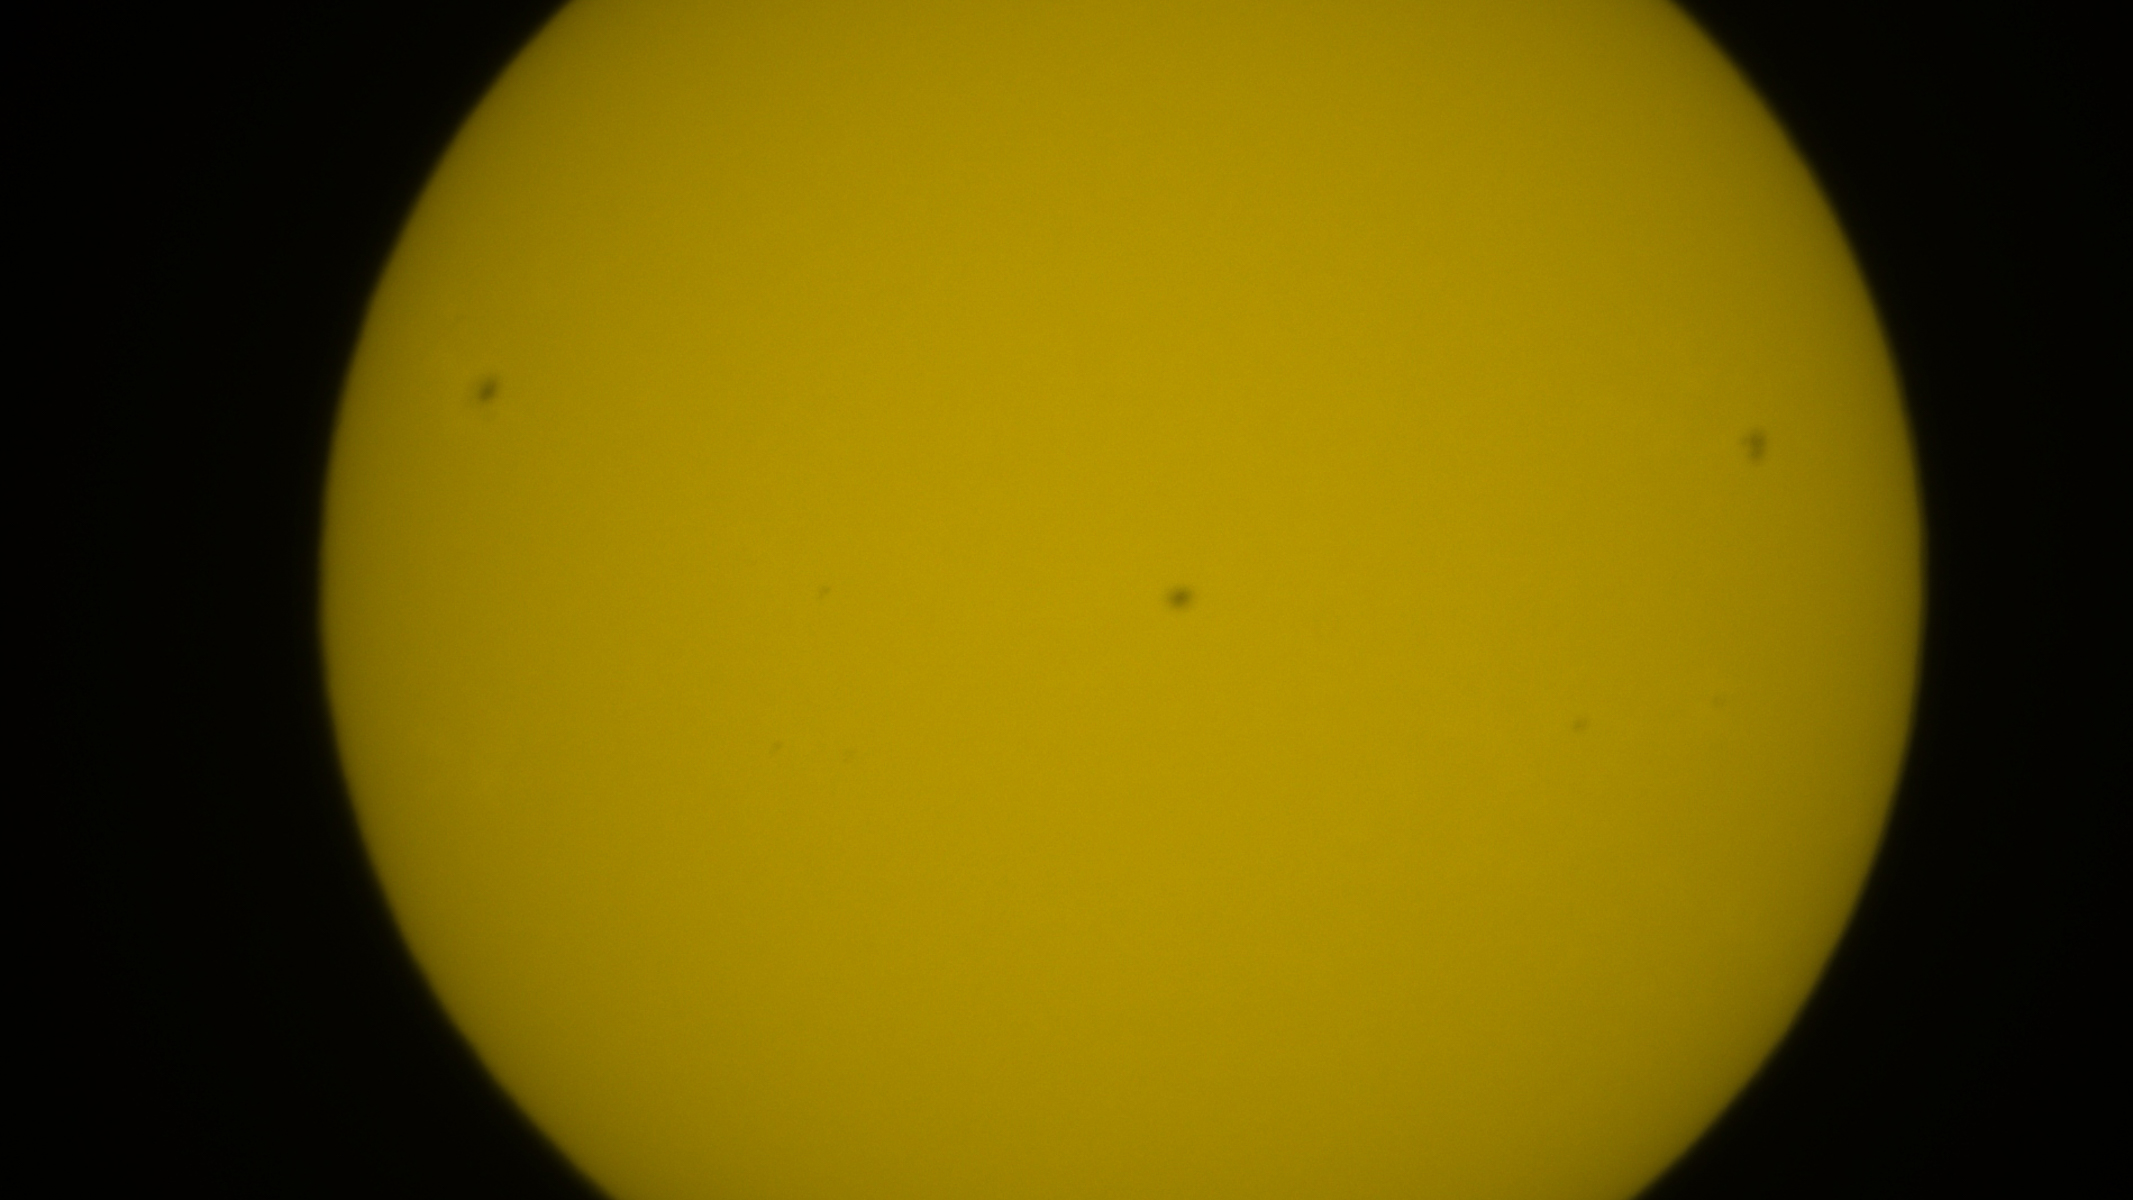
A closeup of the yellow solar surface, showing three dark sunspots, as imaged by the Unistellar eQuinox 2 smart telescope.
With some light adjustments in Adobe Lightroom, the details on the solar surface really pop out on the photograph from the eQuinox 2. Harry Bennett / Future
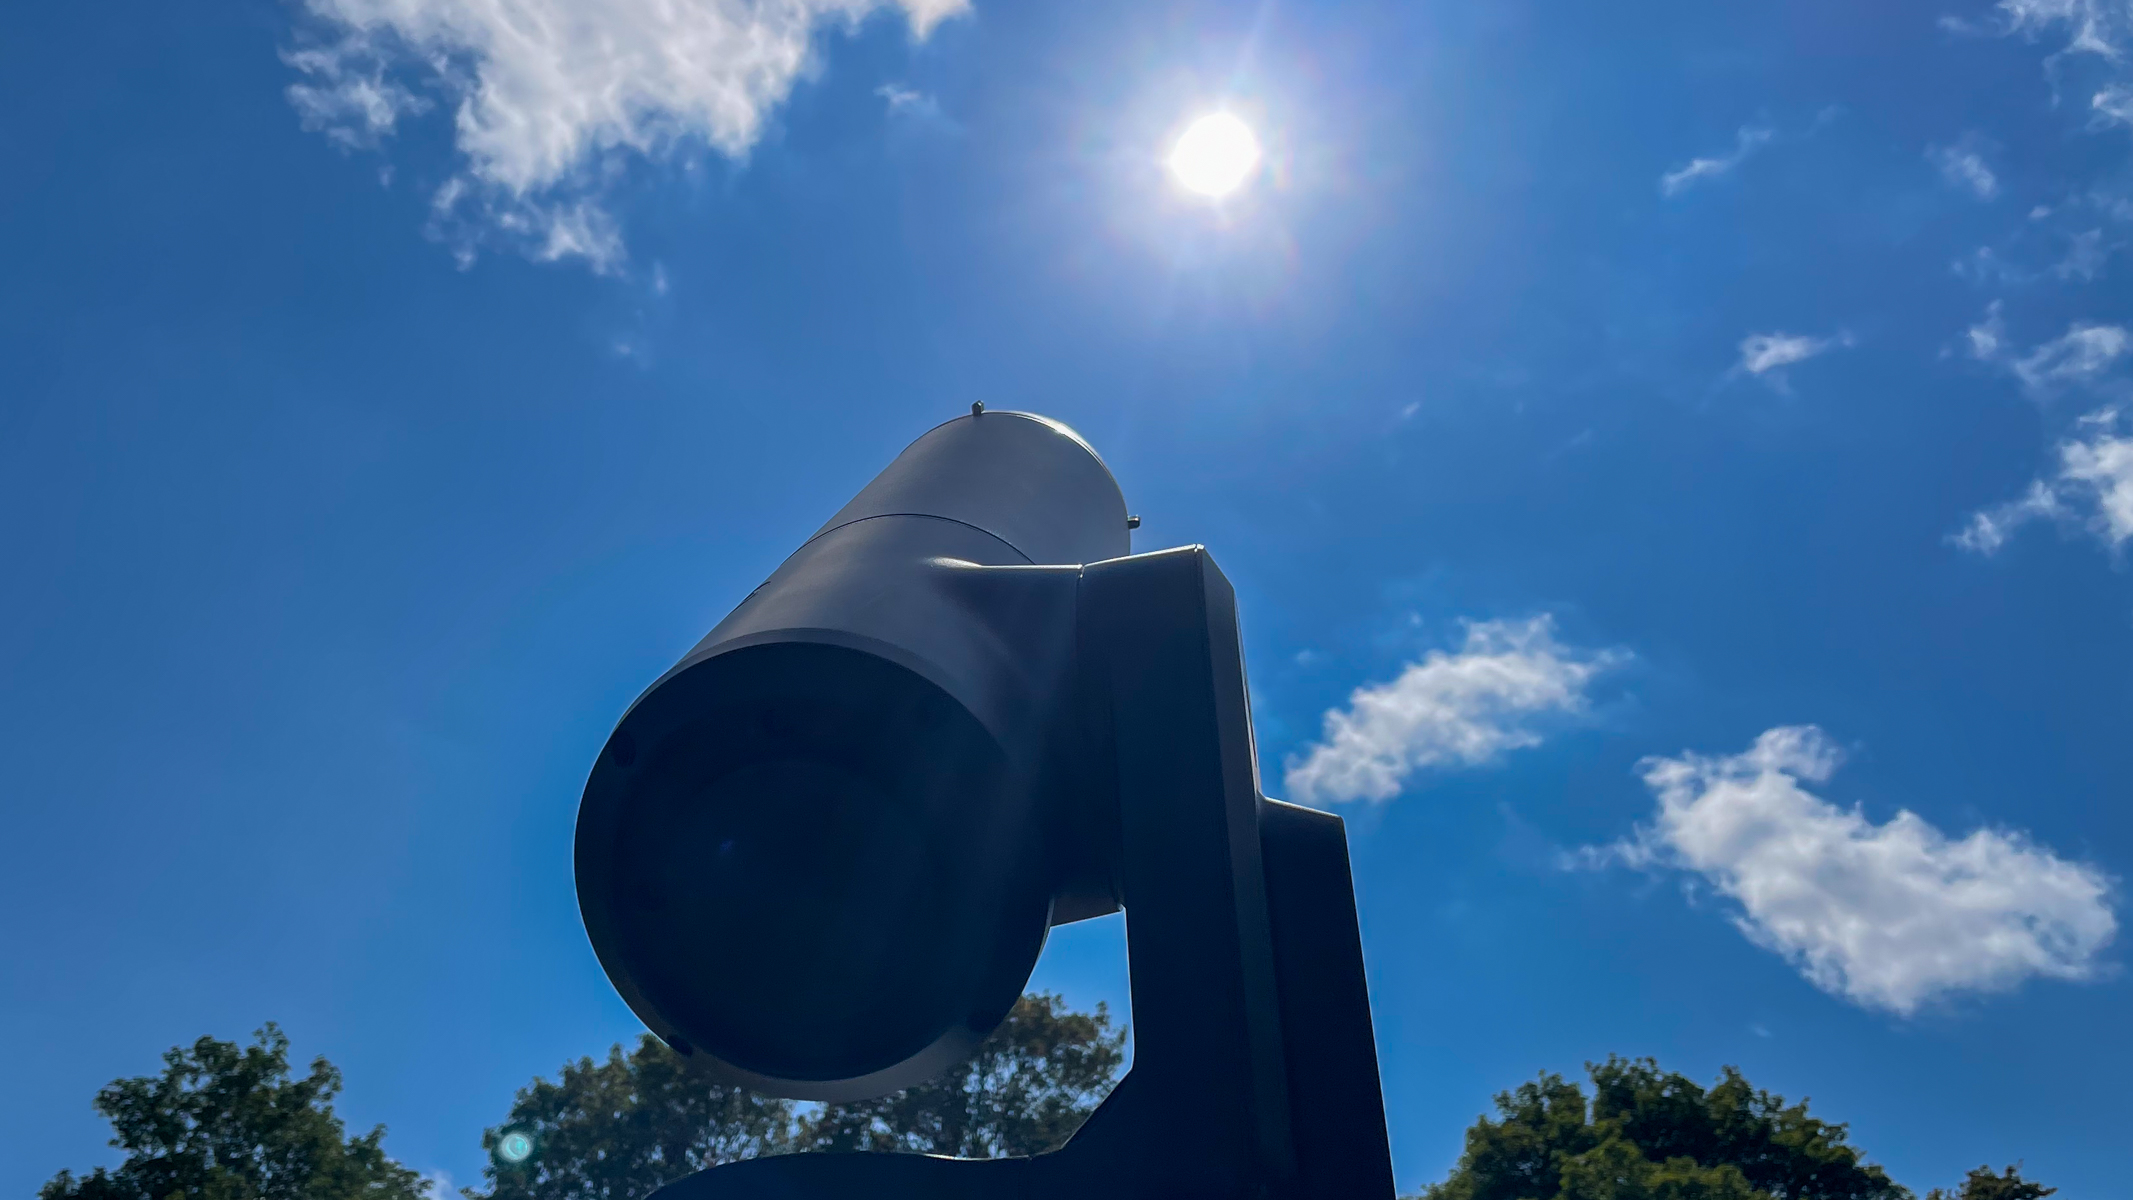
A Unistellar eVscope 2 pointing at the sun in the blue sky.
All it takes is a few seconds to stack frames on a smart telescope and get more detail on the solar surface.Harry Bennett / Future

All you need is to attach the correct Unistellar solar filter for your model, click Go-to on the Sun and the telescope will slew to the solar disk. If connected to a tablet or larger screen, you can get a much bigger image of the sun to share with groups and family. This also allows you to watch the observation from a shaded spot and get comfortable without needing to stay out under the beating sun.
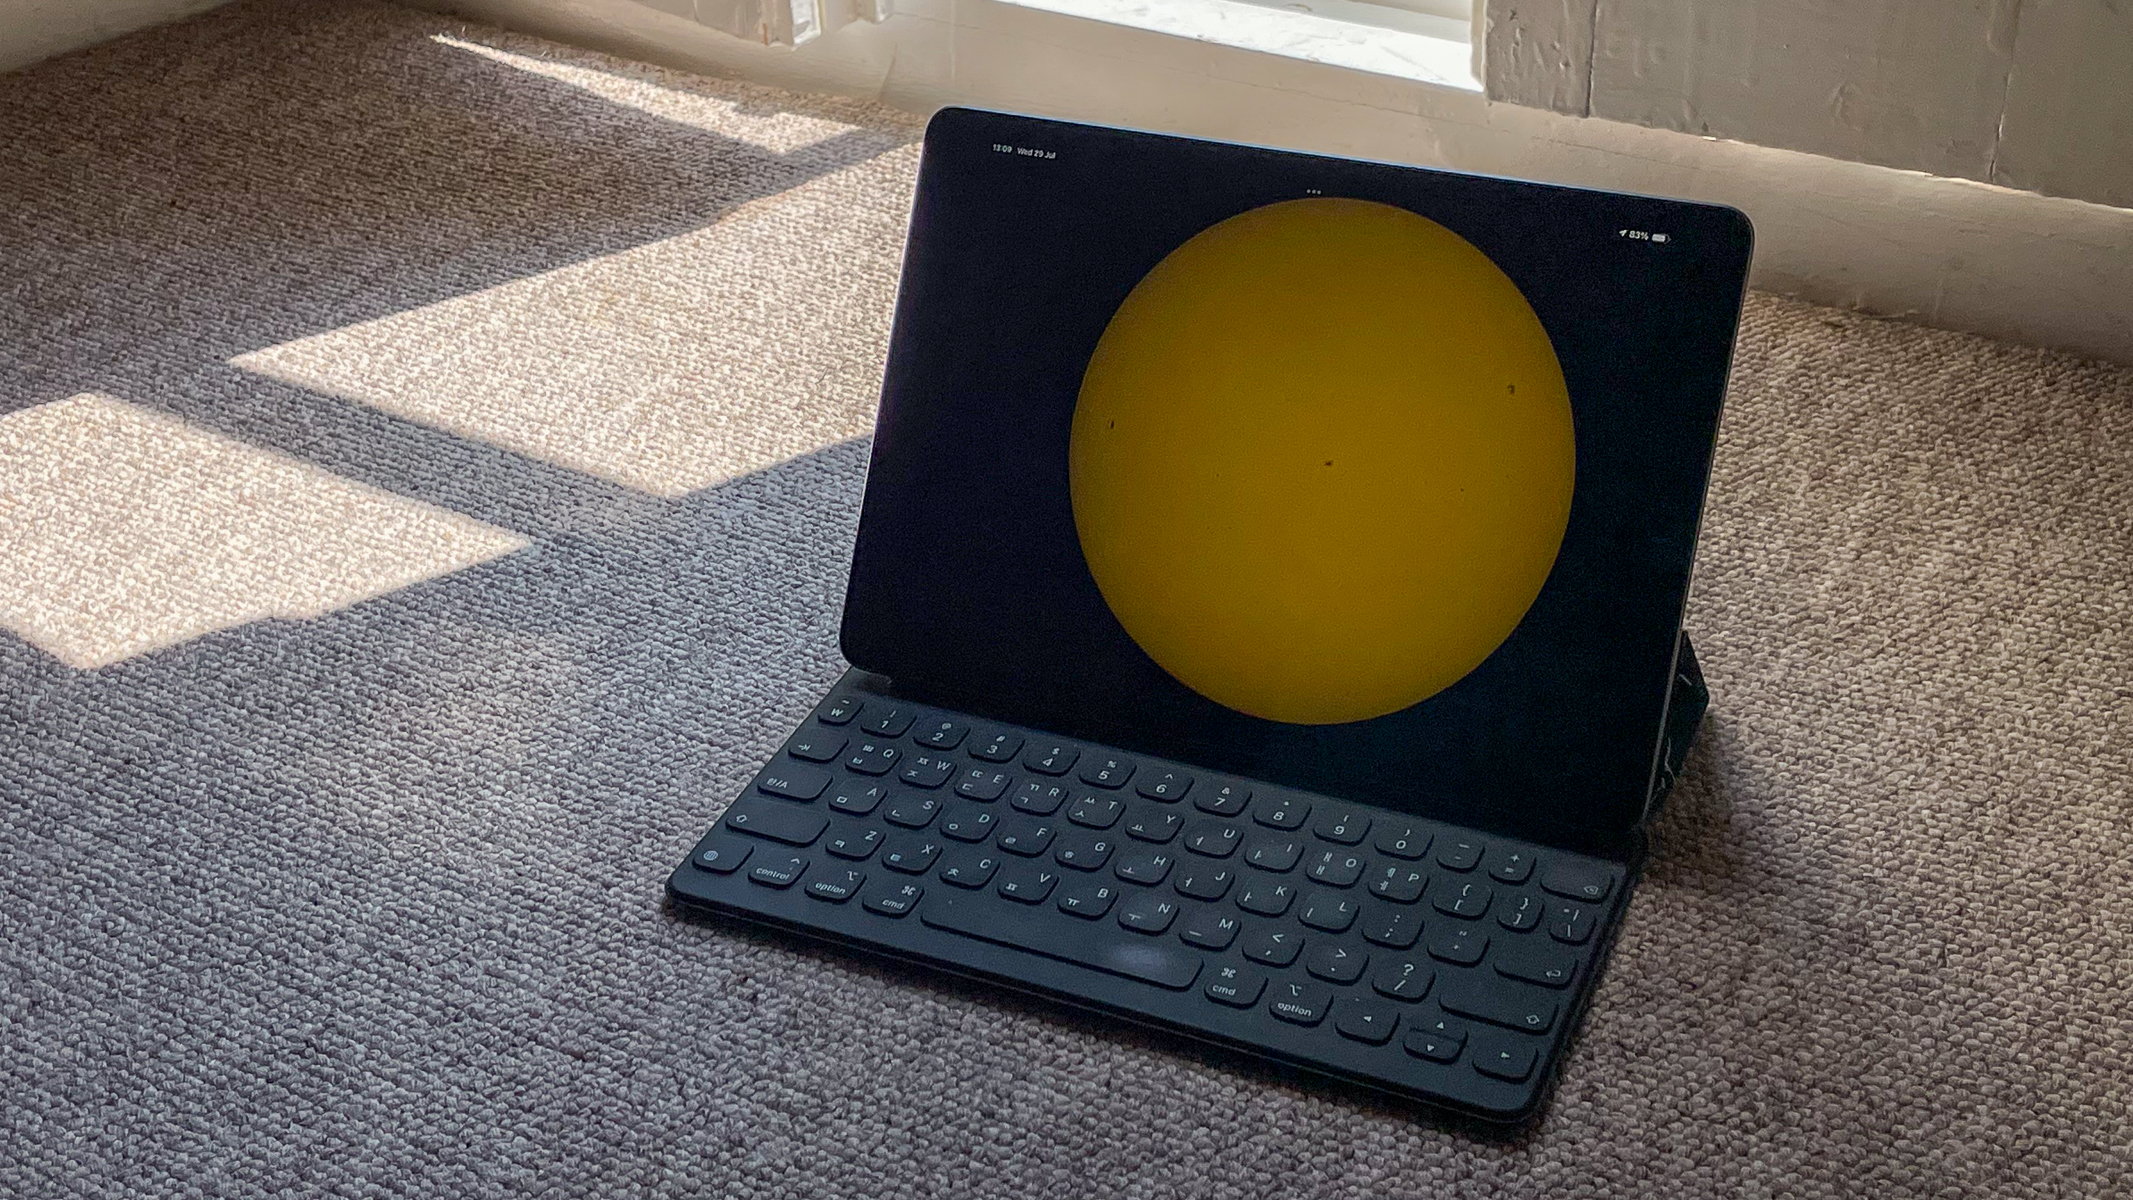
An iPad screen showing the solar disk from the Unistellar app against some shadowed carpet.

(Image credit: Harry Bennett / Future)

Smart telescopes not only find and track the solar disk but they can image it too. Using built-in image focusing, stacking and processing, the telescope delivers a sharper image within seconds and reveals solar details like sunpots on the surface. If you don't want to miss getting a shot of the next solar eclipse, you can use the solar observation mode to capture the sun at all stages of the eclipse from your smart telescope. At the time of writing, the next total solar eclipse is coming on Aug. 12, 2026 and will be mainly visible in Greenland, western Iceland and northern Spain. Partial eclipses will be visible in some other European countries, parts of Canada and New York City.
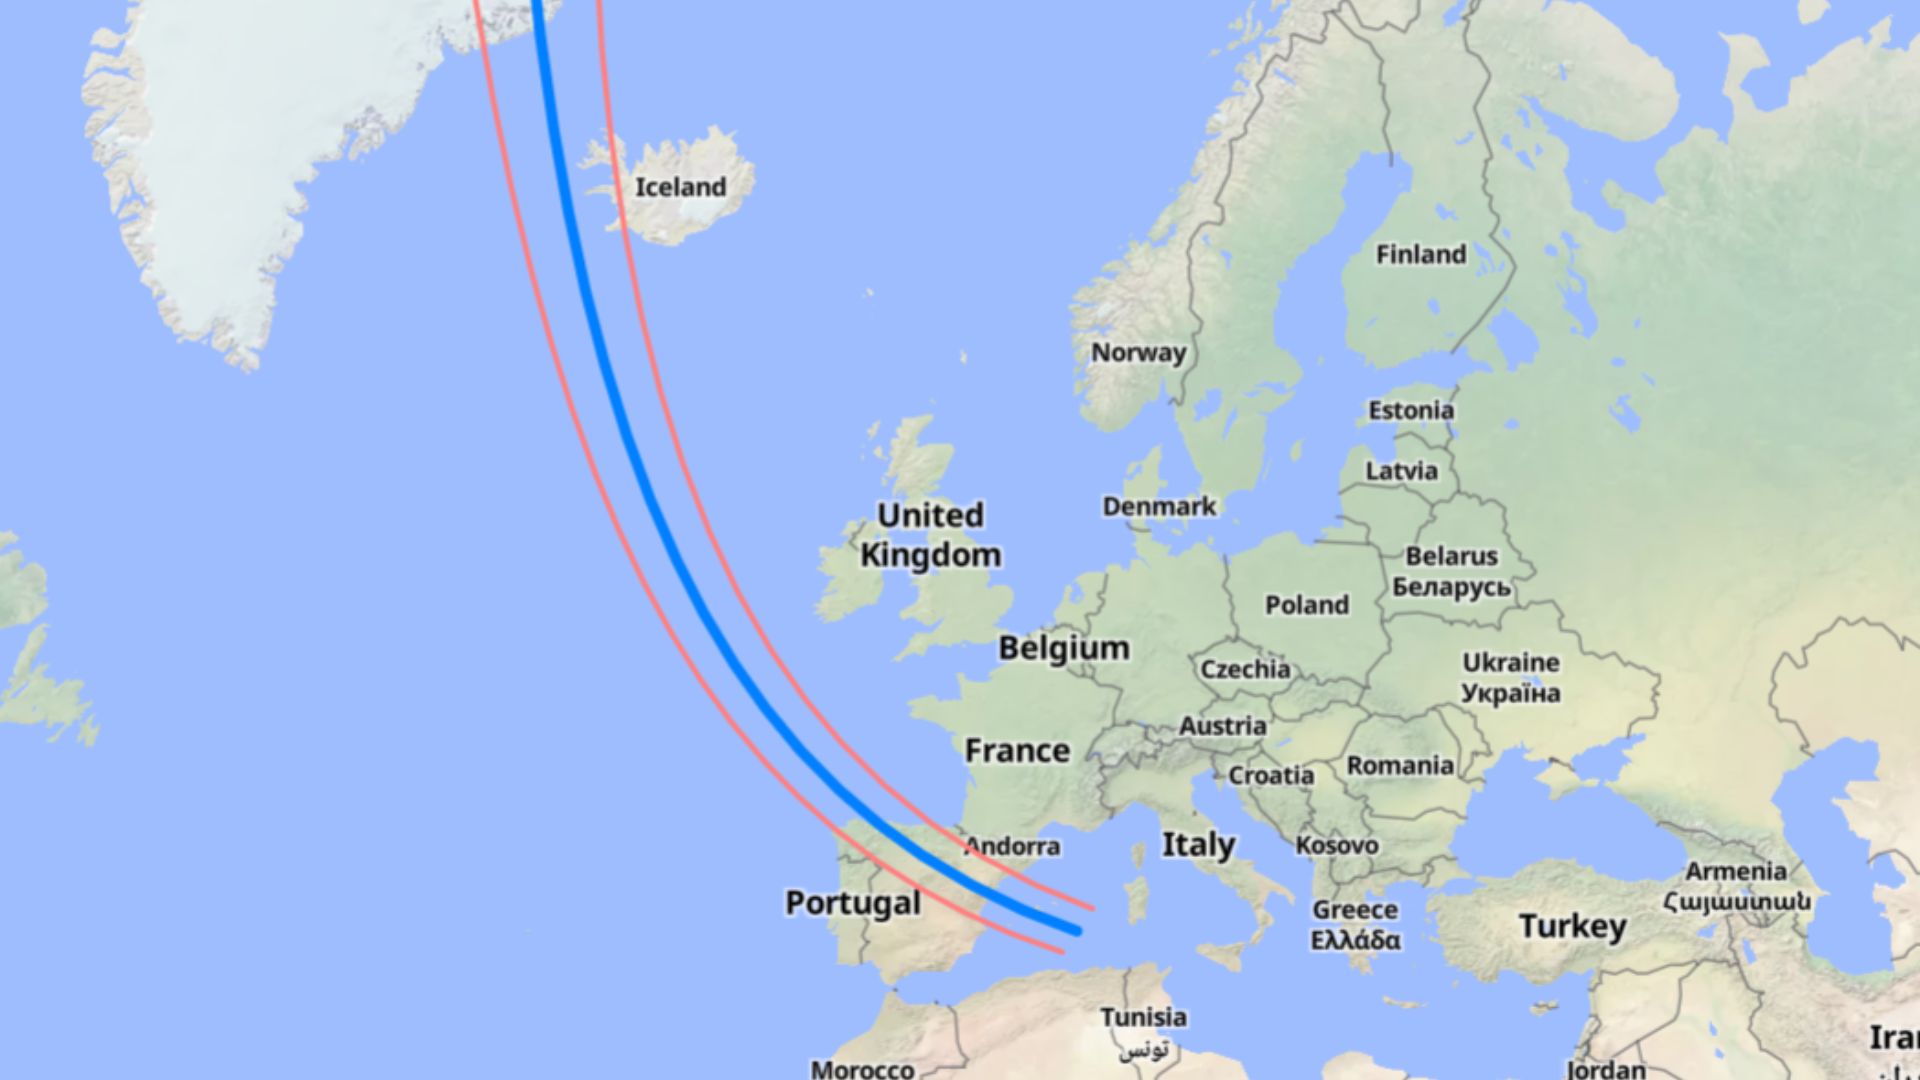
eclipse 2026

The entire path of totality for the 2026 total solar eclipse. (Image credit: Created using MapHub.net. Source: Esri, Maxar, GeoEye, Earthstar Geographics, CNES/Airbus DS, USDA, USGS, AeroGRID, IGN, and the GIS User Community)

What to do: A generalist step-by-step for most smart telescopes

  • 1. Turn your smart telescope on
  • 2. Link the smart telescope to a smartphone or tablet
  • 3. Install the solar filter if the model requires a separate attachment
  • 4. Select the sun on the app and wait for the location
  • 5. Focus the image if needed and then use enhanced vision for more detail

What do you need?
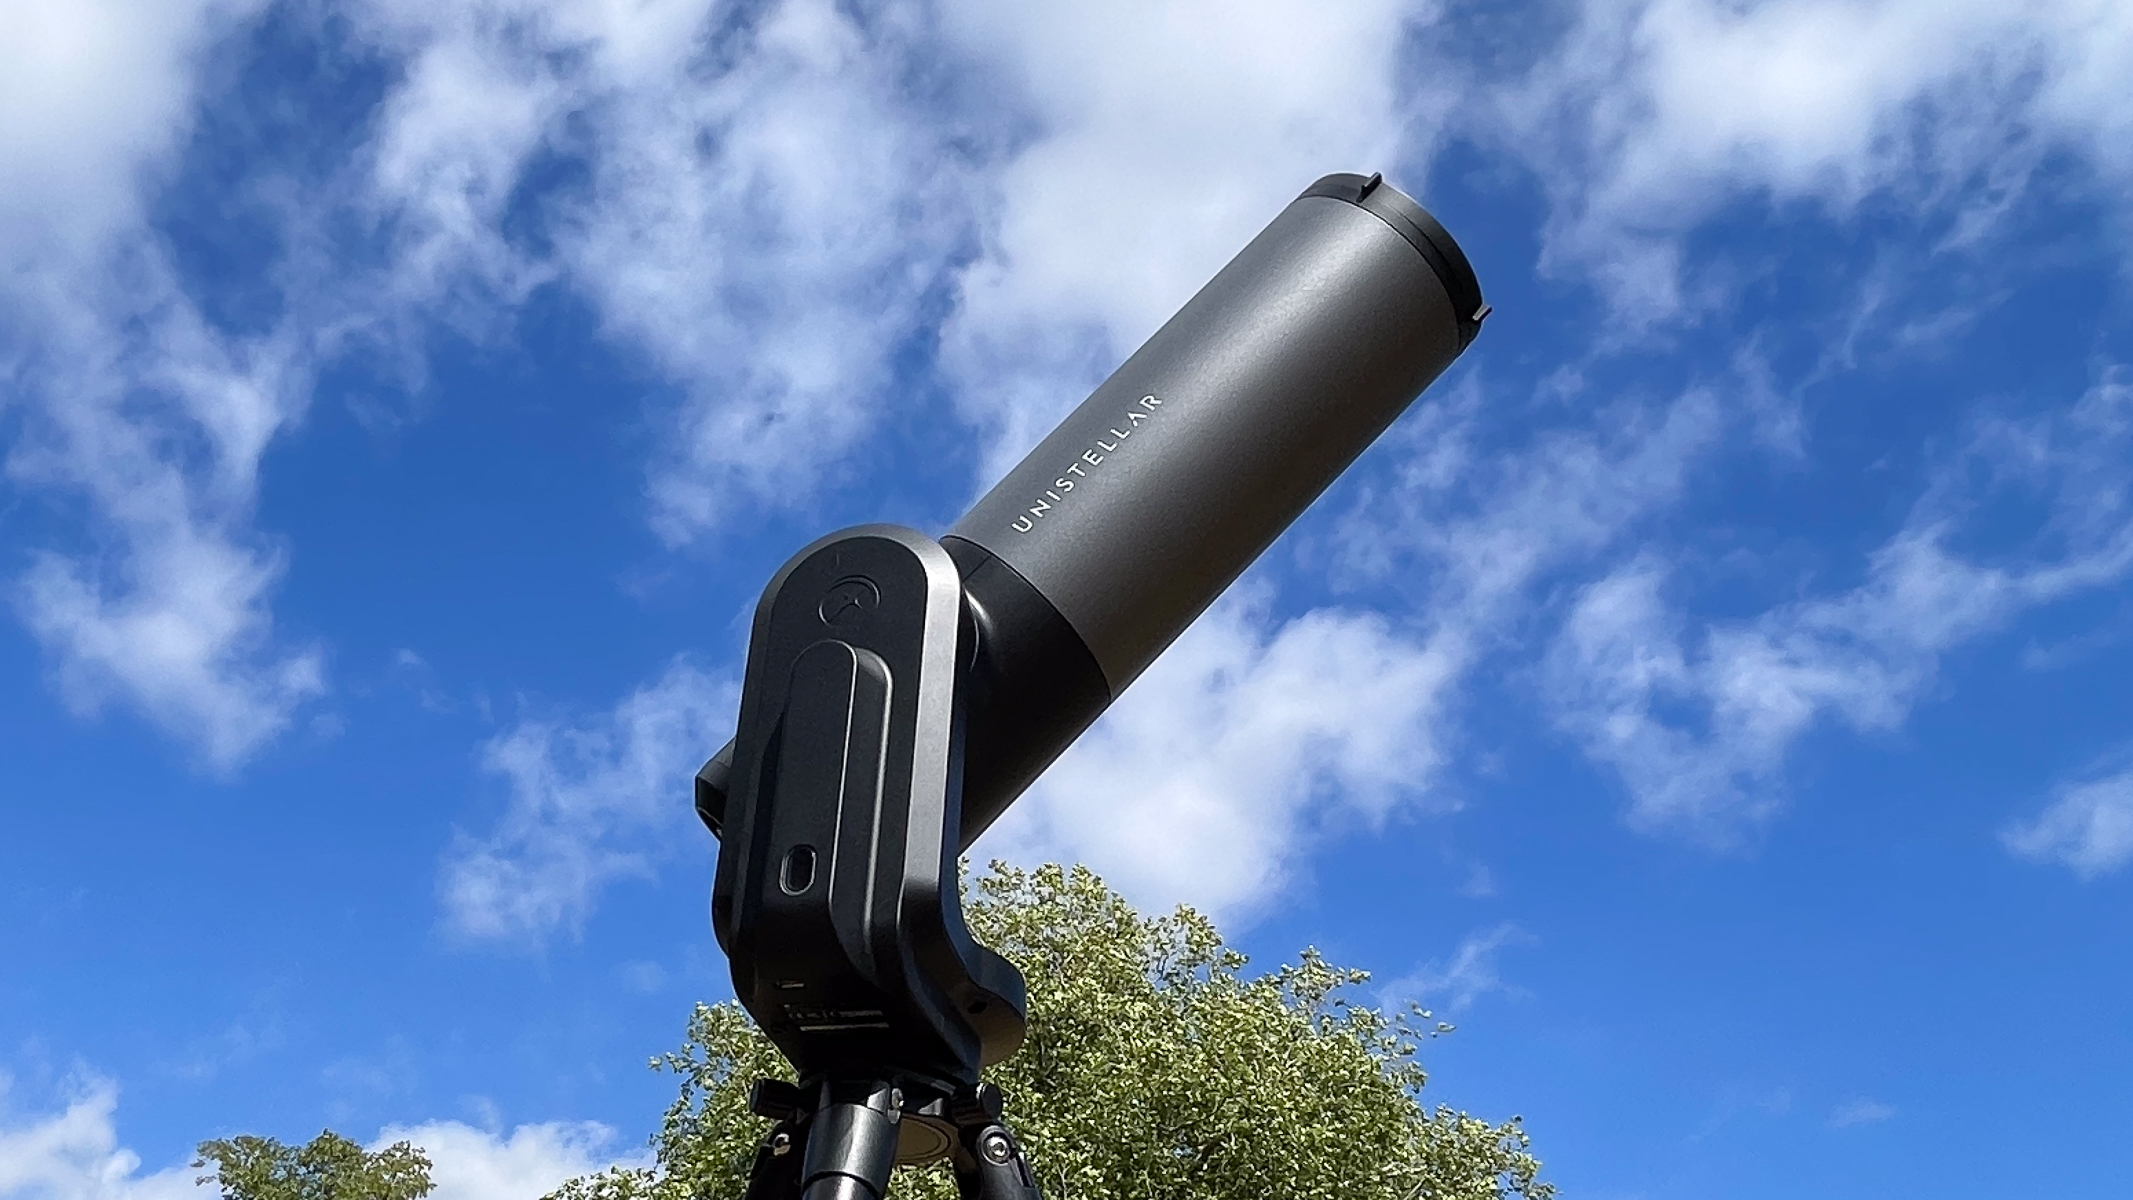
A Unistellar eVscope 2 against a cloudy blue sky.

The eVscope 2 can easily find the solar disk once selected. (Image credit: Harry Bennett / Future)

For solar observation with a smart telescope, the first thing you will need is a smart telescope. While I'm going over how to use a Unistellar eVscope 2 for solar imaging and observation, most of the other smart telescope brands have models that are capable of this too, like the Dwarflab Dwarf Mini 3 and Vaonis Vespera II. If you are used to using a traditional telescope, bear in mind that you will need a smart device to operate the smart telescope and observe your targets. Most smart telescopes come with a tripod, so you shouldn't have to worry about getting one extra but it is an essential piece of equipment.
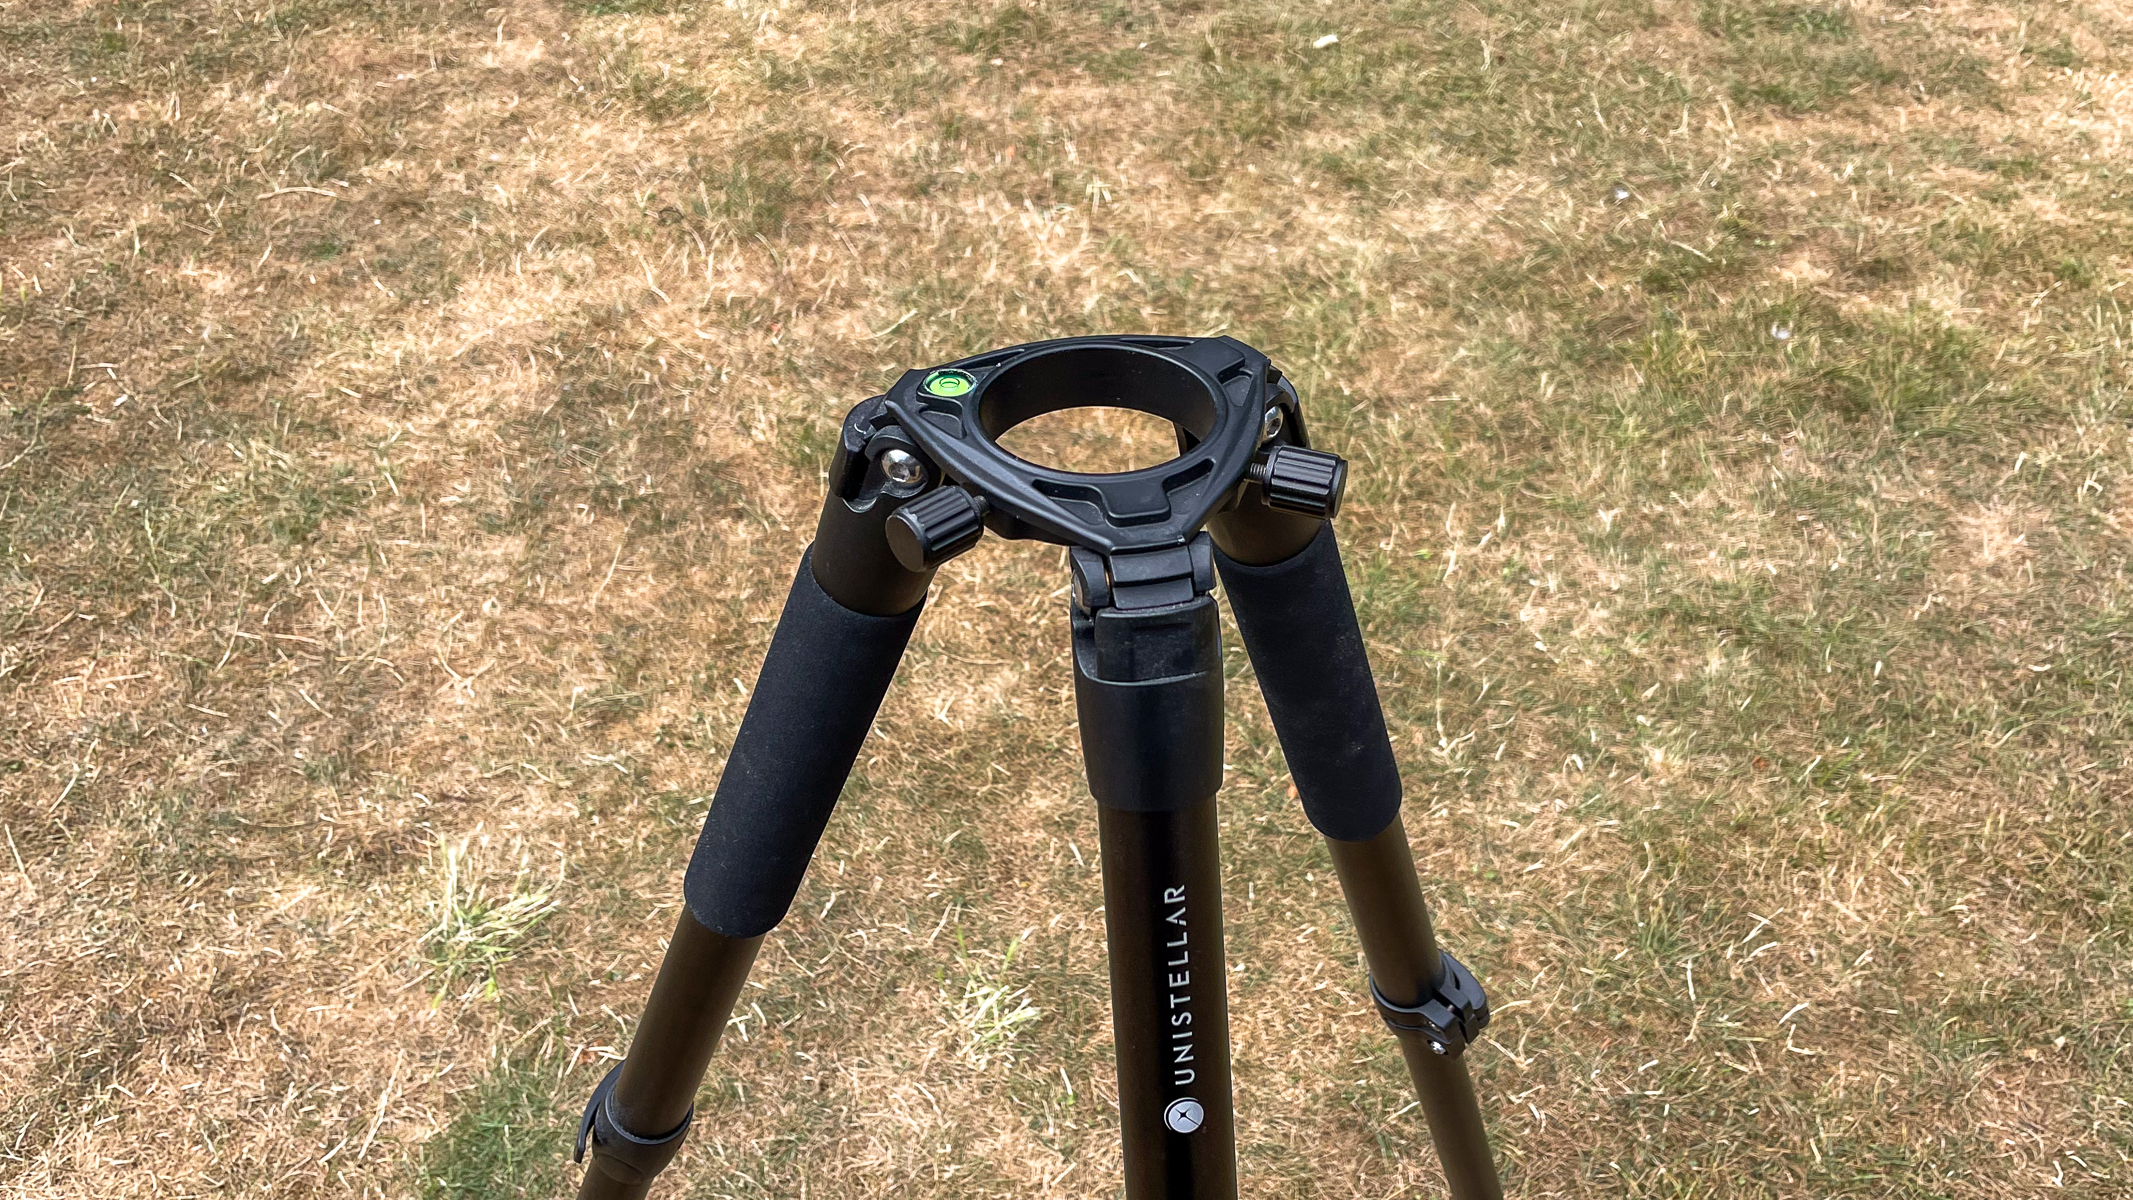
The Unistellar tripod against some grass.

Make sure the bubble level on the tripod is centered so your setup is flat. (Image credit: Harry Bennett / Future)

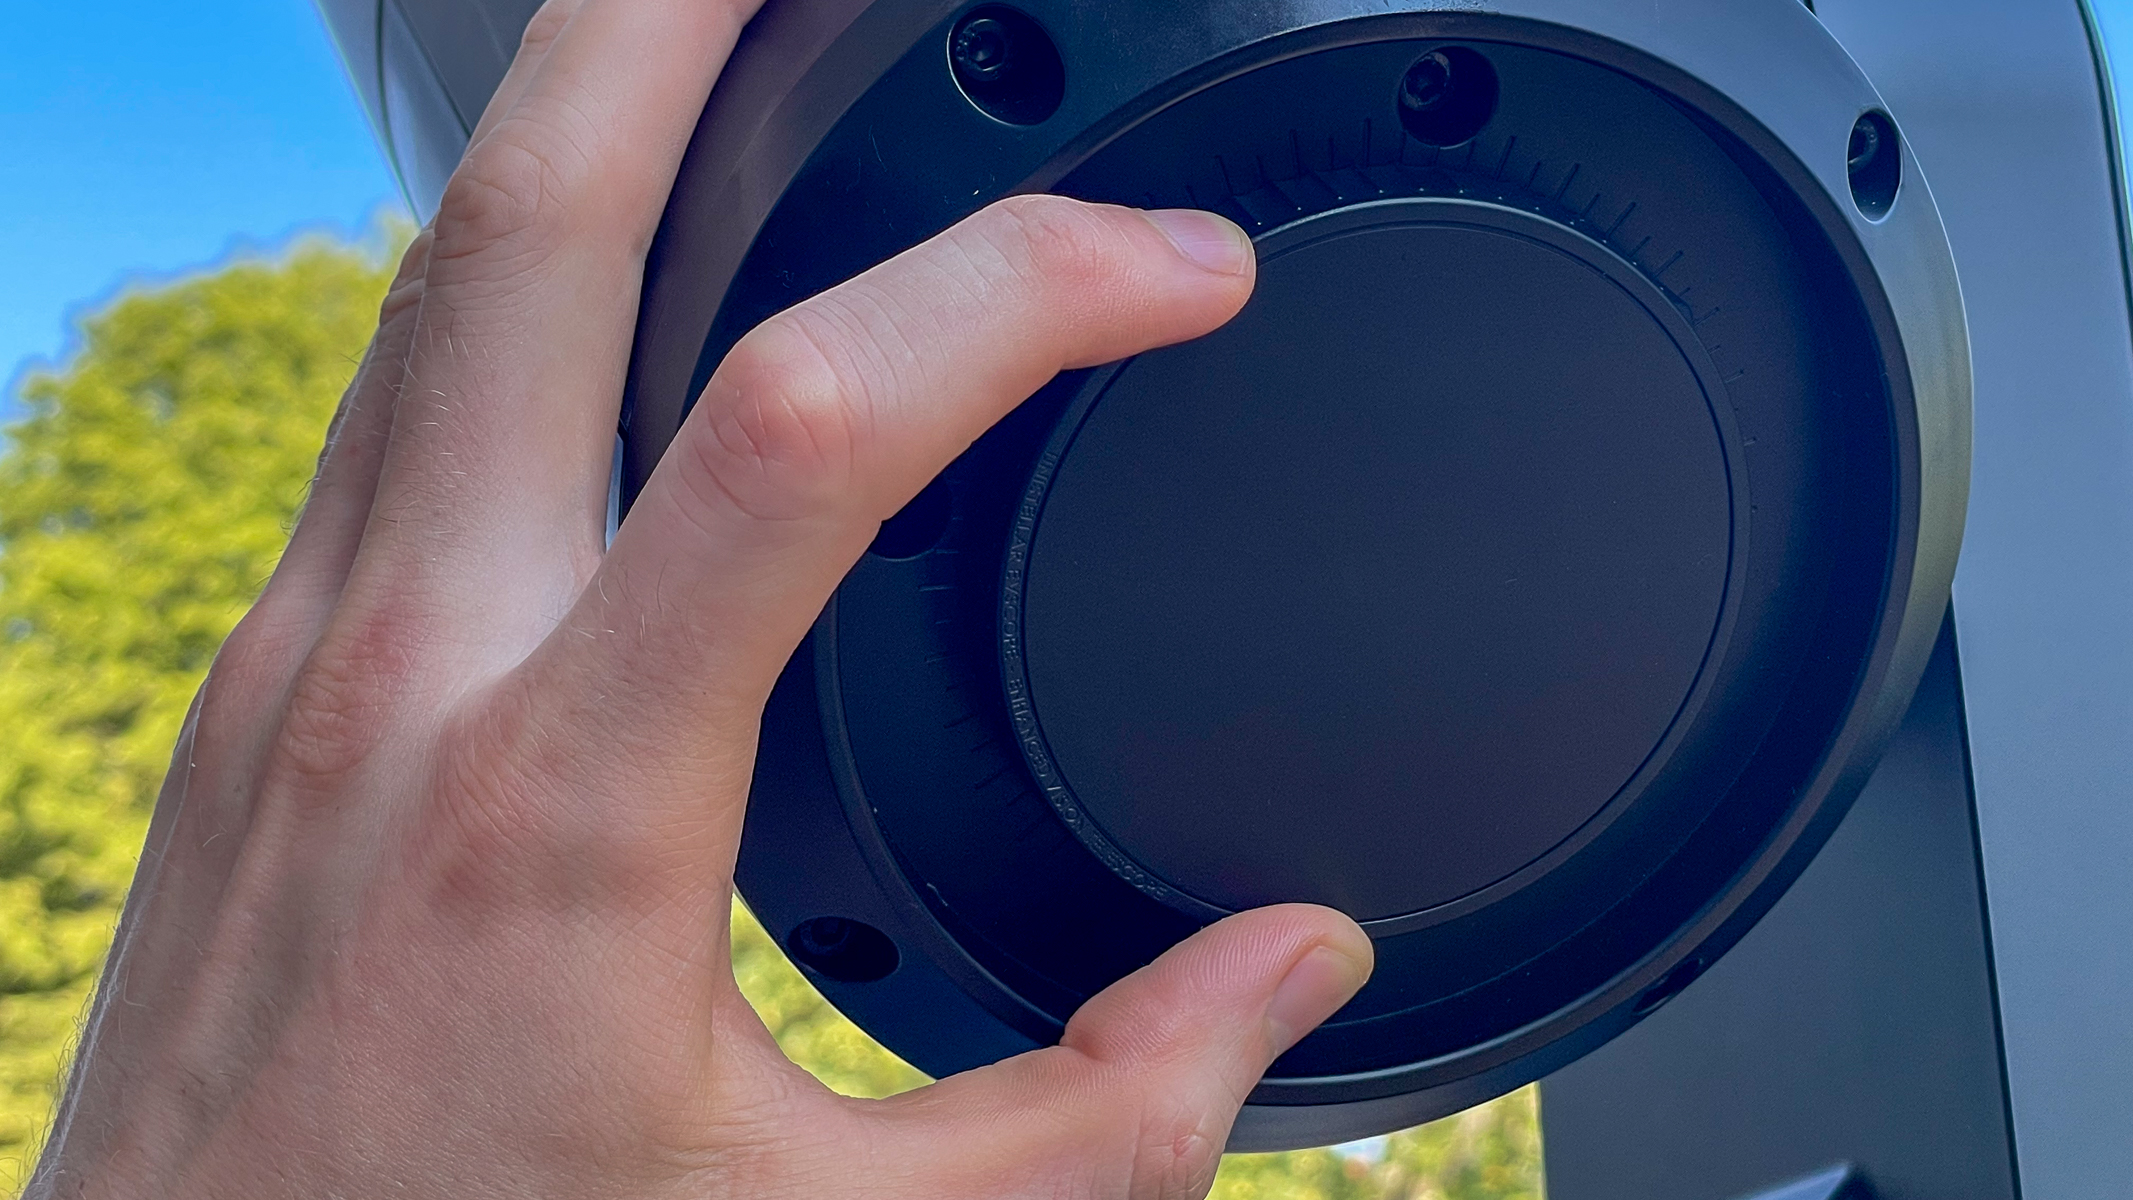
Next, you need a solar filter for your telescope. This is to protect the image sensors in the body of the telescope and drastically reduce the amount of light entering the aperture, so that you don't get a highly overexposed image. Many brands sell these solar filters separately and in the case of Unistellar, you have to make sure you get the right one for your model. There is a solar filter for their Odyssey range and then another filter for their pro range, which features the eQuinox 2 and eVscope 2 models.
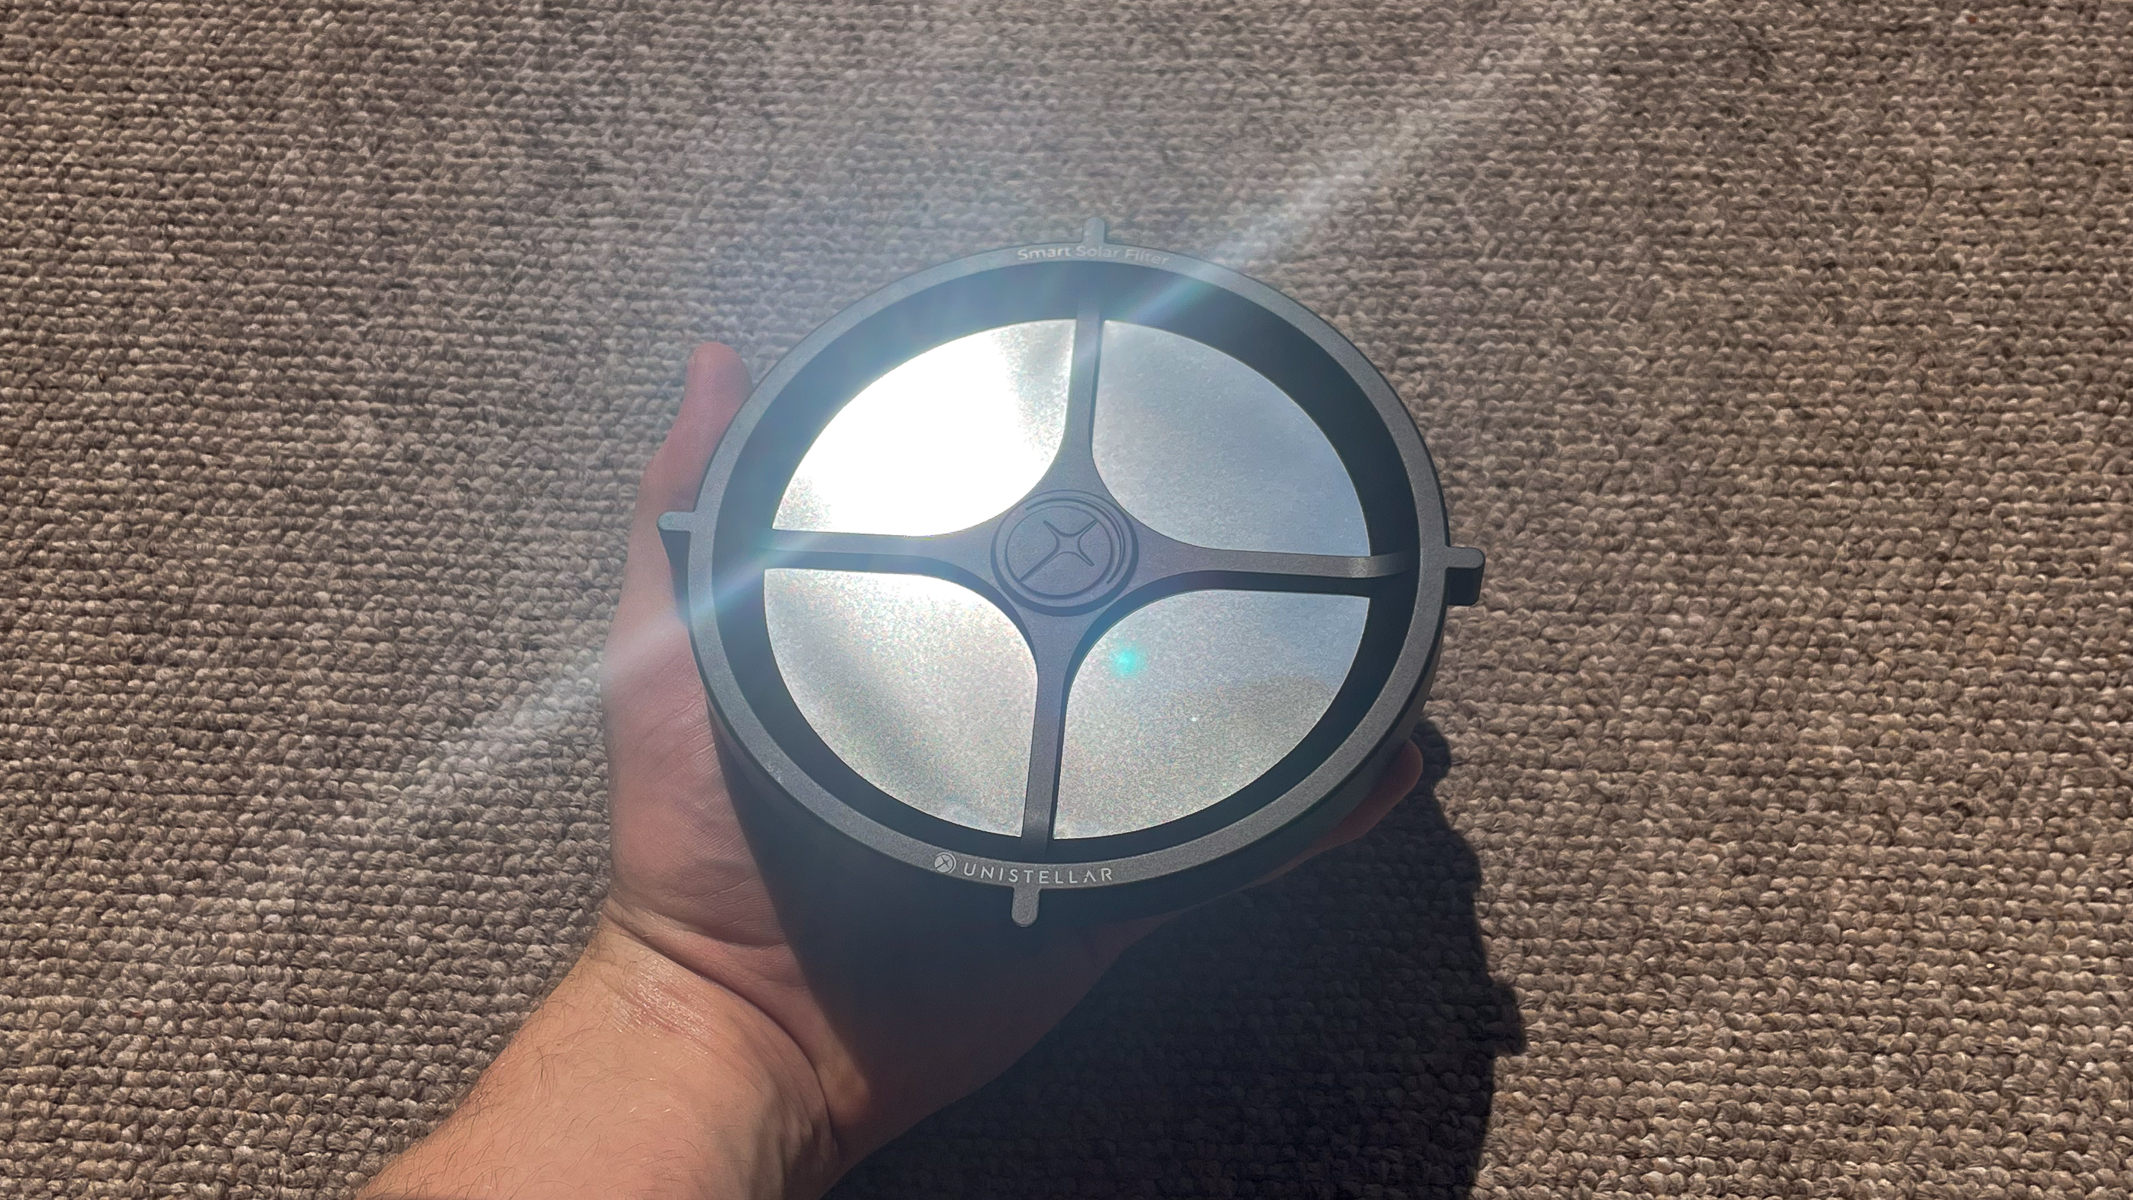
A hand holding the Unistellar eVscope 2 solar filter shining in the sunlight.

Some smart telescope companies sell their solar filters separately, like Unistellar, Vaonis and Celestron. (Image credit: Harry Bennett / Future)

Finally, you will also need access to somewhere with a good view of the sun, so a park, garden or open space is ideal. Solar imaging is best done in mid-to-late morning before the sun has heated up our atmosphere, which causes disturbance in the image. This is especially important if you are looking to get crisp shots of sunspots.

Observing and imaging the sun
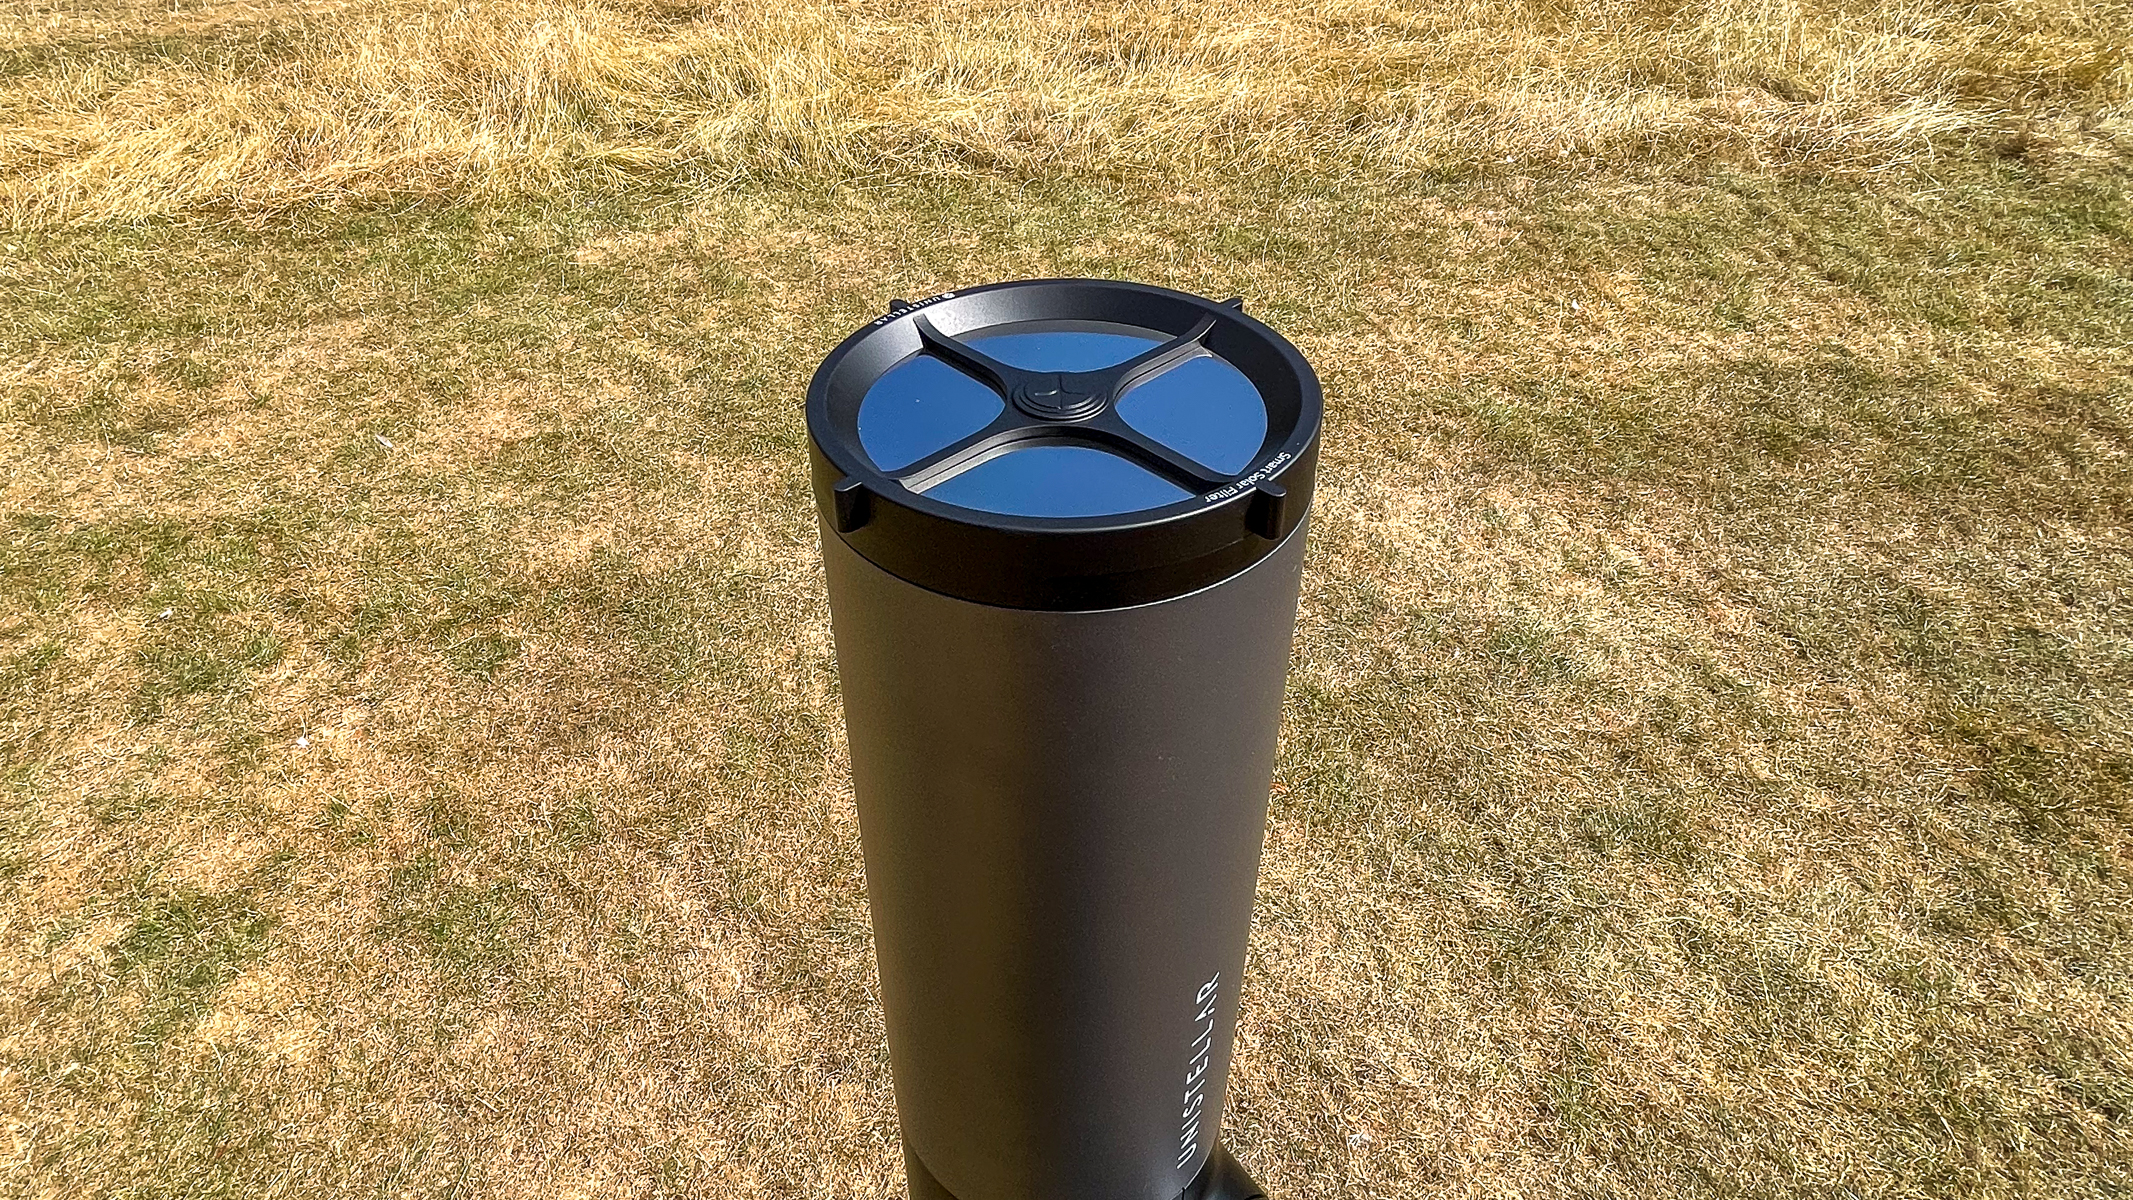
The Unistellar eVscope 2 with solar filter, pointing straight up with grass in the background.

The solar filter prevents the sun from damaging the image sensor in the smart telescope. (Image credit: Harry Bennett / Future)

Make sure your tripod is level, with your smart telescope properly attached, then turn it on and remove the dust cap. Open your preferred app and add your device by following the on-screen instructions.
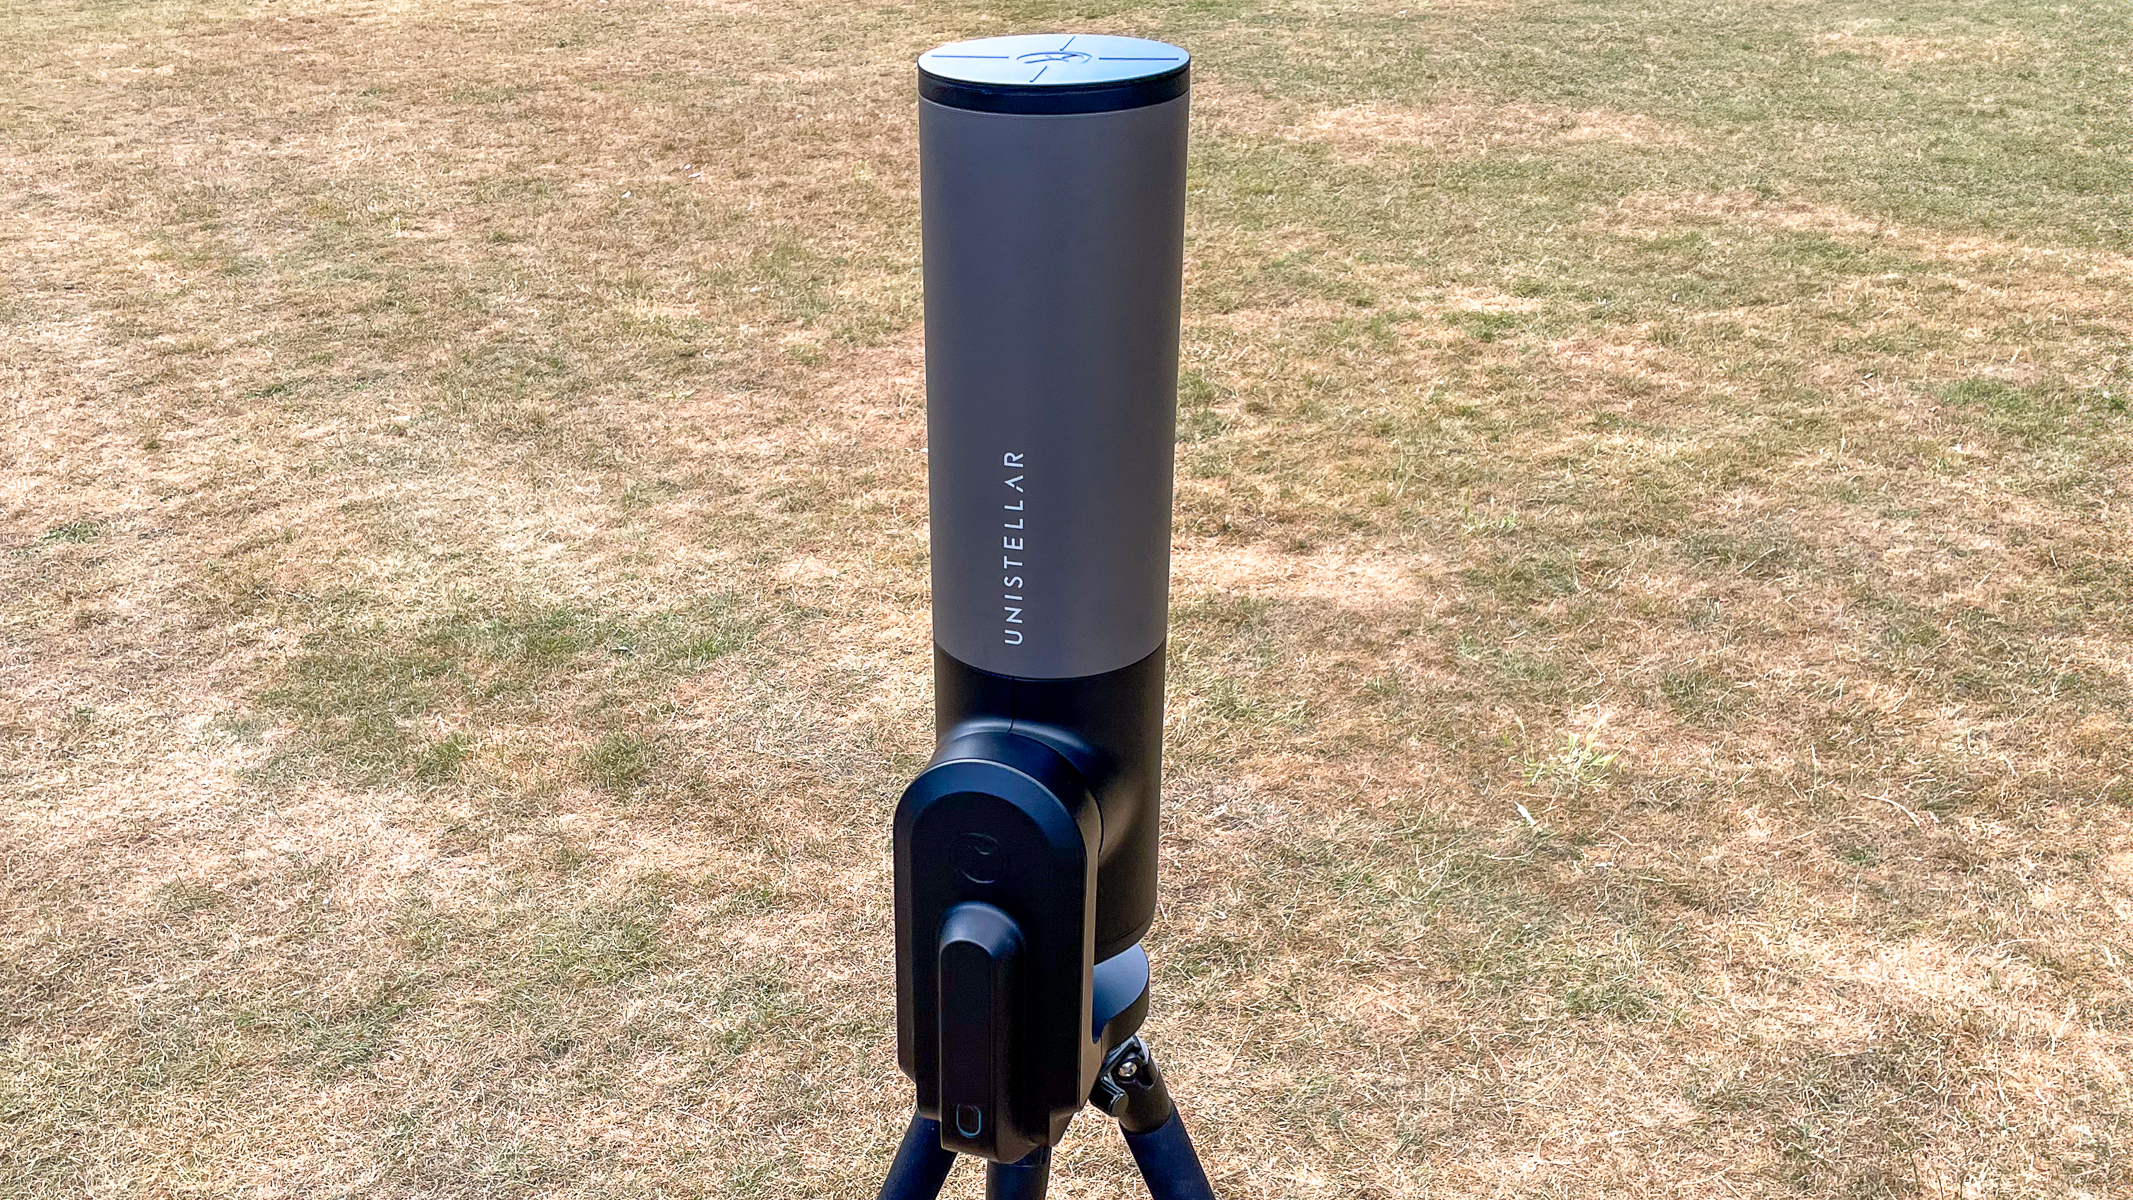
The Unistellar eVscope 2 pointing straight up with grass in the background.
The Unistellar eQuinox 2 is easy to set up in a yard or open space.Harry Bennett / Future
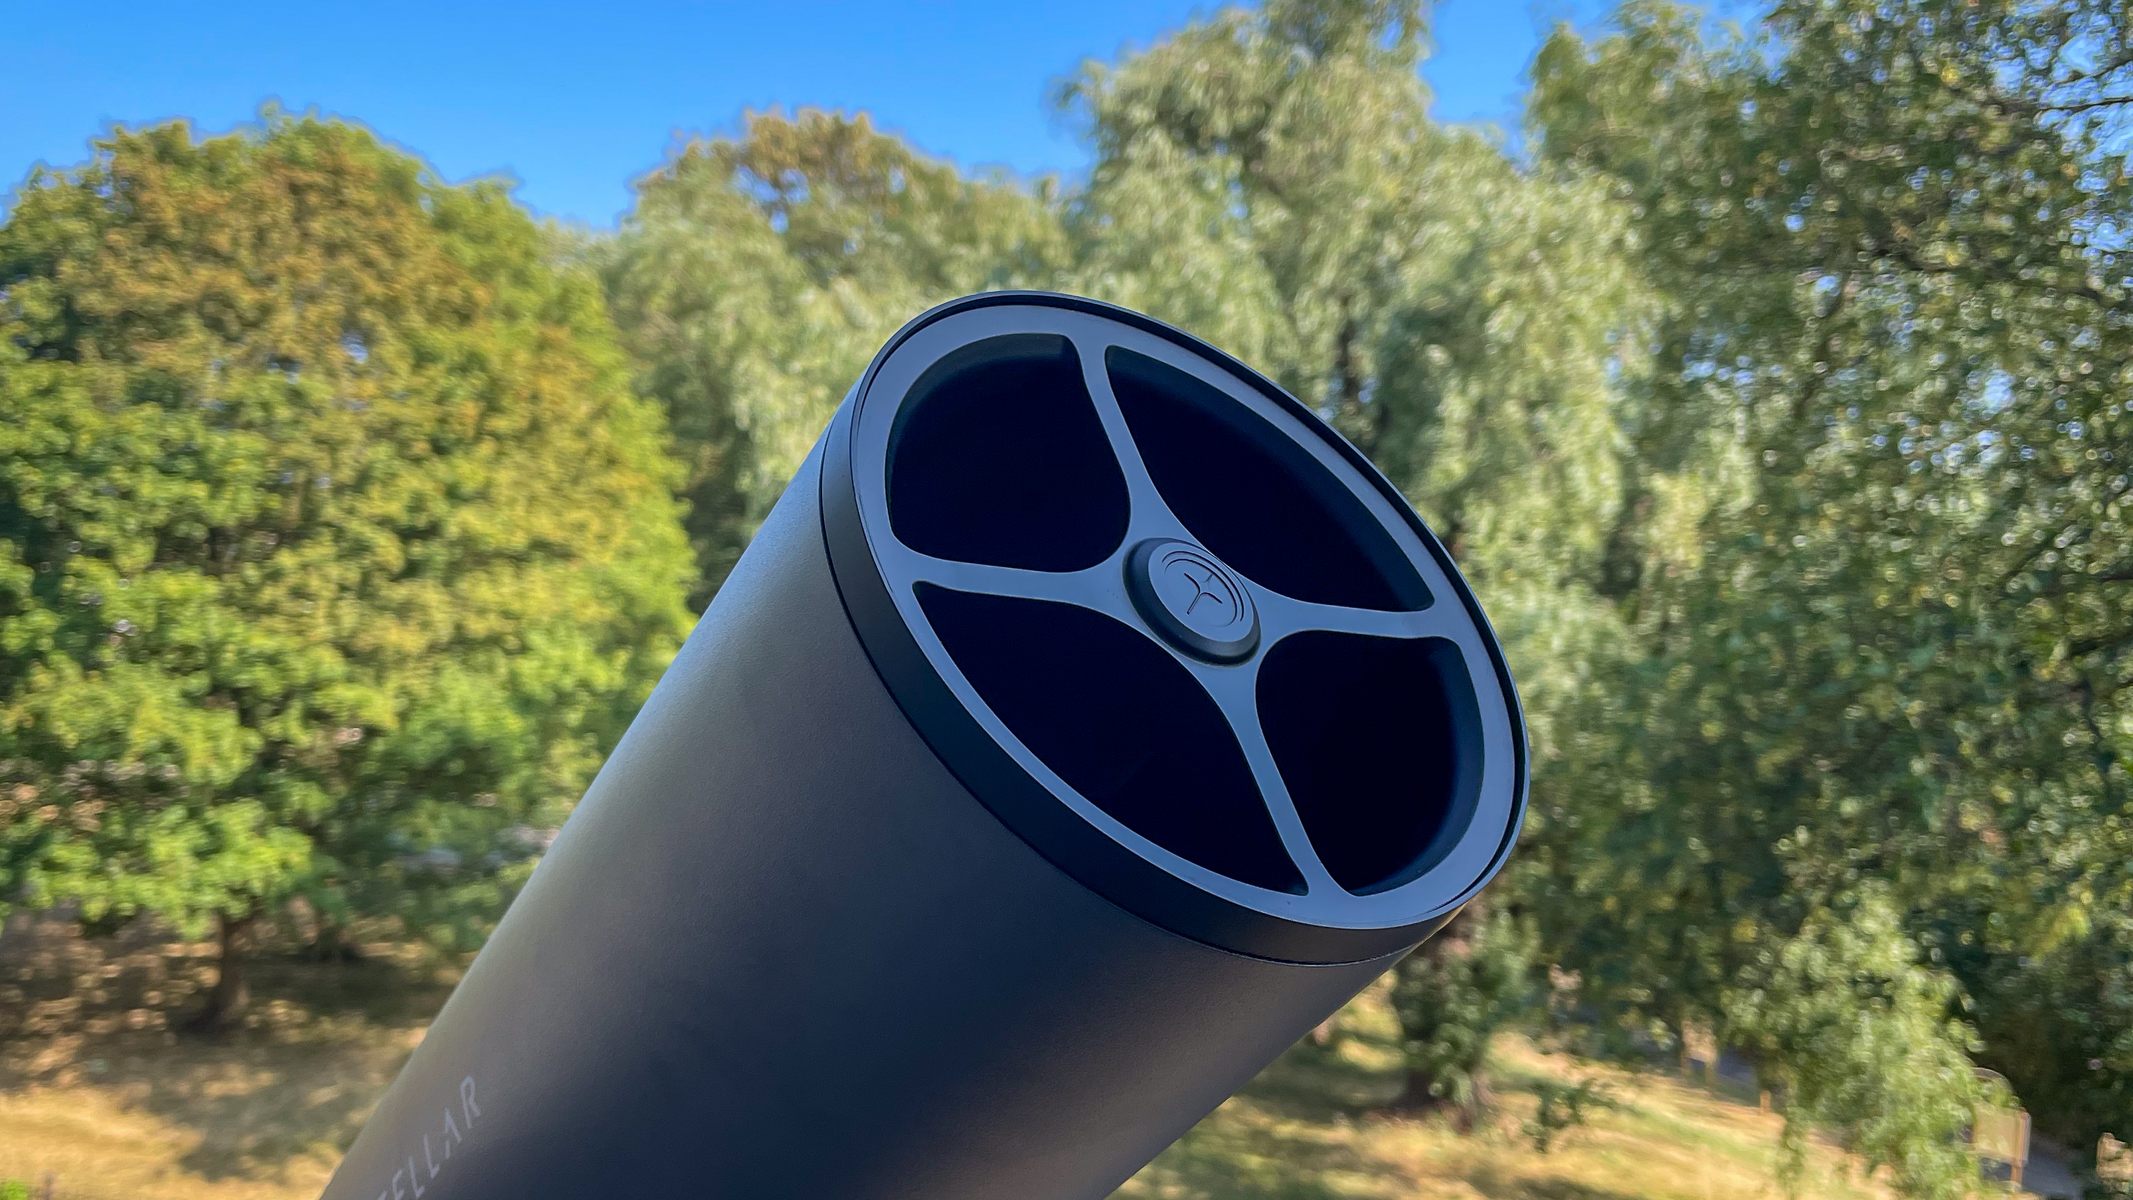
The Unistellar eVscope 2 without solar filter attached with trees in the background.
Used with a solar filter, smart telescopes allow you to track night sky objects and grab sharp images. Harry Bennett / Future
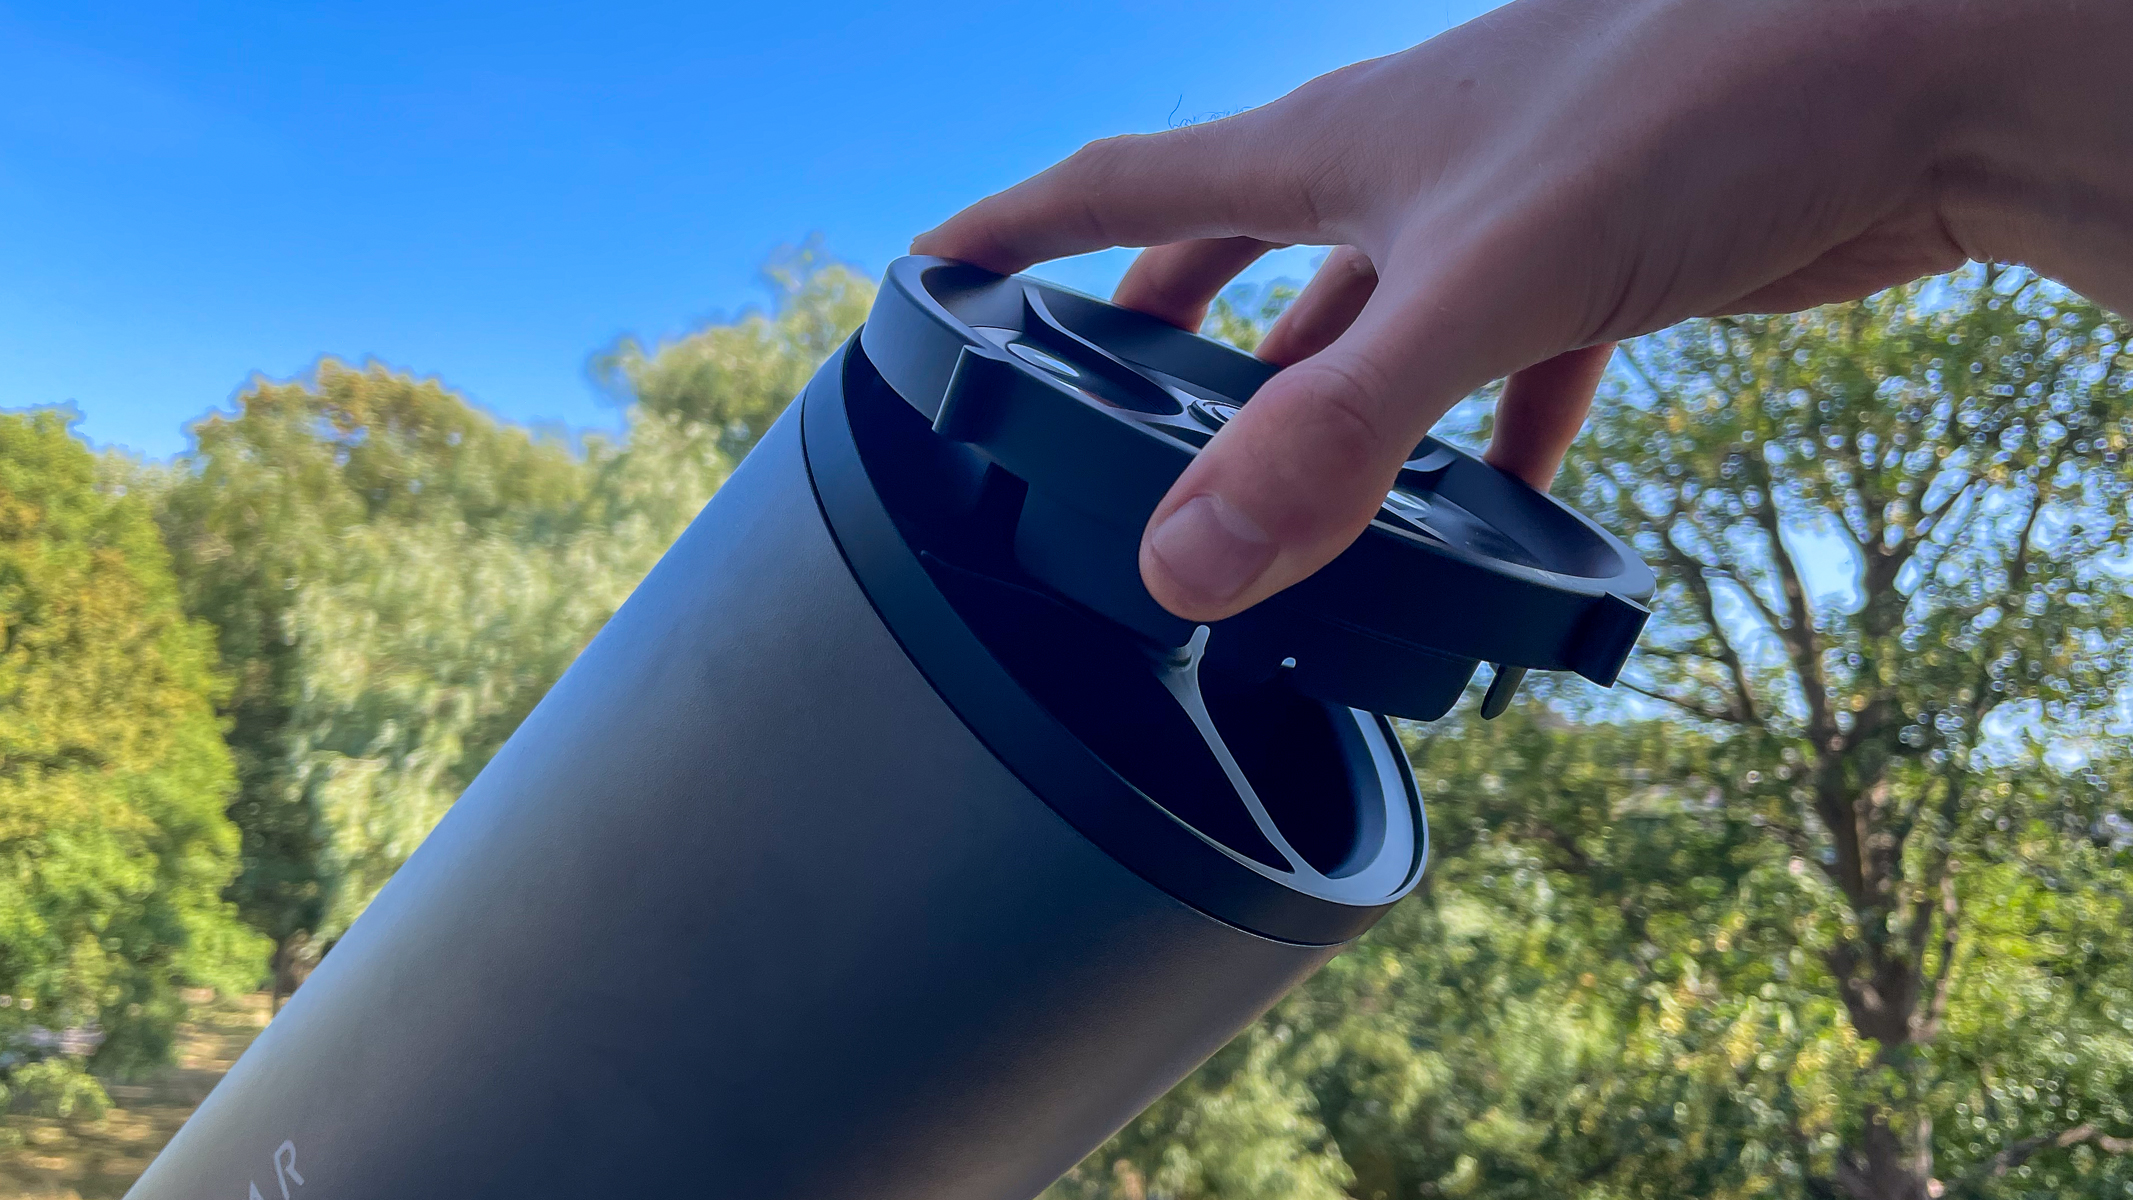
A hand attaching the solar filter to a Unistellar eVscope 2 with trees in the background.
The solar filters are easy to attach to the aperture on the eQuinox 2. Harry Bennett / Future
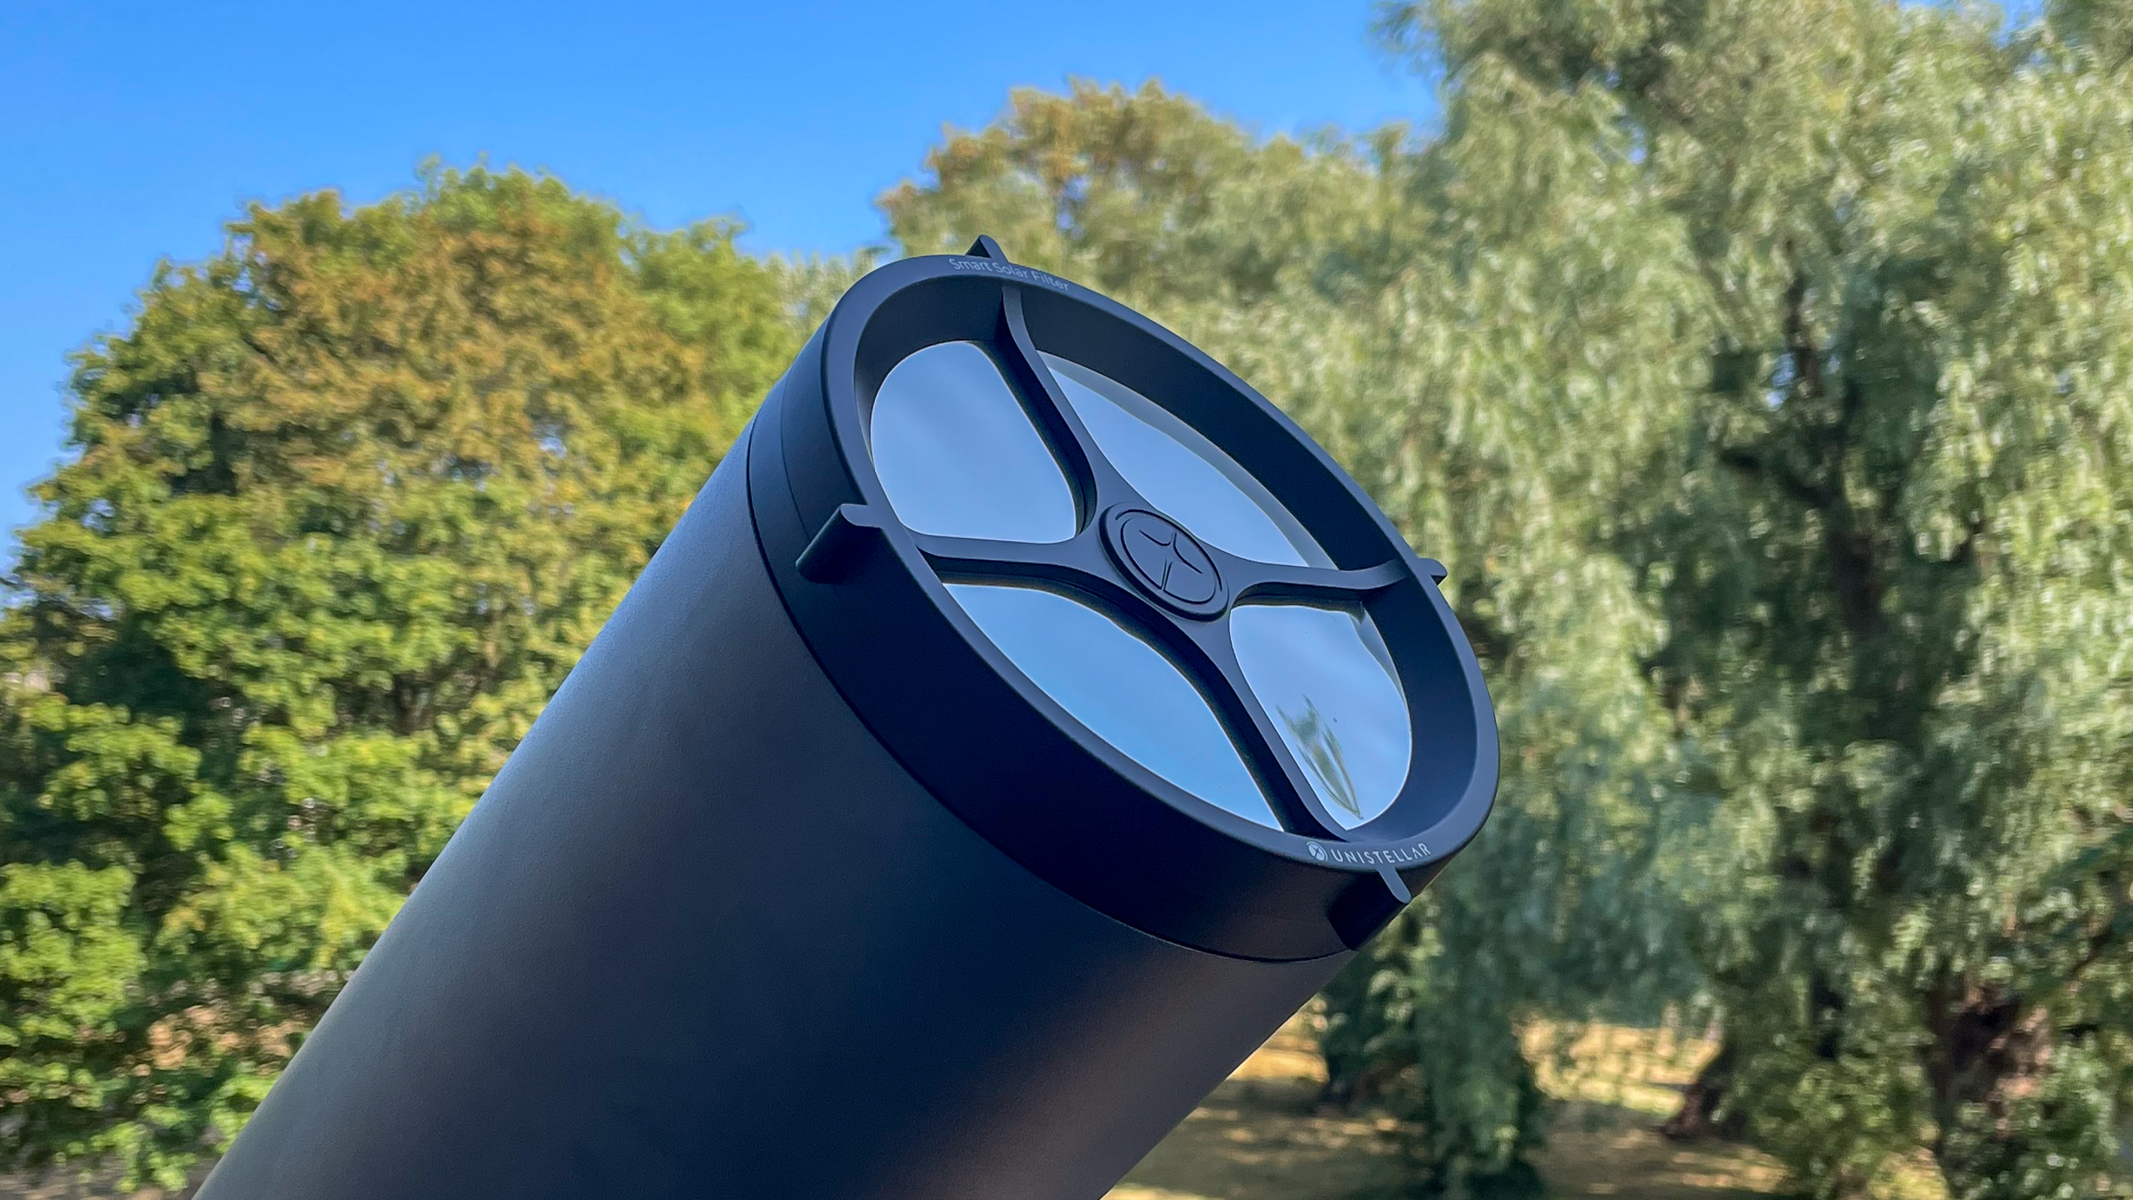
A Unistellar eVscope 2 with solar filter attached with trees in the background.
With the solar filter attached, the eQuinox 2 is ready for solar observation and photography. Harry Bennett / Future

Next, you should inspect your solar filter for any tears or holes, as any exposure to the sun without the filter can permanently damage the sensor. Installation is easy as you just clip the filter onto the end of your smart telescope.
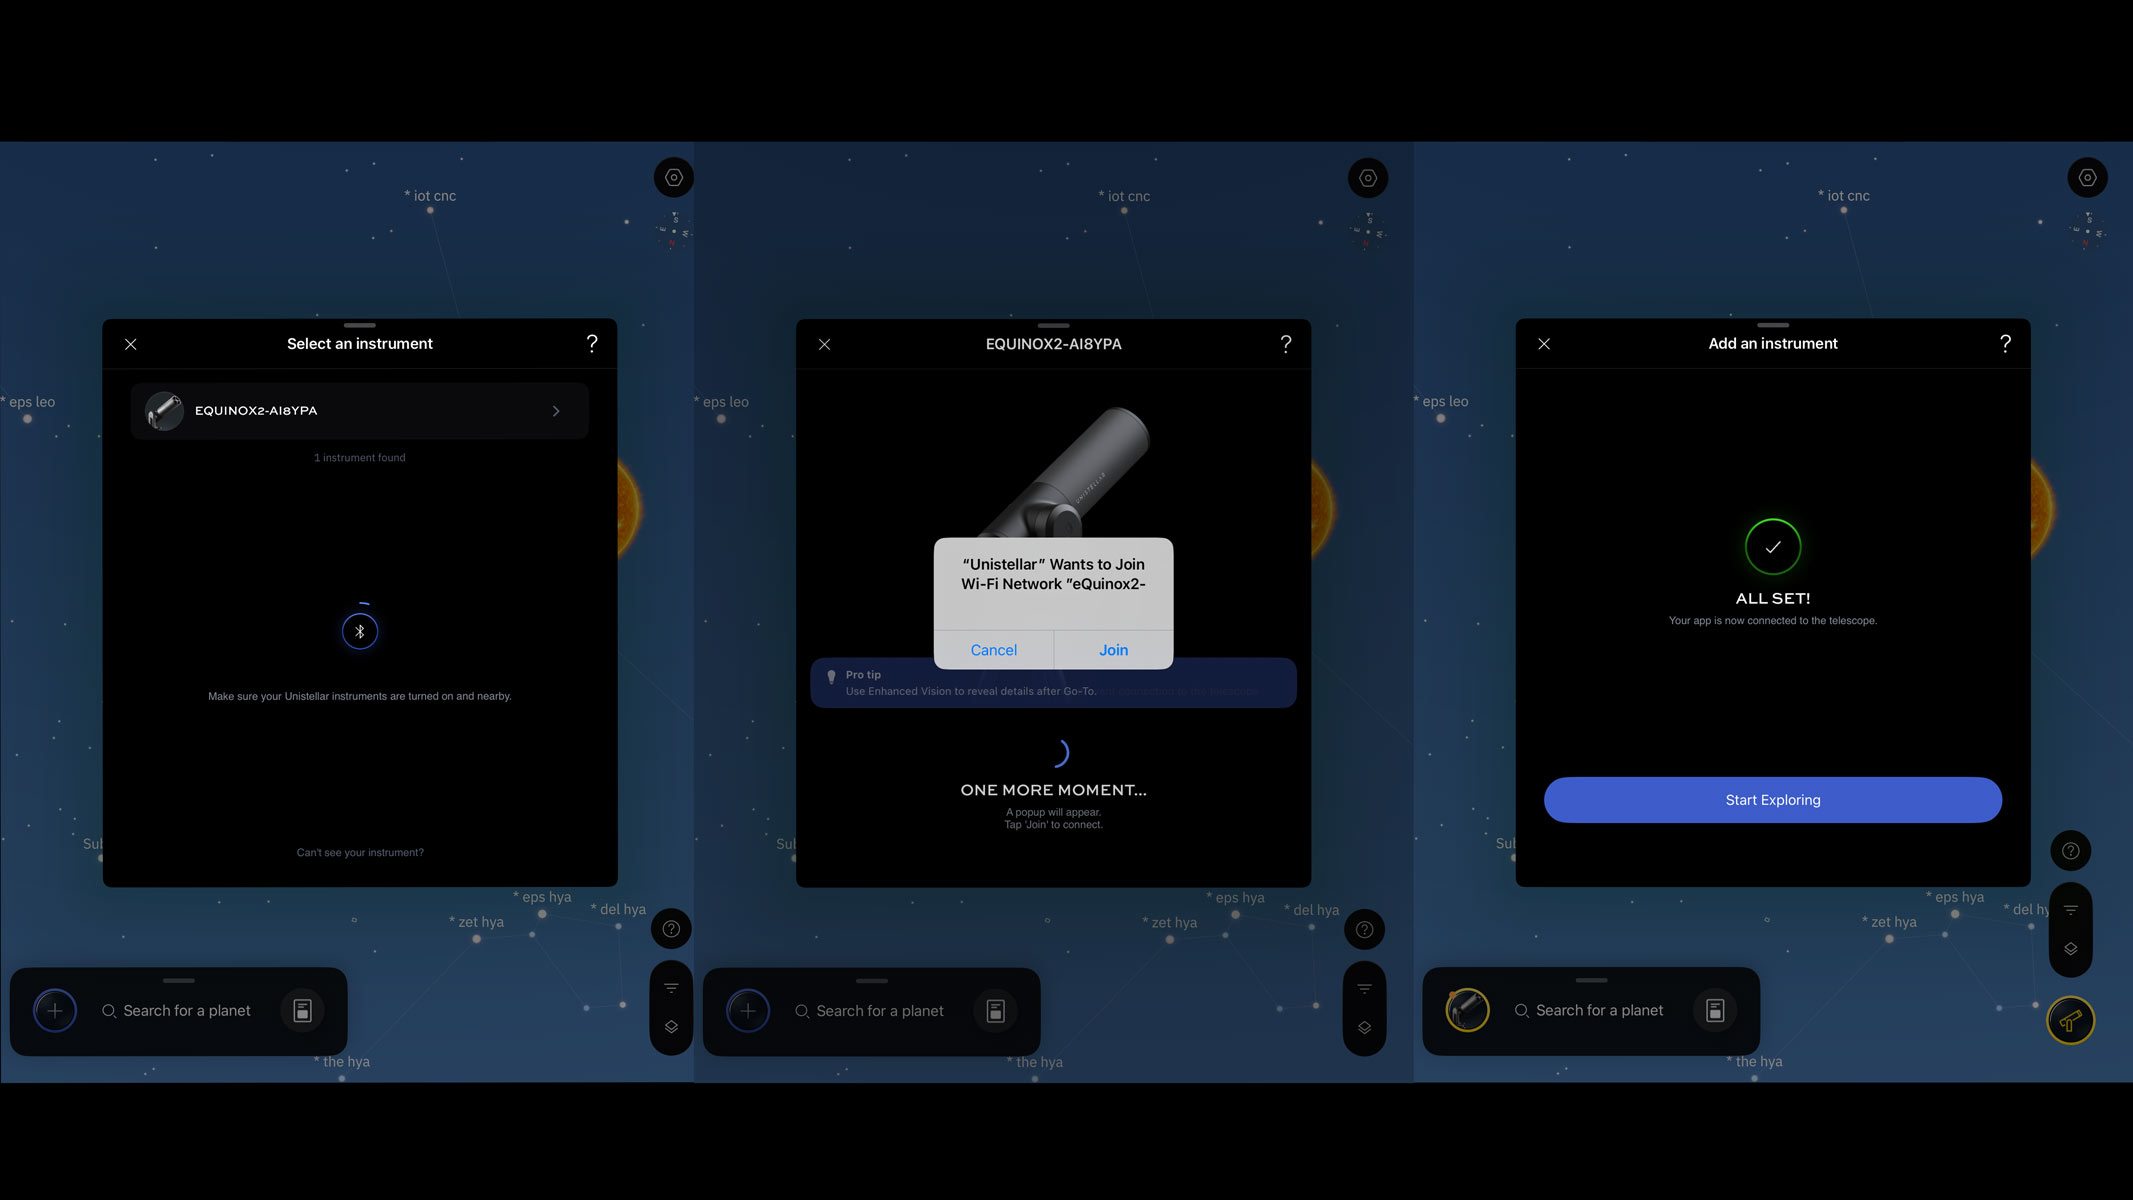
Screenshots of the Unistellar app showing how to connect your smart telescope.

On the Unistellar app, on-screen instructions guide you through connecting to the device. (Image credit: Unistellar)

After the device is connected, go to the list of sky targets in your app and it will allow you to browse or search for the sun. Click on it to bring up the go-to functions and if you are interested, more astronomical information about your chosen target.
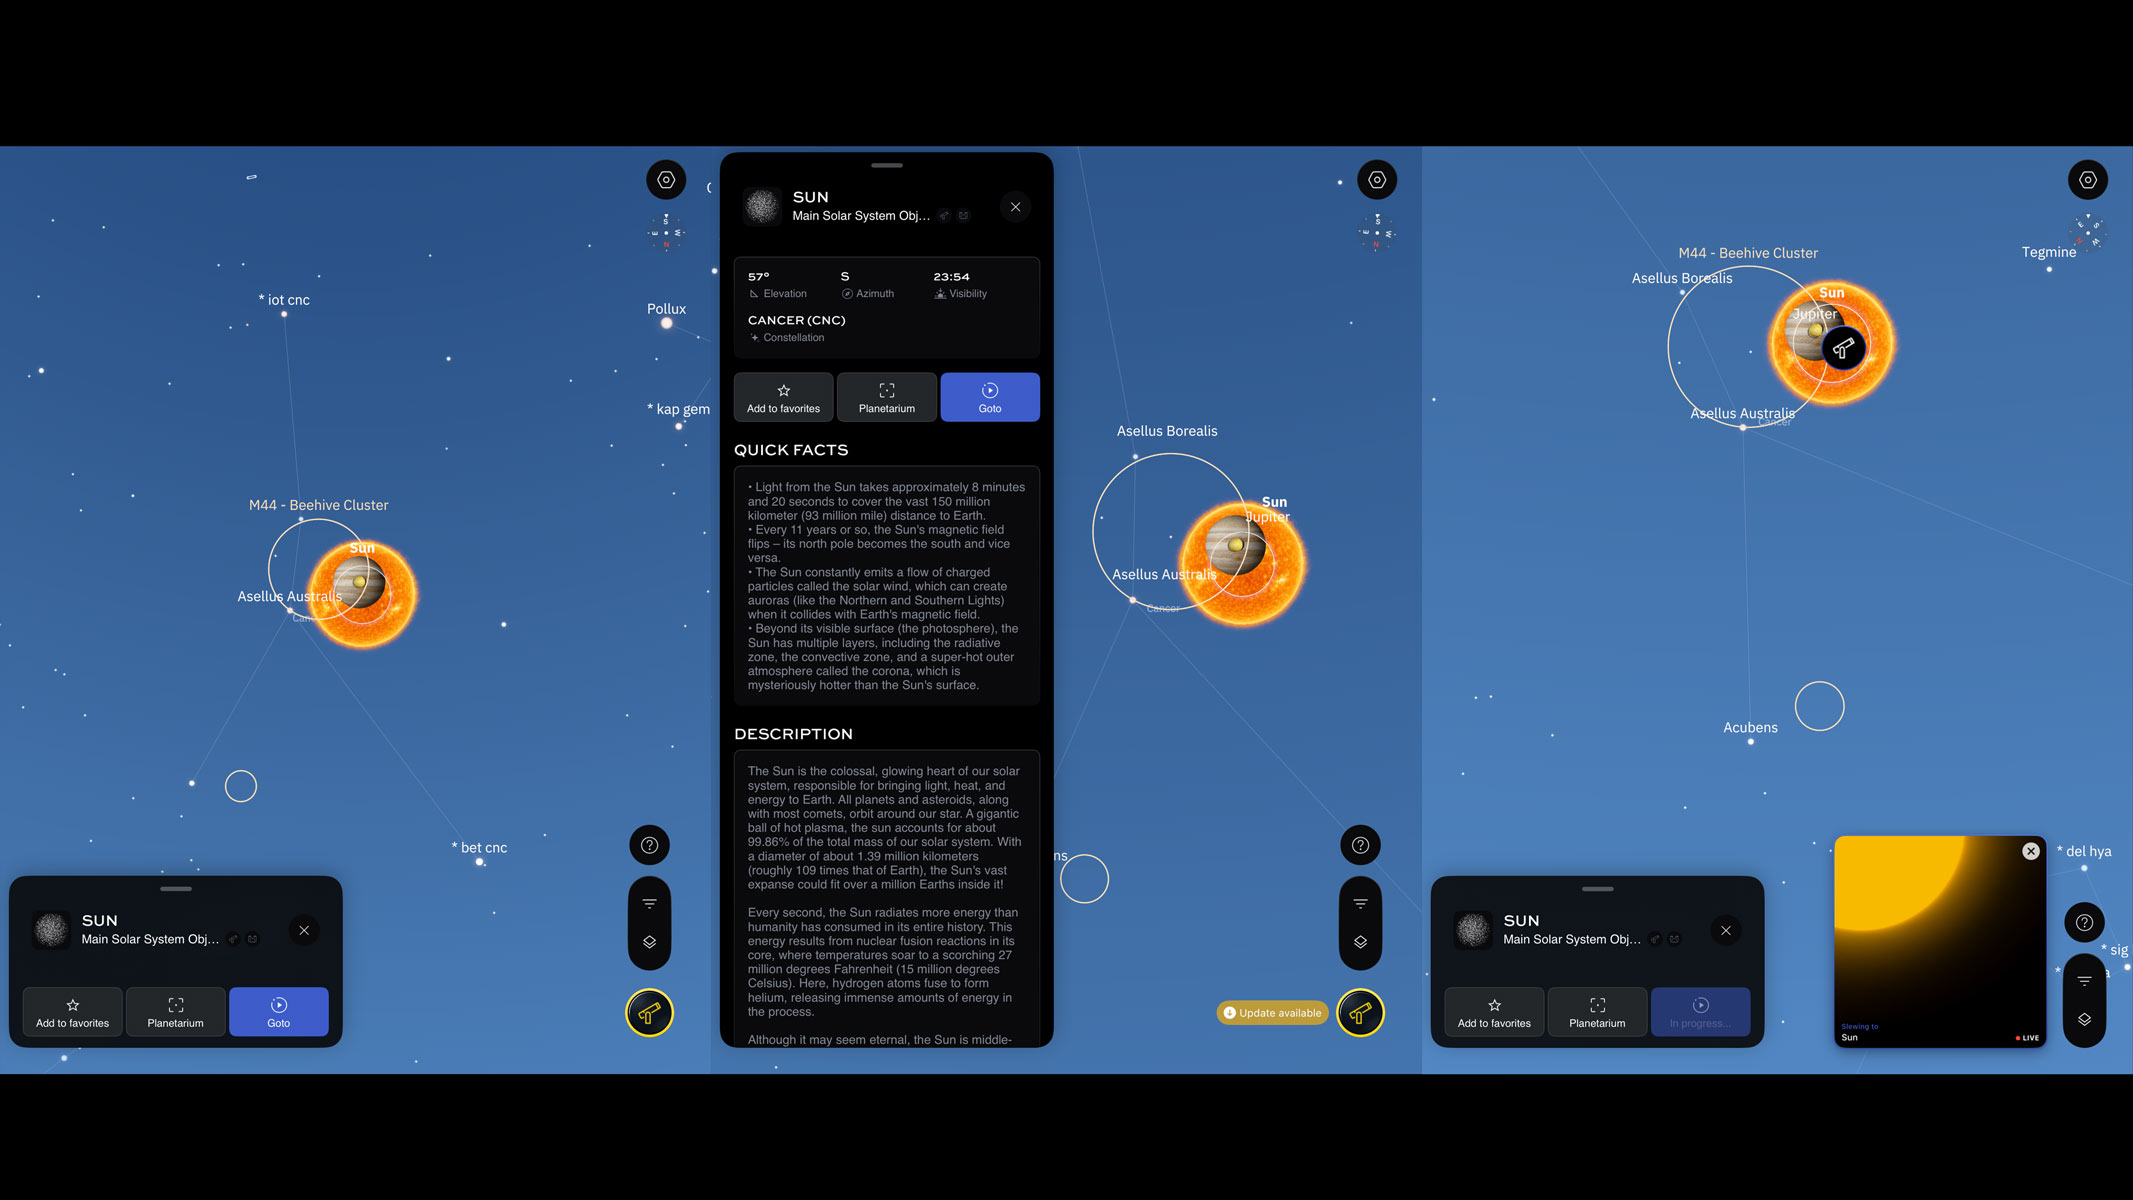
Screenshots of the Unistellar app showing the planetarium with the sun and app functions.

In the Unistellar planetarium, you simply just select the sun and click GoTo to start target location. (Image credit: Unistellar)

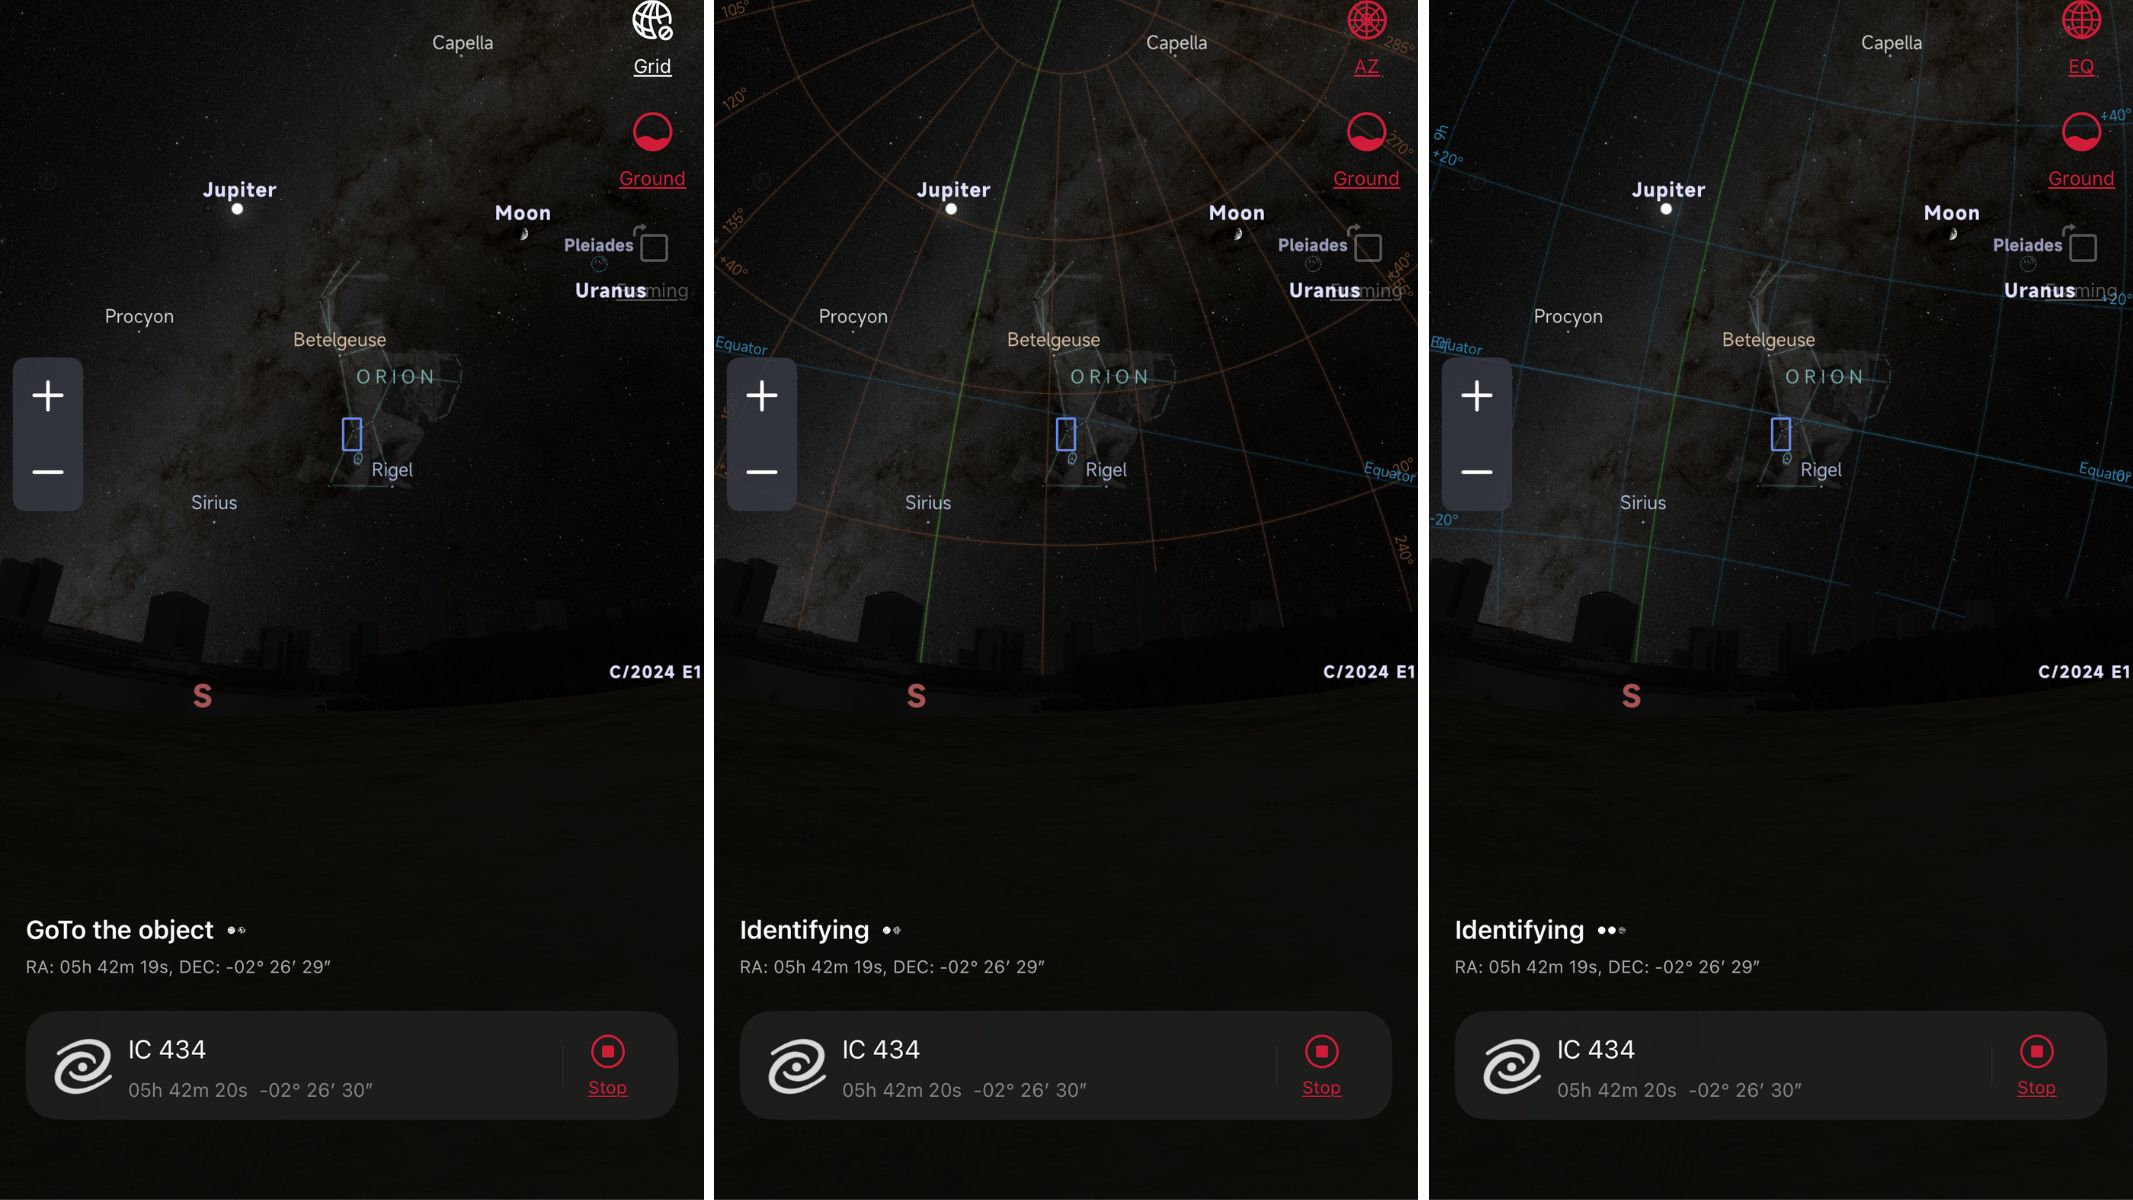
Clicking on go-to for the sun brings up a series of slides to guide you through how to safely observe the sun with your device. The app also recommends positioning your telescope mount in the direction of the sun with the motor on your right to avoid any issues or delays in slewing.
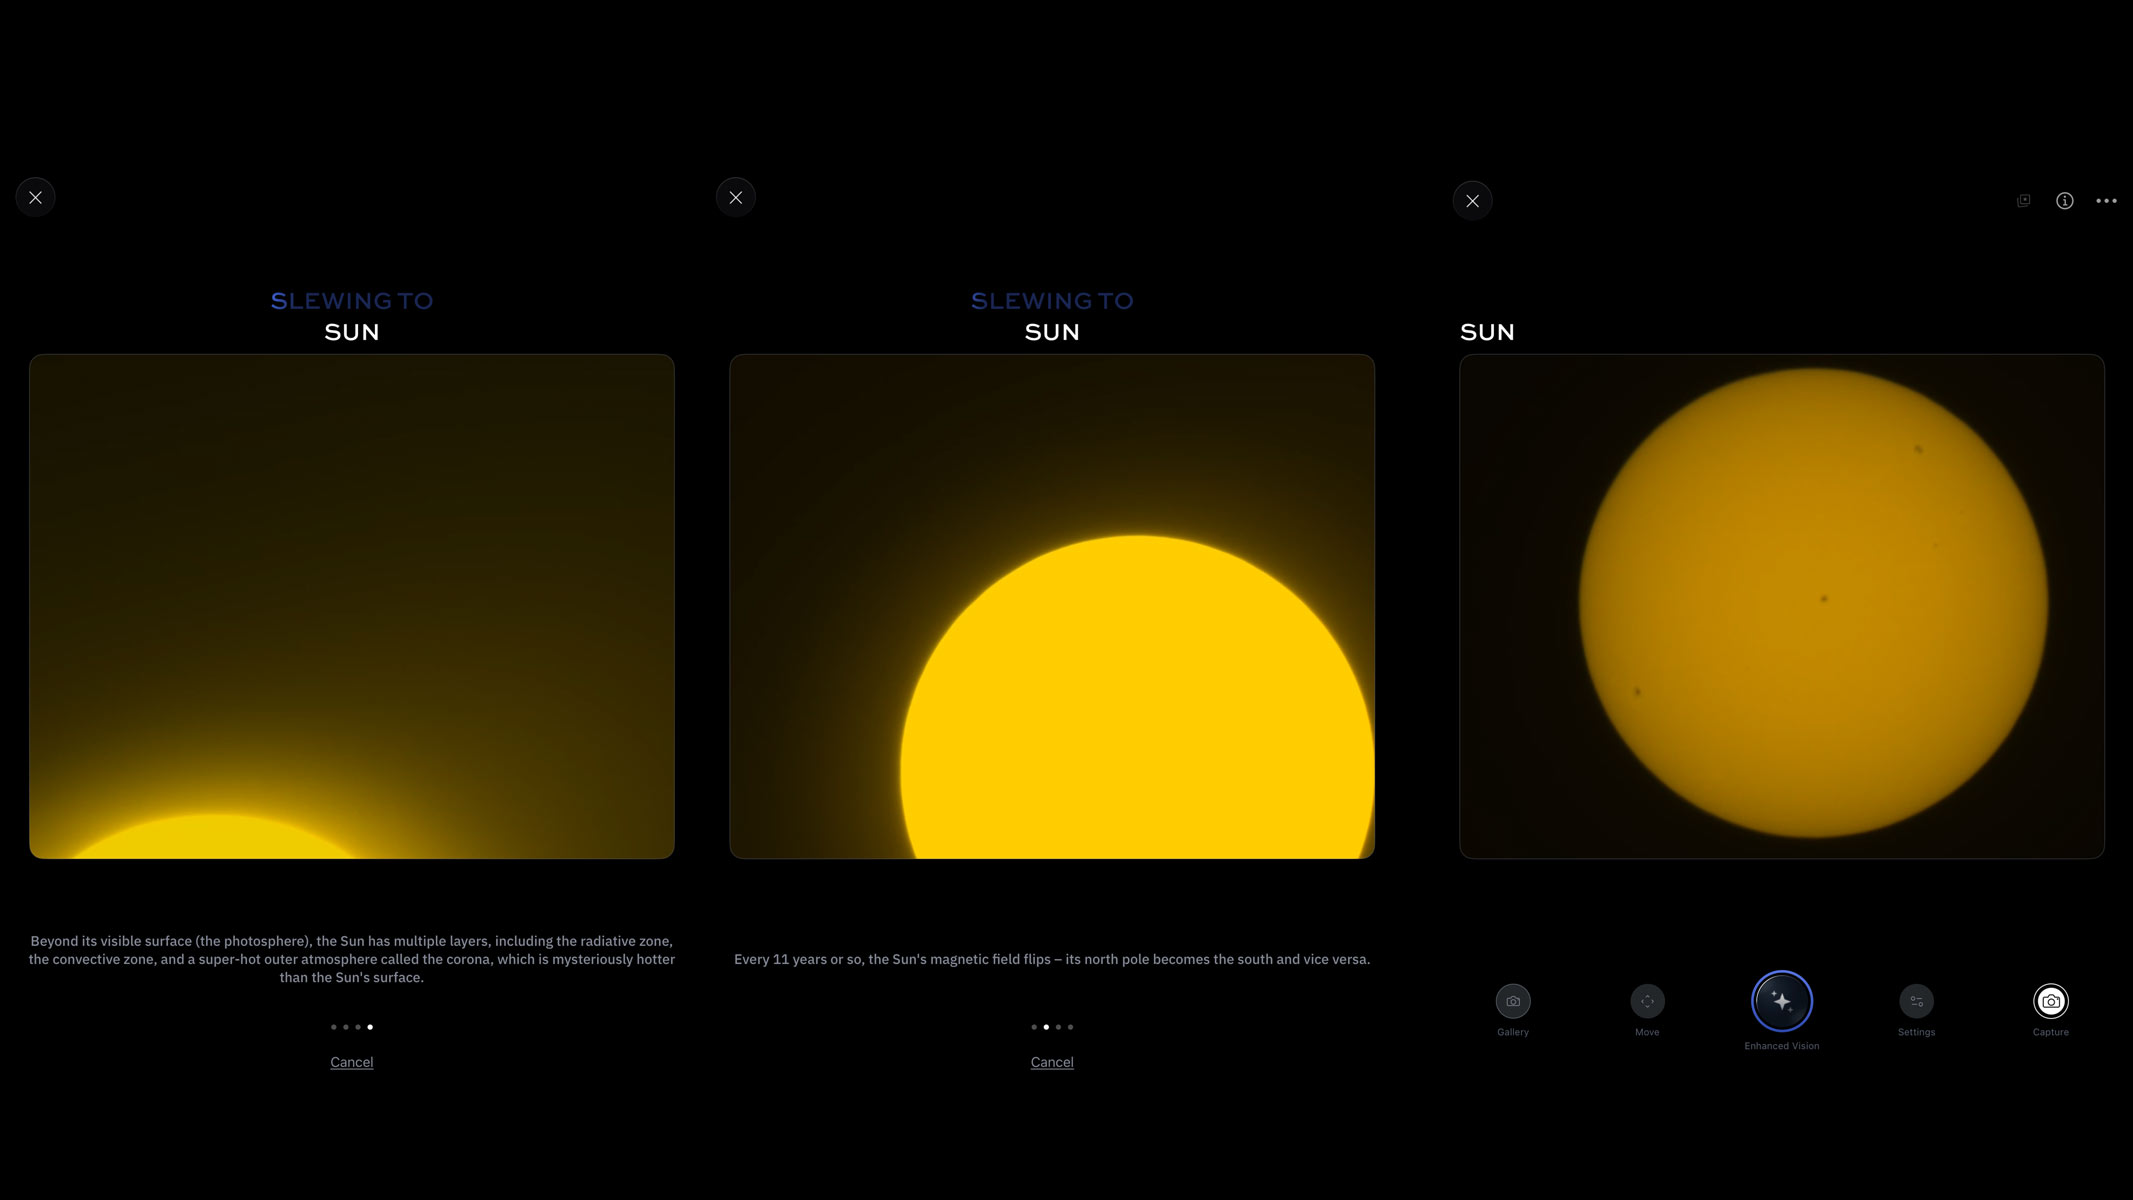
Screenshots of the Unistellar app showing the solar disk.

While not rapid, the eQuinox 2 finds the sun within a minute or two, with extra time spent centering the solar disk. (Image credit: Unistellar)

After pressing go, the smart telescope should move and slew towards the sun. It can take a little while but it is rather exciting as you see the edges of the solar disk flash on the screen as the telescope gets closer and centers the image.
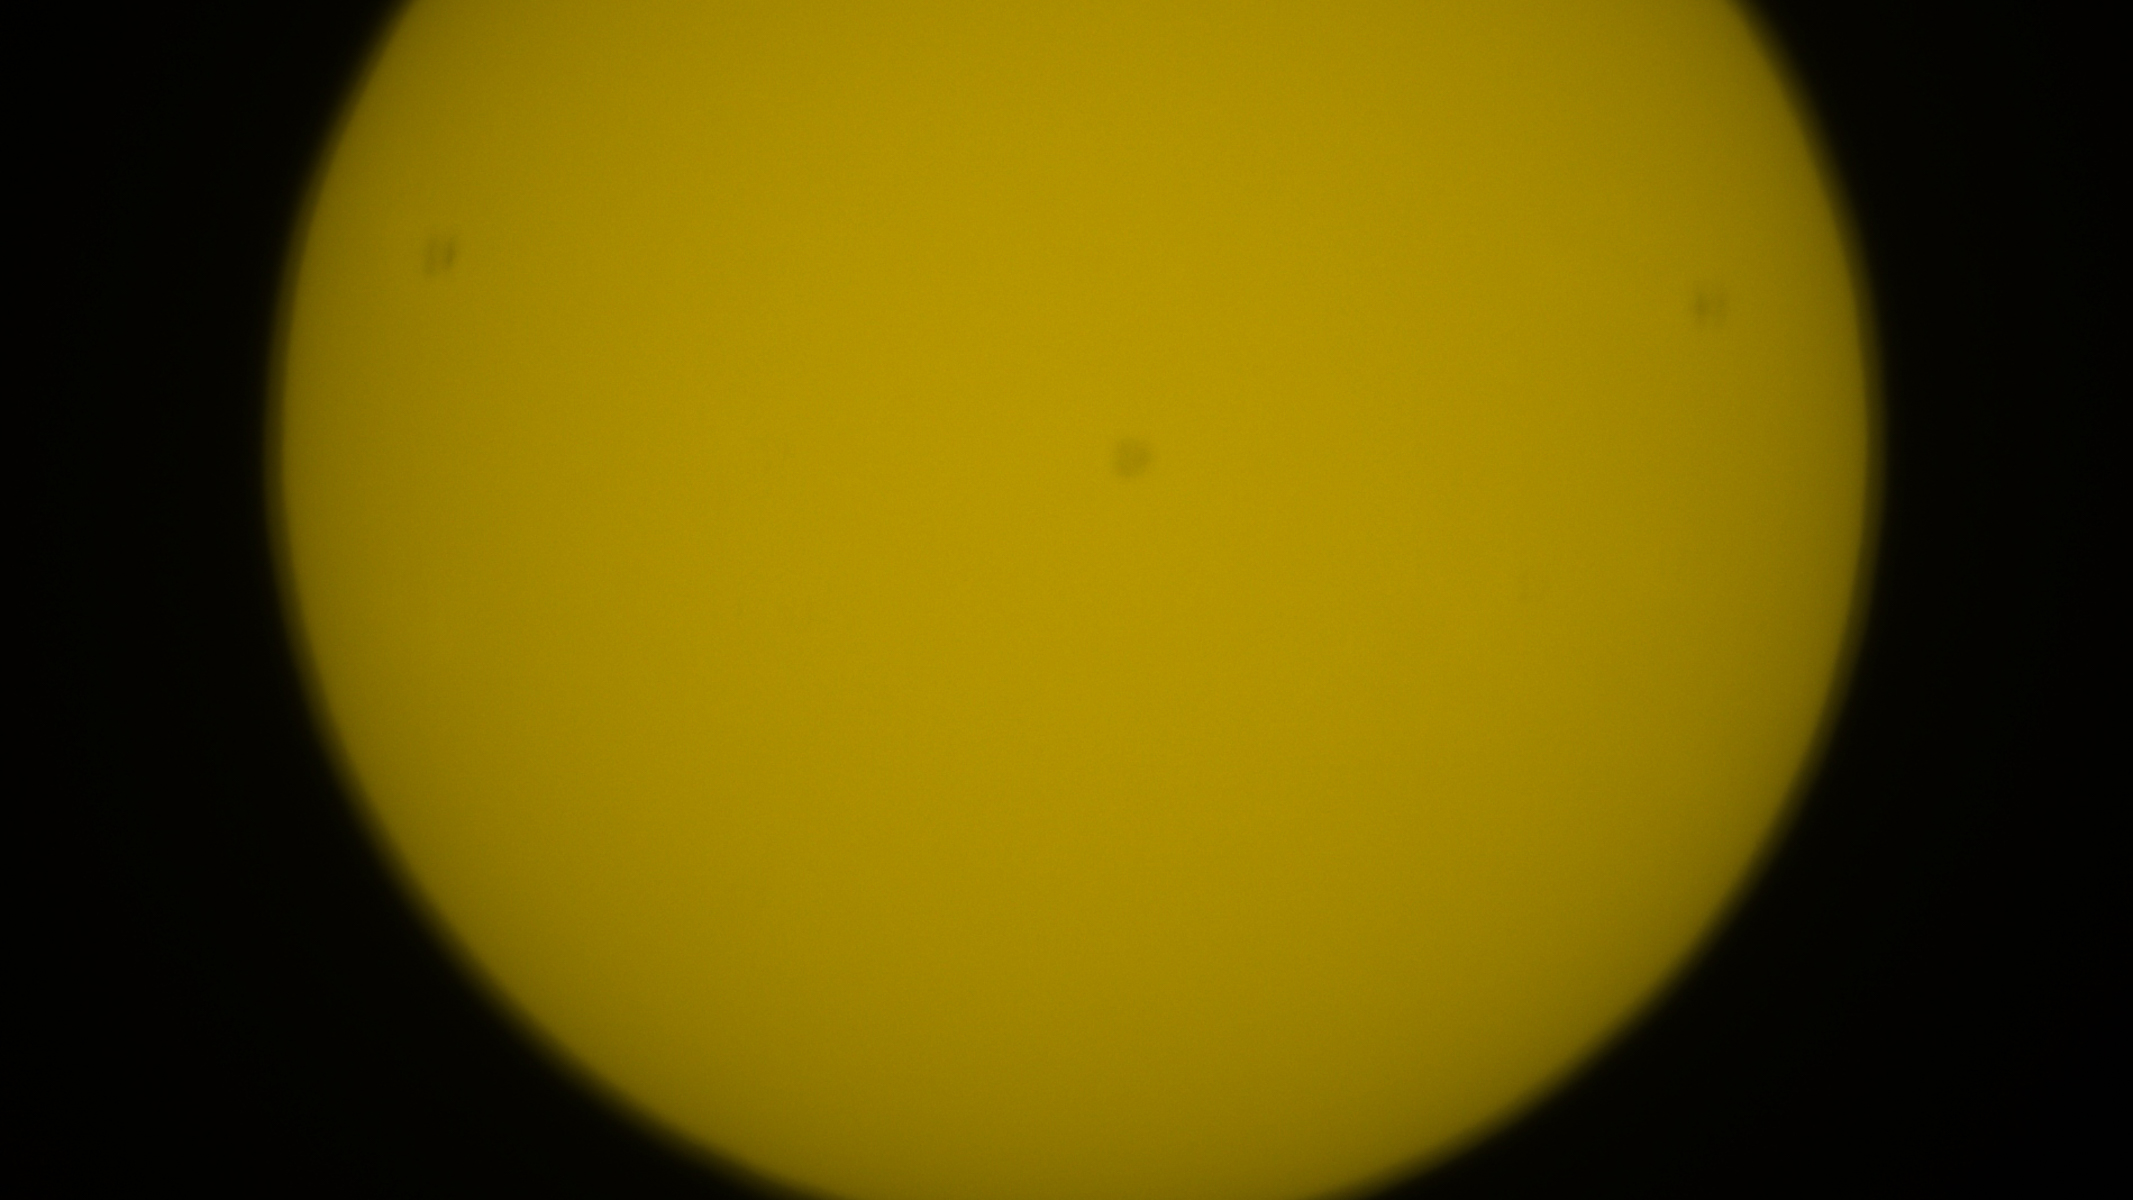
Part of the solar disk with unfocused sunspots.
Once I found the solar disk, I saw that the sunspots were out of focus.Harry Bennett / Future
A hand adjusting the focus wheel on the bottom of a Unistellar eVscope 2.
Using the focus wheel on the bottom of the Unistellar eQuinox 2, I incrementally adjusted the focus.Harry Bennett / Future
Part of the solar disk with sunspots in focus
When focusing the sunspots on the eQuinox 2, they only get darker and slightly sharper, but sharp focus is not achieved until stacking. Harry Bennett / Future

For smart telescopes with manual focusing, you will need to make sure that your image is in focus. Now on a bright sunny day, this can be tricky to see on a smart device screen but it is essential to getting a sharp image of sunspots. Using the wheel at the bottom of the eQuinox 2, I gradually adjusted the focus in small increments to allow for live image delay on my tablet. I used the sunspots as a guide for my focus, but it was still difficult because they don't become crystal clear during focusing, they just get slightly more defined and darker.
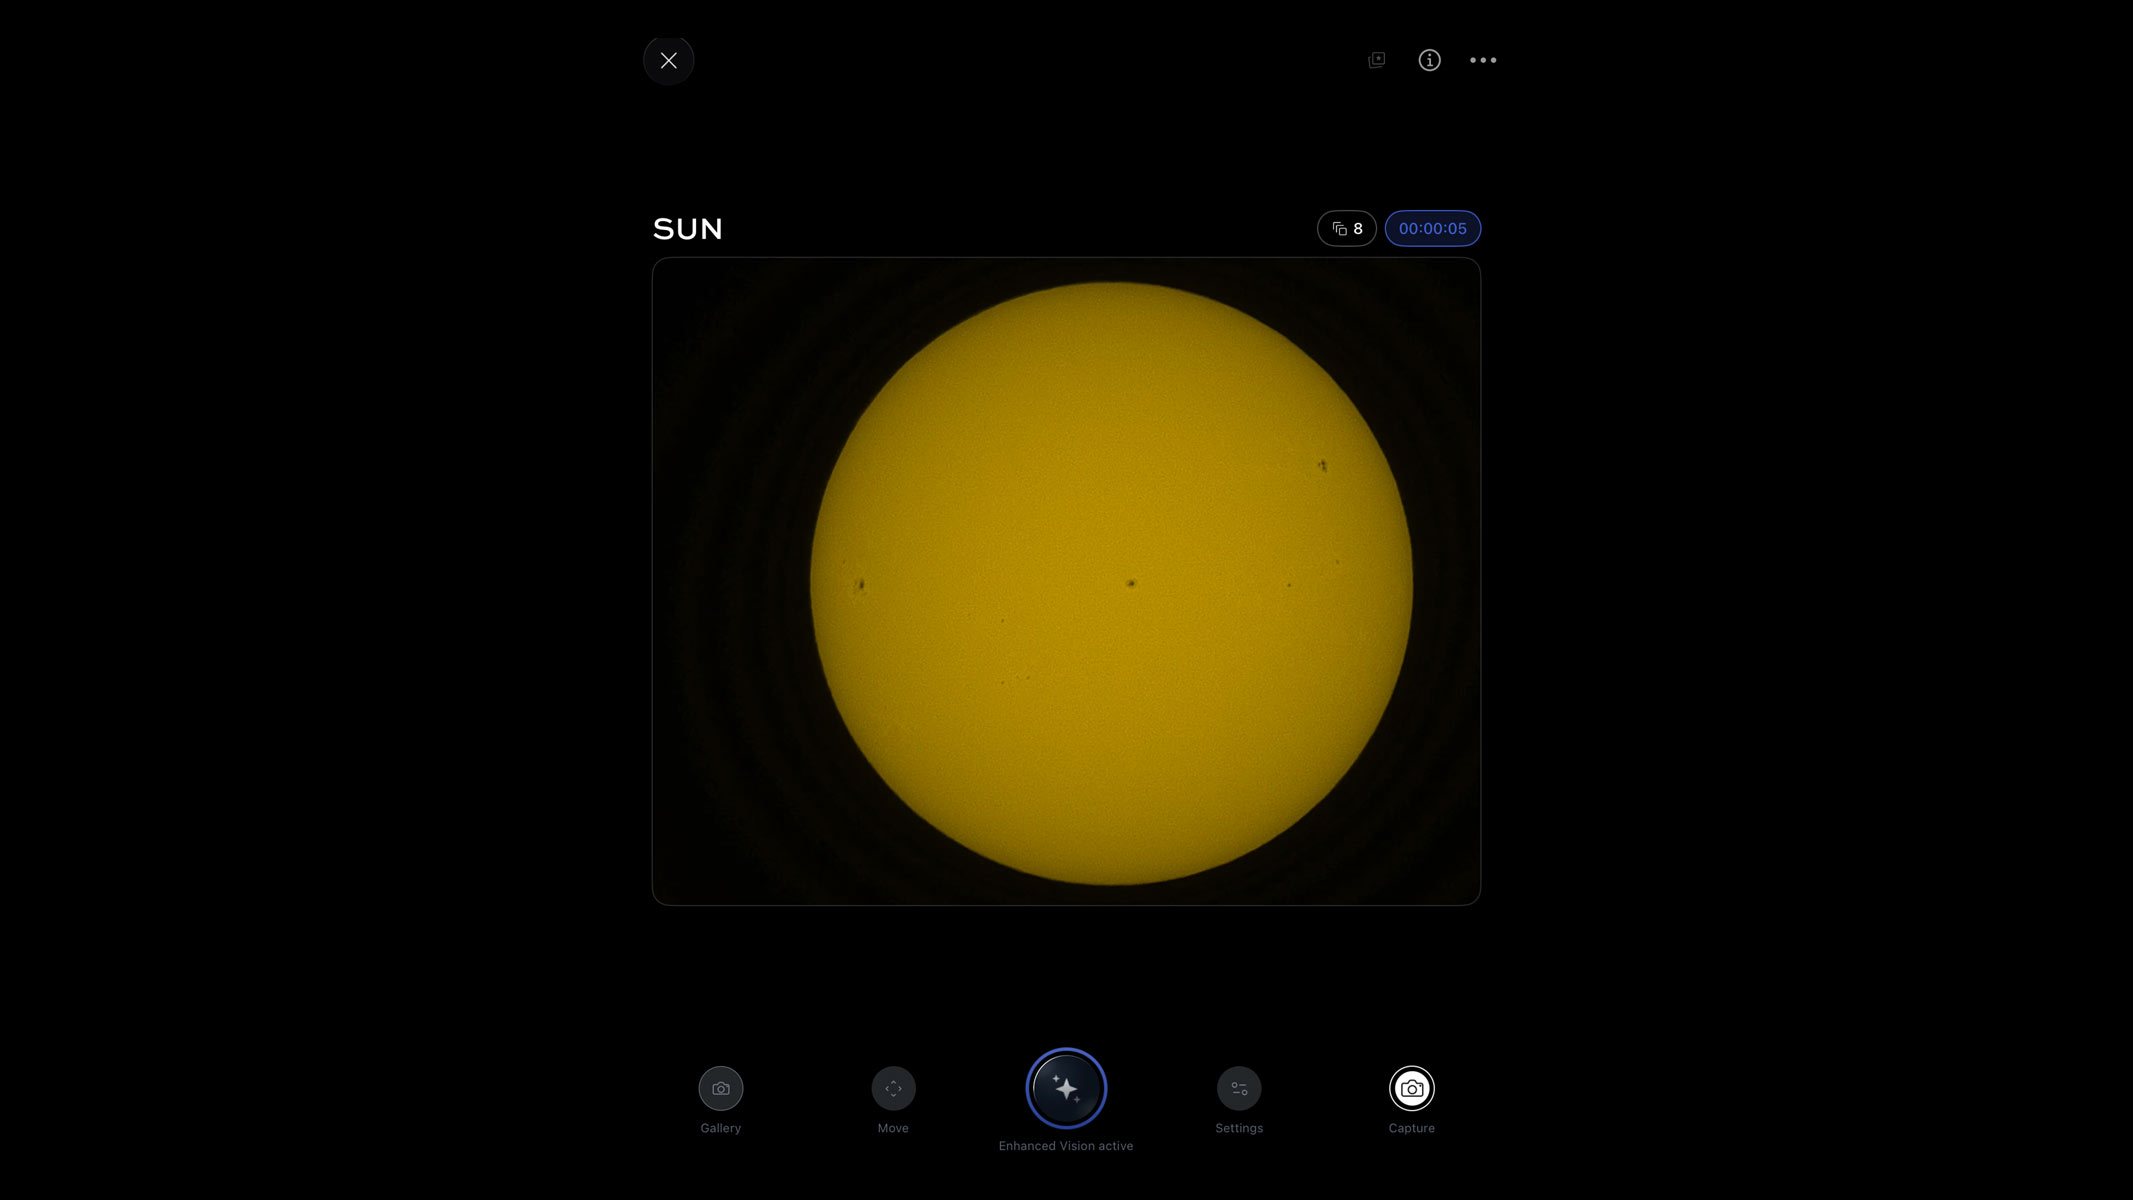
Screenshot of the Unistellar app showing the solar disk.
Selecting enhanced vision on the Unistellar app starts stacking exposures and develops enhanced sharpness on the sunspots. Unistellar
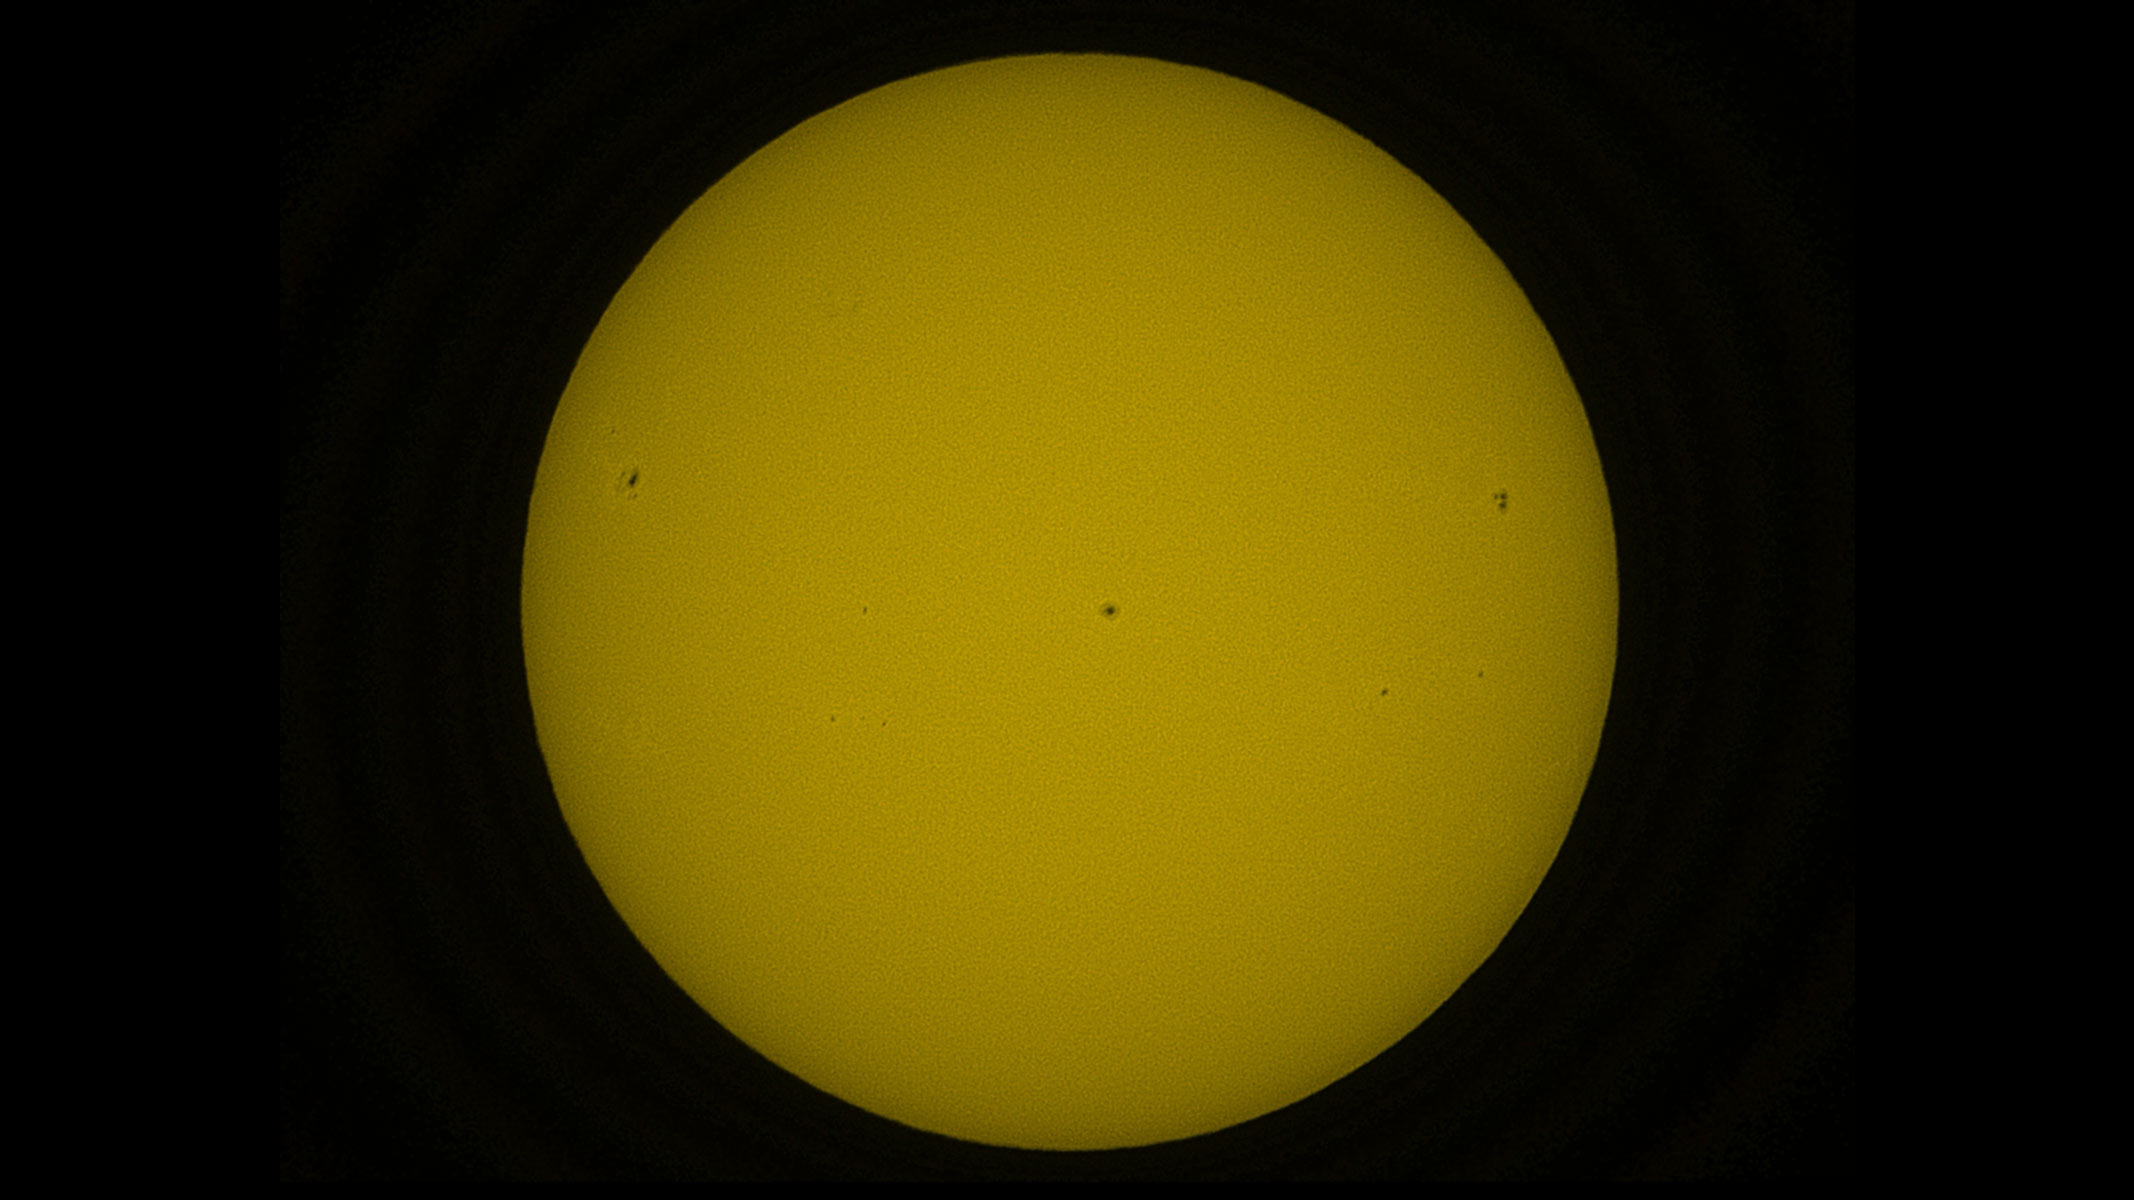
The solar disk in orange, showing dark sunspots.
By stacking frames sunspots and surface details become sharper.Harry Bennett / Future

The real detail on the surface comes after you click enhanced vision mode or equivalent on the app, which starts live stacking of exposures of a few milliseconds and reveals a much more textured view of the solar surface. The sunspots get much sharper edges and you are able to see both the umbra and penumbra on some of them. In my imaging session, I got an image displaying the larger active regions of 4498, 4496 and 4492 as well as some smaller regions.

Observing an eclipse with your smart telescope
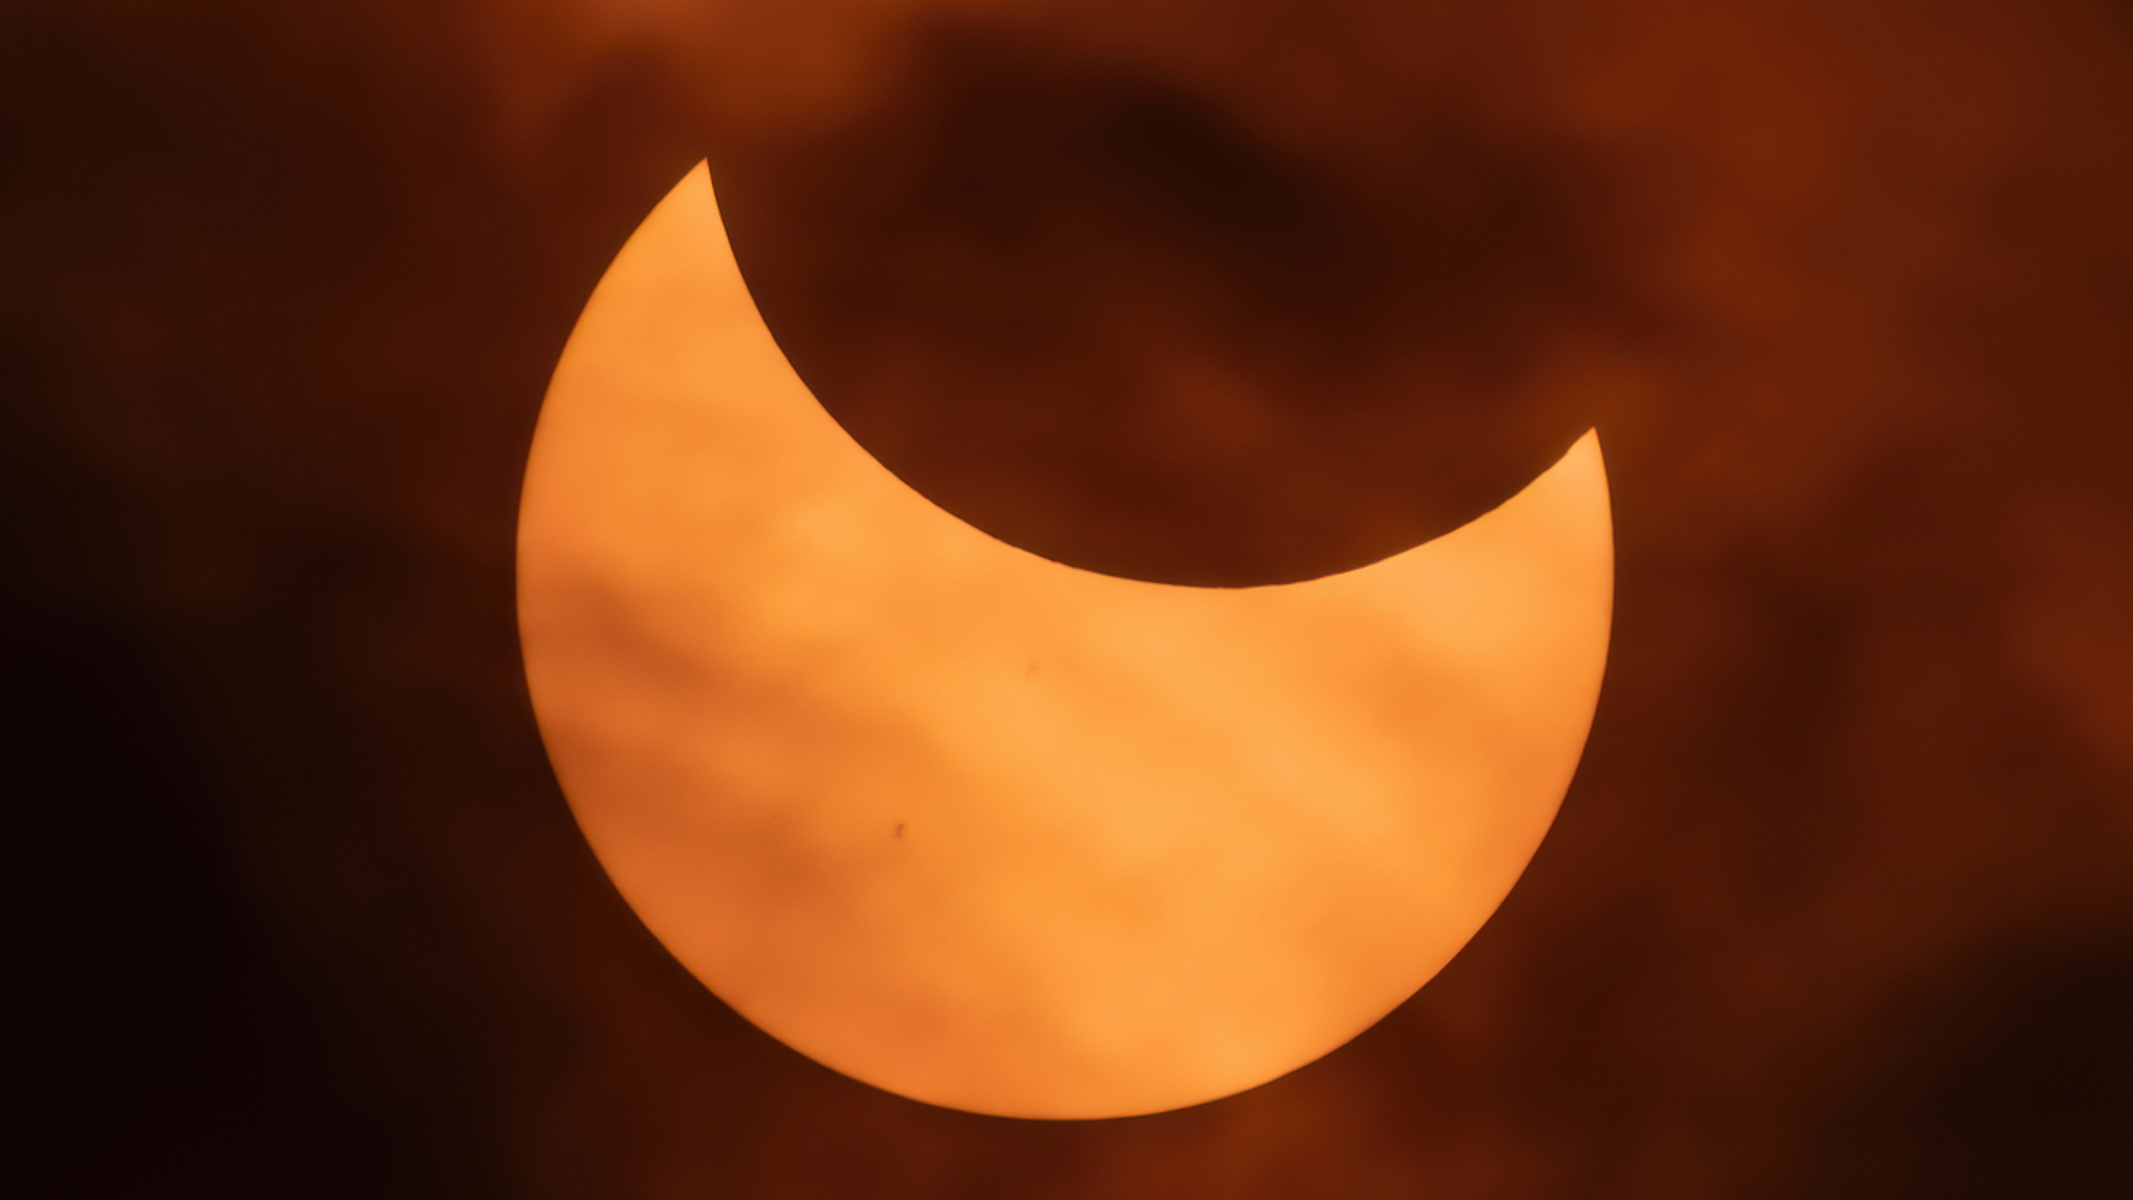
An image of the orange solar disk being partially eclipsed by the black lunar disk, with some clouds.

Using a smart telescope can make capturing a great shot of the solar eclipse easy and painless. (Image credit: Hector Knudsen / Getty Images)

You should prepare well in advance if you are planning to observe a solar eclipse and test out the kit there before the big day. You don't want to be learning how to use your device on the day of the eclipse. Practice setting it up for solar observation a good few times before the day of the eclipse.

Using one of the best stargazing apps or the official Unistellar eclipse page, you can find out where the eclipse will be visible from and the time of maximum coverage in that location, so you can plan accordingly. The Aug. 12, 2026 total solar eclipse is just before sunset will be very low on the horizon, so you would need to find somewhere with a good view of the sunset and, ideally, do a practice run a week before. Setting up a few hours before the actual eclipse is necessary to avoid any last-minute disruptions and to get your telescope trained on the sun before the lunar disk starts to eclipse it. This is assuming that the skies are completely clear and free of clouds, but this is definitely something you should check before hauling your kit to a remote location. I use the Met Office Cloud cover map for the UK but other sites offer US and international coverage such as and Ventusky, SAT24 and Astrospheric.

Our top smart telescope recommendations to suit all budgets

I bought a $50 telescope on Facebook Marketplace — here’s what I learned

When brand new entry-level telescopes start at a few hundred dollars, the idea of getting anything decent for pocket change sounds like a pipe dream. Yet the secondhand market often hides real bargains for those willing to hunt them down. Deals like this appear because people buy on impulse, then quickly lose interest for various reasons.
Facebook Marketplace seemed like the best bet for such a deal, so I opted to keep an eye on the site for potential local bargains on the best telescopes I could find.

Finding quality gear on a shoestring budget

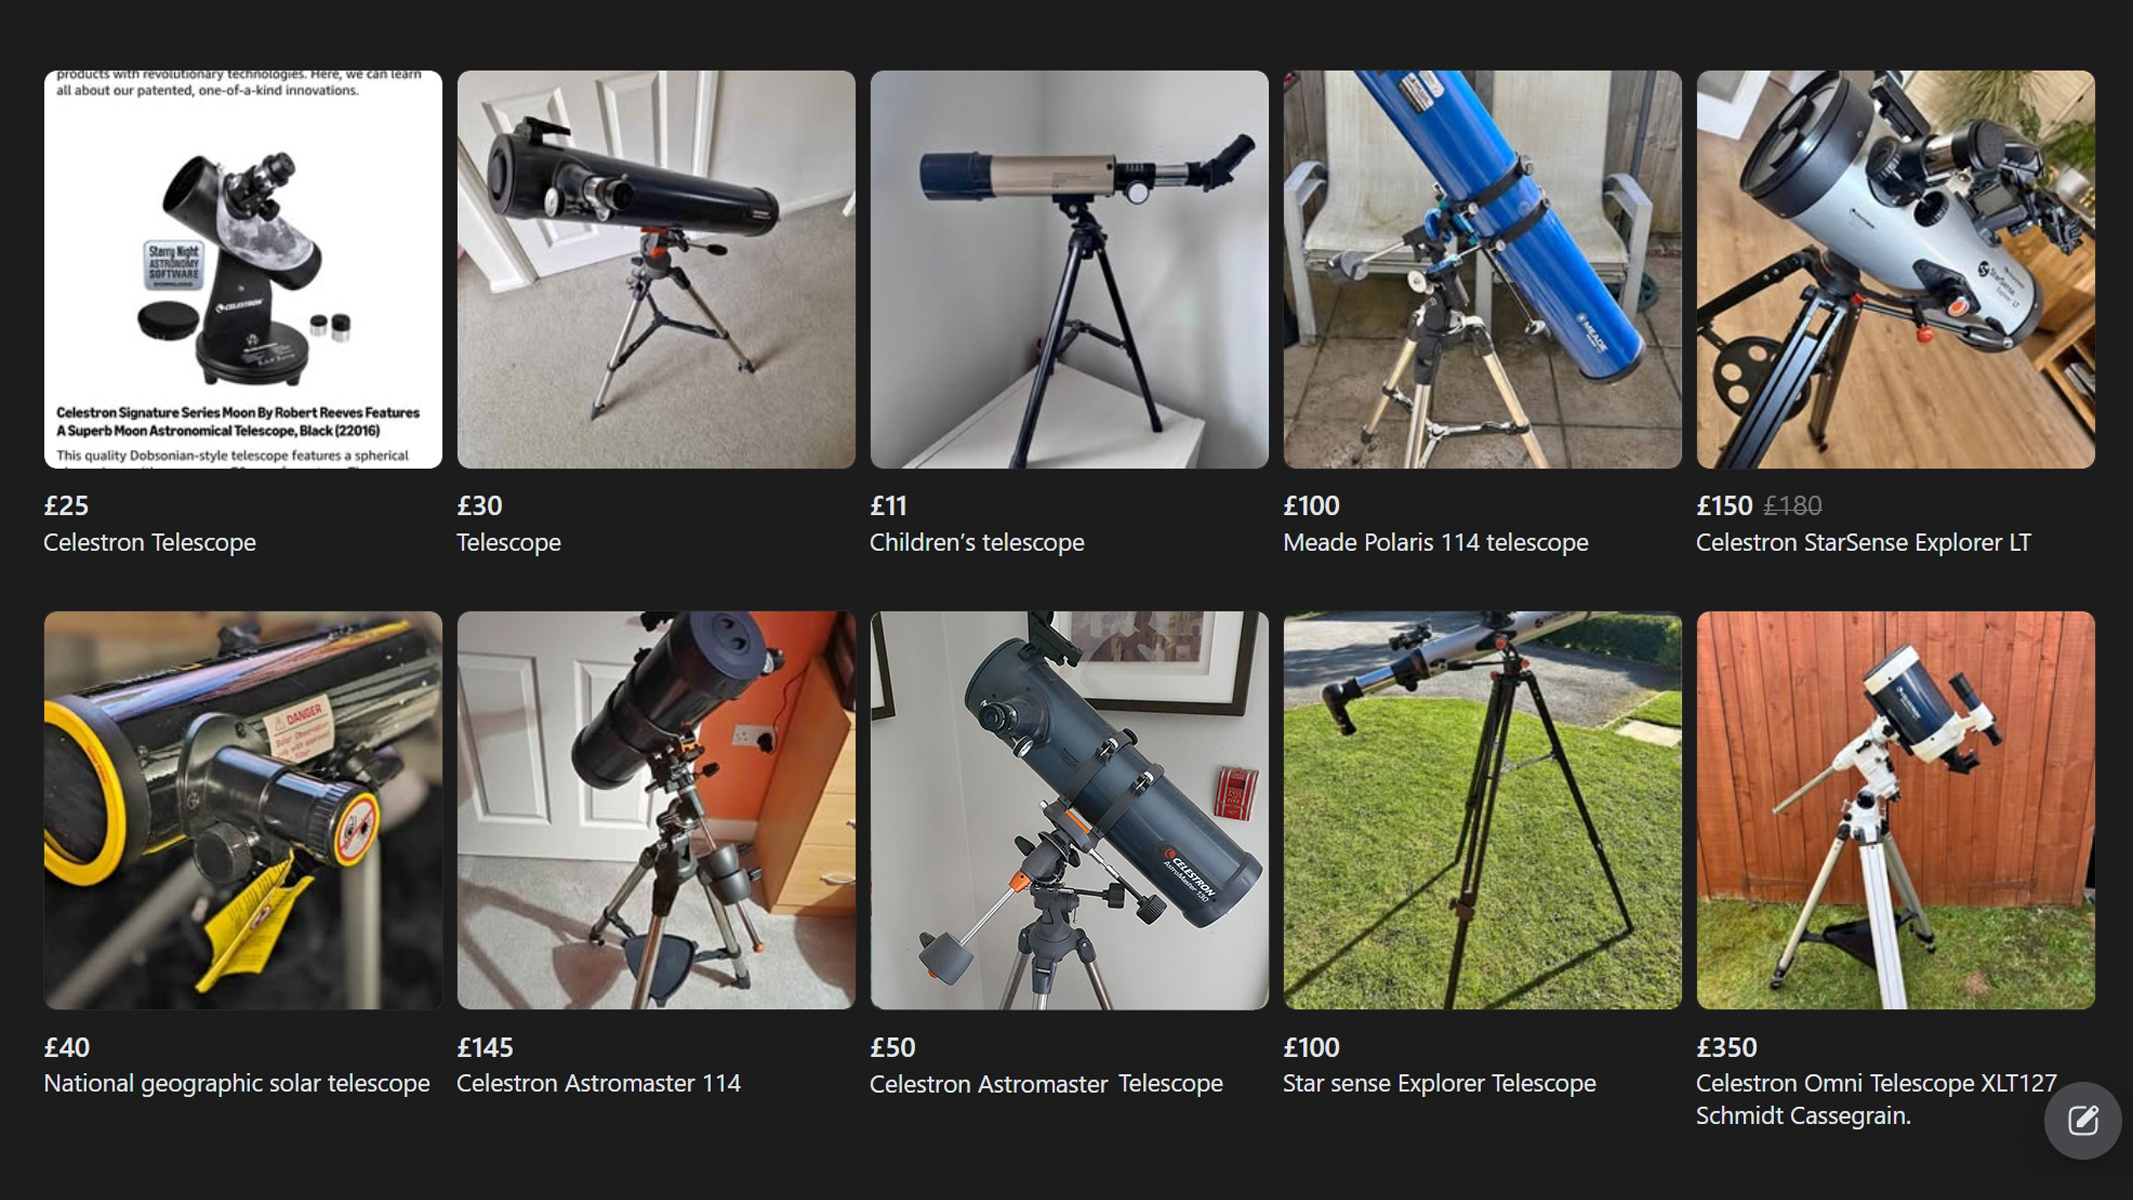
A collection of telescopes for sale on Facebook Marketplace.A golden astronaut trophy in front of a dark background with the words

Facebook Marketplace view, and the original advert for the telescope I bought. Many telescopes are available, and bargains can be found with some patience. (Image credit: Damian Peach)

Amateur astronomy has a reputation for expensive equipment, but the used market flips that script somewhat. New telescopes in the $50 range are usually tiny 50- to 70-millimeter refractors that struggle with faint objects. I wanted more light-gathering power so I focused on searching for larger-aperture Newtonians.

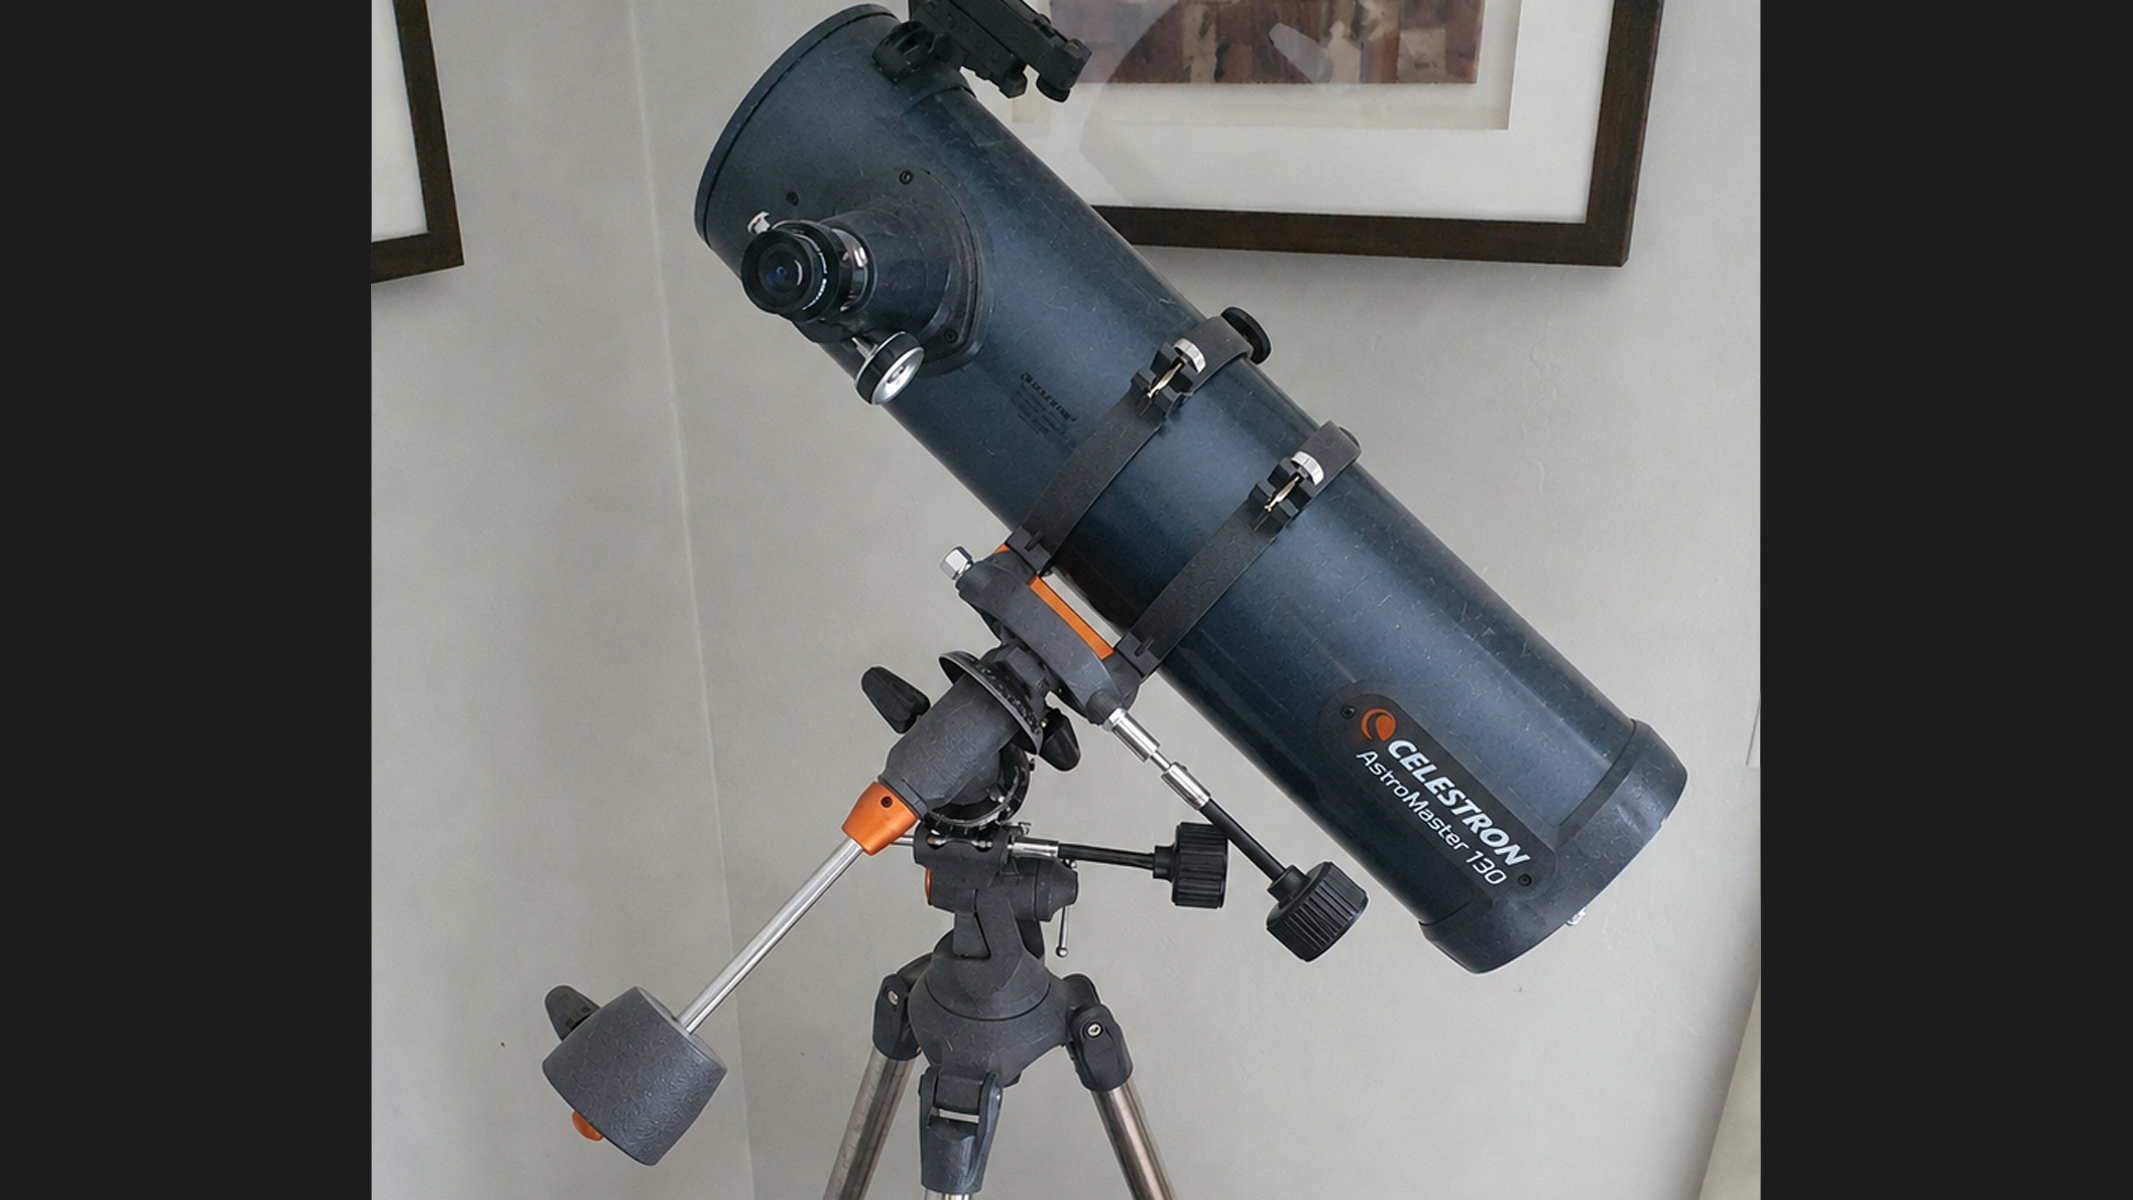
The Celestron AstroMaster 130mm offered a decent 130 millimeters of aperture — more than double many cheap department store refractors. That extra size collects far more light, sharpens detail (especially on planets) and gives brighter views of fainter deep sky objects.

After about a week of scrolling on Marketplace I spotted a Celestron AstroMaster 130mm Newtonian reflector listed for just $50 by a local seller about 15 miles away. The photos showed it was in good condition complete with box and all parts. The seller said it had seen little use.

Hopeful, I drove across town to inspect the scope. Everything was present with no missing parts, and the optics were clean with no scratches. That was enough for me, and off I went with my bargain basement telescope!

A Celestron Astromaster 130EQ, slightly dusty.

The main photo from the ad showing a rather dusty looking scope. Despite this, after talking to the seller I decided to go and take a look in person. (Image credit: Damian Peach)

Over the next few days I collimated, aligned and tested the scope on solar system targets and bright deep-sky objects. The results pleasantly surprised me. My $50 telescope delivered crisp planetary views and revealed many deep sky objects. It was not perfect but it proved that, with the right find and a bit of know-how, a tight budget need not limit the fun. Here is a breakdown of my experience.

Accessories that made the deal even better

A close up of a telescope, showing the tube-mounted finderscope.

The clip-on red dot finder scope. Even the battery still had plenty of life indicating this had obviously been little used. (Image credit: Damian Peach)

The telescope came with everything needed to start observing that same night. Two Plössl eyepieces provided different magnifications, and there was also a red-dot finderscope and a manual equatorial mount with slow-motion cables.

For beginners, the red-dot finder is a lifesaver. It projects a red bull’s-eye on the sky so you simply center your target and look through the main eyepiece. The equatorial mount tilts to match Earth’s axis, allowing smooth tracking by turning two cables instead of pushing the tube constantly. The lack of motors meant I had to adjust manually, but the slow-motion controls made fine pointing easy even at higher power.

Those two eyepieces gave me roughly 33x and 65x magnification — enough for wide lunar views and tighter planetary shots. Nothing fancy but perfectly usable. One useful item not included was a Barlow lens to increase magnification on the planets, but I decided to use a 2x Barlow I already had. Just as a side note, Barlow lenses are widely available at very modest prices — especially secondhand.

Collimation: A simple step for sharp images

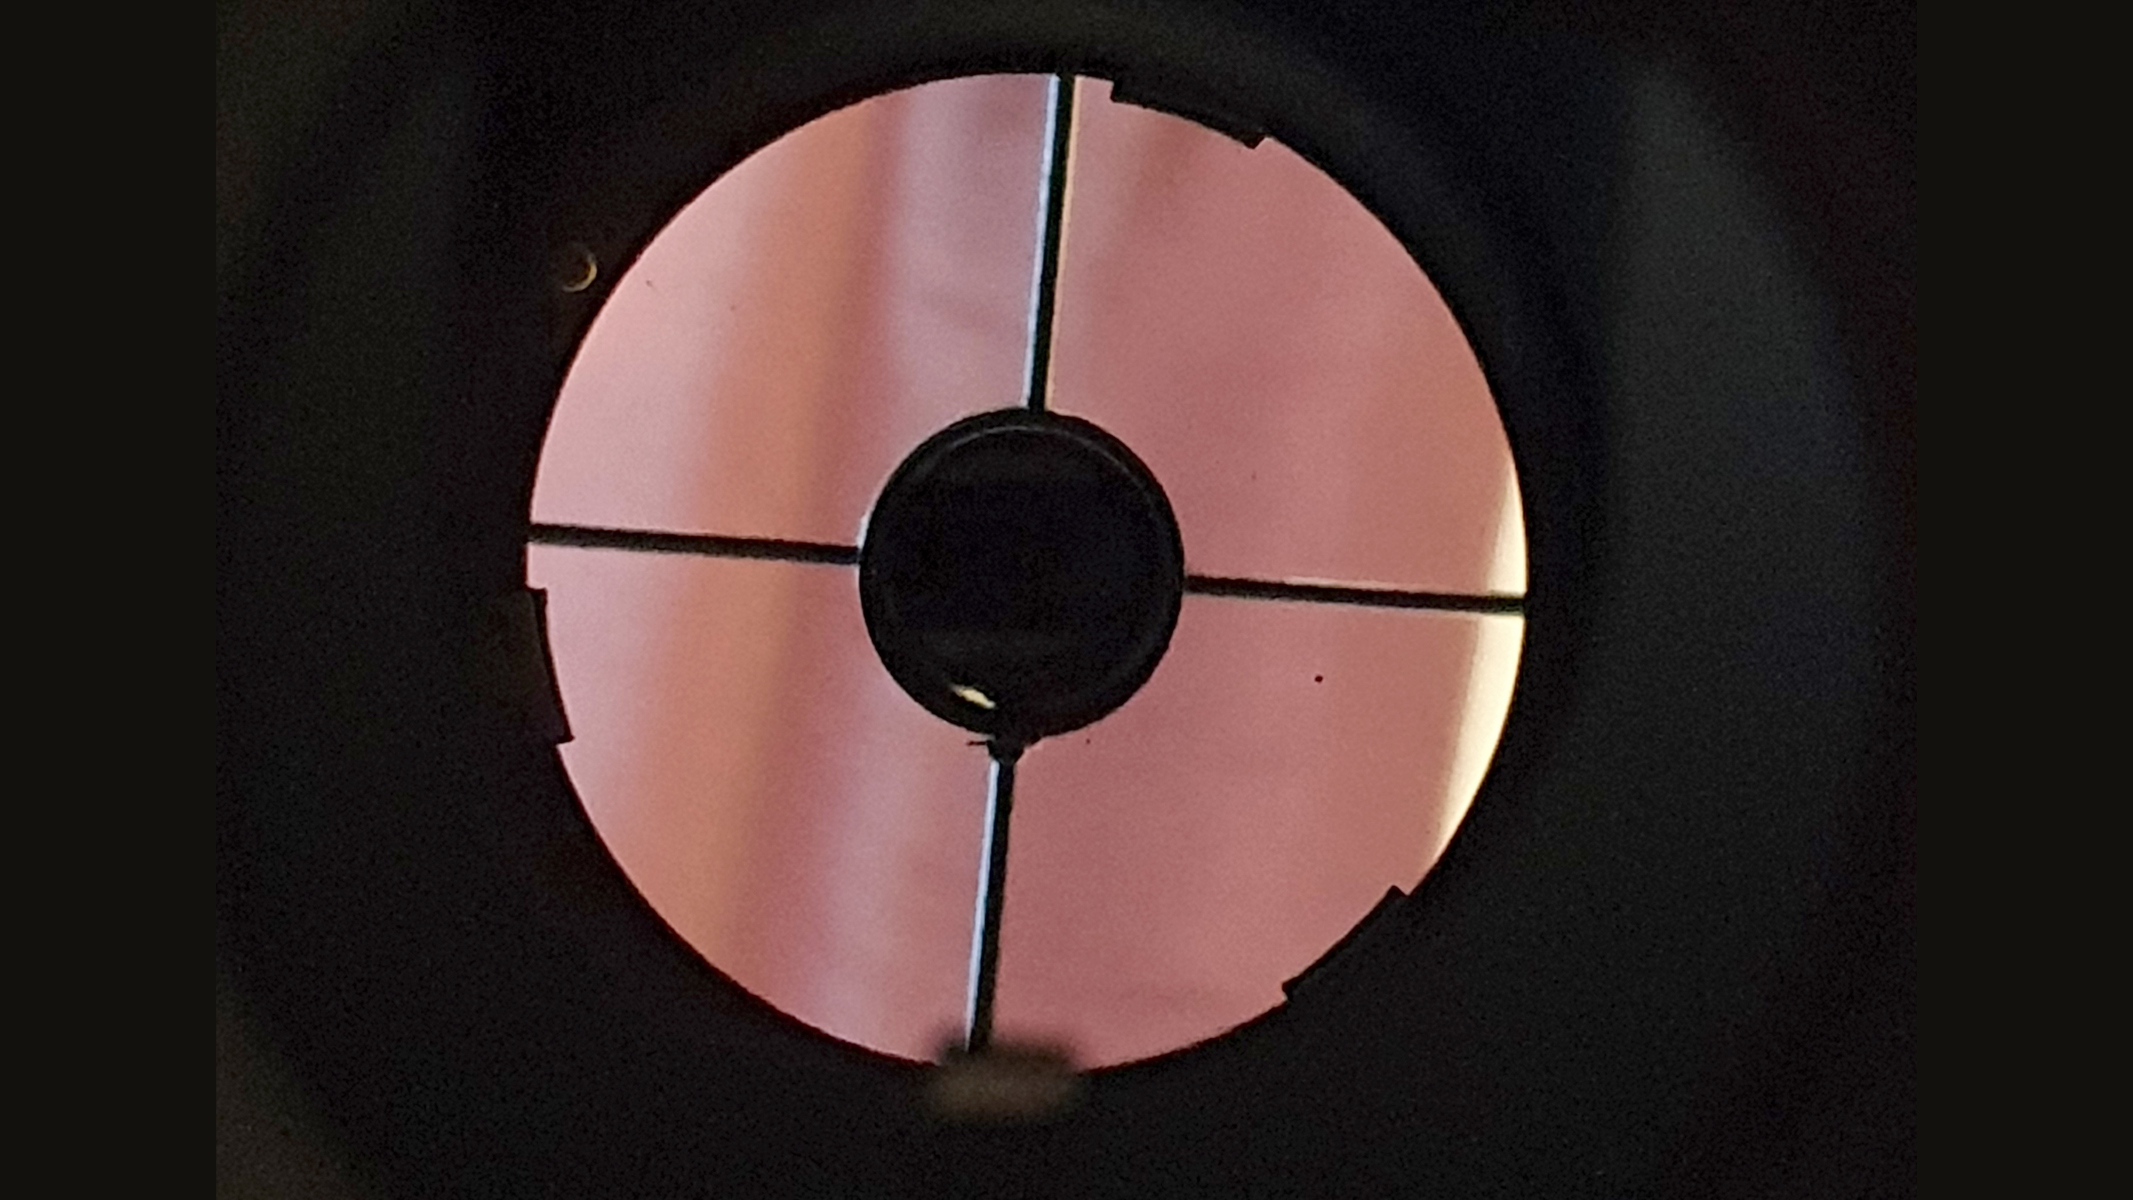
A view down the tube of a telescope as it's being collimated.

A view through the focuser after adjusting the collimation. Little adjustment was needed, and the telescope holds collimation extremely well. (Image credit: Damian Peach)

Newtonian reflectors require occasional collimation. This involves aligning the primary and secondary mirrors so light reflects properly to the eyepiece. Out of the box, my scope was slightly off, probably from travel or shipping. Luckily, the fix took less than 10 minutes.

I used a simple collimation tool with a tiny hole that fits in the focuser, but this isn’t essential — it can be done simply by eye sighting through the focuser. Looking through it, I adjusted the three screws on the primary mirror until the reflection of the primary mirror looked centered and symmetrical. The secondary mirror needed no adjustment.

A quick star test that evening confirmed pinpoint star images with no flares. Beginners often fear collimation but it is straightforward and essential. Skip it, and views will be blurry no matter how good the optics.

First light: Crisp views of Venus and Jupiter

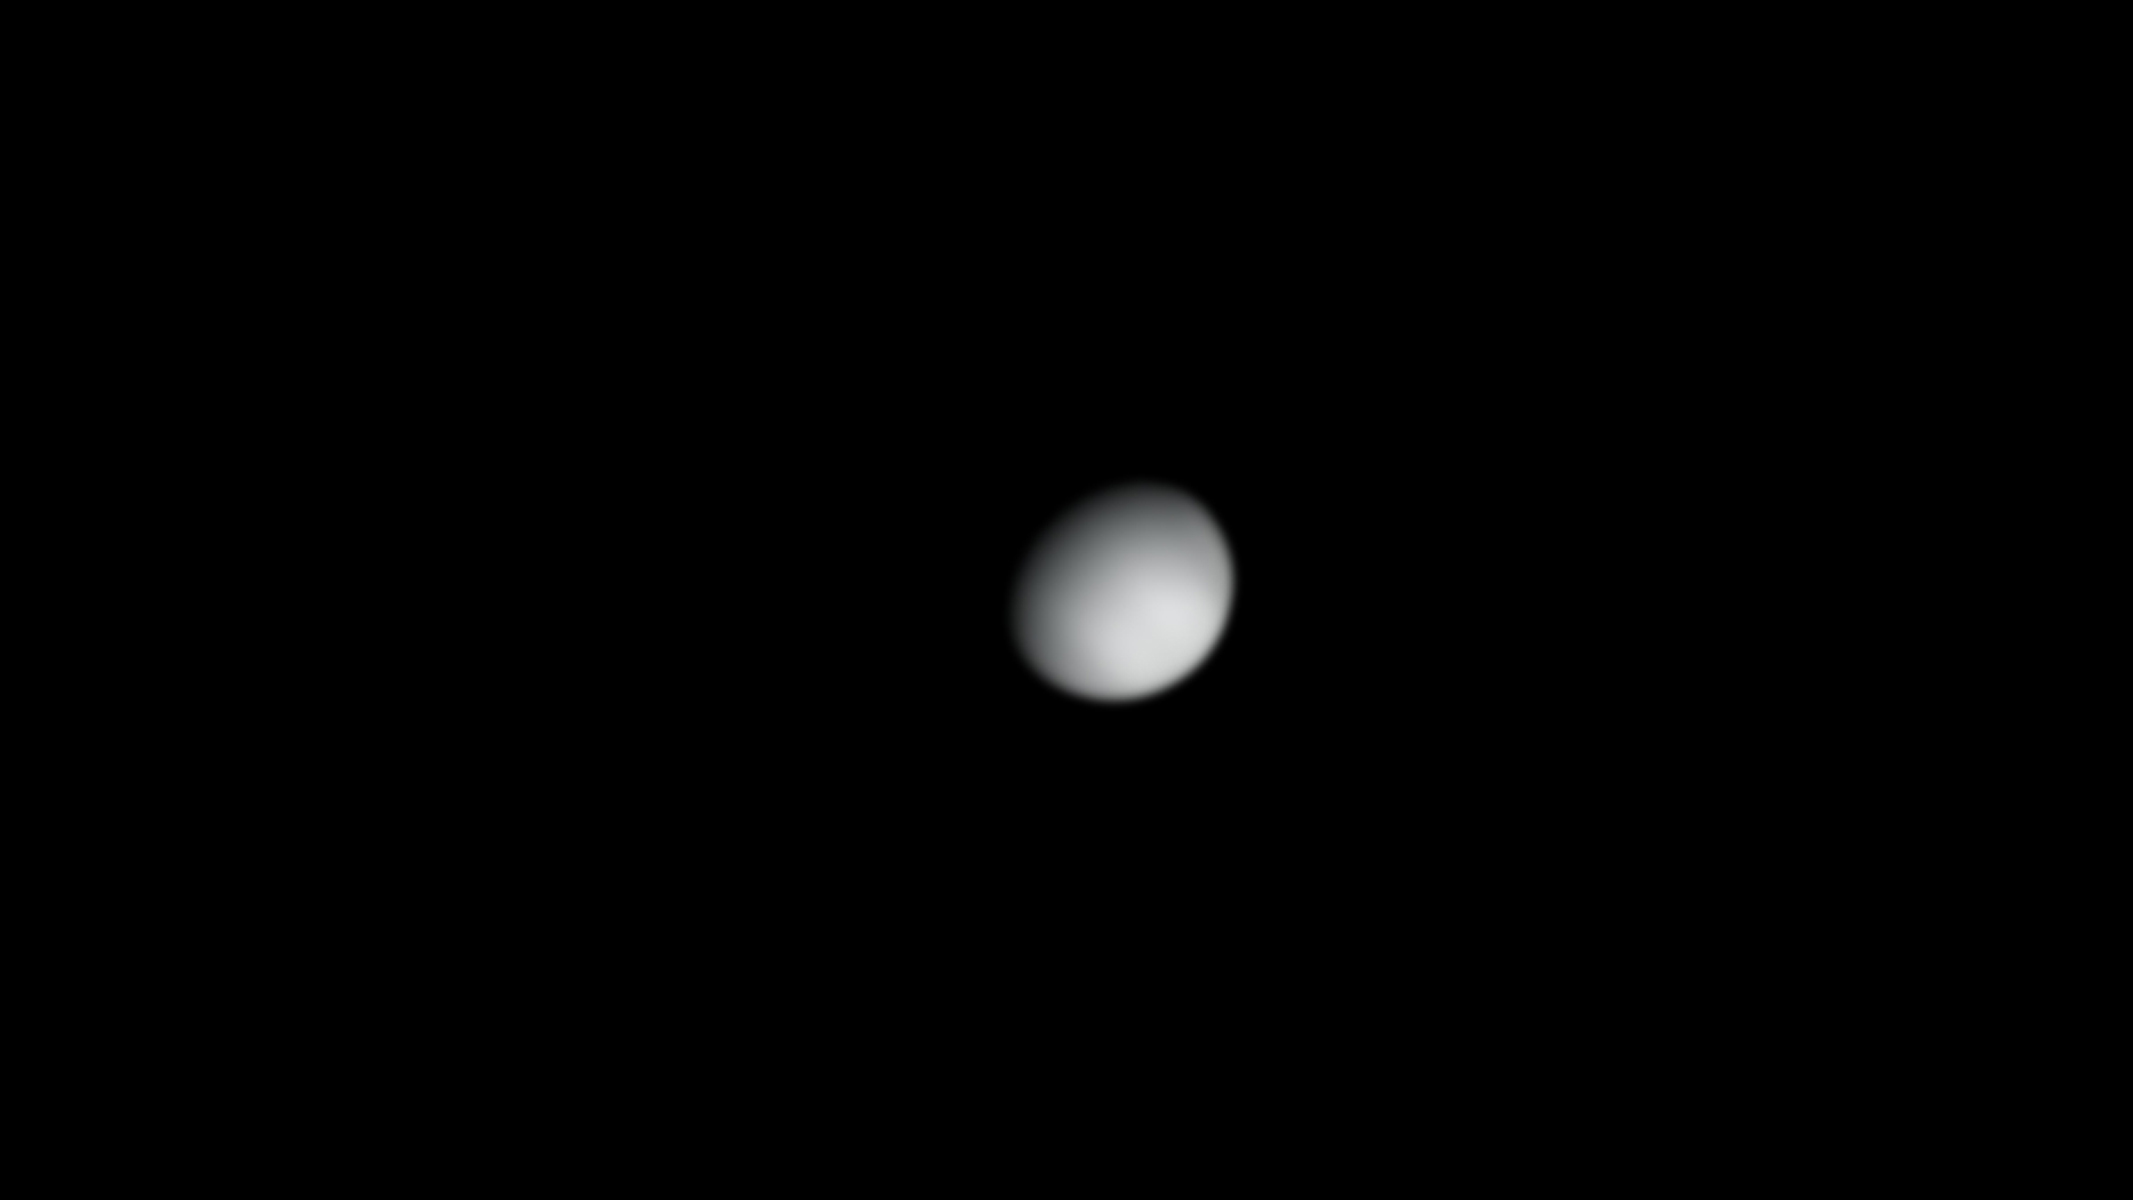
A view of Venus

A view of Venus from the scope. It was a really pleasing view with a nice sharp disk and obvious phase visible. (Image credit: Damian Peach)

With the scope collimated, I pointed it at Venus on the first clear evening. The planet showed a sharp gibbous disk phase, clearly visible even at moderate power. Edges stayed crisp with no false color, which is a common issue in cheaper refractors. Venus appeared almost three-dimensional against the twilight sky. The 130mm aperture gathered enough light to show subtle shading I had not expected at this price.

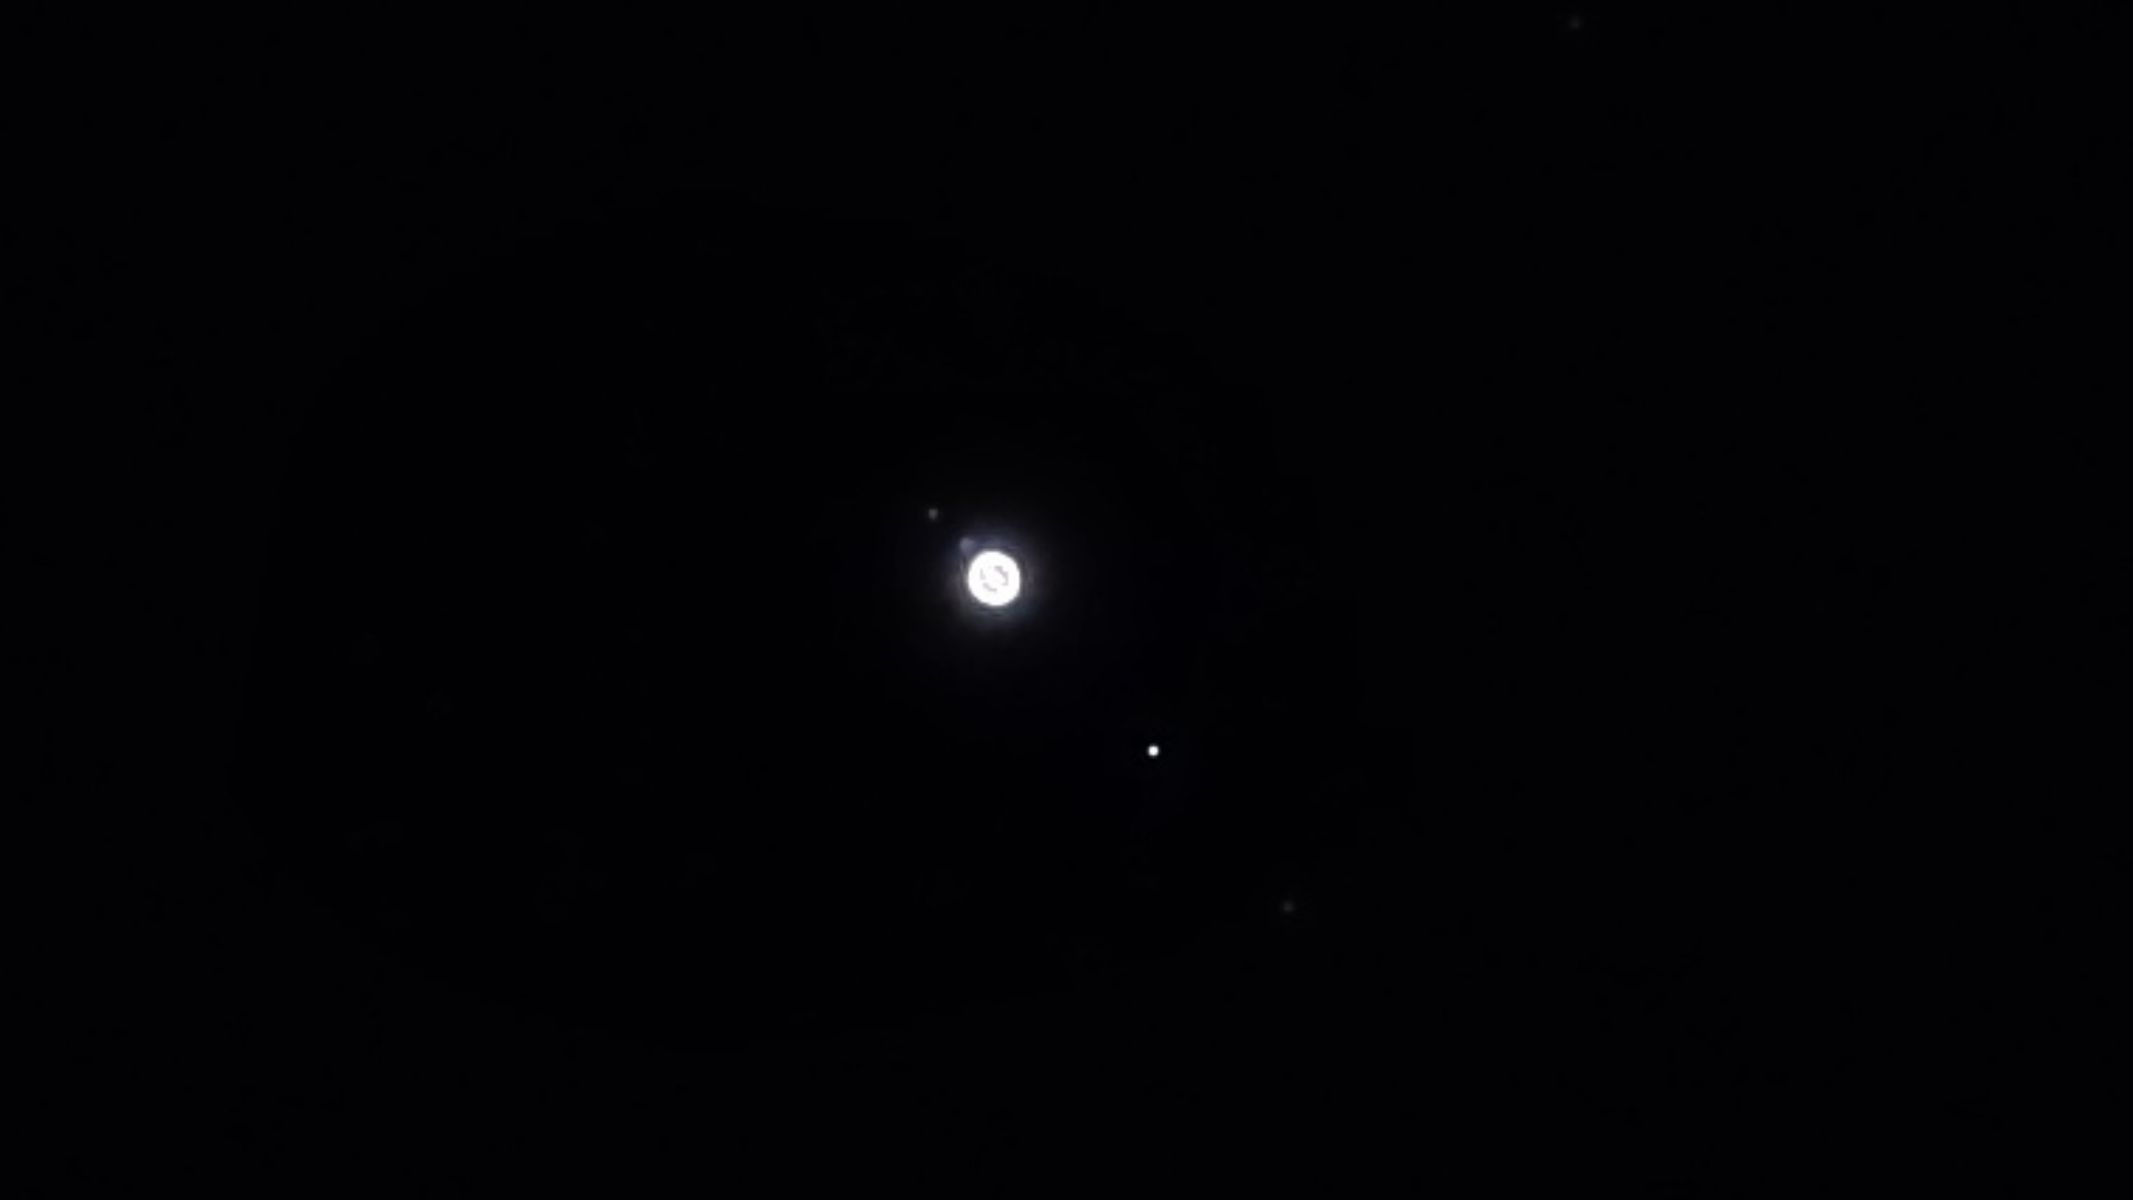
Jupiter, which was much higher in the evening sky, showed some detail on its disk. The Great Red Spot was visible, with its reddish colour quite obvious. All four moons were on view alongside the planet and looked sharp and point-like.

I then moved to a nearby bright star to test the optical quality. Racking the star inside and outside of focus at moderate power revealed well-corrected optics free of any major optical problems. I was most impressed overall — this felt like an amazing win for a $50 outlay!

Astrophotography on a budget: Sun, moon and planets

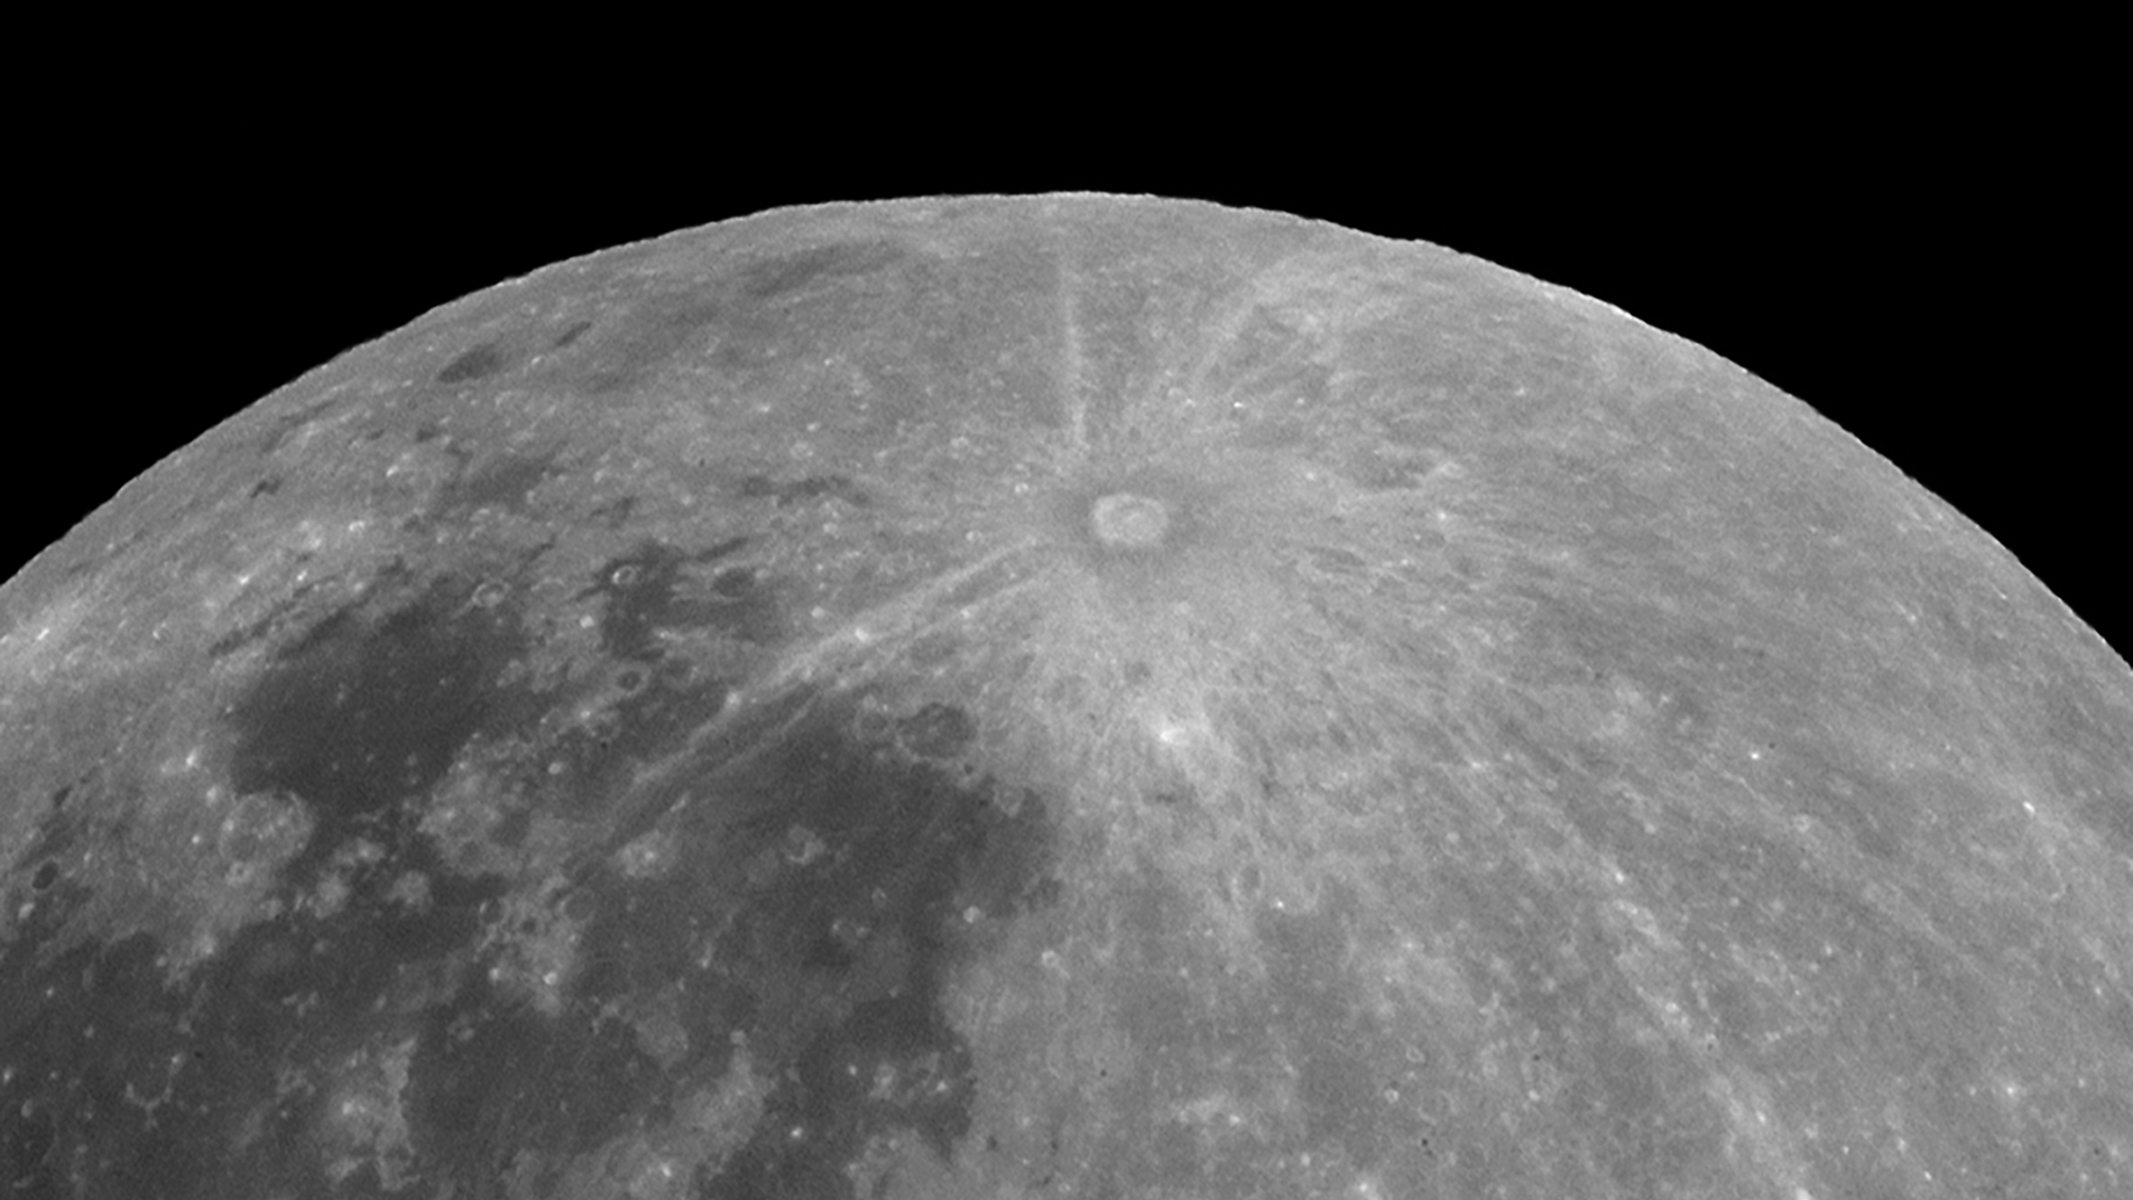
A close up of the Tycho crater on the moon.

Tycho captured with the scope. Its brilliant ray system was a striking sight through the eyepiece! (Image credit: Damian Peach)

Without a motorized drive, long-exposure deep-sky photography was off the table but the sun, the moon and the brighter planets remained fair game. I crafted a simple solar filter from some Baader safety film I had stretched over a cardboard cell that fit snugly over the front of the tube. Safety first: NEVER point any telescope at the sun without proper filtration! Use the best solar viewing kit!

The filter revealed several nice sunspot groups, with umbra and penumbra detail visible as I tracked manually as best I could. This kind of telescope is ideal for solar work, being a good size aperture to reveal fine detail, but not so large as to be severely affected by daytime atmospheric turbulence.

Later that day, as the sun was nearing the horizon, I prepared to try and capture some images of Venus and Jupiter. I attached my Player One Uranus-C USB camera to the focuser and recorded short video clips of Venus and Jupiter over about an hour. Manual tracking was tricky, but I nudged the Right Ascension slow-motion cable every few seconds to keep the planet centered. Still, the results were surprisingly reasonable, and they are presented here.

The moon was available and I shot a handful of views. Through the scope it looked great, with sharp views across the lunar landscape with many fine details visible. I shot a few videos, but the one of the bright Tycho crater came out best. This is a great entry-level telescope to photograph the moon with, as it offers notably better resolving power than small refractors, as was obvious on some of the smaller lunar features I examined.

I was running my usual imaging setup at the same time, so managing both systems added an extra challenge. However, once the main rig was up and running, it largely looked after itself, giving me time to image with the smaller scope.

Jupiter in the night sky.

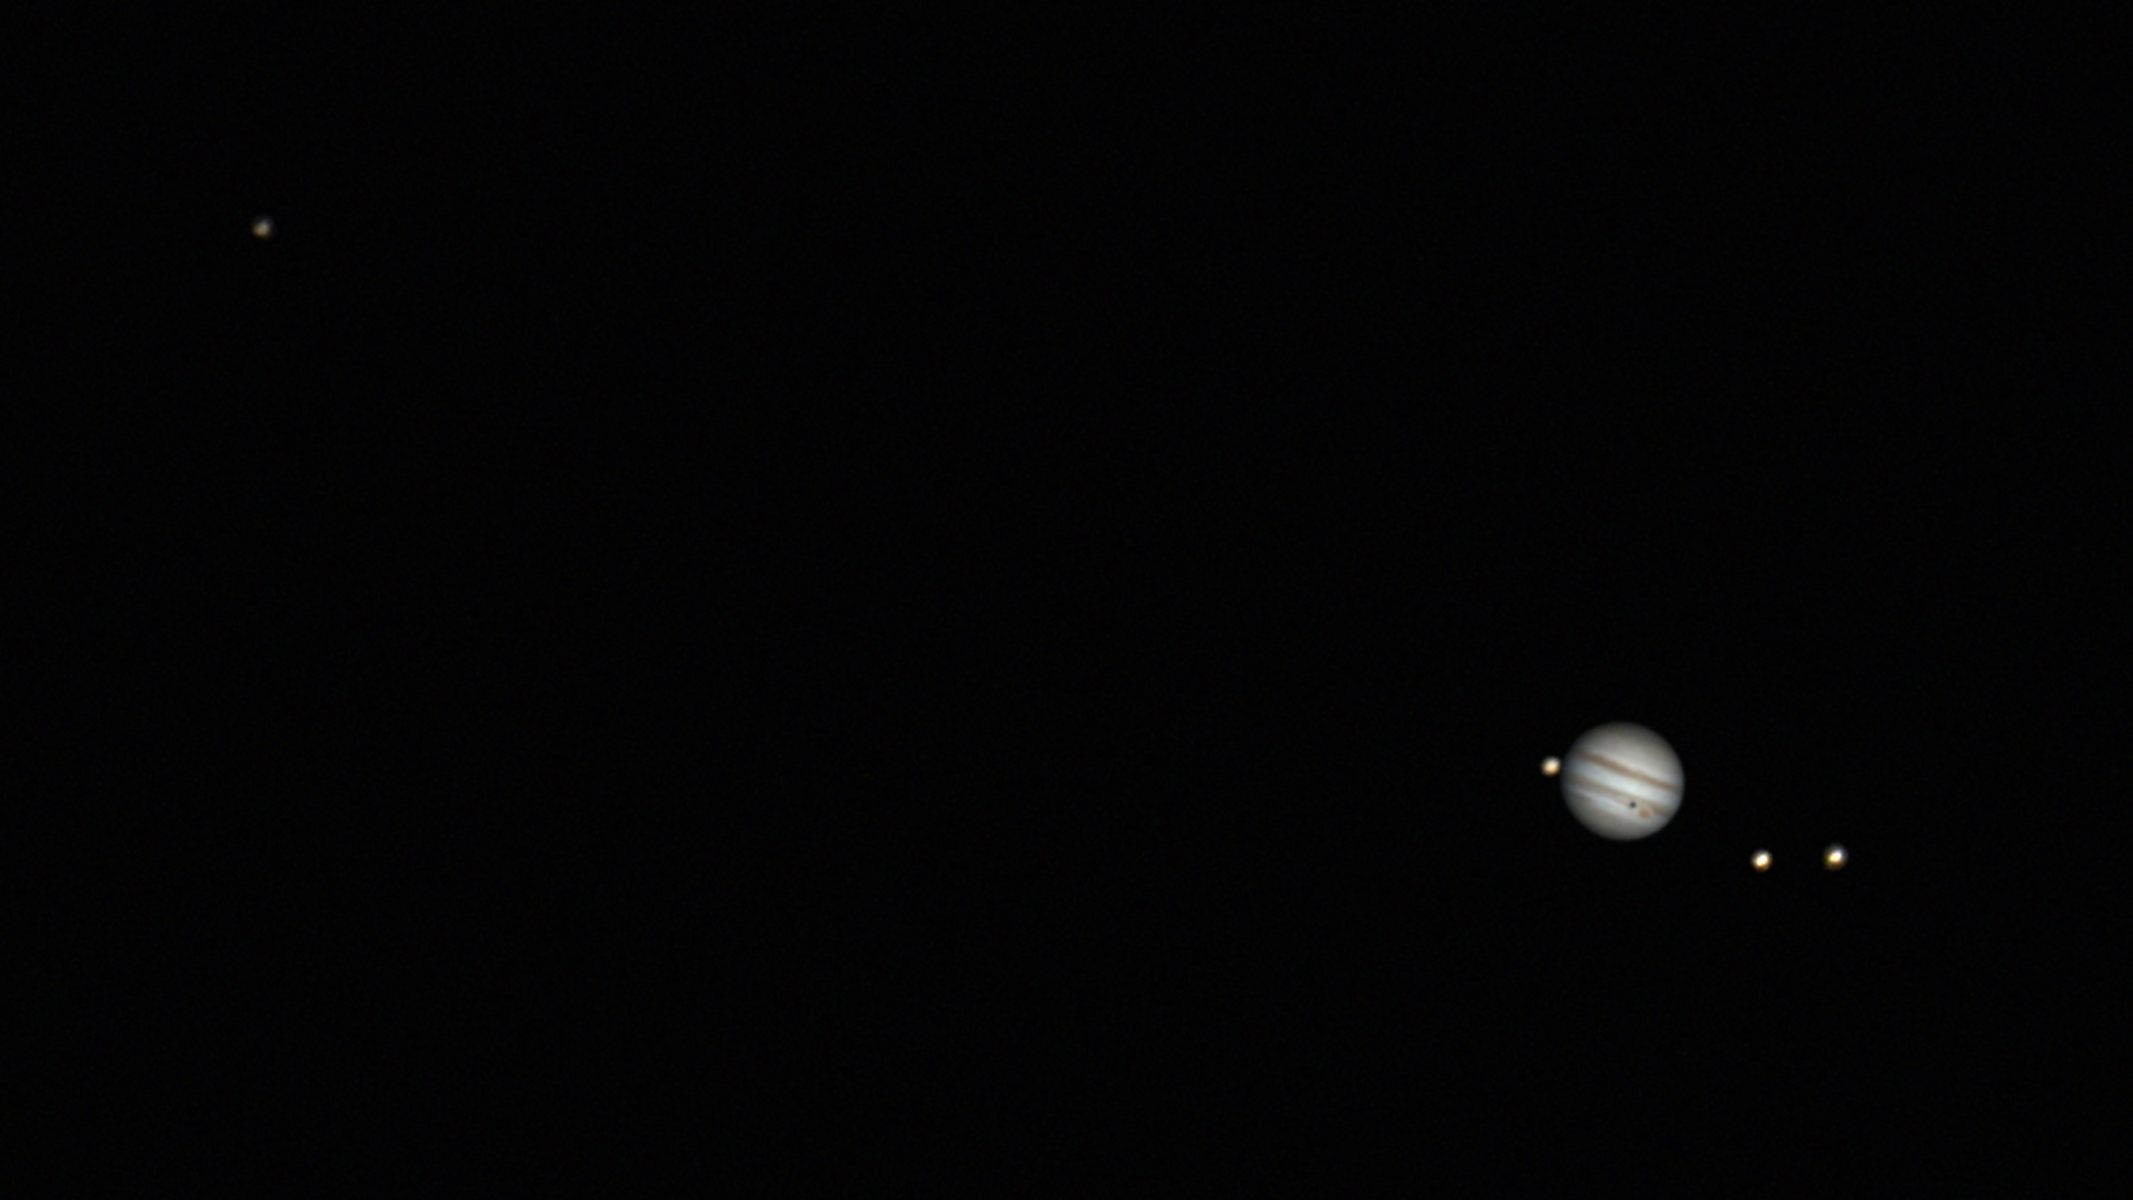
A view of Jupter on May 1st. I used a lower focal length than I would normally due to the manual tracking needed. None the less some nice detail is visible such as the Great Red Spot and shadow of Ganymede. (Image credit: Damian Peach)

Jupiter showed cloud bands and its Great Red Spot could be seen just slipping off the edge, with three of its moons also in the field. The shadow of Ganymede could be seen on the planet which was impressive. Lunar images came out even better: crater rims and mountain shadows popped in high contrast, with the crater Tycho being my target of choice to capture – its brilliant ray system a striking sight.

These were certainly not observatory-grade results but they proved even a super-cheap $50 scope plus a decent camera can still capture good detail, as long as you have patience and a steady hand.

Deep-sky observing under darker skies

City light pollution hides fainter objects, so I drove 45 minutes to a darker site to do some visual observing. The manual mount and red-dot finder let me star-hop efficiently. Some degree of night sky knowledge is essential here: either that, a decent star atlas or a laptop with planetarium software.

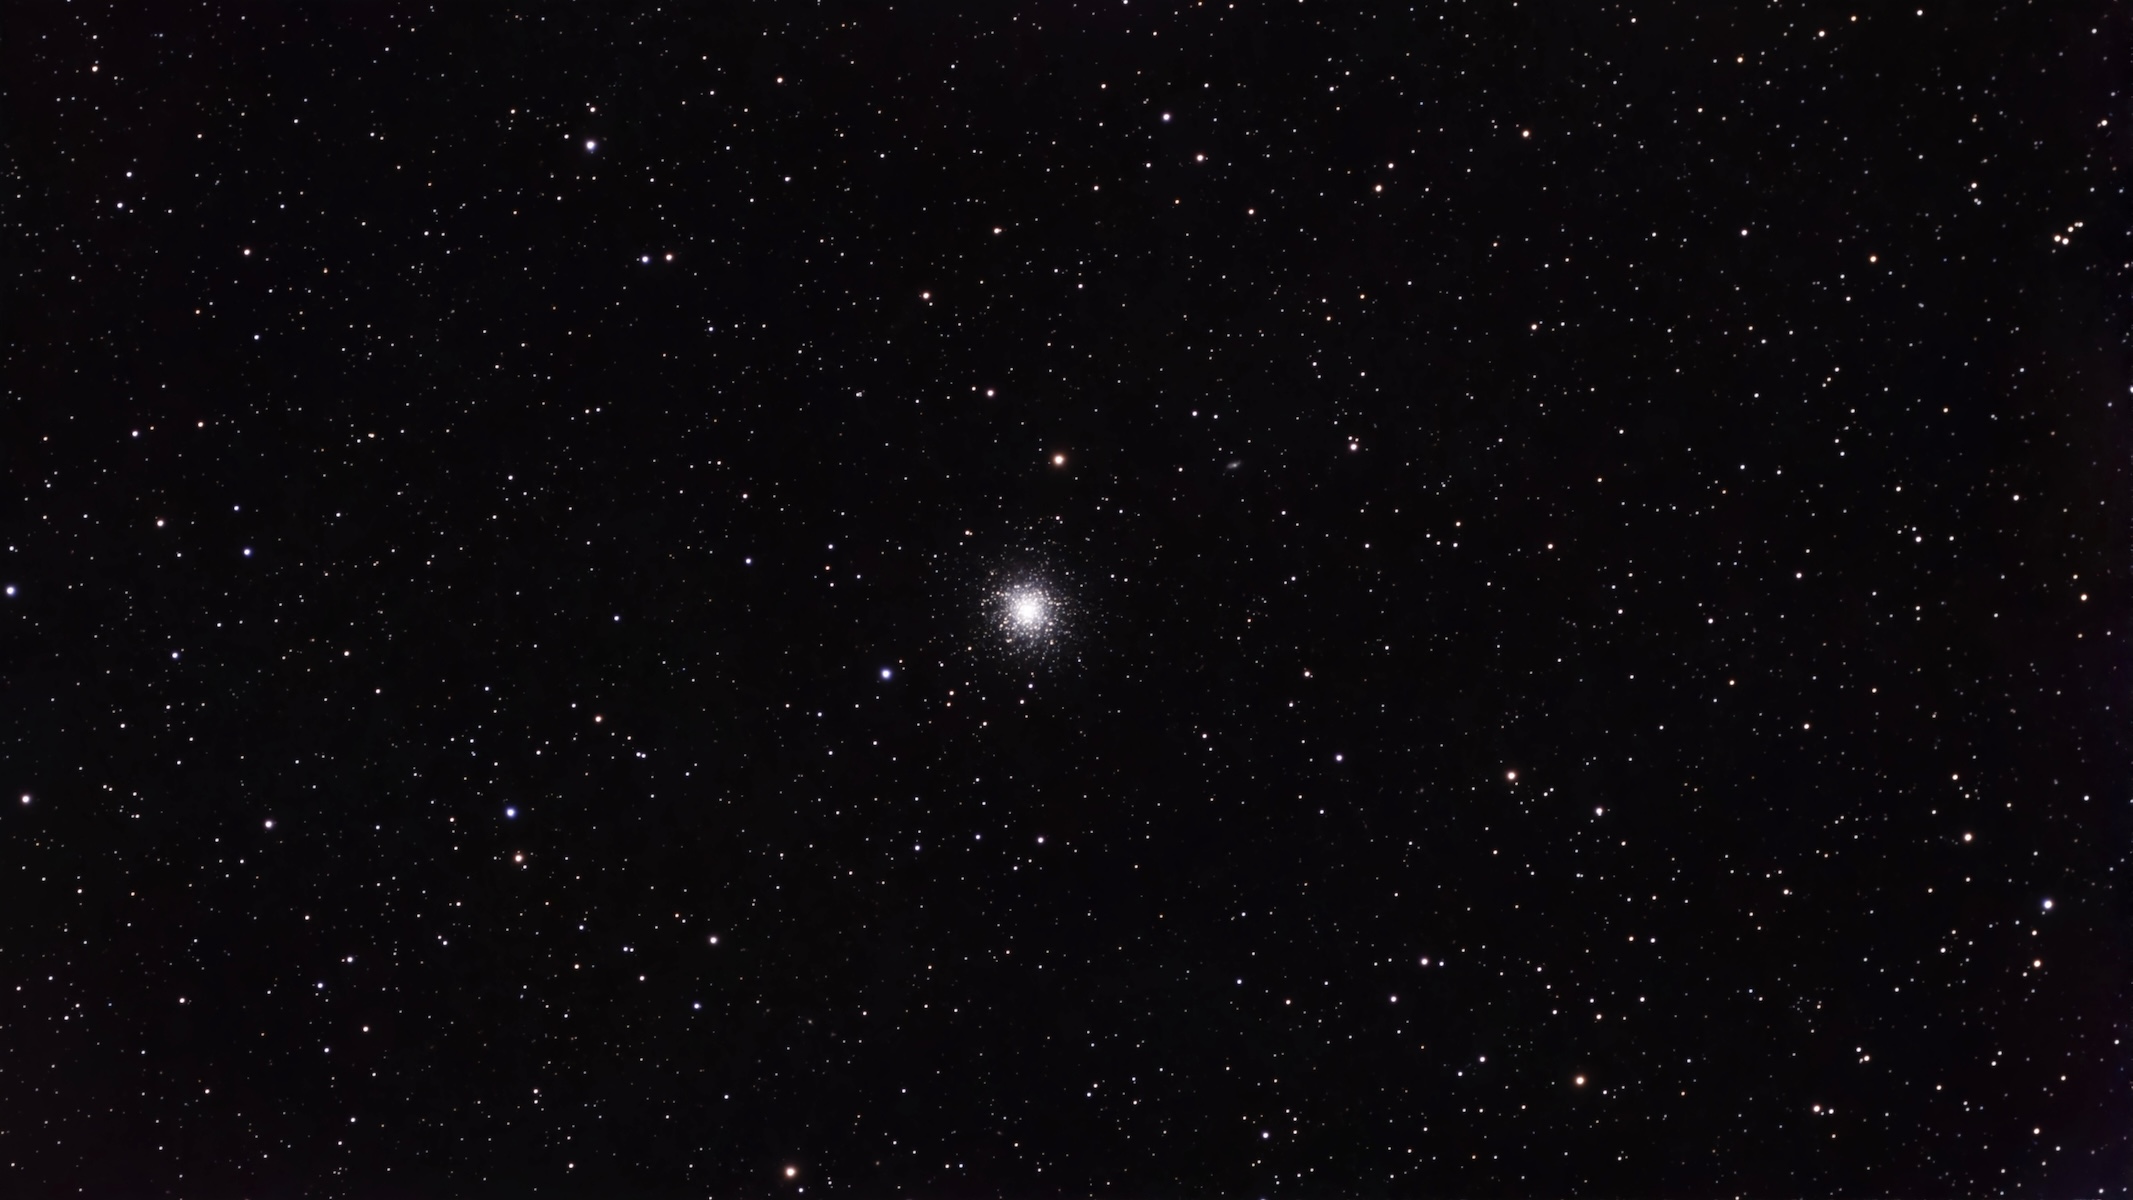
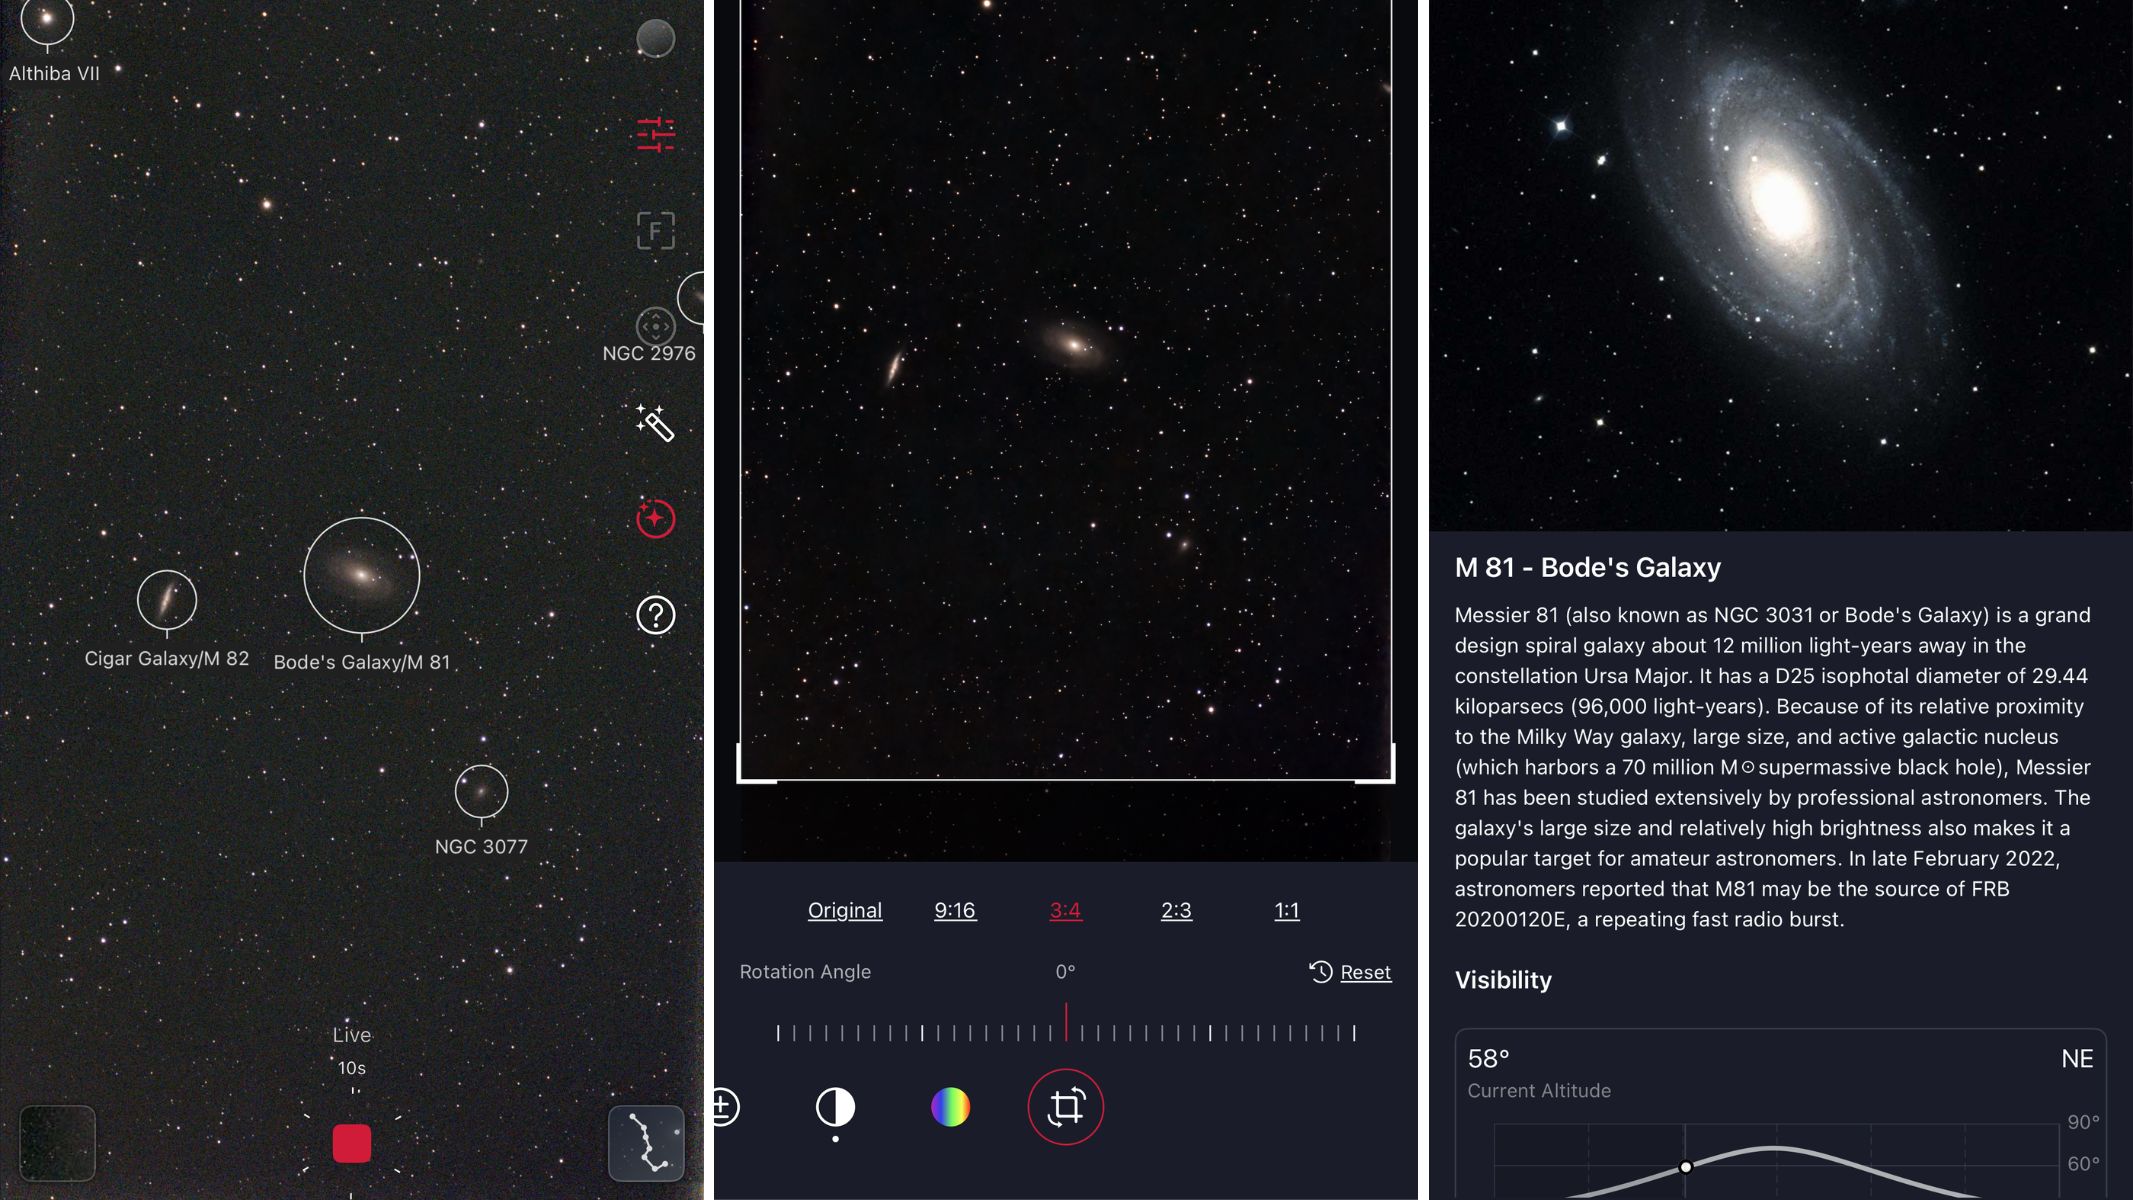
Messier 13, the Hercules globular cluster, looked impressive. Its core was partly resolved into a sparkling ball of stars with faint outliers visible even in the 130mm aperture. Messier 5 appeared similar. The bright galaxy pair Messier 81 and 82 showed distinct shapes side by side. I also had a good look at the Double Cluster in Perseus, which was a stunning sight, revealing a field of pin-point stars, far too many to count!

I also had a quick look at the Virgo cluster — the largest nearby galaxy cluster to the Milky Way— and several of the bright galaxies were easily observed. I also tracked down NGC 4565 —the Spindle Galaxy in Coma Berenices — and its long, elongated shape was obvious, appearing like a long ghostly sliver of light.

Overall, the experience was most enjoyable, and the views surprisingly good. One slight frustration was the lack of tracking, which means you frequently have to counter the drift through the eyepiece by turning the slow motion controls. I have become too spoiled over the years by tracking mounts!

Lessons learned: Pros, cons and beginner advice

A $50 telescope obviously has limits. Having no motor drive meant constant manual tracking, which rules out long-exposure astrophotography of nebulae or galaxies. And packing no GoTo computer requires at least a rudimentary knowledge of the night sky and a star atlas or planetarium software.

Still, the scope outperformed anything new you could buy at this price. The larger aperture delivered light and detail that would be impossible in tiny department-store refractors.

Select carefully when buying used equipment. Inspect mirrors or lenses for damage, test the mount for smooth motion and ask about usage history. Also make sure all parts are present, and ask to see the telescope set-up if possible.

With patience and selectivity, a tight budget can still open up the universe. This somewhat surprised me given the general expense of things these days. I was also surprised how many used telescopes are available on public social media marketplaces like this. There were many telescopes available in the $50-200 range, with even better options available toward the upper end of this budget.

If you are looking to buy a first telescope, or perhaps a telescope as a gift, I’d strongly urge looking at the secondhand market. With some searching and patience, and if you follow the key buying points I’ve outlined here, there are some amazing deals just waiting to be found!

This Sky-Watcher is an ideal beginner telescope for solar observing

Specifications

Aperture: 3 inches / 76mm

Focal length: 25-inches / 630mm

Focal ratio: f/8.3

Optical design: Achromatic doublet dedicated H-alpha refractor

Filter type: Hydrogen-alpha, 656.28nm (meets ISO 12312-2)

Etalon: Sky-Watcher Solis etalon technology (<0.5 Å bandwidth)

Blocking filter: 11.5mm blocking filter integrated into supplied diagonal

Tuning system: Mechanical Trifid/Triffid pressure tuner

Focuser: 2-inch dual-speed Crayford focuser

Finder: Integrated solar finder

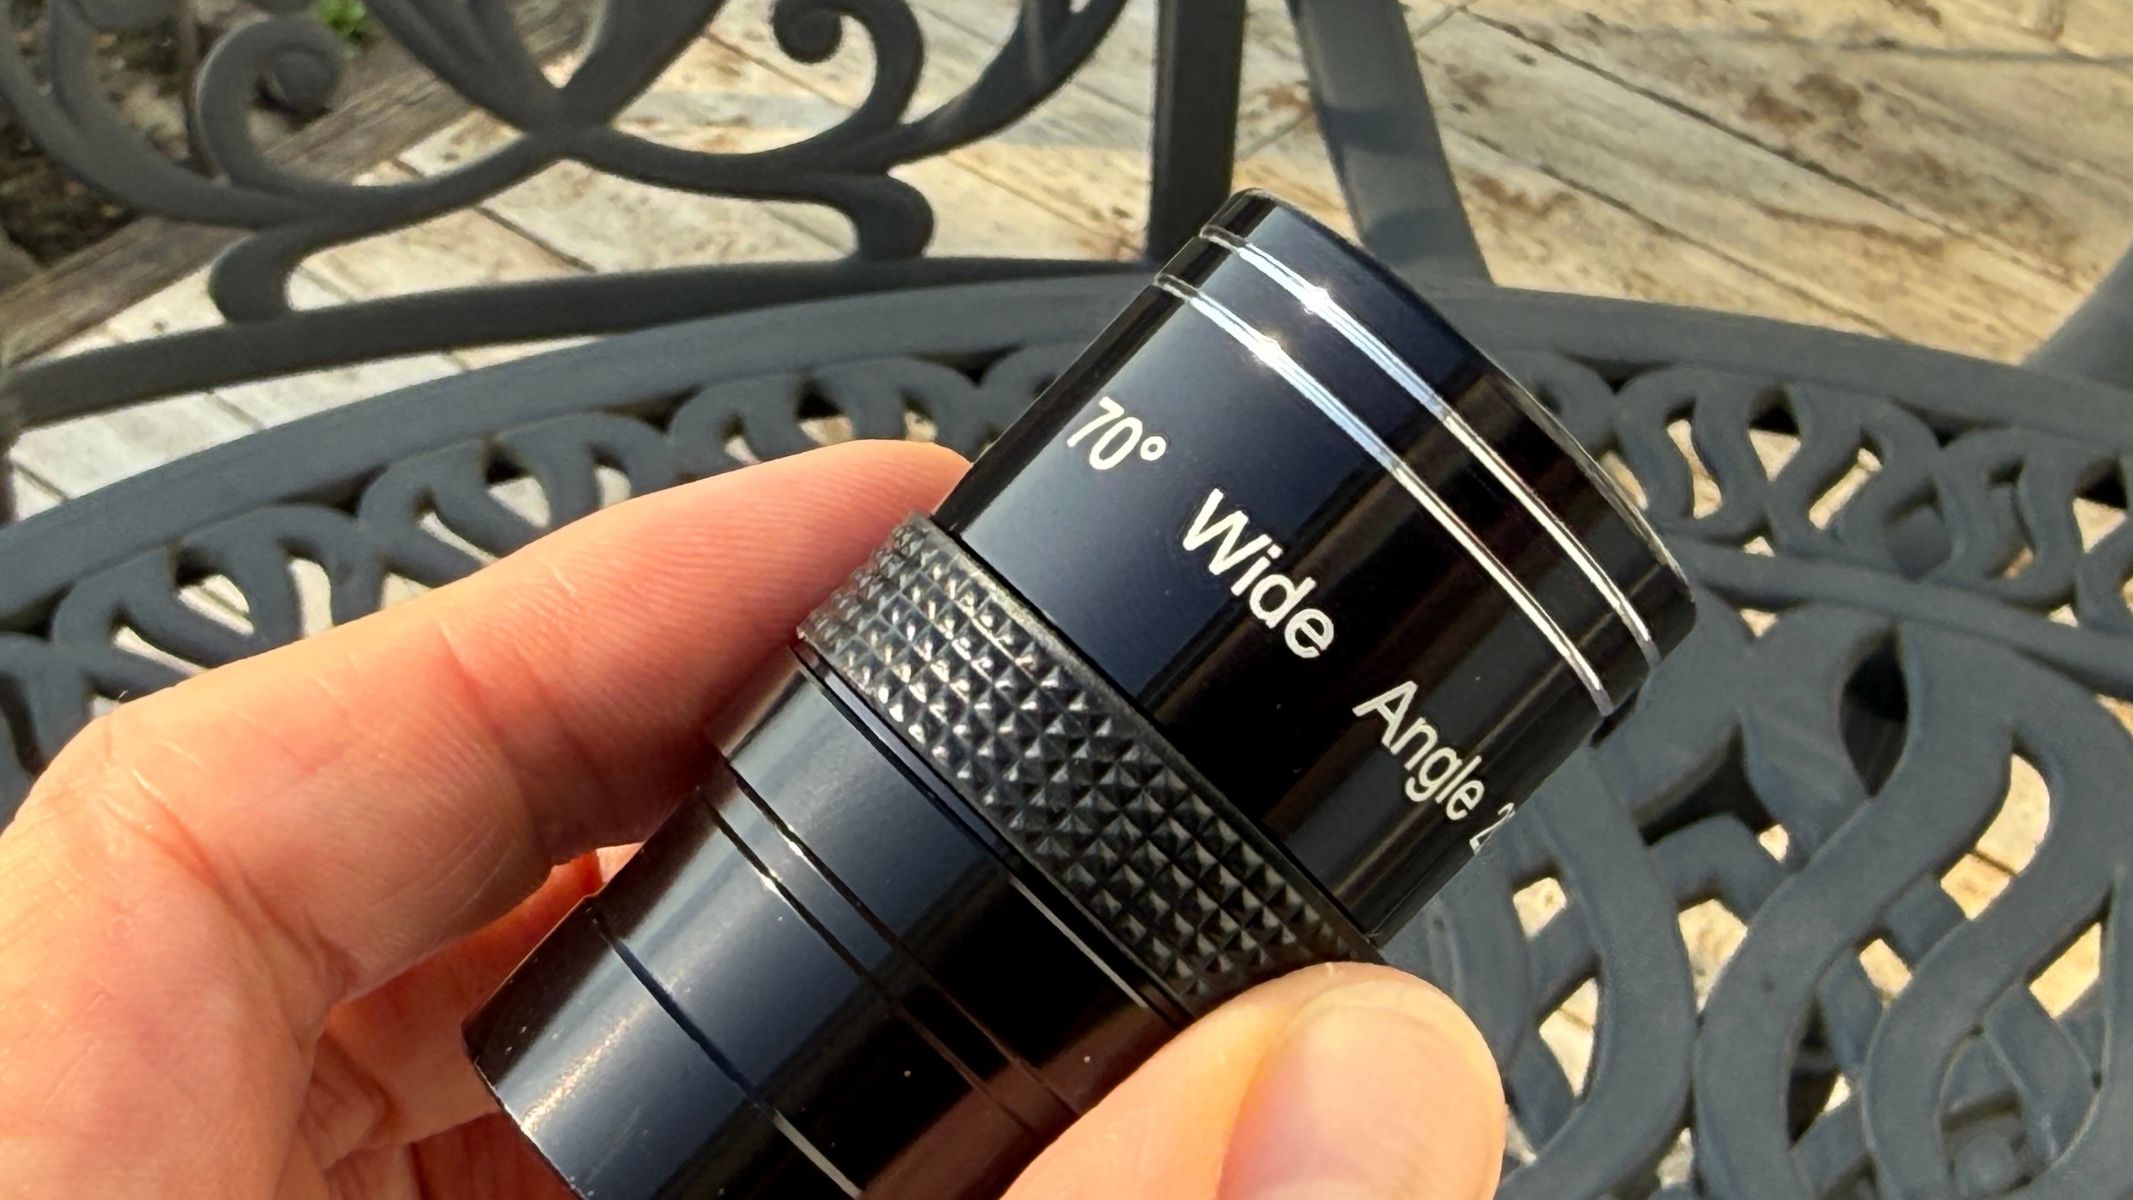
Eyepiece: 20mm 70-degree 1.25-inch eyepiece

Mount: OTA supplied with tube rings and V-style dovetail

Other accessories: smartphone adapter, sunshade, hard case.

Weight: 8.4 lbs (3.81kg) tube

With a total solar eclipse on Aug. 12, an annular solar eclipse on Feb 6, 2027 and another total solar eclipse on Aug. 2, 2027, solar telescopes are about to be in hot demand. After all, why peer at the eclipsed sun when you can see it in close-up? However, the Sky-Watcher Heliostar 76mm offers something a little different to a telescope wearing a solar filter — and it’s just as good when there’s no eclipse at all. Built around a standard, small-aperture refracting telescope, it has an H-alpha etalon (an ultra-narrowband filter used to observe the sun) and a diagonal blocking filter, which together let you safely see features in the sun’s chromosphere, a layer of its atmosphere above the surface (photosphere) and below its corona (outer atmosphere). It’s a layer that’s invisible in standard white light, but it glows in the very specific 656.28 nm wavelength of light, called hydrogen alpha (about 92% of all the atoms in the sun are hydrogen).

The aperture of the Sky-Watcher Heliostar 76mm H-alpha solar telescope.

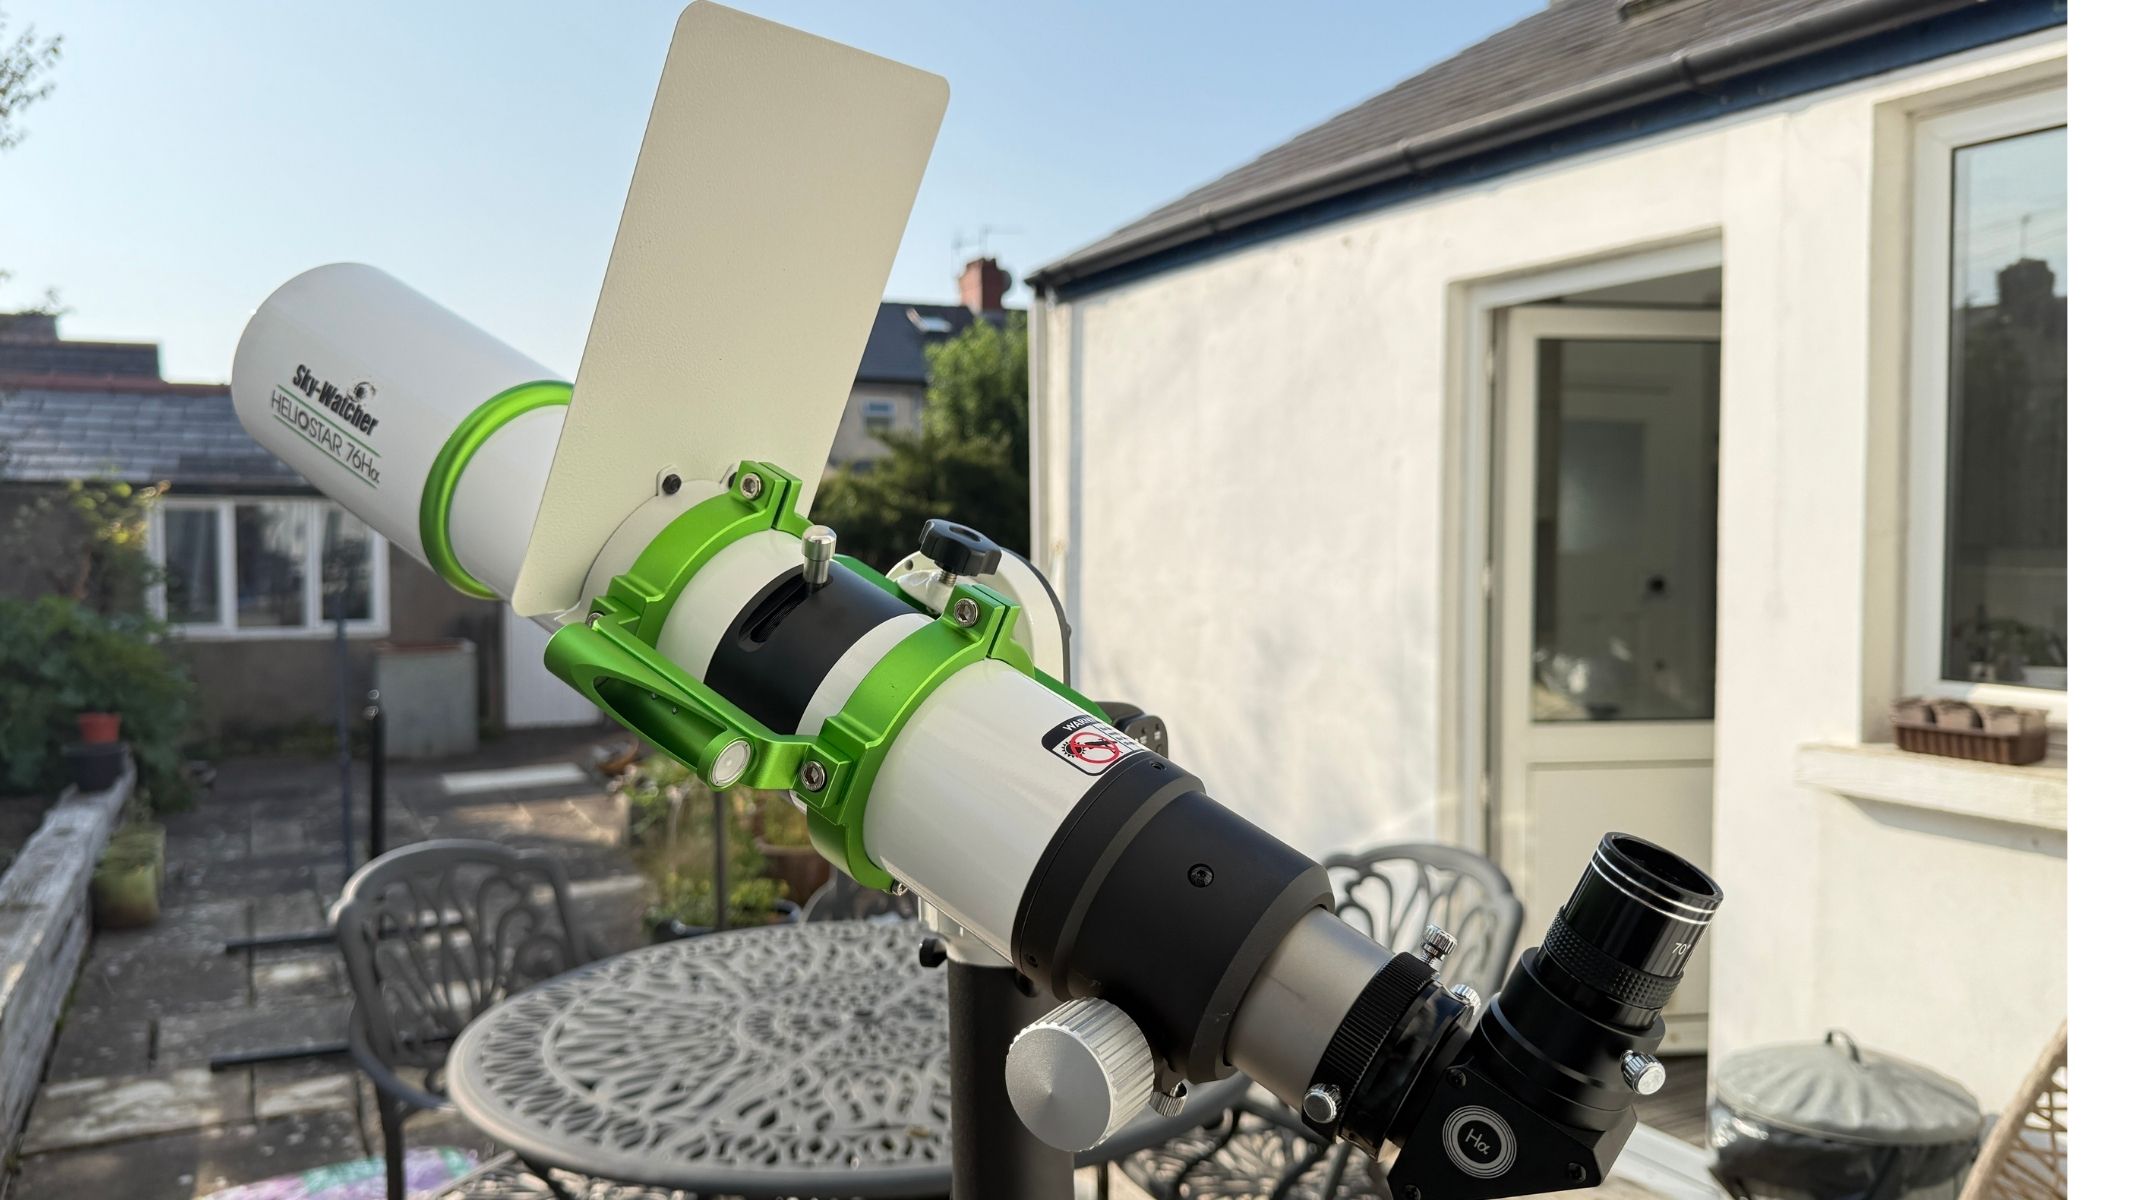
The H-alpha system reveals prominences, filaments and active regions. (Image credit: Jamier Carter)

Costing around US$3,395/UK£2,399, the Sky-Watcher Heliostar 76mm isn’t specifically an eclipse telescope, being unable to show you anything of the precious but short totality phase, when the corona comes into view. Although it’s a great way to get a unique look at the partial phases of a solar eclipse, it’s actually best seen as a solar telescope fit for studying our star at any time. It can show incredible features such as prominences (which look red to the naked eye during totality), filaments, bright plage regions and even solar flares (if you’re lucky with timing!), but can be used at any time of the day.

Read: The best solar telescopes for an HD view of the solar surface

Sky-Watcher Heliostar 76mm H-alpha solar telescope: Design

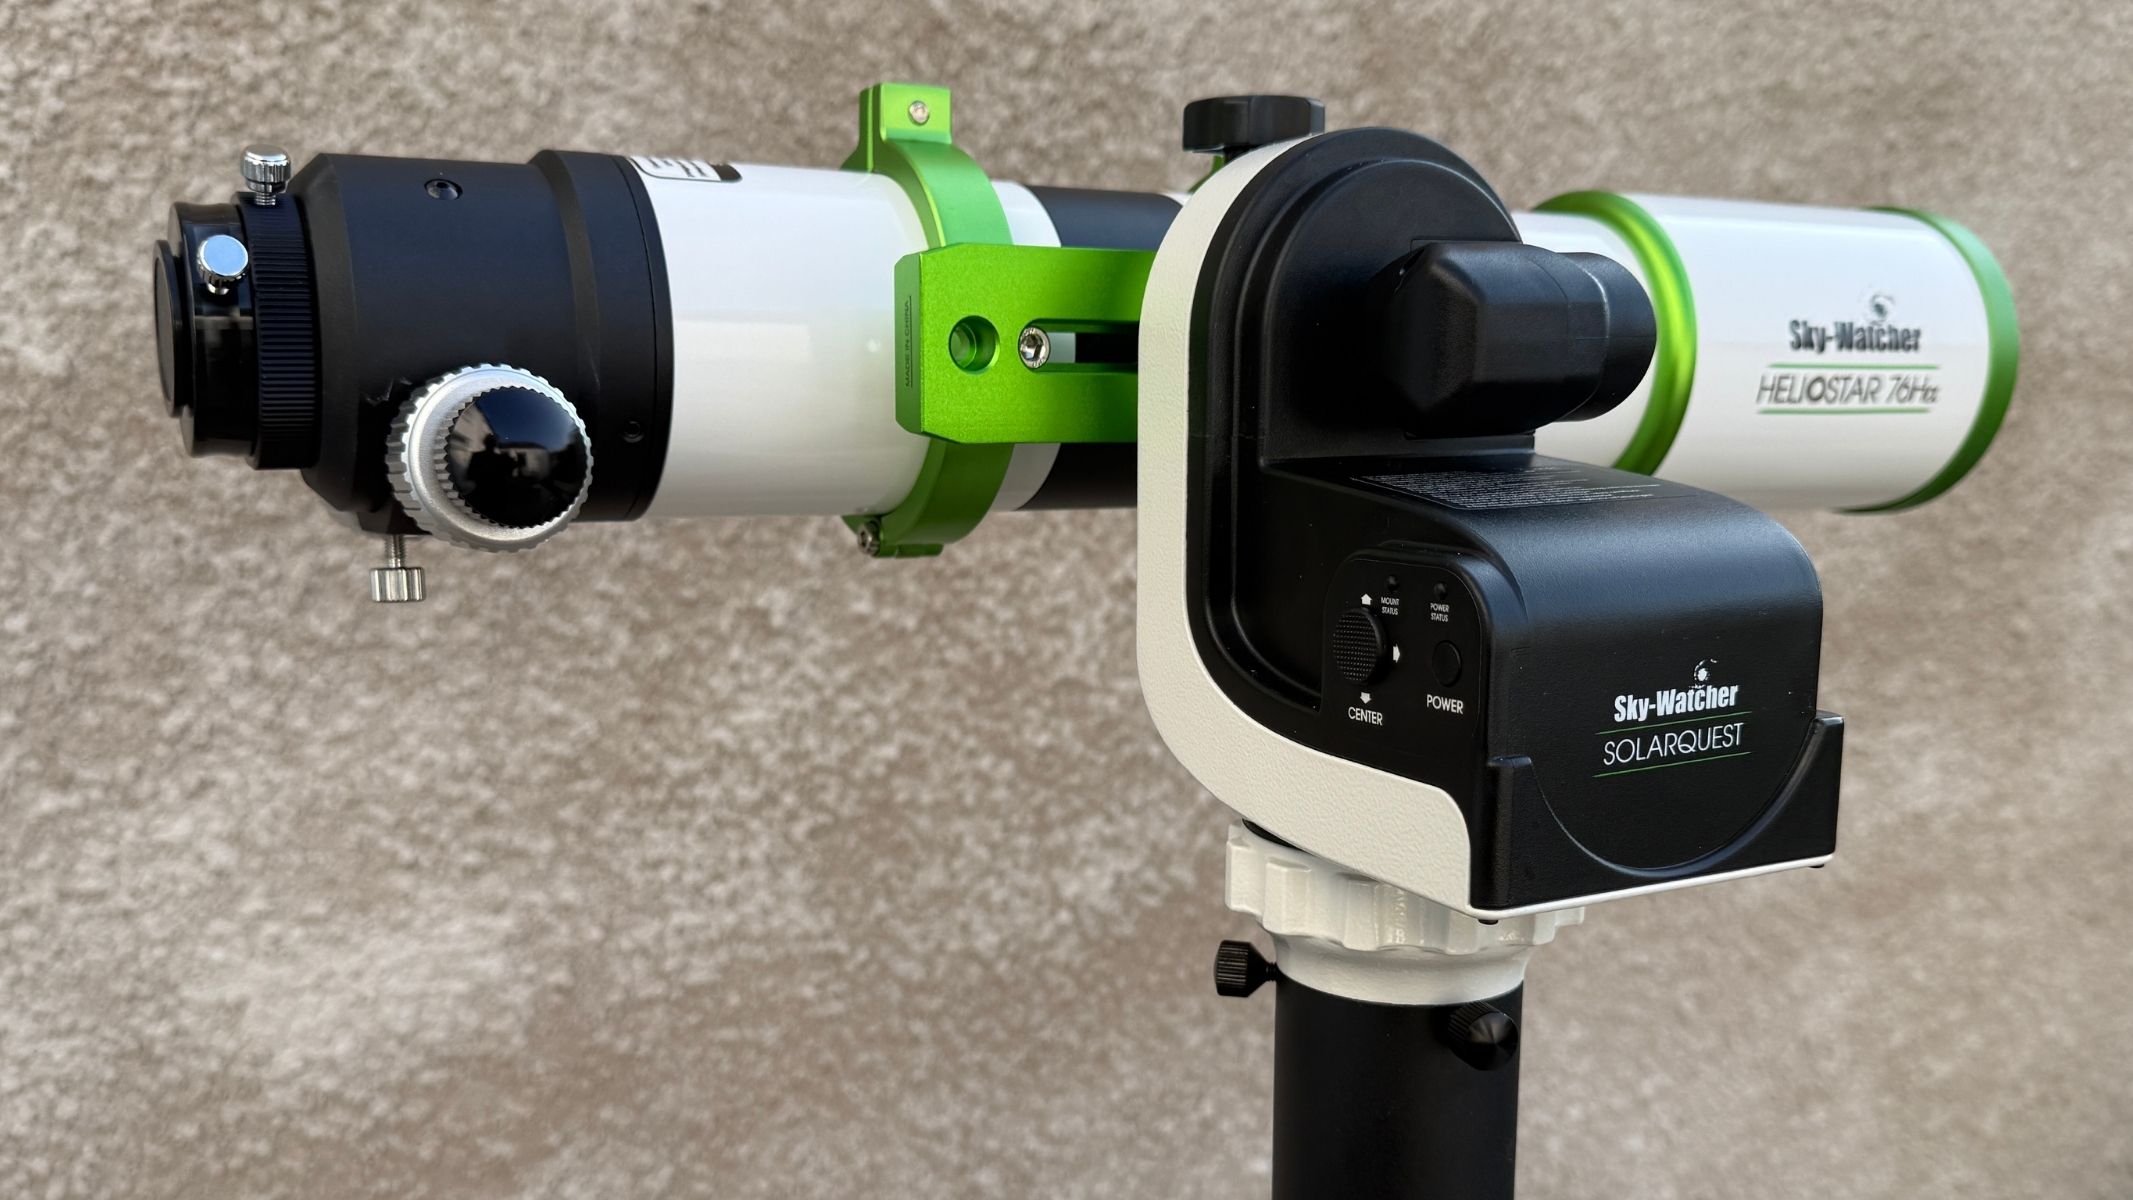
Sideview of the Sky-Watcher Heliostar 76mm H-alpha solar telescope attached to the Sky-Watcher SolarQuest mount.

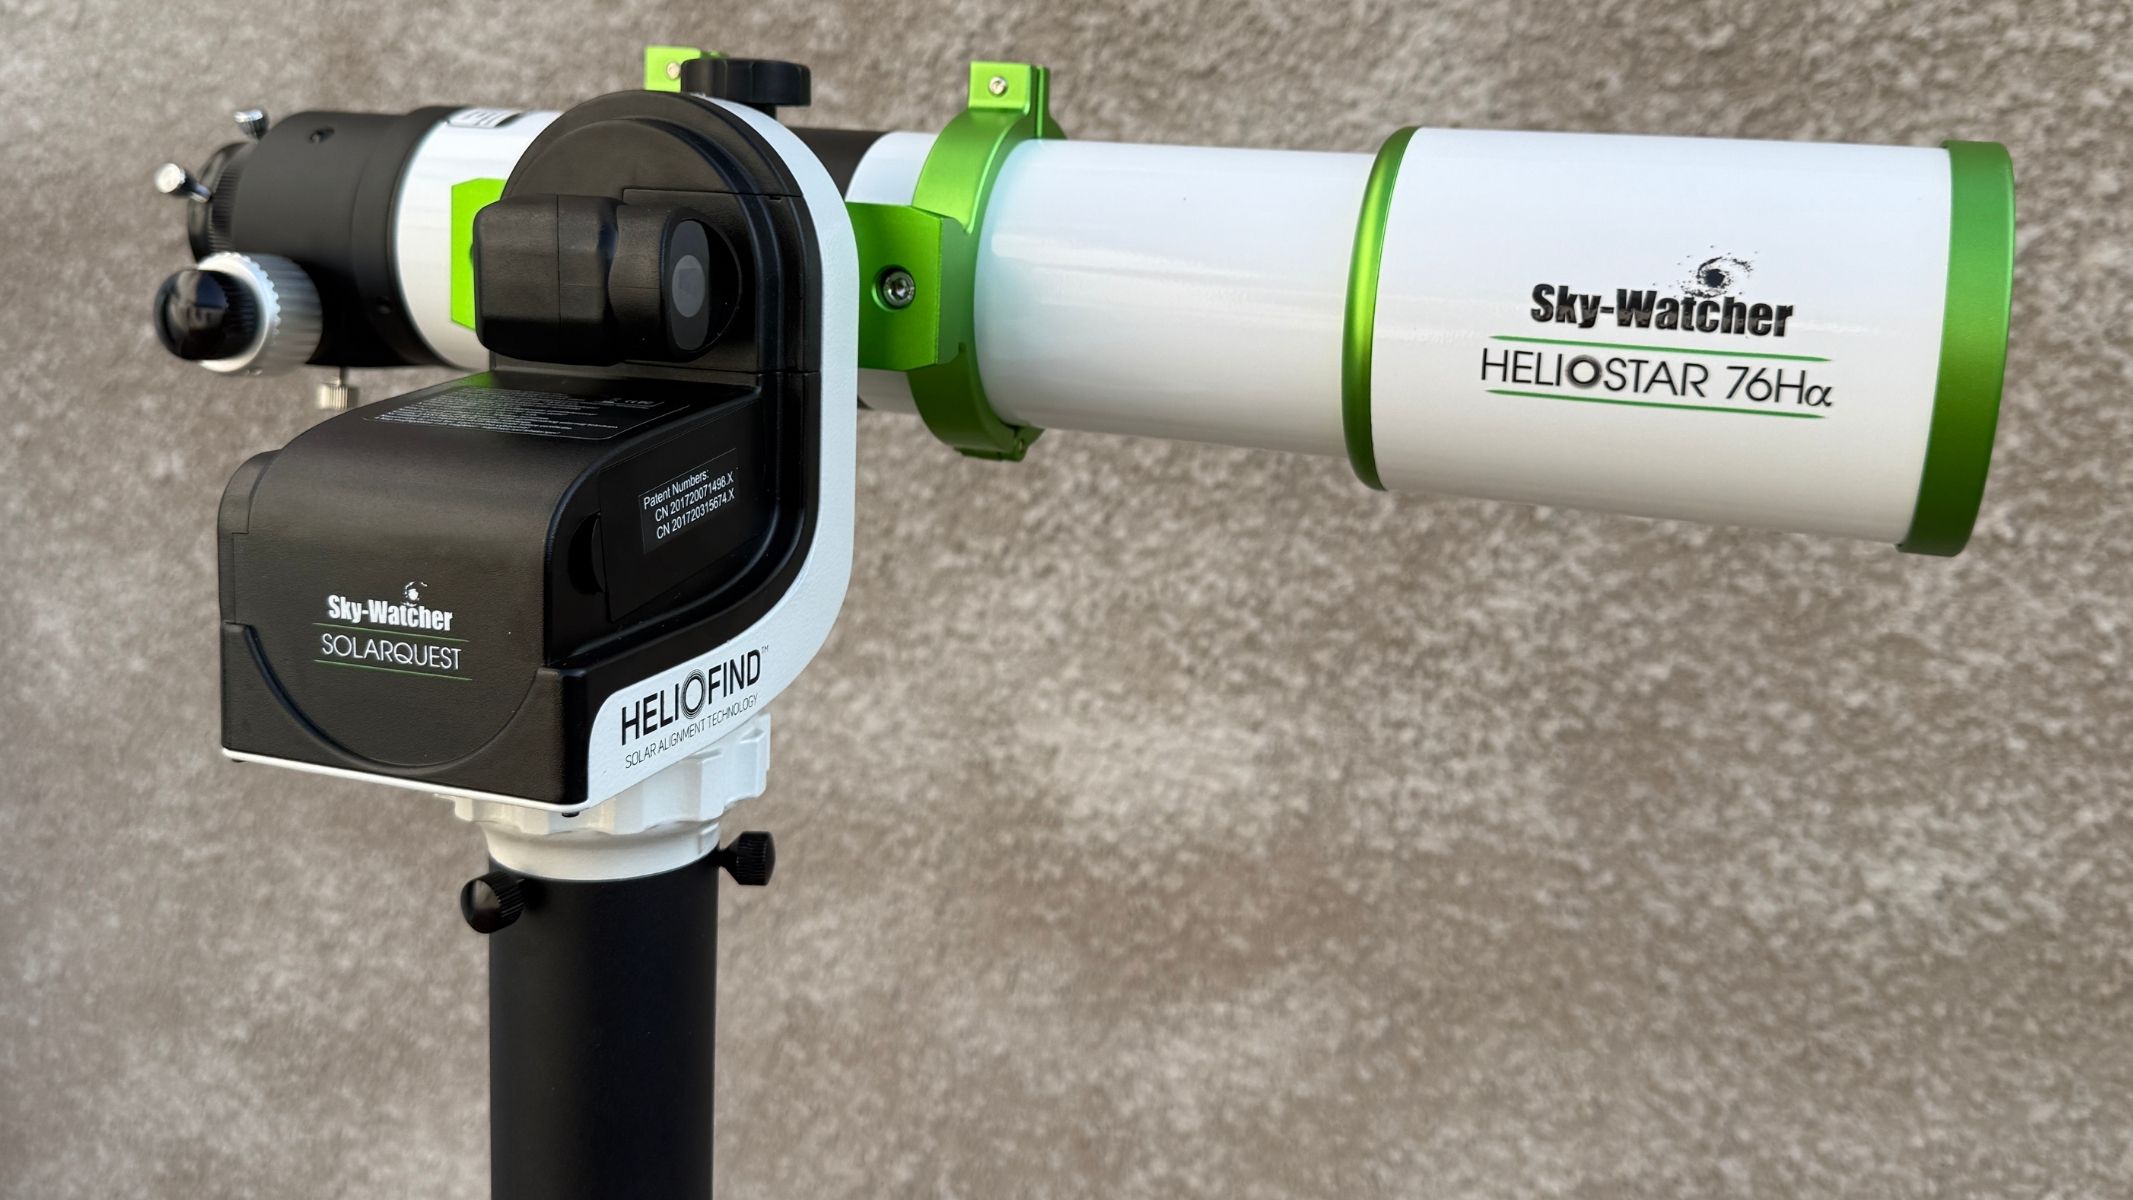
The 630mm focal length gives a useful full-disk solar view. (Image credit: Jamier Carter)
  • Purpose-built H-alpha solar refractor
  • Relatively portable 76mm tube
  • Safety-critical blocking-filter diagonal

At first glance, the appeal of the Sky-Watcher Heliostar 76mm is obvious. A 76mm aperture is large enough to offer meaningful solar detail, but the 8.4 lbs/3.8kg tube remains easy to mount. The 630mm focal length gives a useful image size, while the included finder, eyepiece, diagonal, sunshade and case make it feel like an all-in-one solar observing package, albeit an expensive one.

Close-up reflection of a table and chair in the 76mm aperture of the Sky-Watcher Heliostar 76mm H-alpha solar telescope.
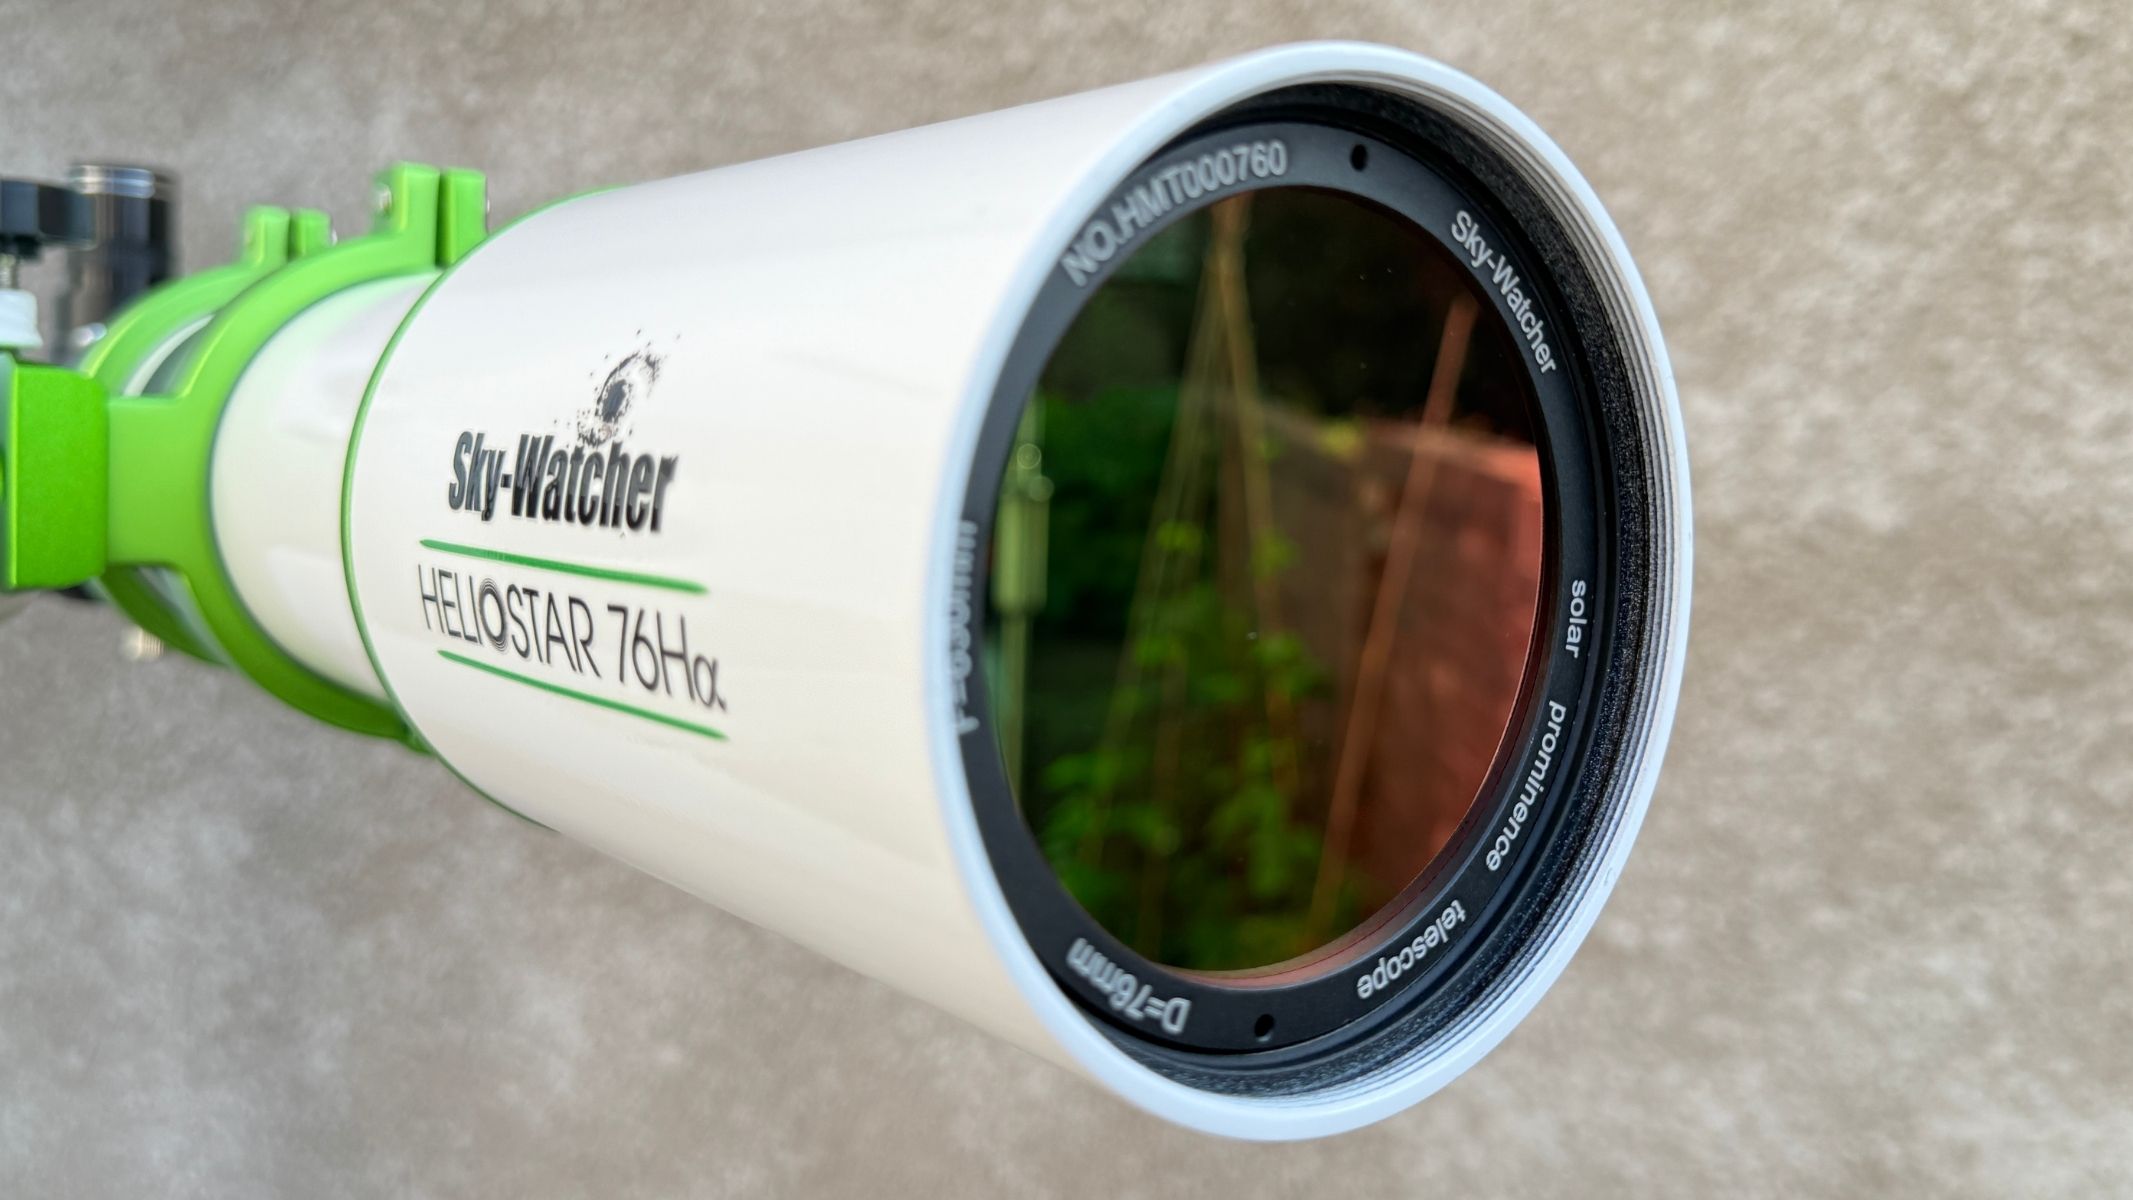
Its 76mm aperture gives impressive solar detail.Jamier Carter
The supplied diagonal attached to the bottom of the Sky-Watcher Heliostar 76mm H-alpha solar telescope.
The 11.5mm blocking filter is built into the supplied diagonal.Jamier Carter

It comes with all the scaffolding firmly attached, from carry handle and tube rings to a V-style dovetail, which is simple to attach to a mount. It also comes with a diagonal containing the 11.5mm blocking filter, which looks like an add-on, but is a critical part of the safe optical system that must be in place when using the Sky-Watcher Heliostar 76mm.

The Hydrogen-alpha filter diagonal piece from the Sky-Watcher Heliostar 76mm H-alpha solar telescope.
The blocking-filter diagonal is essential for safe solar observing. Jamier Carter
A warning on the Sky-Watcher Heliostar 76mm H-alpha solar telescope saying to never use the telescope without the solar zenith diagonal attached.
There are warnings about solar observing on the product itself.Jamier Carter

Is it portable? Kind of. It’s hardly a grab-and-go gadget, but it’s light enough to take in and out of a backyard and, if you’ve a mind to, on trips once in its protective case.

Close-up of the solar finder attached to the Sky-Watcher Heliostar 76mm H-alpha solar telescope.

The integrated solar finder makes aligning with the sun quick and safe. (Image credit: Jamier Carter)

Build quality is mostly excellent, which also applies to most of its accessories. Notably, its dual-speed Crayford focuser on the scope is firm and precise, with a fine-tuner to easily get a sharp image. We also liked the rugged design of the solar finder, which makes it easy to use and dependable. Lastly, it comes with a small, sturdy sunshade that attaches to the tube and keeps the observer in the shade while observing.

Sky-Watcher Heliostar 76mm H-alpha solar telescope: Performance

The Sky-Watcher Heliostar 76mm H-alpha solar telescope with clip-on sunshade attached with a house and table in the background.

It comes with a clip-on sunshade to keep the observer comfortable. (Image credit: Jamier Carter)
  • Bright images of the surface, filaments and prominences
  • Uneven contrast across the sun’s disk
  • Trifid Tuner helps bring out solar features

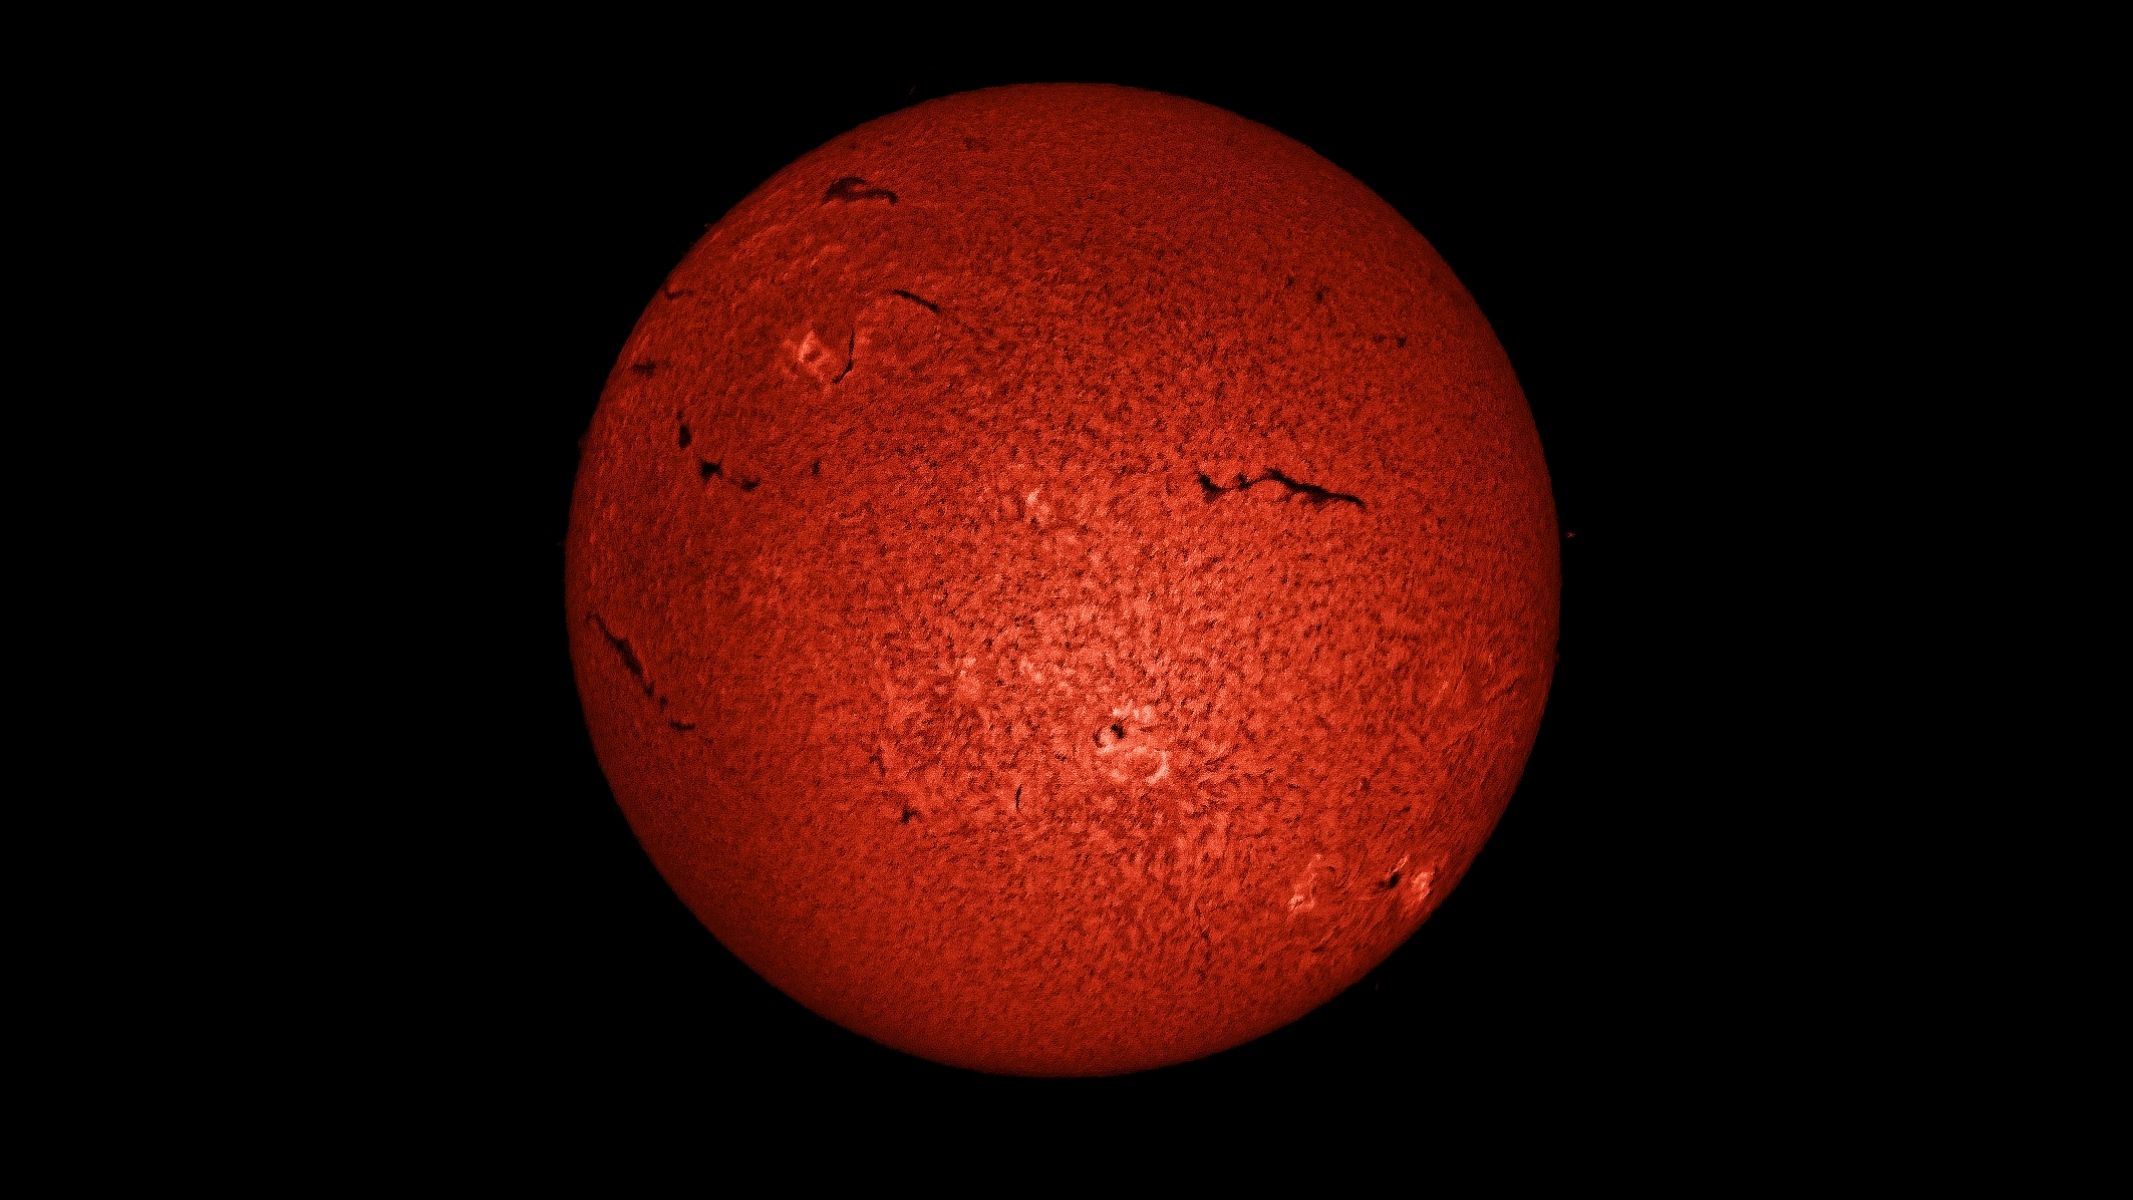
Remember that time you first saw Saturn and its rings in a telescope? Prepare for something similar when you first look through the Sky-Watcher Heliostar 76mm at what’s happening on the surface of our star. What you’ll see is an orangey disk that, once brought into focus, is scarred by bubbles and grain on its surface, plus giant dark tears called filaments, with plenty of contrast bringing the entire scene to life. Around the edge, we spotted some prominences. It truly is a superb view — we couldn’t take our eyes off it.

The solar disk in deep orange, showing a textured surface and dark spots, as imaged using the Sky-Watcher Heliostar 76mm H-alpha solar telescope.

The solar disk in deep orange, showing a textured surface and dark spots, as imaged using the Sky-Watcher Heliostar 76mm H-alpha solar telescope. (Image credit: Jamier Carter)

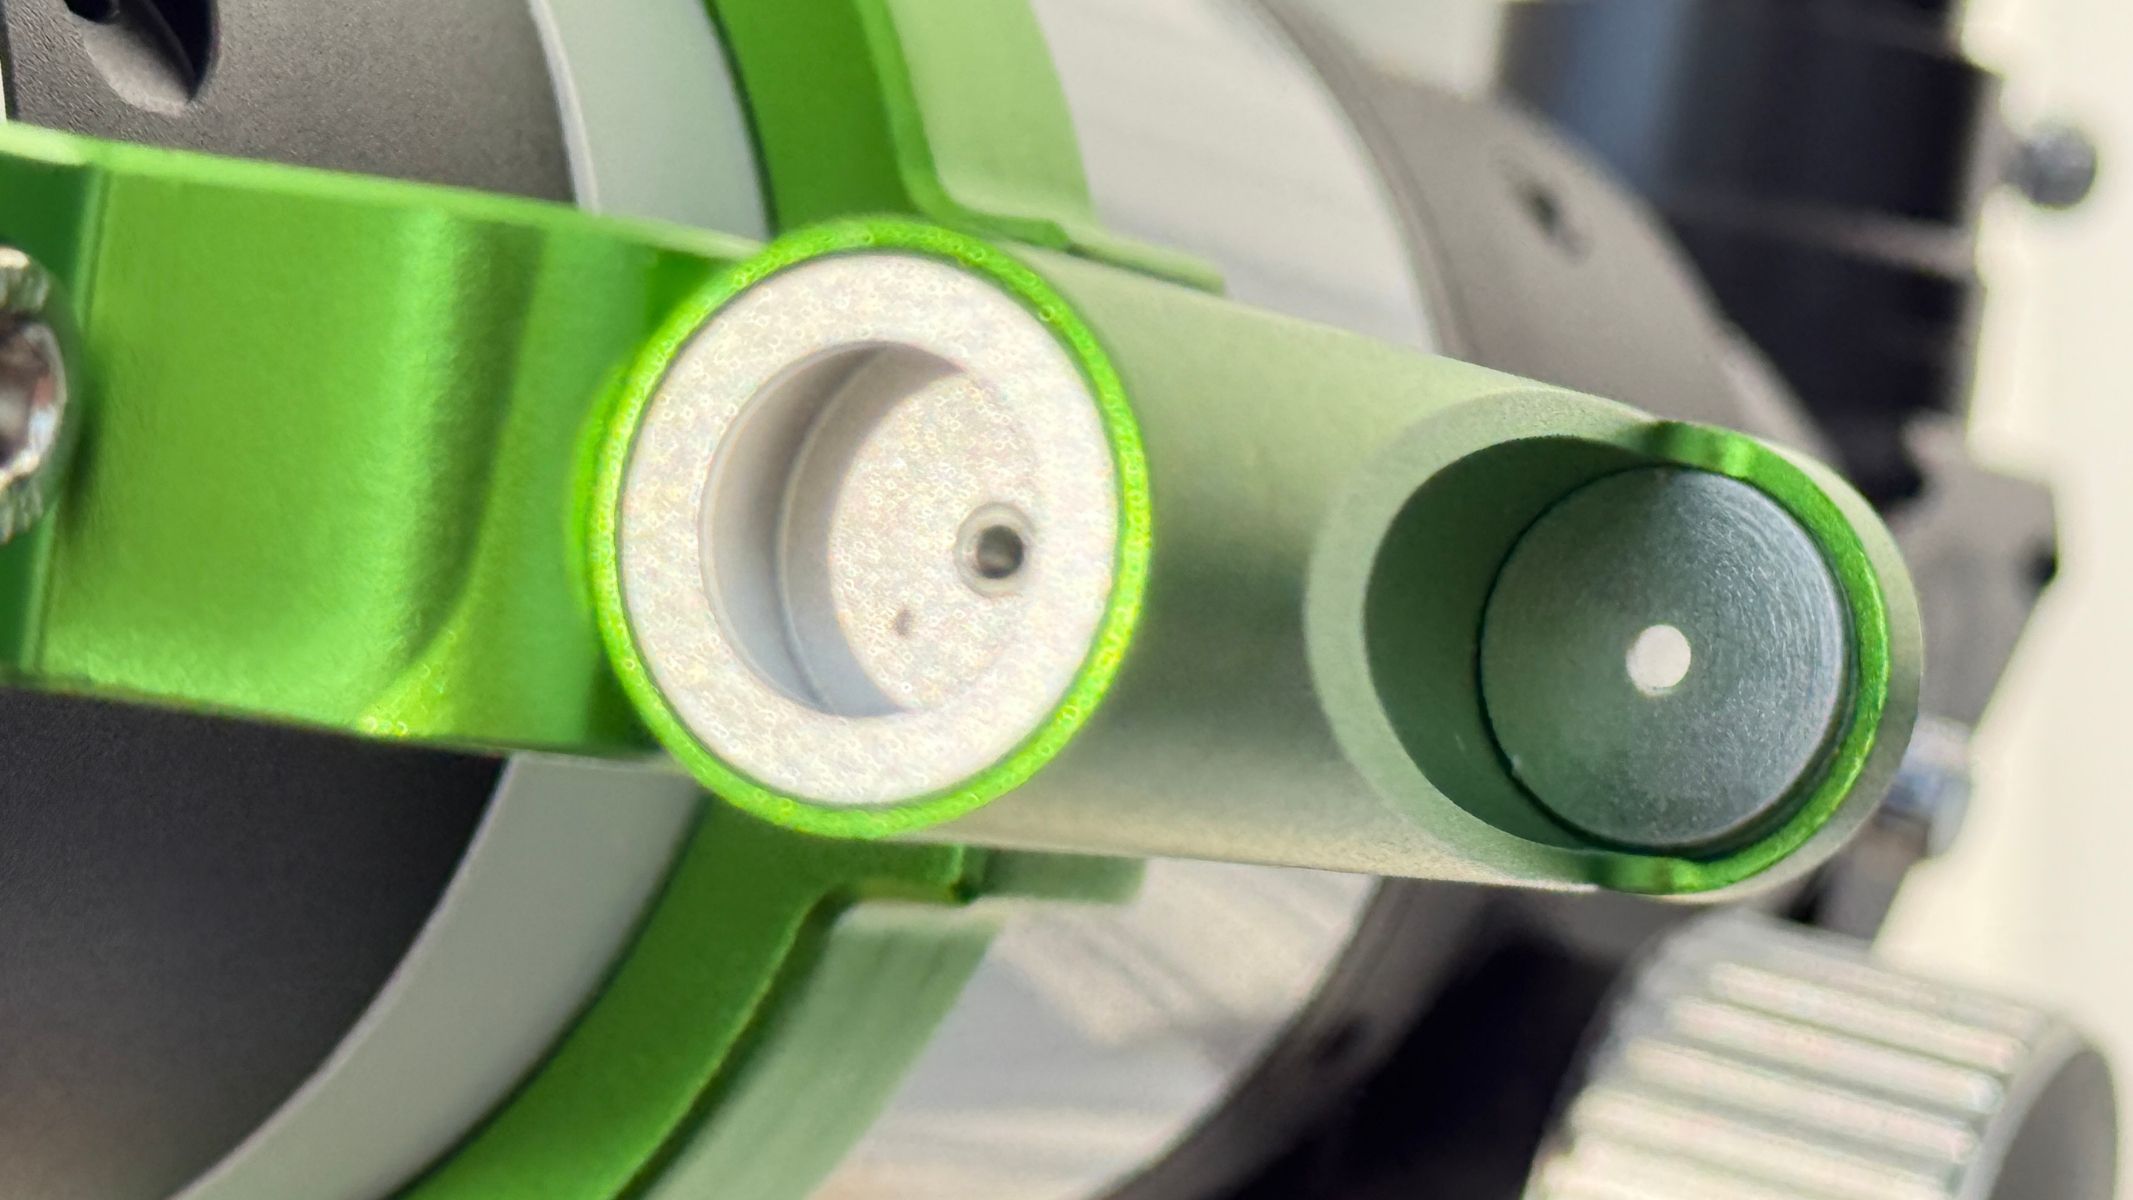
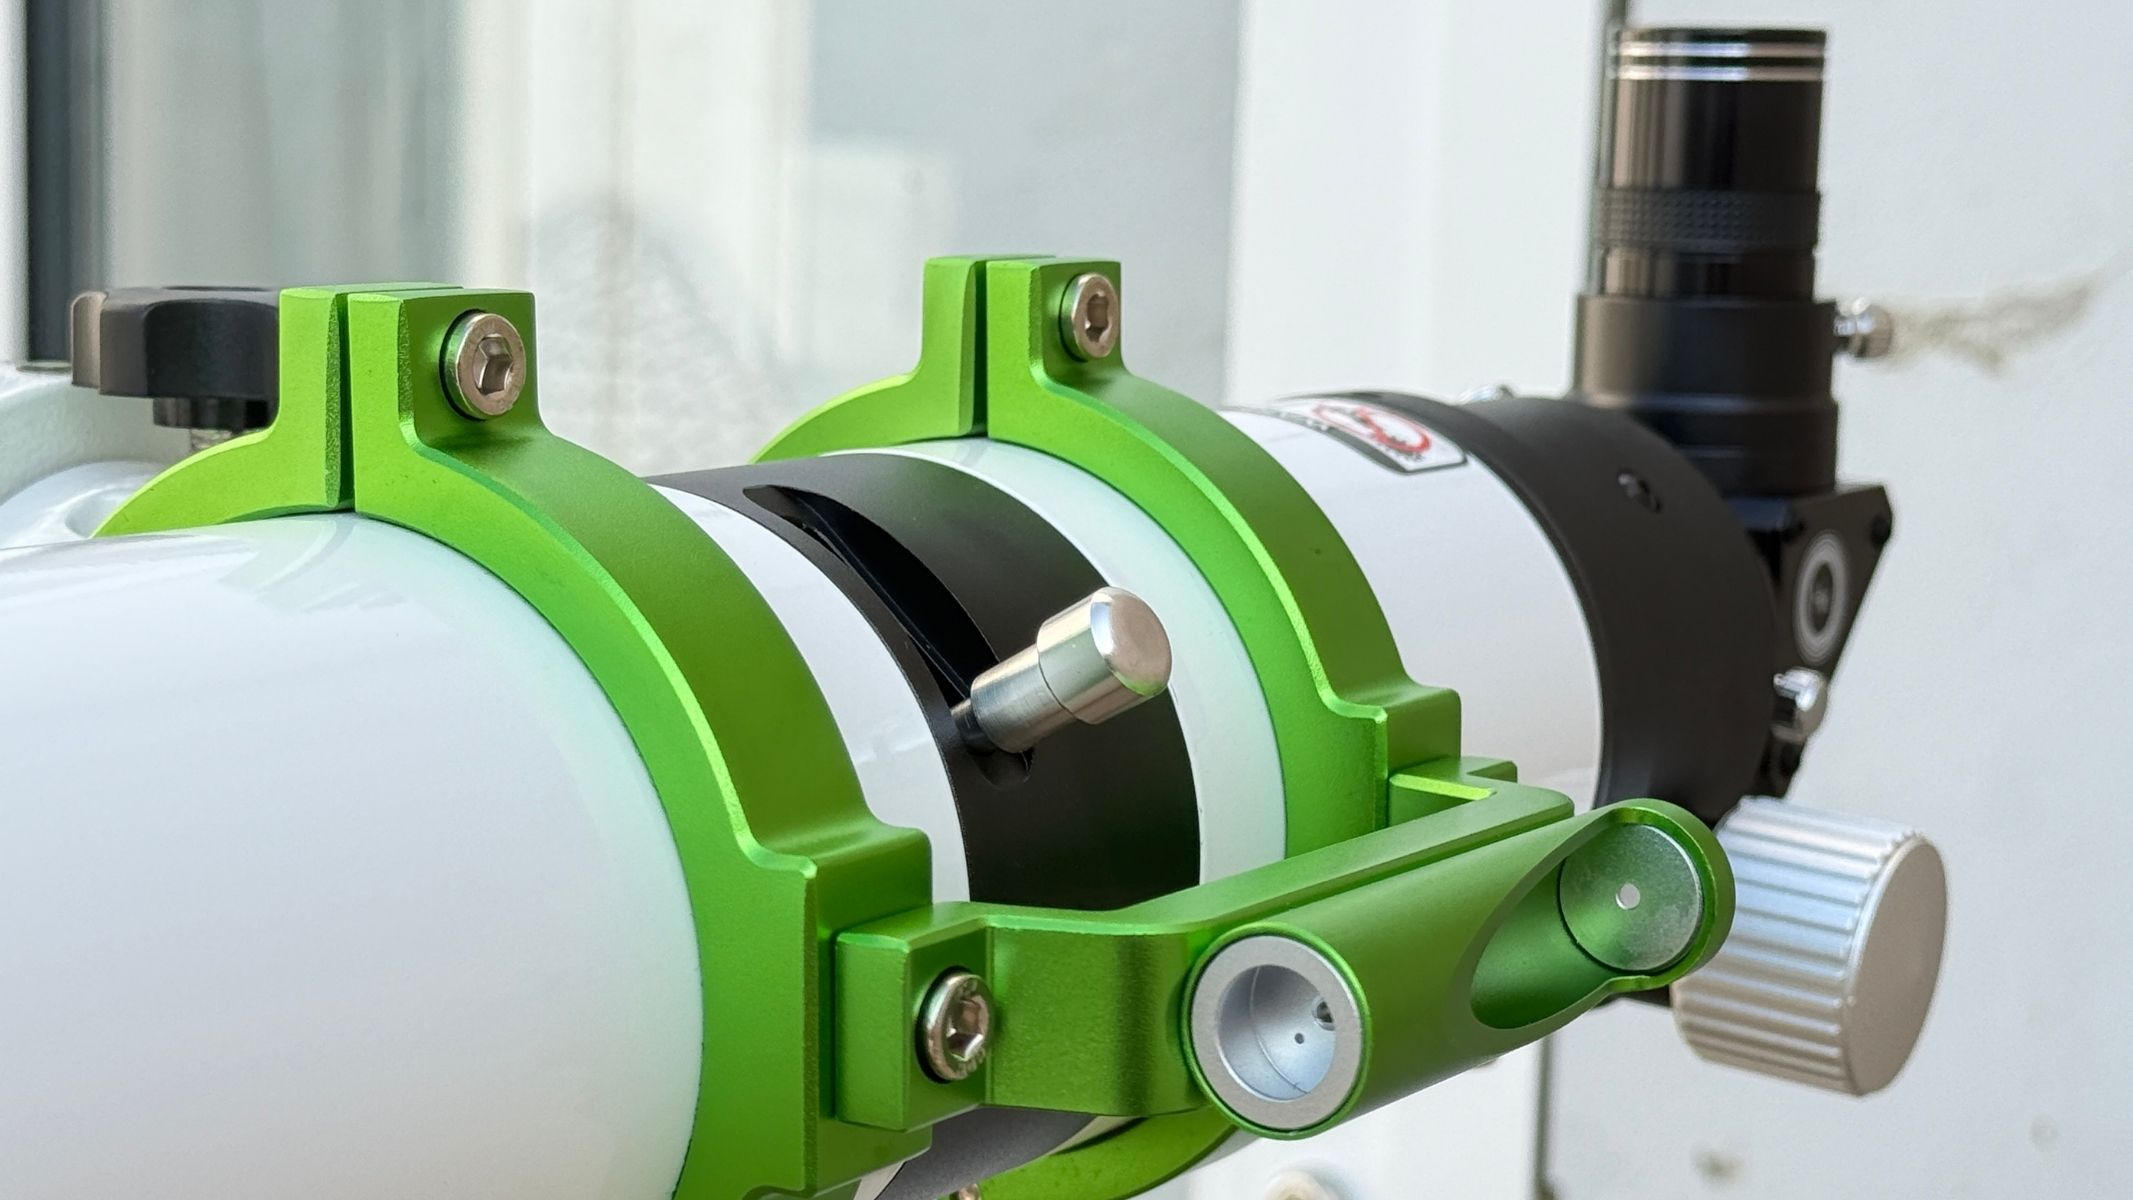
The only issue we had with the Sky-Watcher Heliostar 76mm, from a visual observing point of view, was the uniformity of the image. Although it’s perfect in some areas, it’s less so in others, with some patches too bright and others lacking contrast. Luckily, there’s a mechanical lever on the optical tube known as a Trifid Tuner, which applies micro-pressure to the etalon, slightly changing the contrast levels.

A green metal tuner attached to the optical tube of the Sky-Watcher Heliostar 76mm H-alpha solar telescope.

A green metal tuner is attached to the optical tube of the Sky-Watcher Heliostar 76mm H-alpha solar telescope. (Image credit: Jamier Carter)

The Trifid tuner allows you to alter exactly what you see of the solar disk and the prominences, though it never completely solves that uniformity issue. We found that the best way was to nudge the tuner slightly, wait for the scope to settle, and take another look through the eyepiece. That way, you can look for granulation, dark filaments and bright prominences, all of which demand different levels of contrast.

Sky-Watcher Heliostar 76mm H-alpha solar telescope: Functionality

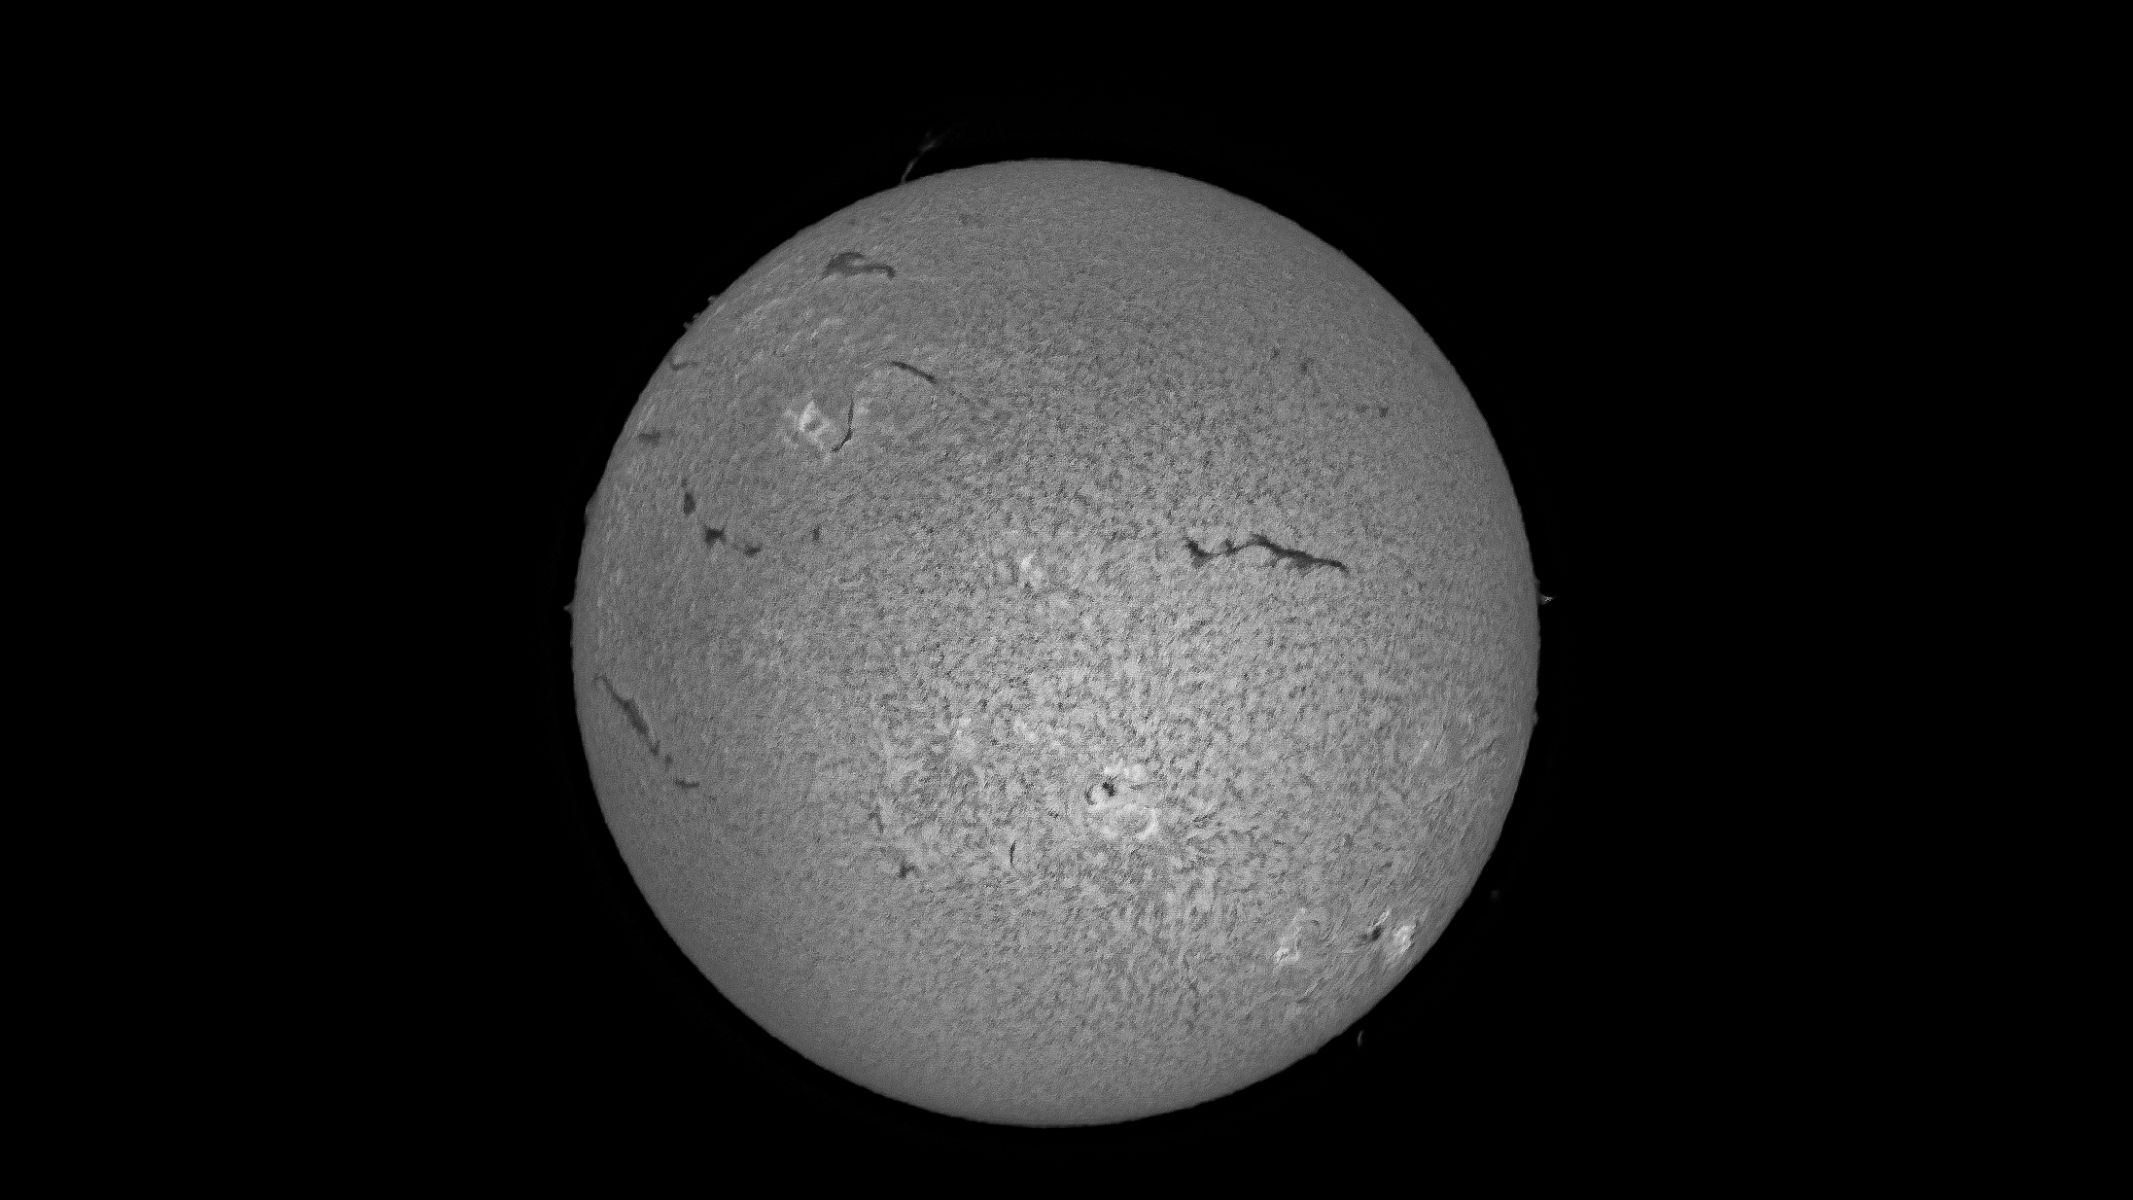
The solar disk in black and white, showing a textured surface and dark spots, as imaged using the Sky-Watcher Heliostar 76mm H-alpha solar telescope.

A monochrome image of the sun using an attached ZWO ASI174MM planetary camera. (Image credit: Jamier Carter)
  • Quick setup and easy alignment
  • Great for visual observing
  • Imaging requires time and patience

The Heliostar 76mm is fairly straightforward by H-alpha standards, with the Trifid tuner a simple way to tune it to observe different solar features. The 20mm eyepiece in the box worked well, as did the dual-speed focuser. In fact, the only thing getting in the way of setting up the Sky-Watcher Heliostar 76mm in mere minutes is the recommendation that a solar telescope should be left outside in the shade for at least 30 minutes before use, so its etalon can reach thermal equilibrium (otherwise you can expect uneven contrast and even distortion).

Fingers holding a 20mm eyepiece for the Sky-Watcher Heliostar 76mm H-alpha solar telescope.

The supplied 20mm eyepiece gives satisfying full-disk views. (Image credit: Jamier Carter)

The Sky-Watcher Heliostar 76mm is designed primarily for optical solar astronomy, but it’s also good for anyone taking their first steps into solar imaging. This is a highly specialized niche of astrophotography, and not one to be taken lightly; expect to spend many hours learning to use myriad software packages (none of which are supplied or even suggested by the manufacturer) and post-processing images. We gave solar photography a try with a ZWO ASI174MM monochrome planetary camera, which we used to capture videos of the sun with FireCapture software. The task then is to extract, stack and process frames.

The red solar disk, showing detail on the surface and surrounded by red and black, as imaged with a smartphone.

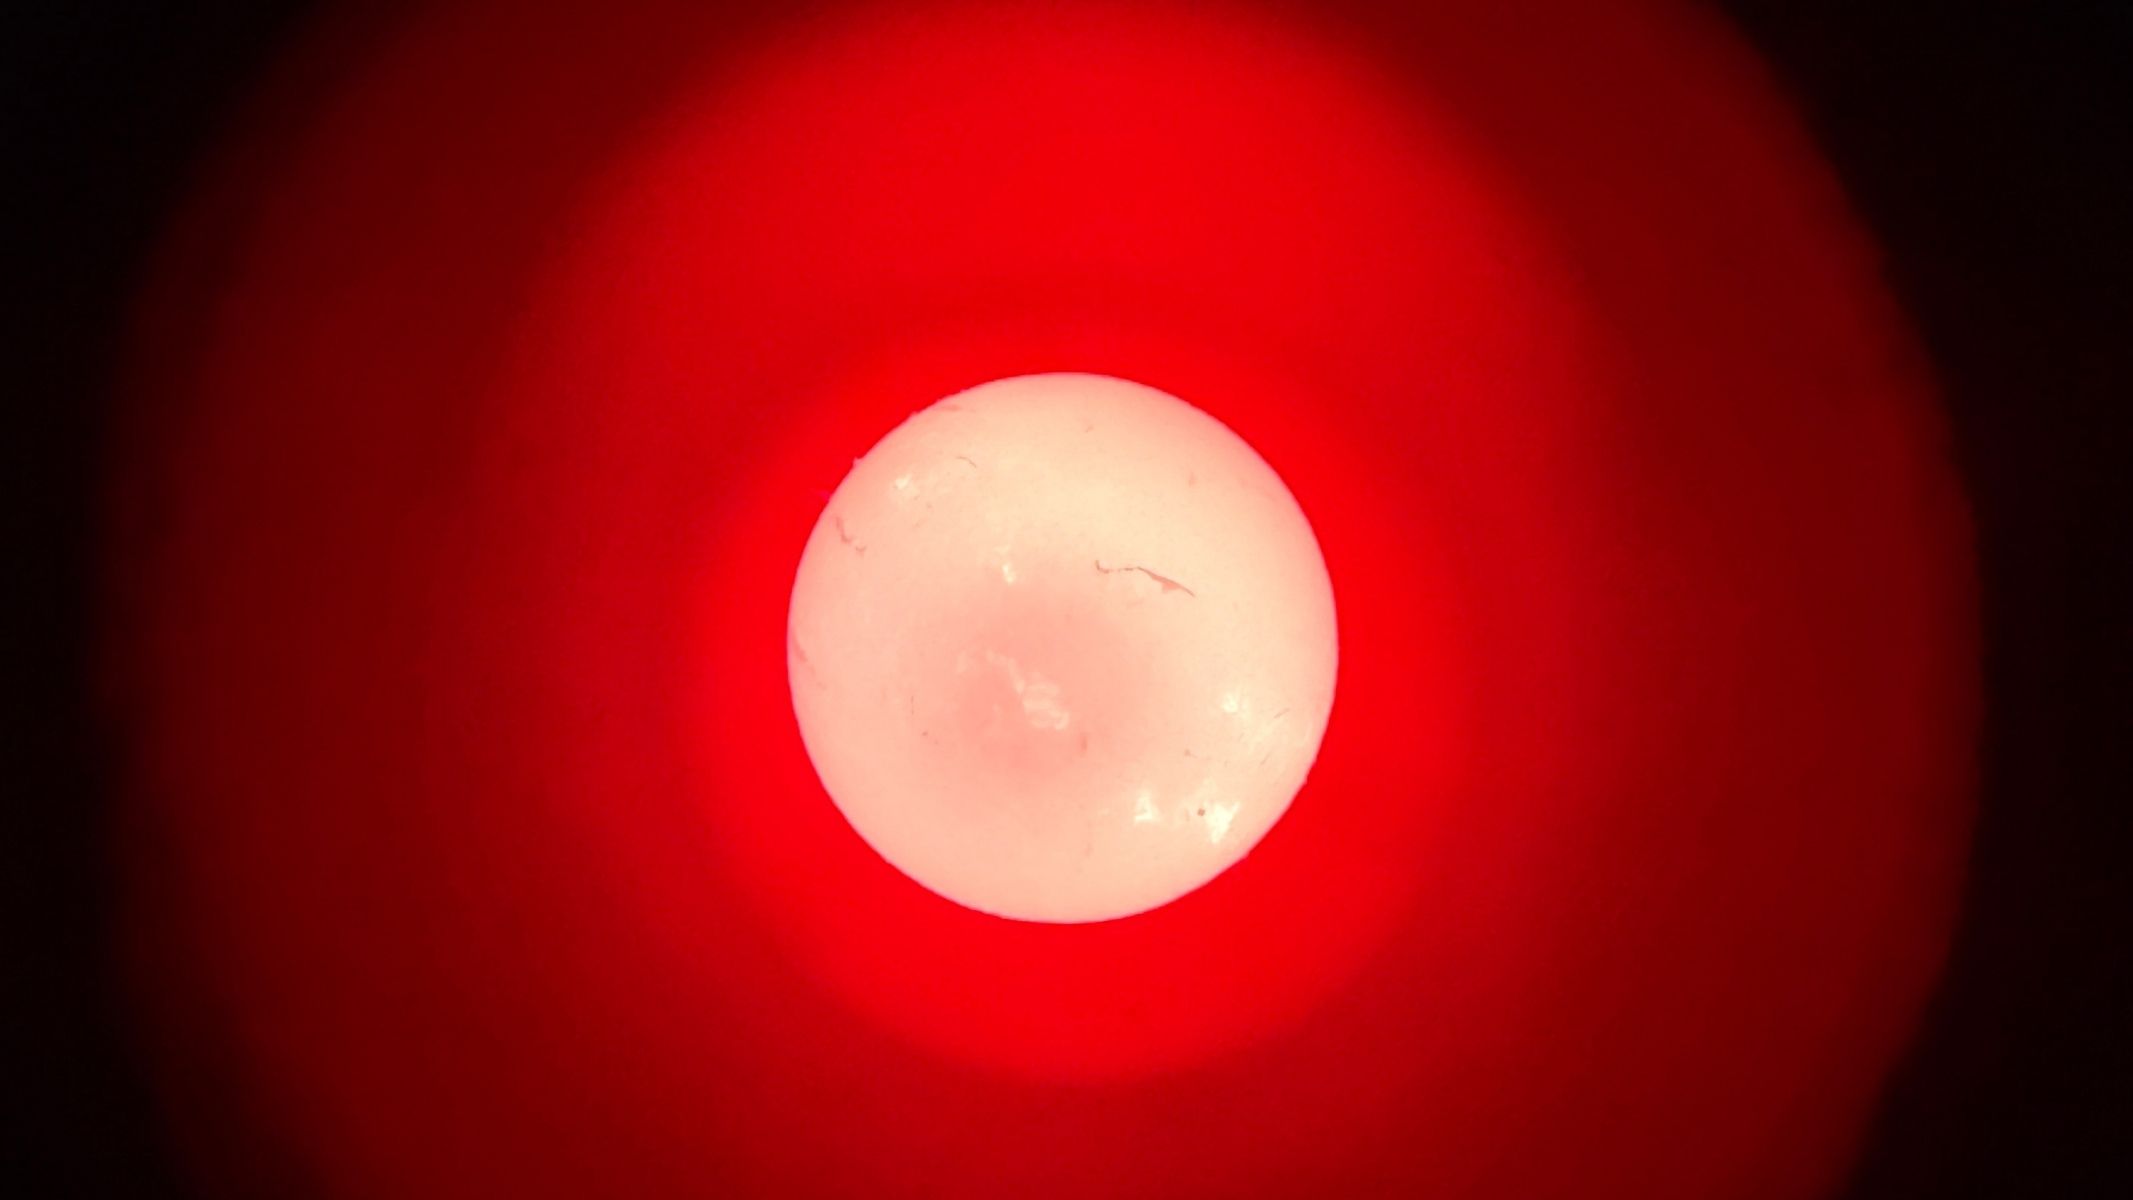
The sun seen through a smartphone using the supplied smartphone mount. (Image credit: Jamier Carter)

If none of those desk-based tasks appeal — and to many visual astronomers, they won’t — Sky-Watcher does include a smartphone adapter. We tried it out and although it was easy to use and worked well, it obtained only very basic images of the sun.

How we tested the Sky-Watcher Heliostar 76mm H-alpha solar telescope

Sideview of the Sky-Watcher Heliostar 76mm H-alpha solar telescope attached to the Sky-Watcher SolarQuest mount.

We used it with a Sky-Watcher SolarQuest mount. (Image credit: Jamier Carter)

We tried the Sky-Watcher Heliostar 76mm for about two weeks from a suburban backyard, always with a SkyWatcher SolarQuest mount head (which is sometimes bundled with the telescope). We largely used it to visually observe prominences, filaments, sunspots and texture on the sun in H-Alpha using the provided 20mm eyepiece, always leaving the scope outside for a while to acclimatize before use. We also experimented with taking full-disc solar images using a ZWO ASI174MM planetary camera.

Should I buy the Sky-Watcher Heliostar 76mm H-alpha solar telescope?

Buy it if:

✅ You want dramatic H-alpha views of solar features: H-alpha filtering makes detailed features of the solar surface visible, such as prominences, filaments and sunspots.

✅ You want the flexibility to use either an eyepiece or attach an astrocam: The Sky-Watcher Heliostar 76mm gives you the flexibility to either observe with an eyepiece or attach an astrocam to photograph the solar surface.

Don't buy it if:

❌You need perfectly even full-disk contrast for high-end imaging: We struggled to achieve full-disk contrast with this telescope and even though we got some great images, advanced solar photographers may be disappointed with the image.

❌You want a telescope that can also be used for night-sky observing: The etalon filter inside the telescope that restricts so much light to make it safe for solar observation renders it useless for night-time observation. Something like the iOptron 80mm white light solar scope, which has a removable filter, would be better for use during the day and for night use.

Buy the Sky-Watcher Heliostar 76mm if you want a dedicated H-alpha solar telescope that prioritizes visual observing, portability and ease of use. It’s perfect for anyone who wants to see prominences and filaments in far more detail than white-light solar viewing can provide. The only real issue is a slight lack of uniformity in contrast in its field of view, which necessitates tweaking its Trifid Tuner as you observe different features — something that potentially creates issues if you’re planning to image the solar disk using a planetary camera.

If the Sky-Watcher Heliostar 76mm H-alpha solar telescope isn’t for you

If your priority is simple, inexpensive solar observing, a certified front-mounted white-light solar filter on a suitable telescope is a cheaper route, but it will primarily show sunspots rather than the more dramatic H-alpha prominences and filaments. Similar H-alpha telescopes typically considered as rivals to the Sky-Watcher Heliostar 76mm include the Coronado PST and the much more expensive Lunt LS80MT B1200.

Is the Nocs Provisions Lite View spotting scope a good alternative to a traditional telescope?

Spotting scopes are typically used by birders and for hunting, but under a dark sky, the Nocs Provisions Lite View reveals a different personality. With a 56mm objective lens and a versatile 9x-27x zoom range, this compact spotting scope is surprisingly capable when turned toward not just the moon, but bright star clusters, too.

Key to its attraction is its small size, carry case and shoulder strap, which makes it possible to sling over a shoulder. Its rugged, wave-textured housing and bright color options? Not so much. However, with just enough optical performance to satisfy casual astronomers — particularly those focused on lunar observing — it makes a good option for astro-travel. Is it a replacement for one of the best telescopes? Absolutely not — but for close-up views of the lunar disk (particularly lunar eclipses), Jupiter and its moons, and bright open star clusters such as the Pleiades — this lightweight scope offers an appealing balance between portability and power if, and only if, you mount it on a tripod.

Nocs Provisions Lite View spotting scope review

Nocs Provisions Lite View spotting scope: Design

The Nocs Provisions Lite View spotting scope at twilight.

Lite View is ideal for travel and spontaneous lunar observing (Image credit: Jamie Carter)
  • Compact, travel-friendly size
  • Rugged rubberized grip
  • Integrated tripod mount
Specifications

Optics: Roof / XDR prism

Lens coating: HiFi Fully Multi-Coated

Magnification: 9-27x

Objective lens diameter: 56mm

Exit pupil: 6.2mm – 2.1mm

Field of view: 78–39 m at 1000 m / 234–117 ft at 1000 yds

Close focus: 2m / 6.6ft

Waterproof / fog-proof: IPX4 (water-resistant)

Eye relief: 18mm

Weight: 567 g / 1.2 lb

Dimensions: 192 x 120 x 68 mm

What's immediately noticeable about the Lite View is its rubberized, wave-textured exterior, which feels solid and secure in the hand. It's impact-absorbing and confidence-inspiring — important if you're heading out to a field for a late-night lunar eclipse, perhaps — though it will jar with anyone used to the mono, metallic designs favored by telescope designers. As a bonus, the IPX4 water-resistant rating means it will tolerate drizzle and damp conditions, though it's not fully waterproof or fogproof. Are we fans of its two color choices, Ochre Yellow and Saguaro Green? Not so much, though; with the popularity of stargazing-themed travel, the differing tones of astronomy scopes and spotting scopes no longer make sense.

At 192 mm long and weighing 567 g / 1.2 lb, the Lite View lives up to its name. It's small enough to fit into a larger jacket pocket and comes with a protective carrying case and shoulder strap, making it ideal for grab-and-go observing sessions. Its focus wheel and eyepiece zoom ring are logically placed, but while the former can feel slightly stiff at first, the latter is much looser. After some use, the focus wheel loosens and becomes smoother to operate. Meanwhile, the twist-up eyecups offer 18 mm of eye relief, making it comfortable to wear with spectacles.

Crucially for astronomy, the scope includes an integrated tripod mount. At higher magnifications, it proves essential.

Nocs Provisions Lite View spotting scope: Performance

Close-up of the lens of the Nocs Provisions Lite View spotting scope.

Lite View’s 56mm aperture gathers enough light for bright star clusters, nebulae and the moon. (Image credit: Jamie Carter)
  • Excellent lunar detail
  • Visible Galilean moons of Jupiter
  • Some chromatic aberration

Turn the Lite View toward a first-quarter moon, and it quickly justifies its place in a basic travel astronomy kit. At 9x magnification, the lunar disk appears crisp and bright against the night sky, with strong contrast across the dark maria and a pleasingly wide field of view that makes locating and centering it effortless. Increase the magnification to around 20x, and the view becomes more immersive, with crater chains and rugged terrain along the terminator snapping into satisfying relief as shadows sculpt the surface into dramatic texture.

At the full 27x magnification, crater rims and fissures become more pronounced, and for a 56mm spotting scope, the overall sharpness remains impressive. However, this is also where the scope’s limitations begin to surface. A trace of purple fringing and faint yellow coloration appear along the lunar limb in high-contrast areas, but it's not severe. Sharpness softens slightly compared to the sweet spot around 20x magnification, and in darker conditions, chromatic aberration becomes more noticeable around the moon.

A close-up of the zoom on the Nocs Provisions Lite View spotting scope.

The smooth 9x-27x zoom eyepiece lets you frame the full moon before zooming into crater detail. (Image credit: Jamie Carter)

Beyond the moon, it performs surprisingly well on bright deep-sky targets. The Beehive Cluster (M44) appears as a sparkling spray of stars, while the Orion Nebula (M42) shows a soft, misty glow under darker skies. The Pleiades (M45) particularly benefit from the generous field of view at lower magnifications, presenting a striking cluster framed against a black sky. Even Jupiter offers a rewarding sight. Though the planet remains small and surface detail is not visible, its four Galilean moons are clearly visible.

Optics-wise, the Lite View is not going to rival premium top-end ED-glass optics or a dedicated refractor telescope, but its HiFi fully multi-coated lenses and XDR roof prisms deliver bright, reasonably sharp views overall, particularly at mid-range magnifications. Overall, it meets expectations for its size and price.

Nocs Provisions Lite View spotting scope: Functionality

The author showing the grip design of the Nocs Provisions Lite View spotting scope.

Lite View’s textured surface makes it easy to grip in one hand. (Image credit: Jamie Carter)
  • Smooth zoom control
  • Tripod use is essential
  • Handy carry case

Key to the appeal of the Lite View are its 56mm objectives and 27x magnification, which you won't find in most lightweight binoculars. However, like large astronomy binoculars, this spotting scope — despite being very lightweight — is best used with some stability. While technically possible to use handheld at 9x, stability becomes an issue beyond 12x. At 27x, even slight movements blur the image significantly. For serious lunar observing, a tripod is mandatory. Annoyingly, the scope comes with a large rubber mount covering the undercarriage's tripod thread, which needs to be removed using an (included) Allen key. It appears to serve no purpose.

The great thing about the Lite View's zoom range is that it's smooth, flexible and allows the easy framing of the moon at low power before zooming in to better fit the field of view. Focusing at high magnification requires a gentle touch. The focus ring's resistance helps prevent accidental shifts, but fine adjustments demand patience. You'll also need to refocus slightly when changing magnification, which does somewhat interrupt the flow when observing.

The carry case of the Nocs Provisions Lite View spotting scope.

At just 567g (1.2 lb), the Lite View is a compact companion for nights under the moon. (Image credit: Jamie Carter)

Should you buy the Nocs Provisions Lite View spotting scope?

Buy it if:

✅ You want an ultra-compact travel scope: This scope is ideal for observing the moon and star clusters.

✅ Portability matters more than ultimate optical perfection: We found this scope softened at 27x, but we can't disagree that it's highly portable.

Don't buy it if:

❌ You want telescope-level planetary detail: Unfortunately, this scope just won't give you that.

❌ You plan to observe handheld at high magnifications: This scope will require a tripod at higher magnifications.

The Nocs Provisions Lite View Spotting Scope occupies an interesting niche. It's not a dedicated astronomical device, yet it performs impressively on the moon and bright objects. Its lightweight build, shoulder-ready pouch and integrated tripod mount make it ideal for travel, spontaneous observing sessions and lunar eclipses. Yes, there's some chromatic aberration. Yes, it softens slightly at 27x. However, when mounted steadily and aimed at Earth's natural satellite, it delivers detailed, rewarding views that exceed what its size suggests. For lunar lovers who value portability and simplicity, it's a compelling companion under the night sky.

How we tested the Nocs Provisions Lite View spotting scope

We tested the Lite View during multiple evening sessions under suburban skies and in darker rural conditions. Particular attention was given to lunar observing at various phases from crescent to gibbous and other bright objects in the night sky.

The scope was mounted on a stable tripod for all high-magnification observations. We evaluated sharpness, color fidelity, contrast and ease of focusing, as well as its ability to resolve Jupiter's Galilean moons and several bright deep-sky objects, largely bright open clusters of stars.

If the Nocs Provisions Lite View spotting scope isn't for you

If you're seeking significantly higher magnification and premium optical performance, consider the Celestron Regal M2 80 ED, which delivers outstanding clarity at a much higher price point. Astrophotographers may prefer a similarly priced entry-level smart telescope, such as the DwarfLab Dwarf Mini, which can capture excellent images of the moon and deep-sky objects. Another option is large stargazing binoculars like the Celestron SkyMaster 20x80 Pro, which offer greater light-gathering for fainter objects, though at the cost of added bulk.

Celestron Moon Mission 100mm tabletop Dobsonian review

The excitement of the new moon mission has potentially helped create a new generation of stargazers, just like the Apollo program did 60 years ago. These new observers will be looking for a beginner’s telescope that is easy to use and which can show them the craters on the moon in particular. The Celestron Moon Mission 100mm Tabletop Dobsonian could be the perfect entry point for them. It has a superb price-point for its aperture, and is capable of bringing not only the moon, but double stars, the brighter galaxies and nebulas and the moons of Jupiter to your backyard.

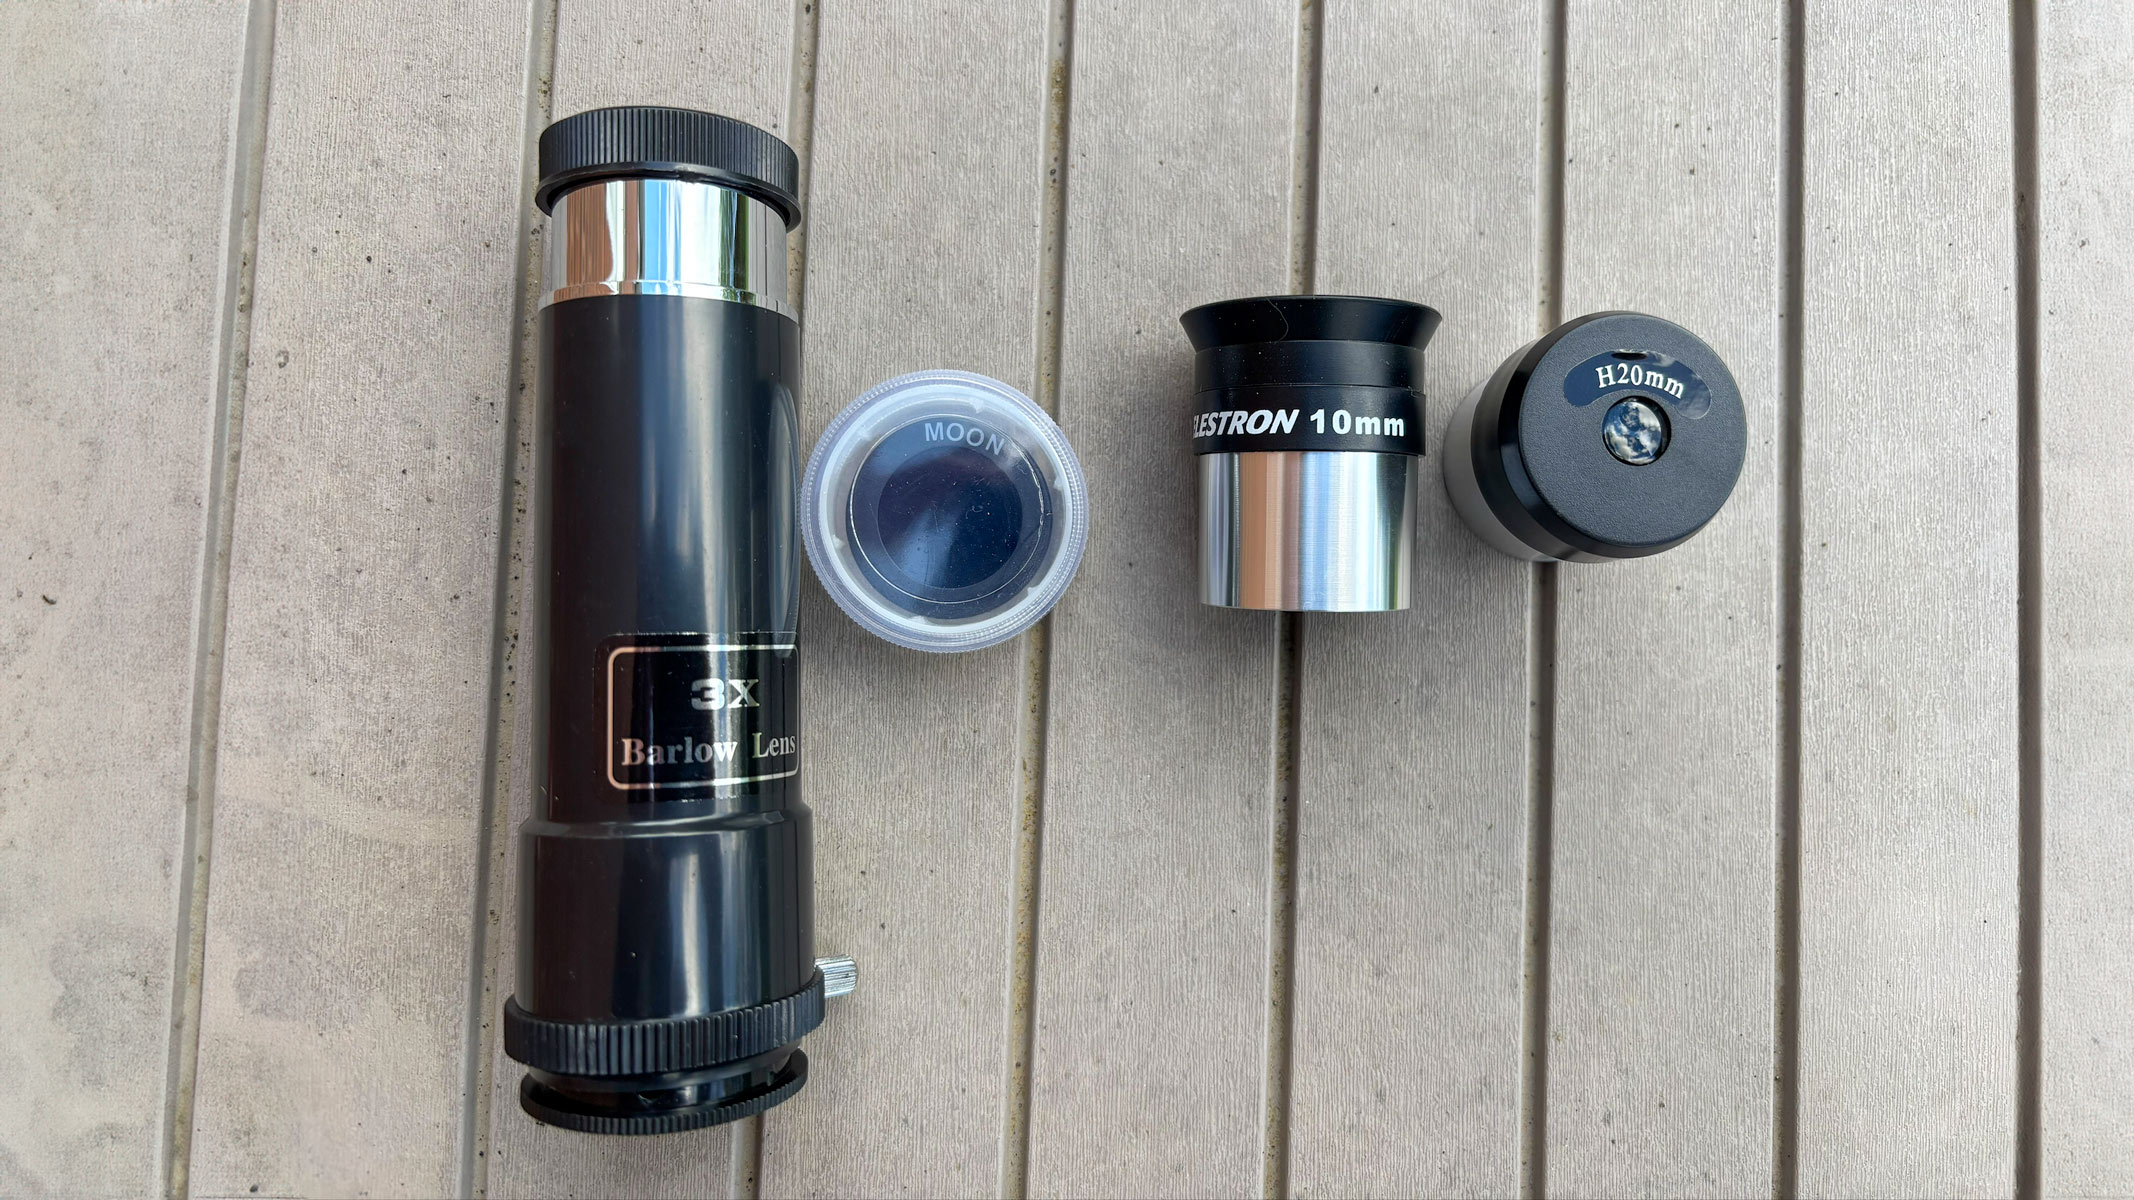
The Celestron Moon Mission 100mm Tabletop Dobsonian comes equipped with 8mm and 20mm eyepieces, one of which is intended specifically for the moon, as well as a red-dot finderscope, a moon filter, a moon-map poster and free access to download the Starry Night planetarium software and Celestron’s SkyPortal app, which is powered by SkySafari.

All in all, it will make an excellent package for someone to get started enjoying the night sky. Though the optics and accessories are not perfect, for the price their drawbacks can be overlooked, and as an entry-level telescope it paves the way for the user to graduate to increasingly more sophisticated telescopes at a later date.

Celestron Moon Mission 100mm Tabletop Dobsonian review

Celestron Moon Mission 100mm Tabletop Dobsonian: Design

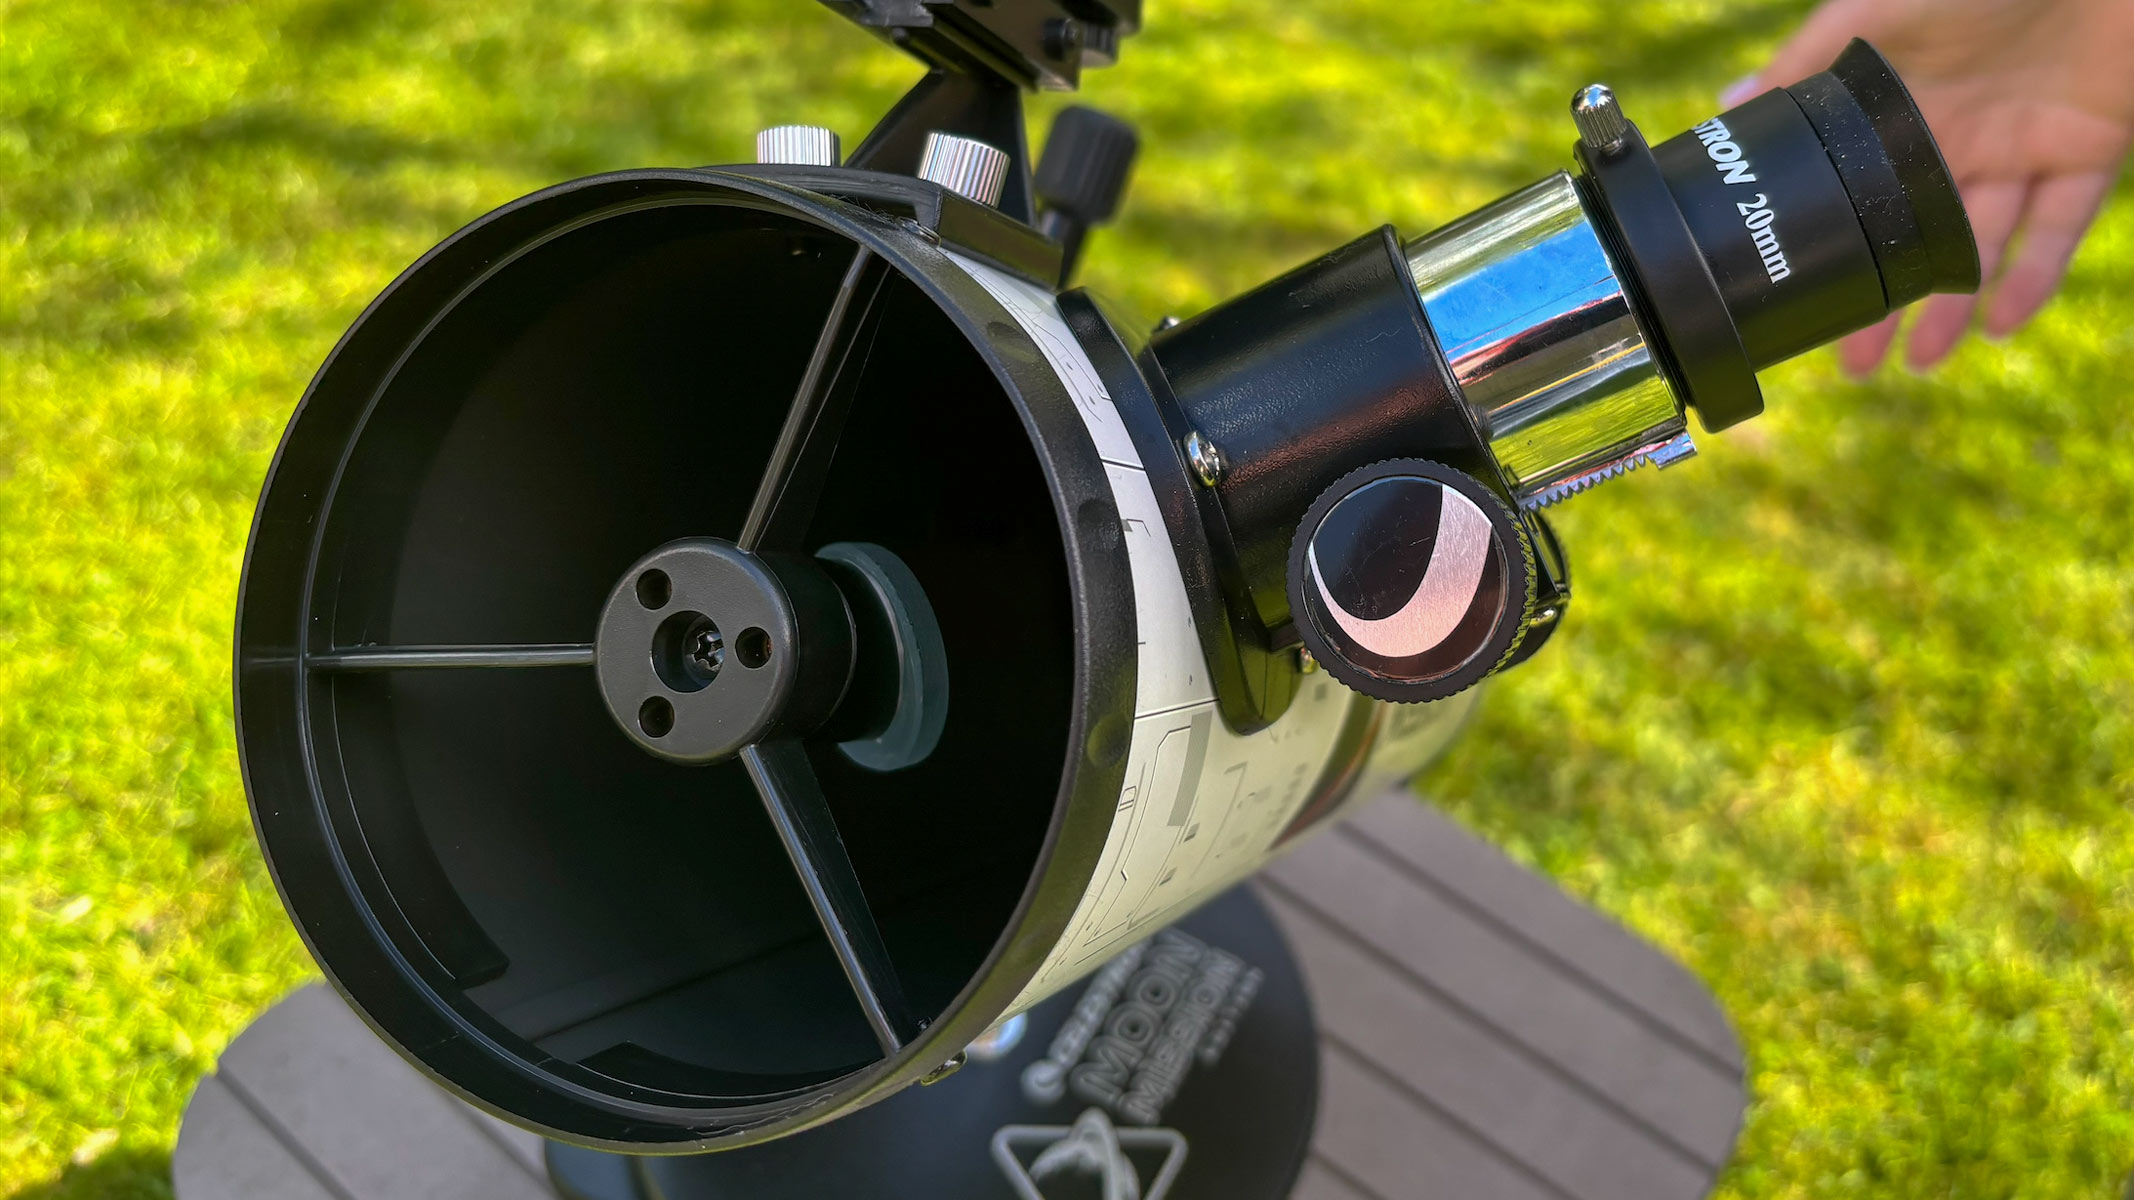
The aperture and eyepiece on the Celestron Moon Mission 100mm Tabletop Dobsonian with grass in the background.

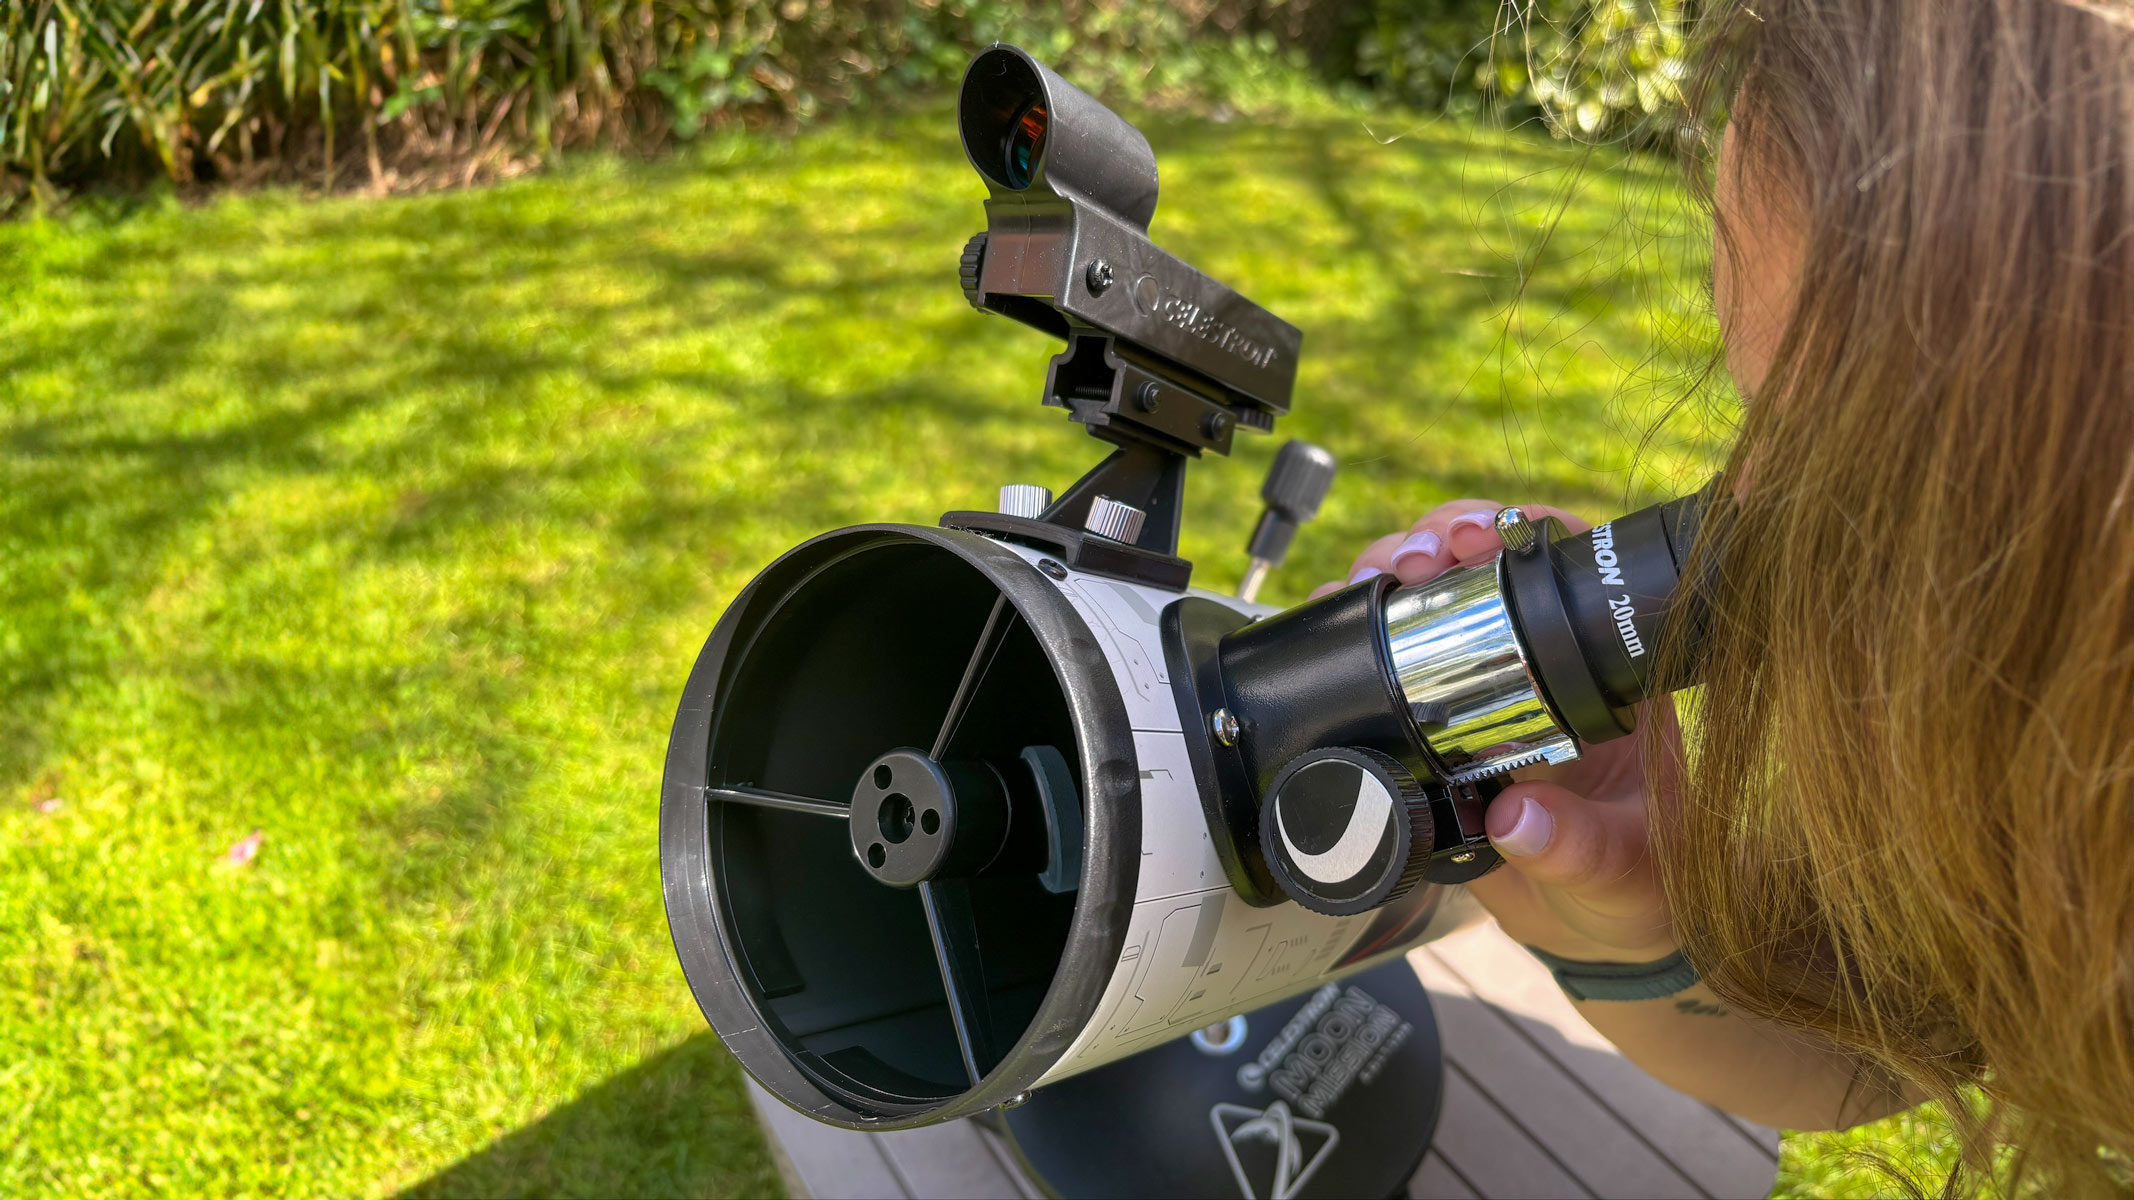
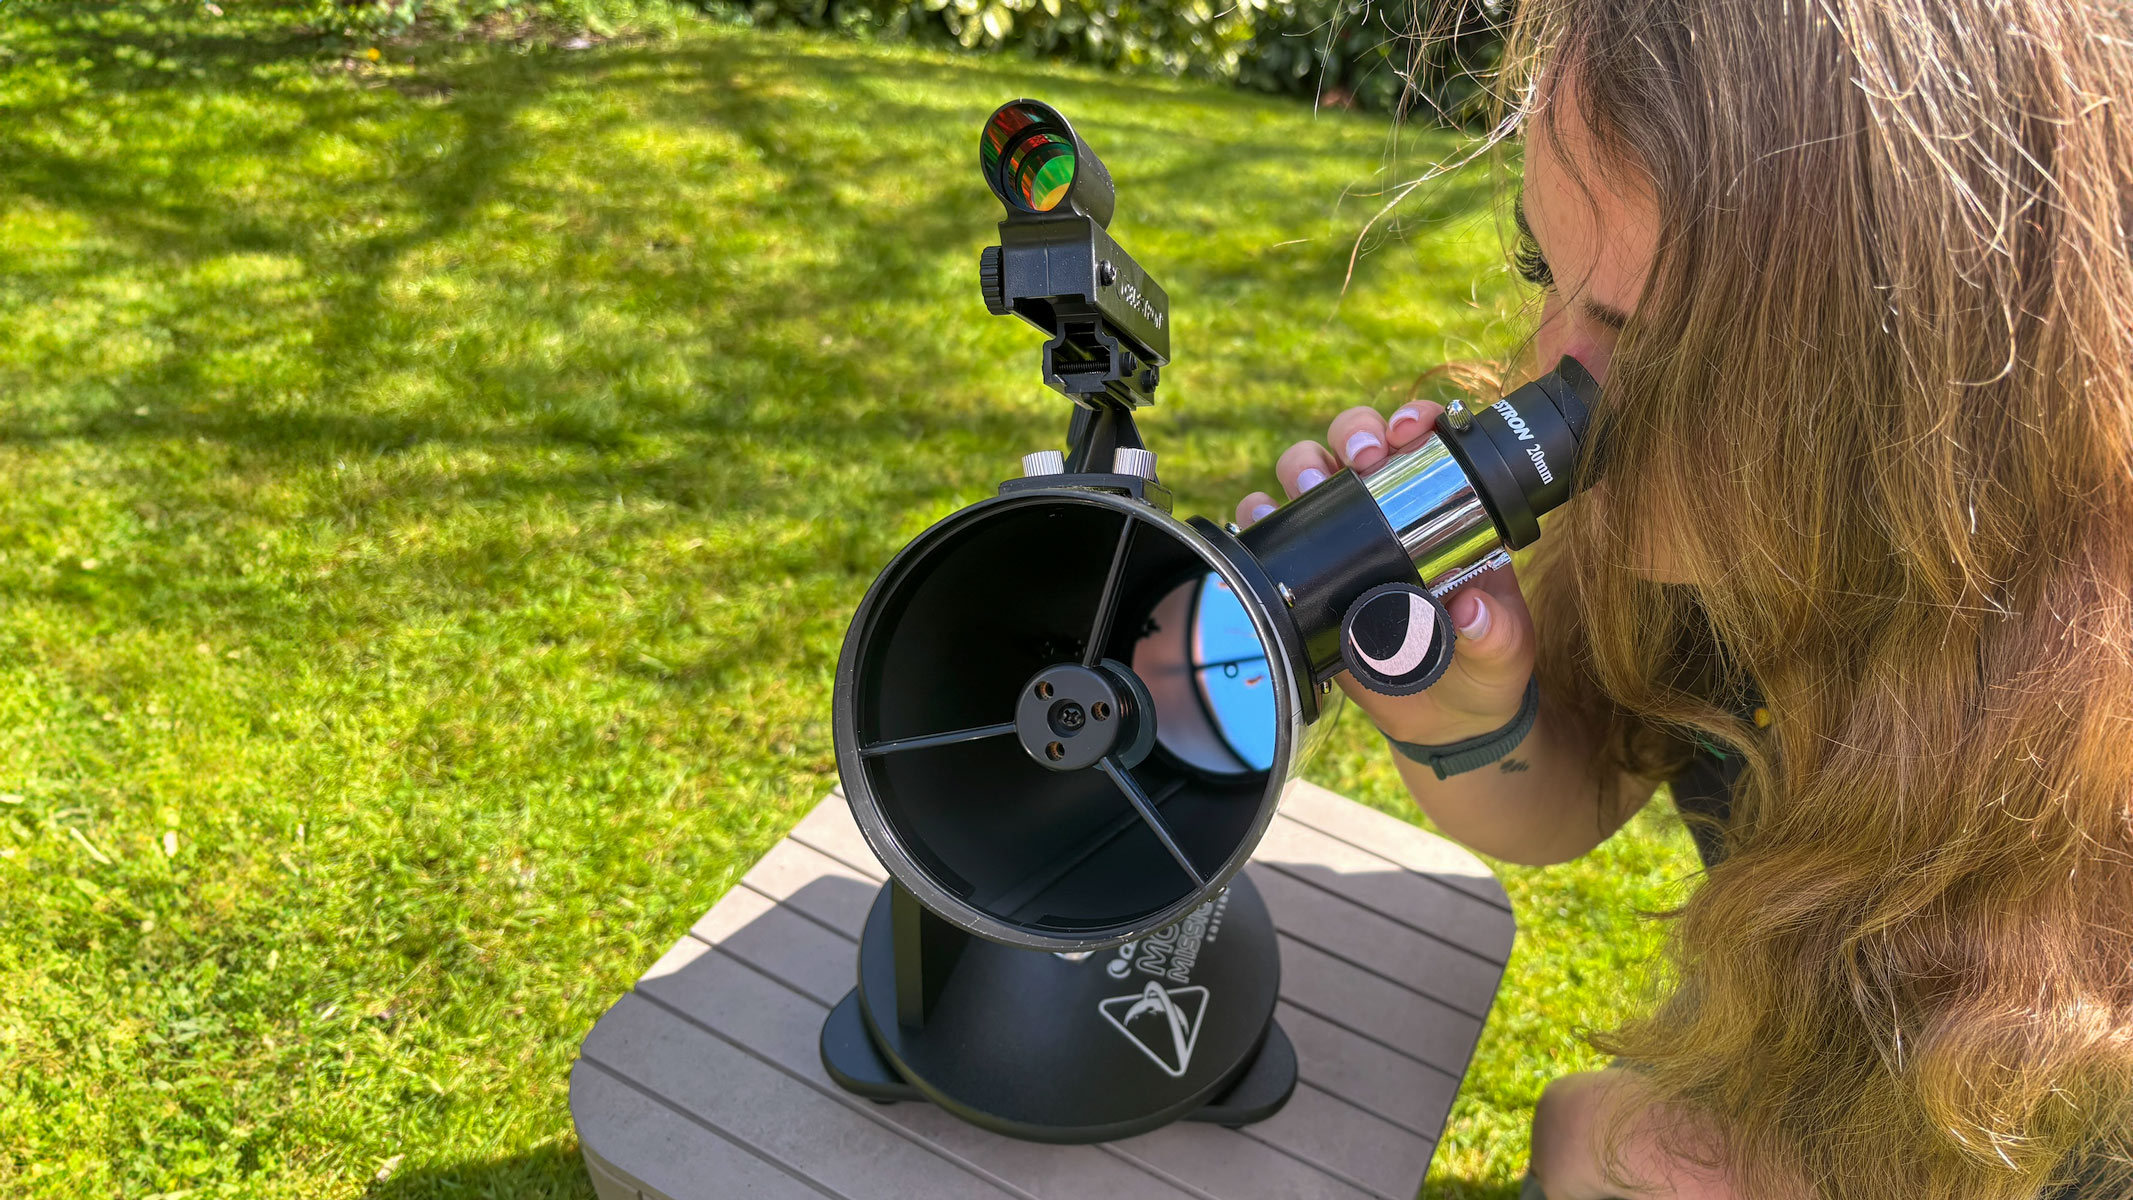
The lack of a tripod means this telescope does have its limitations but any stable, flat surface will suffice. (Image credit: Gemma Lavender)
  • Quick and simple set-up
  • Portable

The Celestron Moon Mission 100mm Tabletop Dobsonian comes out of its box complete, other than its eyepieces and red-dot finderscope in plastic bags. Set-up takes literally minutes — remove the plastic cap over the aperture and the cap on the focuser, insert your eyepiece of choice, screw on the finderscope and you are ready to go. No tools such as screwdrivers or Allen keys are needed— it is just a matter of unscrewing thumbscrews.

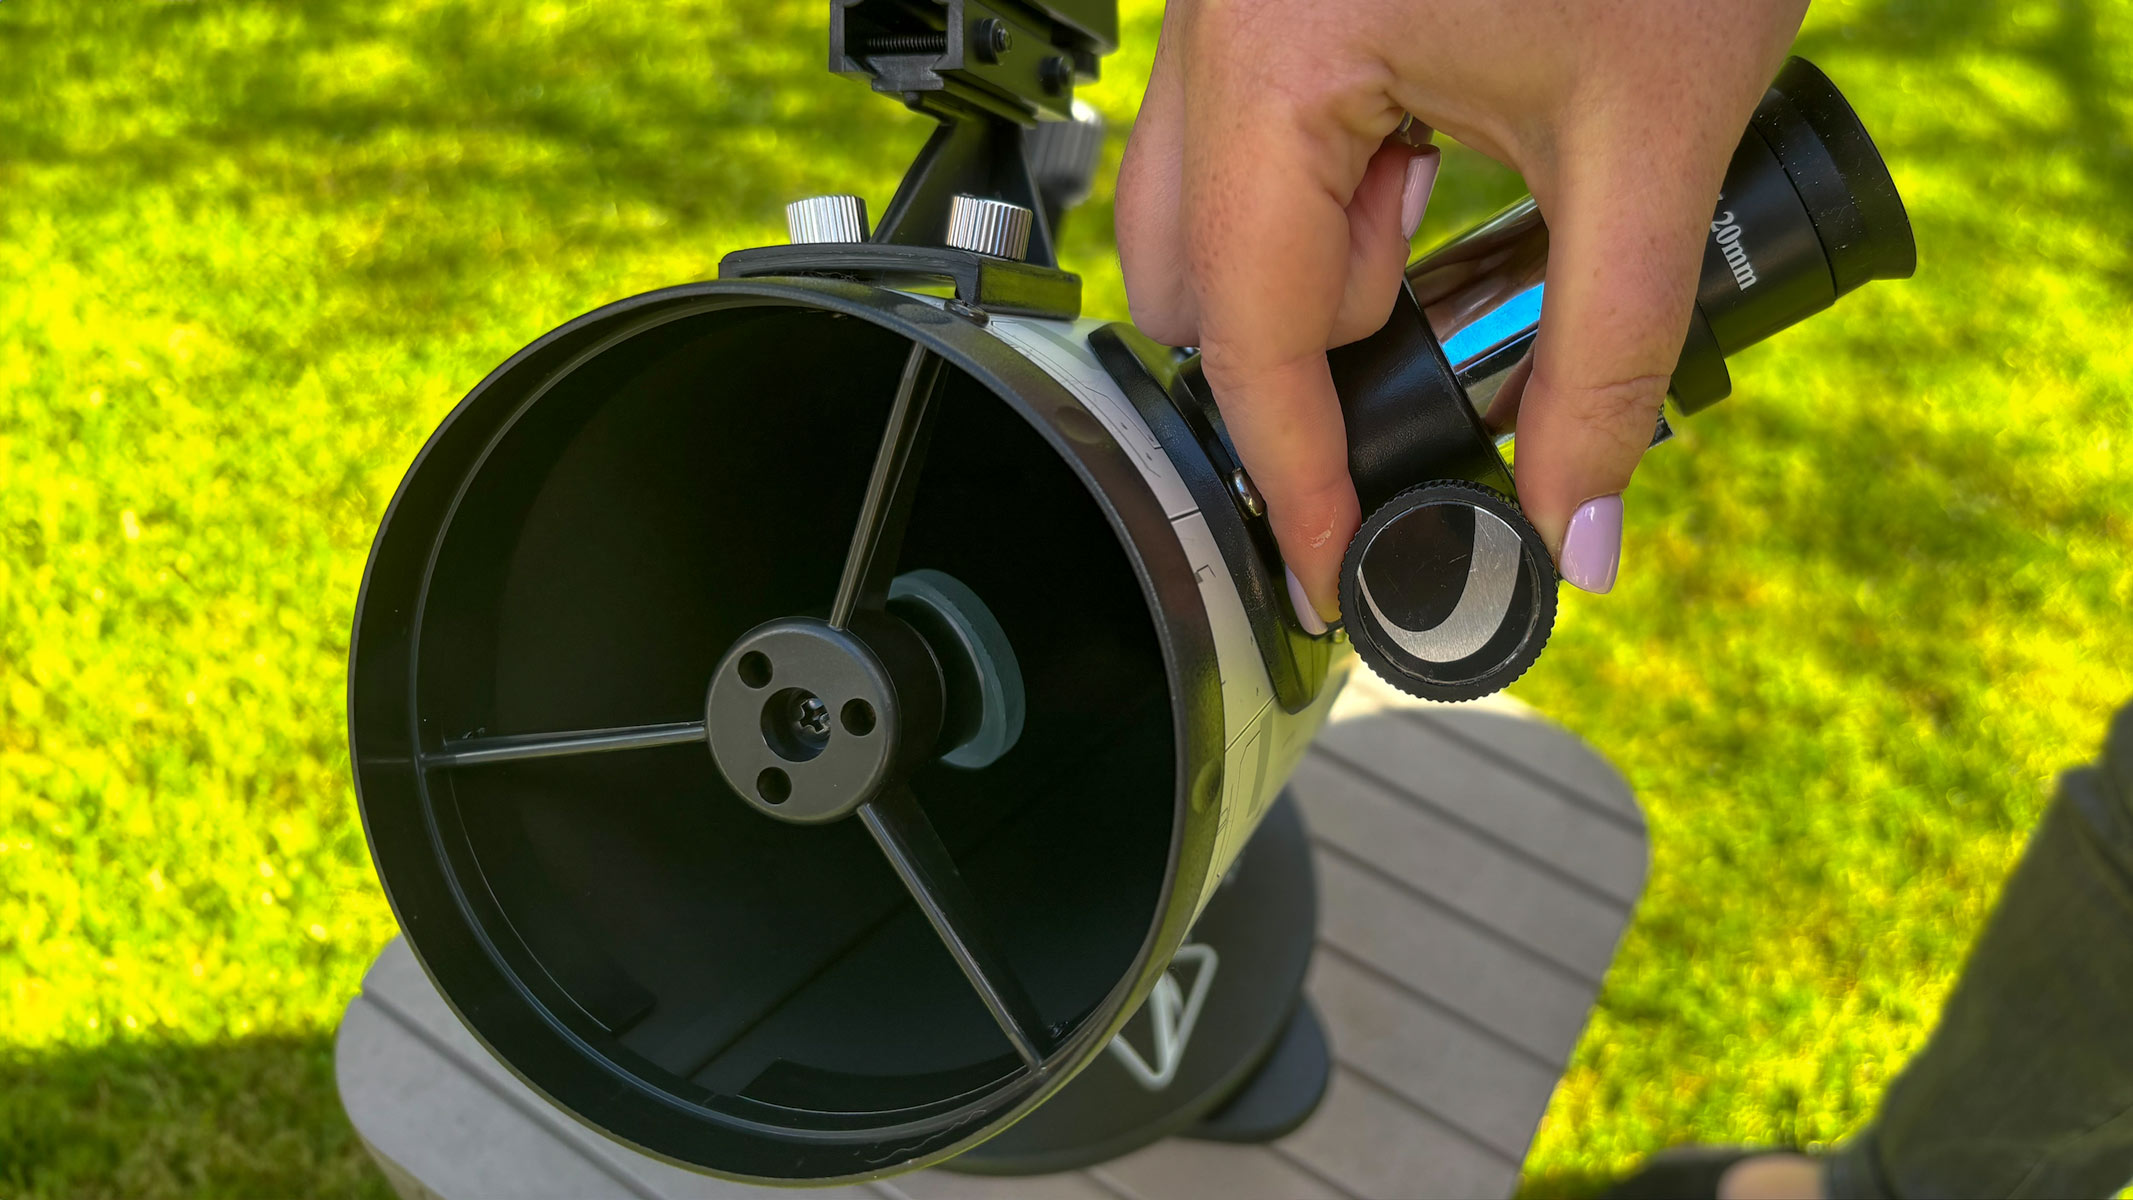
We found the finderscope went on easily — more about that later. However, the tiny thumbscrews that lock in the eyepiece were incredibly tight. Pliers didn’t help much and risked damaging the screw. In the end, we found elbow grease was just about enough to unscrew them, but if our review model is typical, then children will definitely need the help of an adult to unscrew these. Once they are unscrewed, they can be tightened to more forgiving tolerances.

A woman looking through the eyepiece of the Celestron Moon Mission 100mm Tabletop Dobsonian with grass in the background.

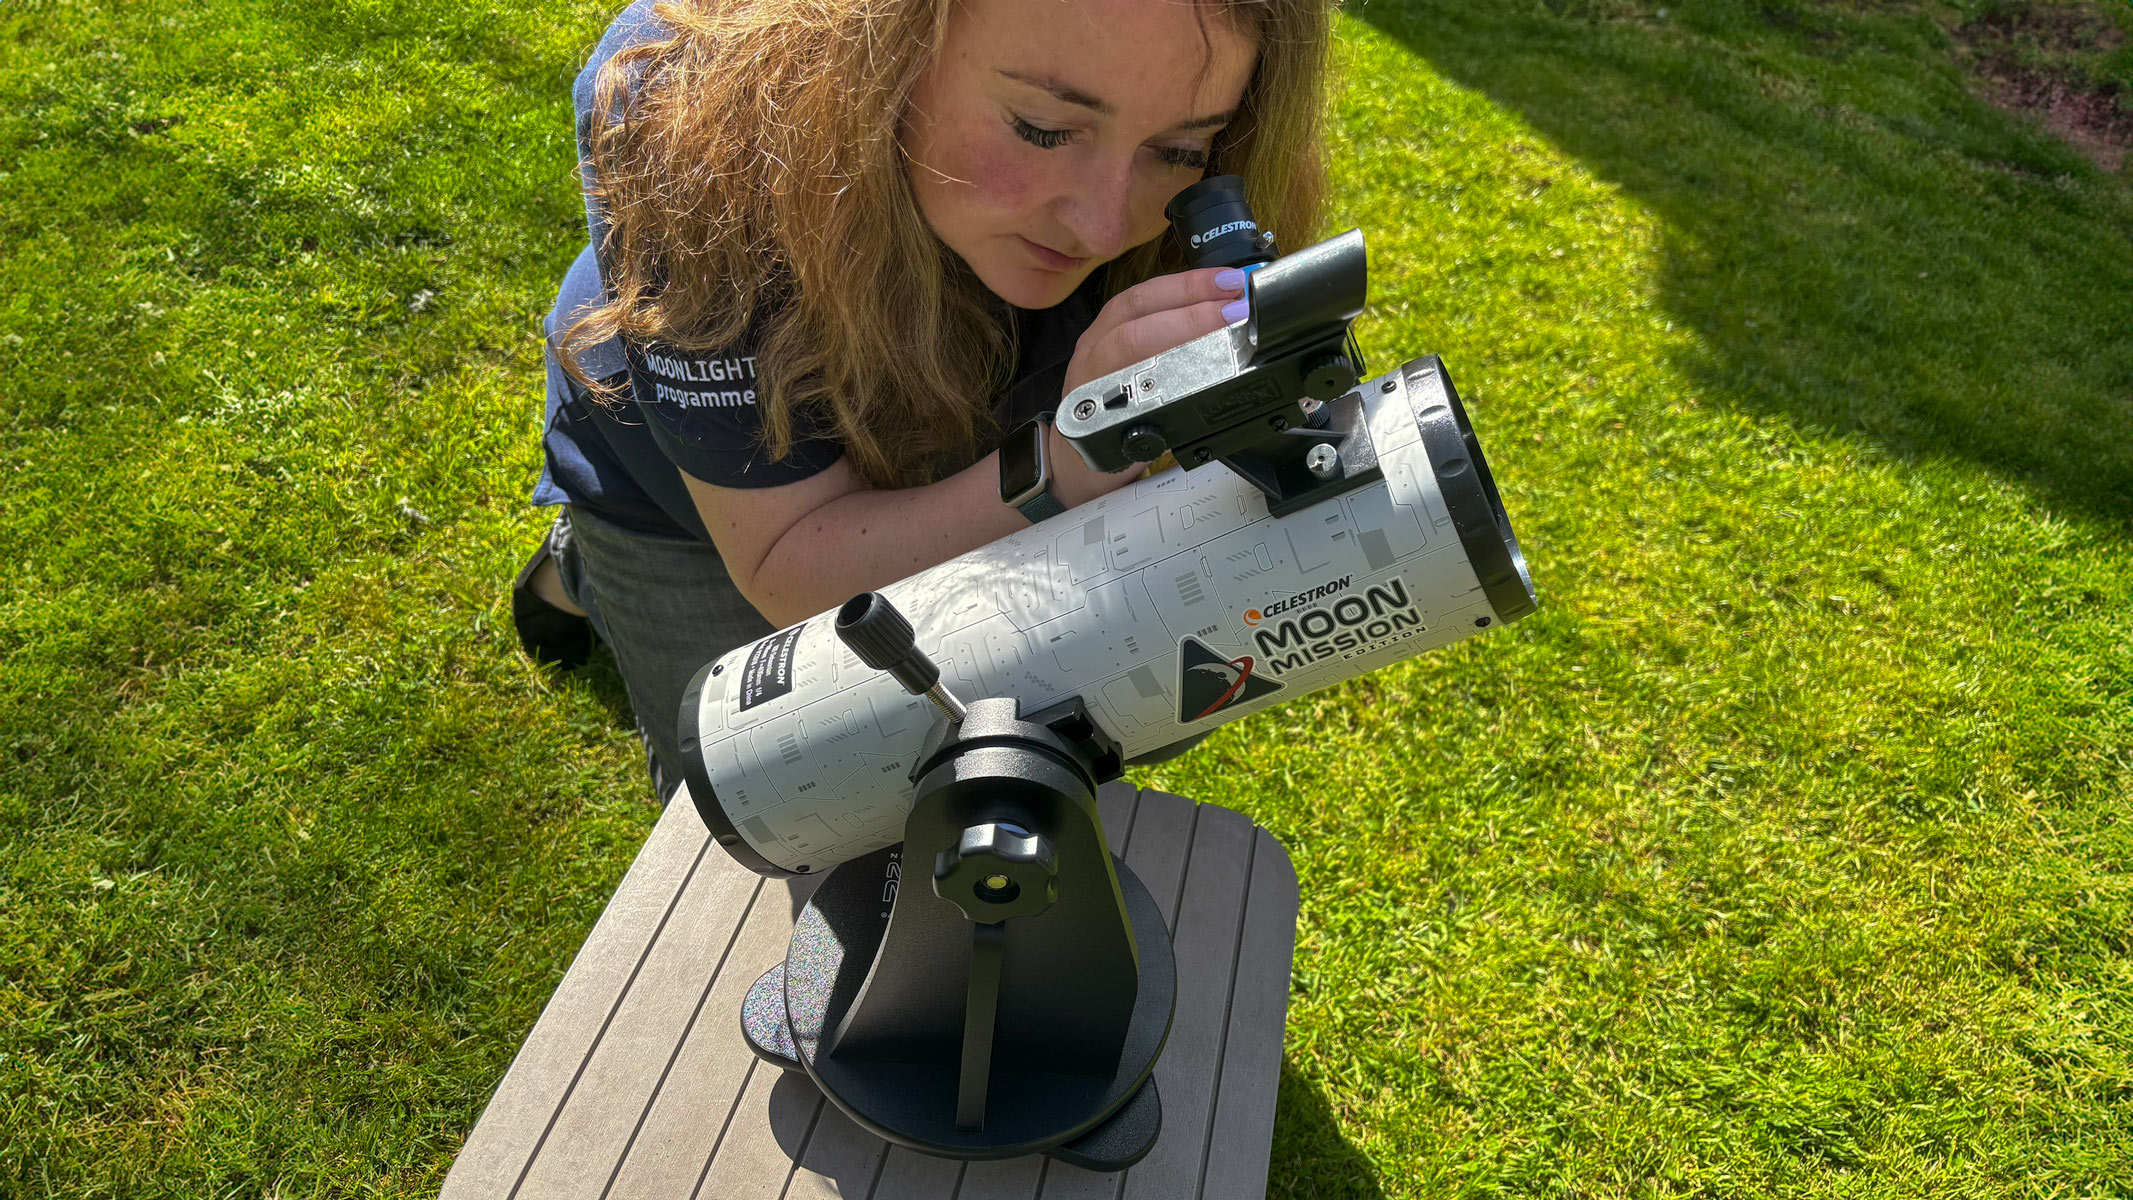
Adults may be needed to help smaller children install the thumbscrews that hold the eyepiece in place. (Image credit: Gemma Lavender)
Specifications

Optical design: Newtonian reflector

Aperture: 3.9 in (100 mm)

Focal length: 15.75 in (400 mm)

Focal ratio: f/4

Eyepiece focal lengths & magnification: 20mm (20x) and 8mm (50x)

Weight: 2.4 lbs (1.08 kg)

Mount type: Dobsonian

Overall we can recommend the build quality of the Celestron Moon Mission 100mm Tabletop Dobsonian. Everything is sturdily made, from the Dobsonian base, the optical tube, the easily adjustable tilt and focuser knobs. The mount has a single arm and rotates on a ‘lazy Susan’ turntable.

Celestron Moon Mission 100mm Tabletop Dobsonian: Performance

A woman looking through the Celestron Moon Mission 100mm Tabletop Dobsonian with grass in the background.

The Moon Mission's focuser can be a little finicky, as we discovered. (Image credit: Gemma Lavender)
  • Three
  • Bullet
  • Points

This is where we thought that the Celestron Moon Mission 100mm Tabletop Dobsonian excelled. For such a small telescope, it was decently versatile.

For example, on the night of April 5, our first target was Jupiter, which was bright in Gemini, and unmistakable as it lay not far from the constellation’s twin stars Castor and Pollux. Jupiter appeared as a bright disk, with perhaps the merest hint of its banding — or was that our imagination? What certainly were real were the four Galilean moons: Io and Europa on one side, Ganymede and Callisto on the other. It was a sight sure to impress beginners and casual observers.

We moved the Celestron Moon Mission’s view towards the multiple star Castor, and the telescope capably split the main binary pair as two close, white stars using the 20mm eyepiece. Another popular multiple star is Mizar and Alcor in Ursa Major. Of course, Mizar and Alcor can be split with the naked eye, but the third visible star in the system is for telescopes only, and again the Celestron Moon Mission showed the three stars clearly.

Slewing east, Arcturus — the second brightest star visible from the U.K., and fourth brightest in the entire sky — appeared a glorious red, evoking its nature as a red giant.

While waiting for the moon to rise (and before taking some time out to watch the Artemis II coverage), we decided to track down some faint fuzzies. The box that the Celestron Moon Mission comes in highlights the Orion Nebula and the Andromeda Galaxy as two deep sky objects that the telescope can see. At the time of testing, the Orion Nebula was too low in the west, while the Andromeda Galaxy was not visible. Instead, we hunted down two other nearby galaxies, M81 and M82, in Ursa Major.

Searching for these two galaxies, which are located next to each other in the same field of view, is where the real challenge of using the finderscope, as we described in the Functionality section, really reared its head. In the end, we decided to star hop to the galaxies and struck out in roughly the right direction. Soon the telescope alighted on the two galaxies, visible as two fuzzy patches of light. Looking at them straight on, we found it difficult to discern their shape, but by using averted vision as we looked through the 20mm eyepiece of the Celestron Moon Mission, we could make out the broad disk-shape of the spiral M81, and the elongated cigar shape of M82, and even caught hints of mottling with brighter spots in the edge-on M82 that are better seen in images.

A woman looking through the eyepiece of the Celestron Moon Mission 100mm Tabletop Dobsonian.

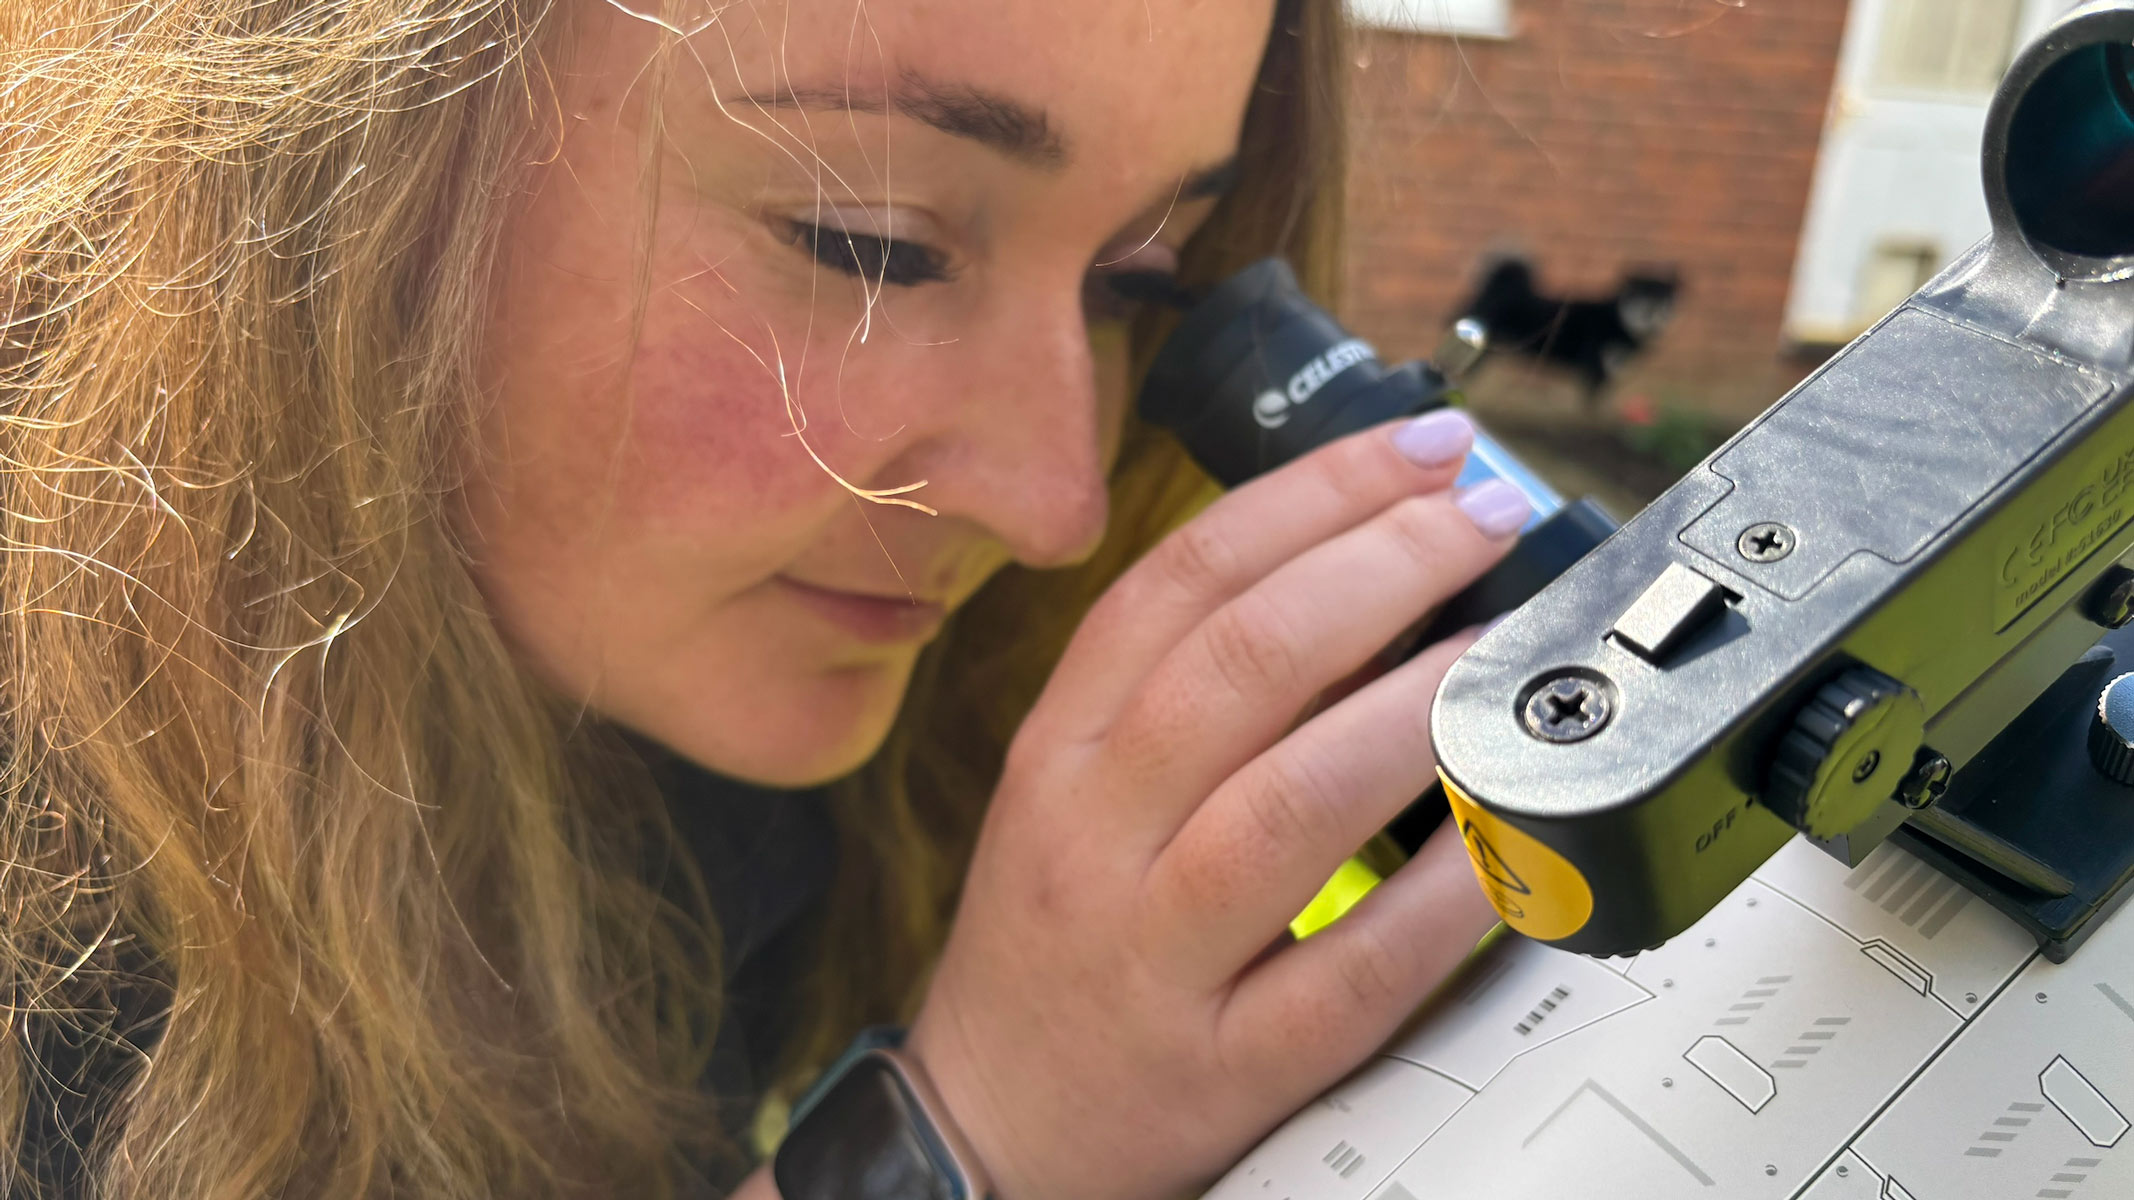
You'll likely use the eyepiece more frequently than the finderscope. (Image credit: Gemma Lavender)

After we watched the live NASA feed of Artemis II going around the far side of the moon, the moon finally rose from our location after midnight. Its phase was a waning gibbous three days after full. As such, the moon appeared bright and reddish, being low to the horizon. Through the 20mm we could see the whole disk, though the phase meant that for most of the lunar surface there was no contrast, making it harder to distinguish craters except for at the terminator.

Adding the 1.25-inch moon filter — more properly known as a neutral density filter that dims the incoming light — helped to limit the contrast and make the details stand out more. Switching to the 8mm eyepiece, with a magnification of 50x, the view jumped closer to the moon and the lunar surface filled the field of view, with bright crater rays visible on dark lunar mares.

Celestron Moon Mission 100mm Tabletop Dobsonian: Functionality

Fingers adjusting the eyepiece on the Celestron Moon Mission 100mm Tabletop Dobsonian with grass in the background.

As a Newtonian reflector, the Celestron Moon Mission 100mm Tabletop Dobsonian provides an inverted image. (Image credit: Gemma Lavender)
  • Finderscope is awkward to use when pointed at the zenith
  • Focusing is adequate
  • Simple to use

The tabletop nature of the telescope poses some challenges for adults using it. As its name suggests, the telescope is designed to go on the top of a table. Usually when we think of Dobsonian telescopes, we think of very large instruments with very large apertures, and eyepieces close to standing height. This Dobsonian, on the other hand, is very small, and without a very tall table we found that we spent a lot of our time bent double looking through the eyepiece. Of course, this also means it is the perfect height for a child.

We found it did pose a problem when using the finderscope. For objects at low elevations, such as Jupiter in Gemini during spring 2026, we found it wasn’t too bad. However, when we wanted to direct the telescope towards Ursa Major at the zenith, the only way we could look through the finderscope was by literally getting on the floor to look through it. This is a problem with all tabletop telescopes, not just the Celestron Moon Mission, and it would be unfair to suggest otherwise — but it is a problem nonetheless.

Once we addressed the tightness of the focuser thumbscrews, we could switch the eyepieces in and out with ease. We found the focuser to be perfunctory. It provides only coarse focusing, with no careful fine-tuning, and sometimes it was tricky to find the sweet spot. Additionally, Newtonian reflectors like this one require collimating for perfect pin-sharp images. Collimating refers to adjusting the secondary mirror (the primary mirror is fixed at the base of the optical tube) so that it aligns and focuses light reflected from the primary just so. It’s also a fact that astronomers hate collimating, as it is a finicky procedure.

Different eyepieces for the Celestron Moon Mission 100mm Tabletop Dobsonian on a grey table.

The scope comes with 8mm and 20mm eyepieces, and can handle most 1.25-inch eyepieces. (Image credit: Gemma Lavender)

Out of the box, the collimation wasn’t bad, and we felt it was also unreasonable to expect beginners and children, whom this telescope is undoubtedly aimed at, to collimate the instrument with no guidance or tools included. Therefore, we reviewed the telescope as it came out of the box, to replicate the experience that beginners and children would receive. Had we collimated the telescope, then it probably would have improved the image a tad.

We found that actually using the telescope, in terms of positioning and pointing, was very simple. It’s worth remembering that Newtonian reflectors reverse their image (up becomes down), and after using smart telescopes, GoTo telescopes and Celestron’s StarSense telescopes with directions provided by a smartphone for so long, that took a little getting used to again! It may confuse beginners and children, but before the days of smart telescopes and GoTo, everybody had to get used to navigating across the sky using a reversed image, so it’s no bad thing.

Should you buy the Celestron Moon Mission 100mm Tabletop Dobsonian

Buy it if:

✅ You are a beginner

✅ You are a parent wanting to introduce your child to the night sky

✅ You are looking for ease of use

✅ You are working on a budget

✅ You need portability

Don't buy it if:

❌ You are a serious observer and need larger apertures

❌ You are an astrophotographer and need a driven mount

❌ You want a high-tech instrument with smart capabilities

❌ You don’t want to have to star-hop and would prefer a GoTo

If you want to introduce your children to astronomy, then the Celestron Moon Mission 100mm Tabletop Dobsonian is the perfect instrument. It is safe to use, with no risk of knocking something heavy over, as it weighs about the same as a bag of sugar, which is amazing really. It is simple to use, in the sense that it is just a matter of pushing and turning, although children might need assistance in pinpointing the location of targets. It’s also a fair all-rounder, as all Dobsonians are – it excels at showing the moon, displays the planets very well, and shows deep-sky objects as best it can for a 100mm-aperture telescope

If you want to see fainter galaxies and nebulae, then you will need a telescope with a larger aperture. If you want to do imaging, then you will need a telescope with a motorized equatorial drive to enable you to track the objects while imaging.

And if you want assistance in finding celestial objects without having to star-hop, then a GoTo or smart telescope might be best for you.

If the Celestron Moon Mission 100mm Tabletop Dobsonian isn't for you

If you're looking to spend less, Celestron offers a smaller Dobsonian, the Celestron Firstscope 76. For a more flexible telescope, take a look at the Celestron Inspire 100Z. Or if neither fits the bill, we've rounded up the best telescopes and best beginner's telescopes.

How we tested the Celestron Moon Mission 100mm Tabletop Dobsonian

A woman looking through the Celestron Moon Mission 100mm Tabletop Dobsonian with grass in the background.

We put the Celestron Moon Mission 100mm through its paces, gazing both at deep space and objects in our own solar system. (Image credit: Gemma Lavender)

We used the Celestron Moon Mission 100mm Tabletop Dobsonian during the occasional clear nights in the first two weeks of April 2026 from our south-facing garden in the United Kingdom. The temperature was clement, about 50 degrees Fahrenheit (10 degrees Celsius), with some modest light pollution to the north and dark skies to the south looking towards a more rural area.

We began observing after 10 pm, with the skies completely dark. The moon was near full at the time of testing — in fact, quite fittingly, one of the nights was the same night that the Artemis II mission went around the moon. However, the moon remained low the entire night, meaning it could only be viewed near moonrise after midnight, close to the horizon, before it became hidden behind a nearby bank of trees for the rest of the night.

Related articles

Watching August’s 2026 solar eclipse from the UK? Stay safe with the best solar eclipse glasses

Looking forward to the 2026 solar eclipse, happening on Aug. 12? I know I am and even though it's not a total solar eclipse here in the UK (the path of totality crosses Greenland, Iceland and northern Spain), we'll still get to watch the moon obscure around 90% of the Sun, a sight that terrified our ancient ancestors.

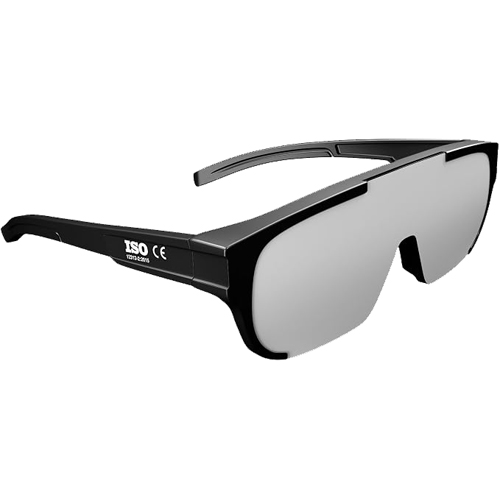
However, you'll need proper eye protection, such as solar eclipse glasses, to watch the eclipse safely. Sunglasses are not sufficient for a solar eclipse; instead, you need eclipse glasses that follow ISO 12312-2:2015, the standard for solar viewers. If that number's not somewhere on the glasses, you're at risk of damaging your eyesight, maybe even permanently.

So, read on as we round up the best solar eclipse glasses to buy in the UK. Want a slightly better view? Here are the best places in the UK to see the partial solar eclipse.

Four people wear solar eclipse glasses and look into the sky while smiling

(Image credit: Getty Images)

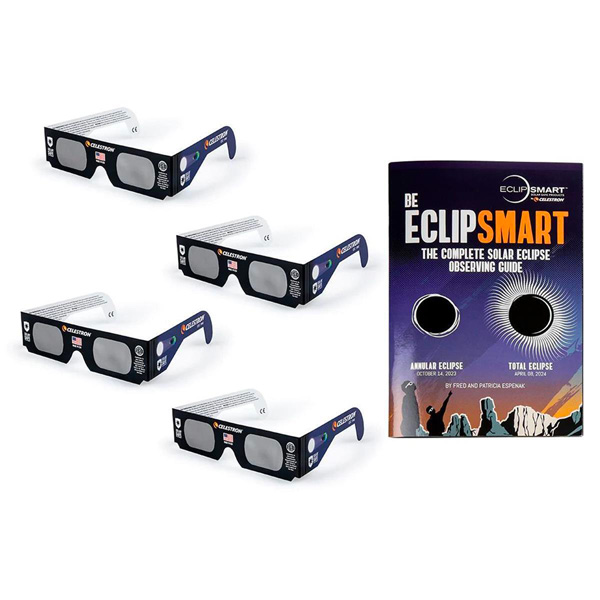
Celestron is a huge name in optics, and while its solar glasses may not be the absolute cheapest, you're assured of quality and eye safety. £12.99 gets you a four-pack of cardboard-framed ISO-certified eclipse glasses, alongside a mini-book of eclipse information. View Deal

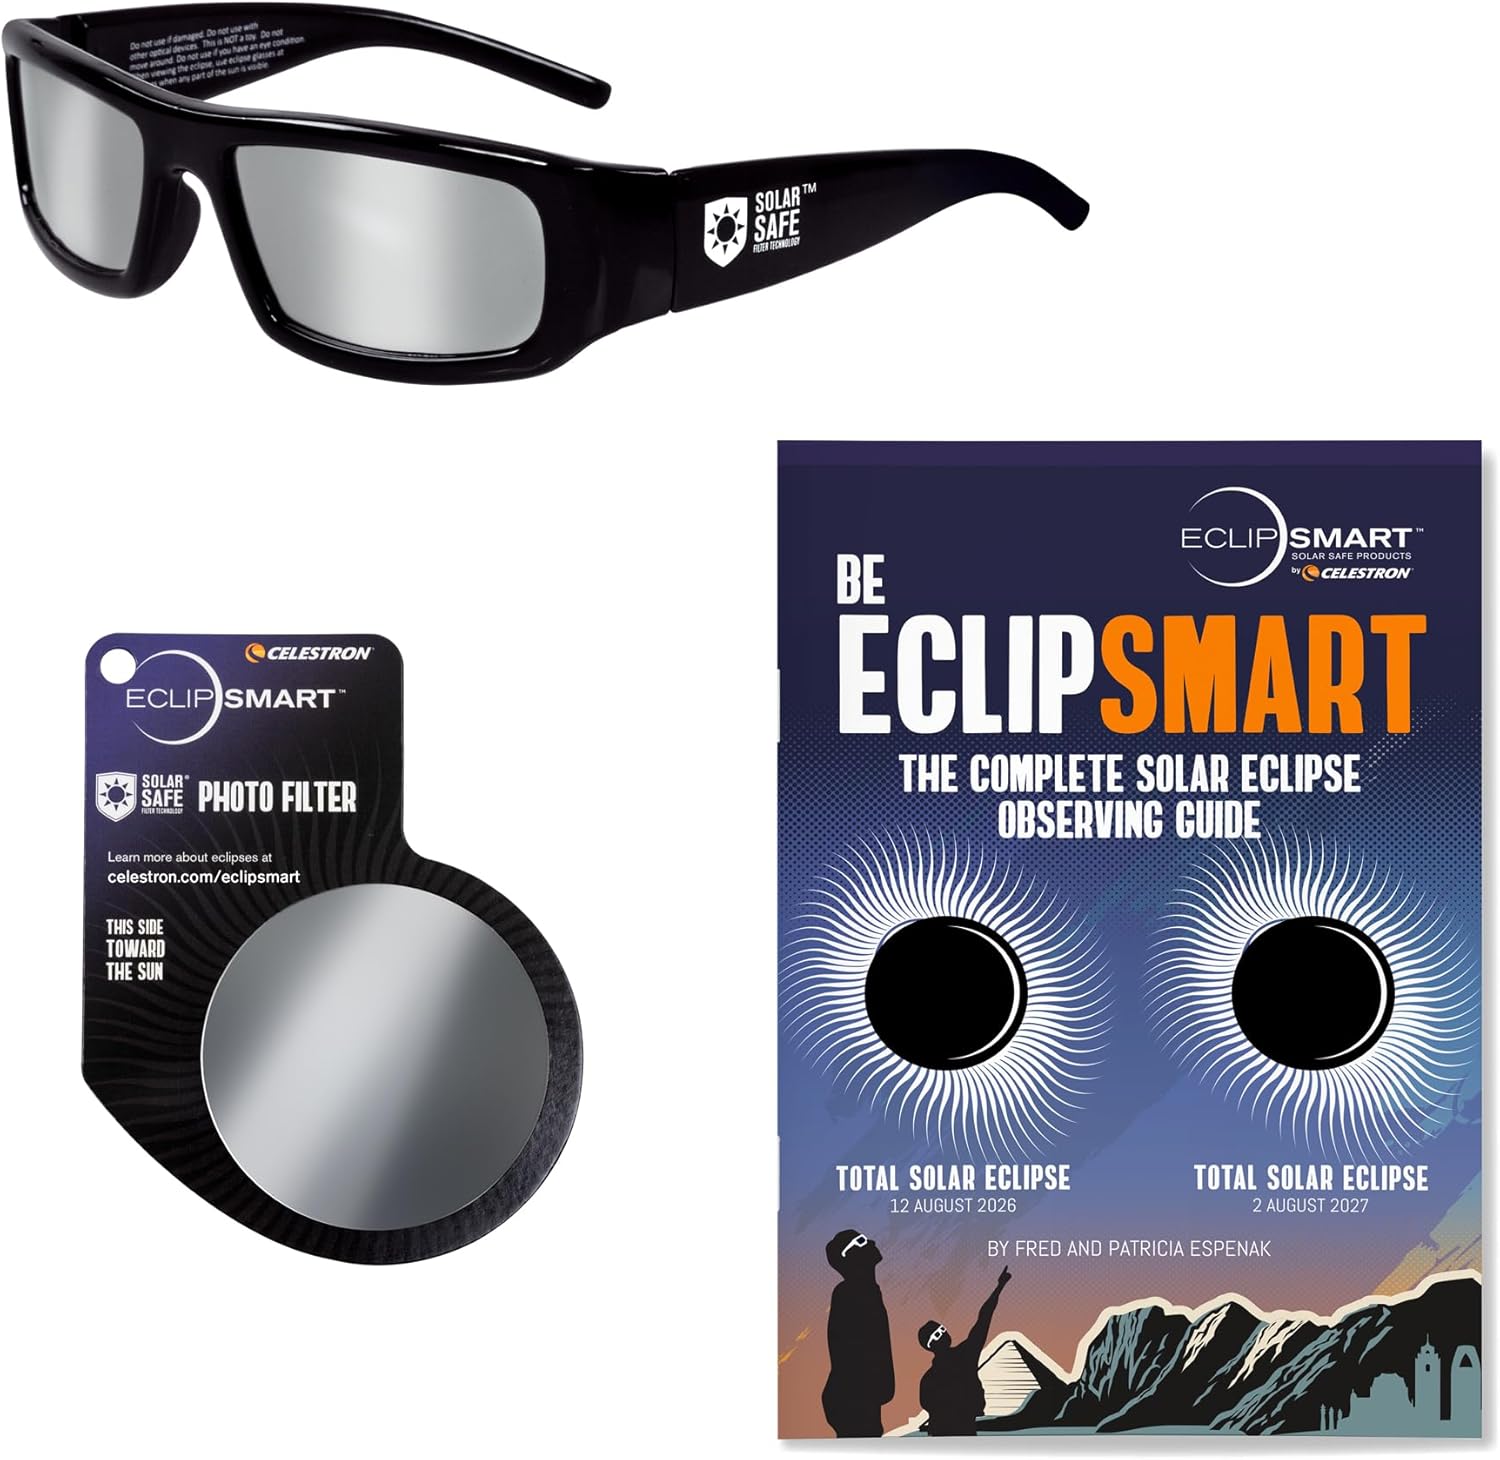
Another Celestron offering, this includes a mobile phone filter, the aforementioned Celestron mini-book and a pair of solar eclipse glasses. The difference, apart from the price, is that these have plastic frames and so should prove hardier, particularly if you're going to keep them around for the 2027 partial solar eclipse. View Deal

Get a pair of Soluna solar eclipse glasses for just £2.99, a saving of £2.00. Purchasers report that the cardboard's not the strongest but they provide proper eye protection (as always, ISO 12312-2:2015 is the standard to watch out for). View Deal

Do you wear glasses daily and don't want to meddle with them for the sake of the eclipse? These Absolute Eclipse Solar Eclipse glasses are designed to fit over your current pair and should be hardy enough to reuse next year. View Deal

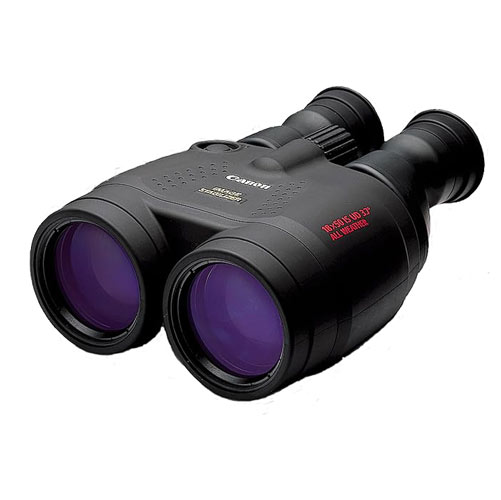
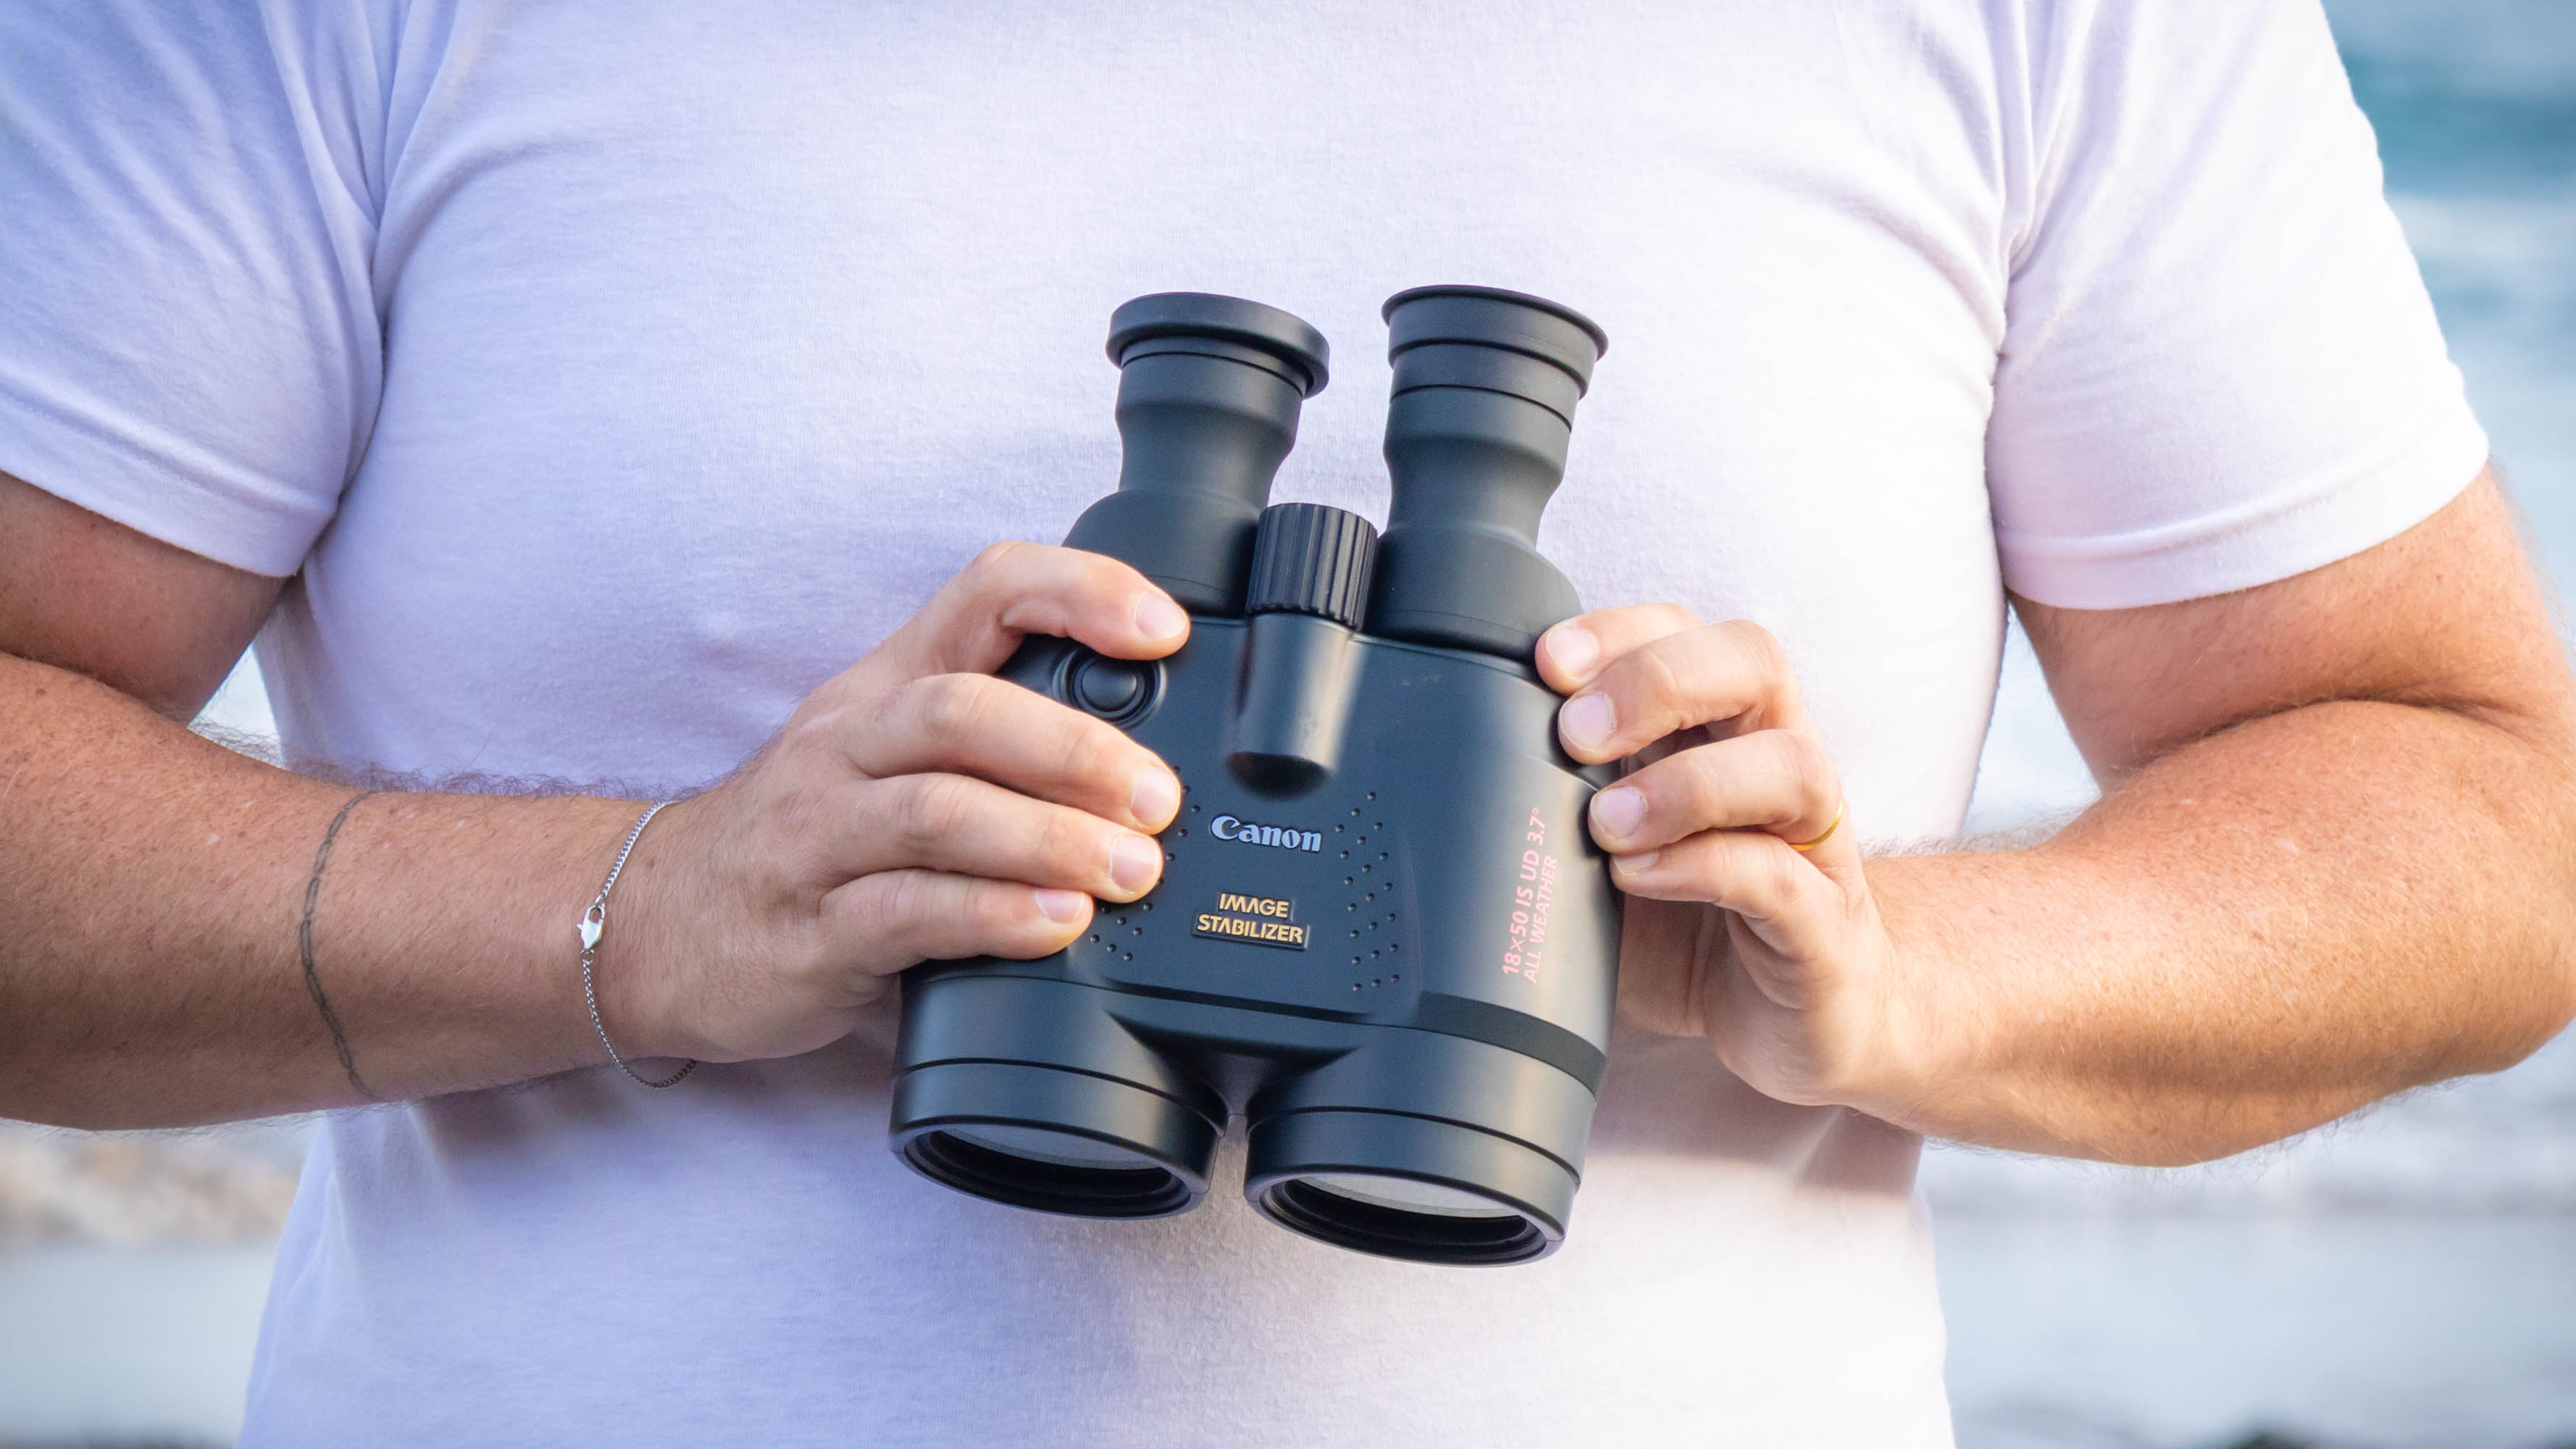
If you're prepared to pay a little more, these Celestron EclipSmart 10x42 should be on your solar eclipse shopping list. Not only do their non-removable filters mean you're always protected when you use them, but their 10x zoom level also means that, post-eclipse, you can watch for sunspots. View Deal

This genuinely pocket-sized smart telescope makes capturing the deep sky and the solar system almost effortless

The best smart telescopes have transformed astrophotography over the past few years, combining small telescope optics and automated mounts with dashcam-style camera sensors and image-processing software. The result? Compact devices that can be controlled entirely from a smartphone. Impressively, the DwarfLab Dwarf Mini pushes that concept even further.

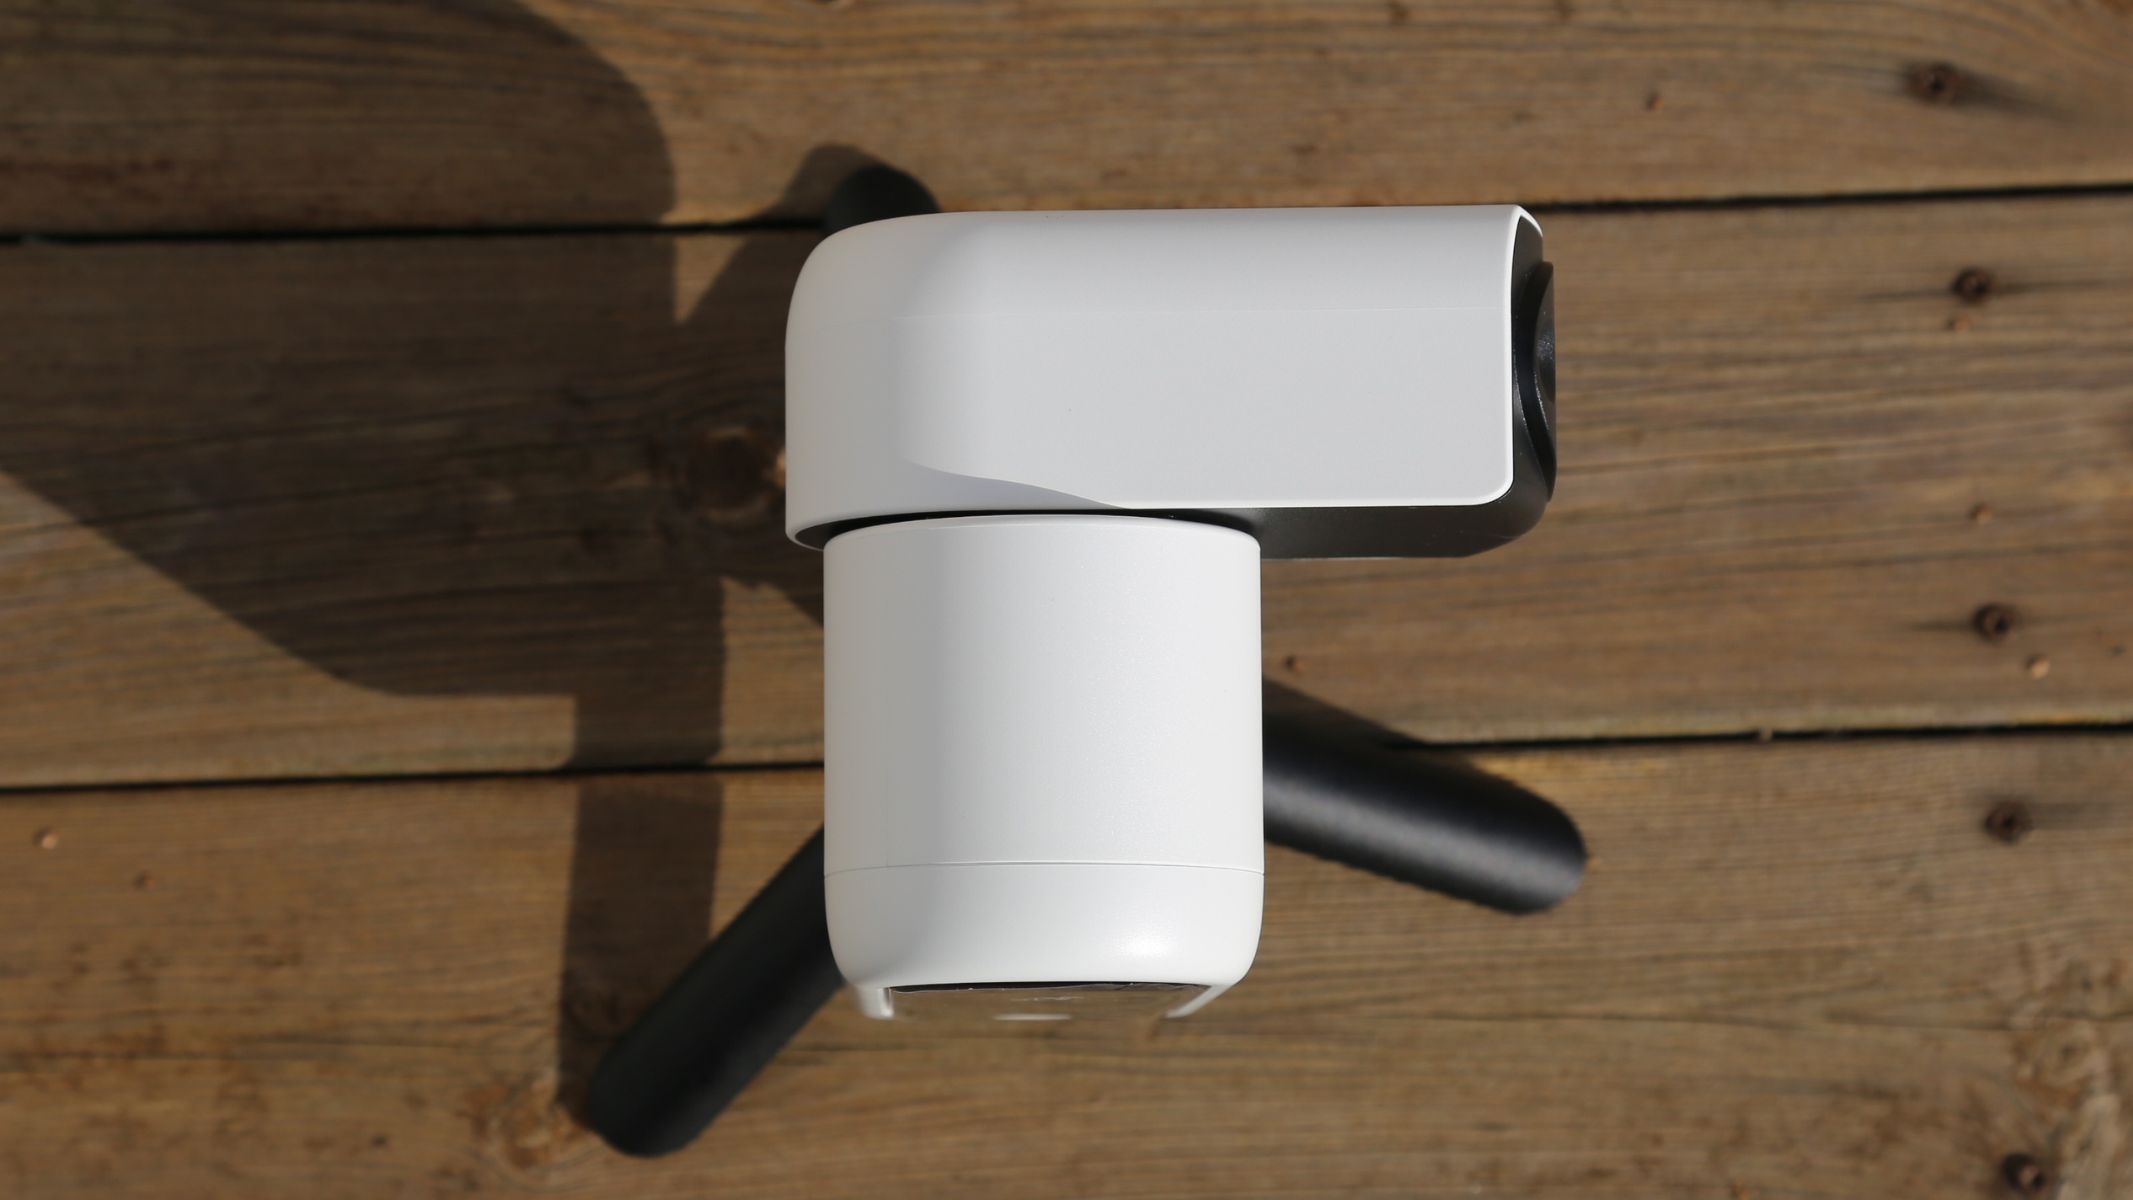
Roughly the size of a thick paperback book, it’s one of the smallest smart telescopes yet produced — tiny enough to fit in a jacket pocket while still capable of imaging nebulae, star clusters, the moon and even sunspots. It's also one of the best telescopes for beginners.

Positioned below the larger Dwarf 3 in DwarfLab’s lineup, the Mini sacrifices aperture and resolution for portability. It uses a 30mm refractor paired with Sony’s IMX662 sensor and relies on automated stacking to gradually reveal deep-sky objects. The telescope connects to a phone via Wi-Fi or Bluetooth and handles alignment, tracking and imaging automatically through the DwarfLab app.

With built-in filters, optional equatorial tracking, and advanced software features such as Mega Stack and Stellar Studio processing, the Dwarf Mini is aimed at beginners and traveling astrophotographers who want a compact, automated imaging system that doesn’t require lots of extra kit — and works well even in light-polluted cities.

DwarfLab Dwarf Mini smart telescope review

DwarfLab Dwarf Mini: Design

The DwarfLab Dwarf Mini viewed from the side.

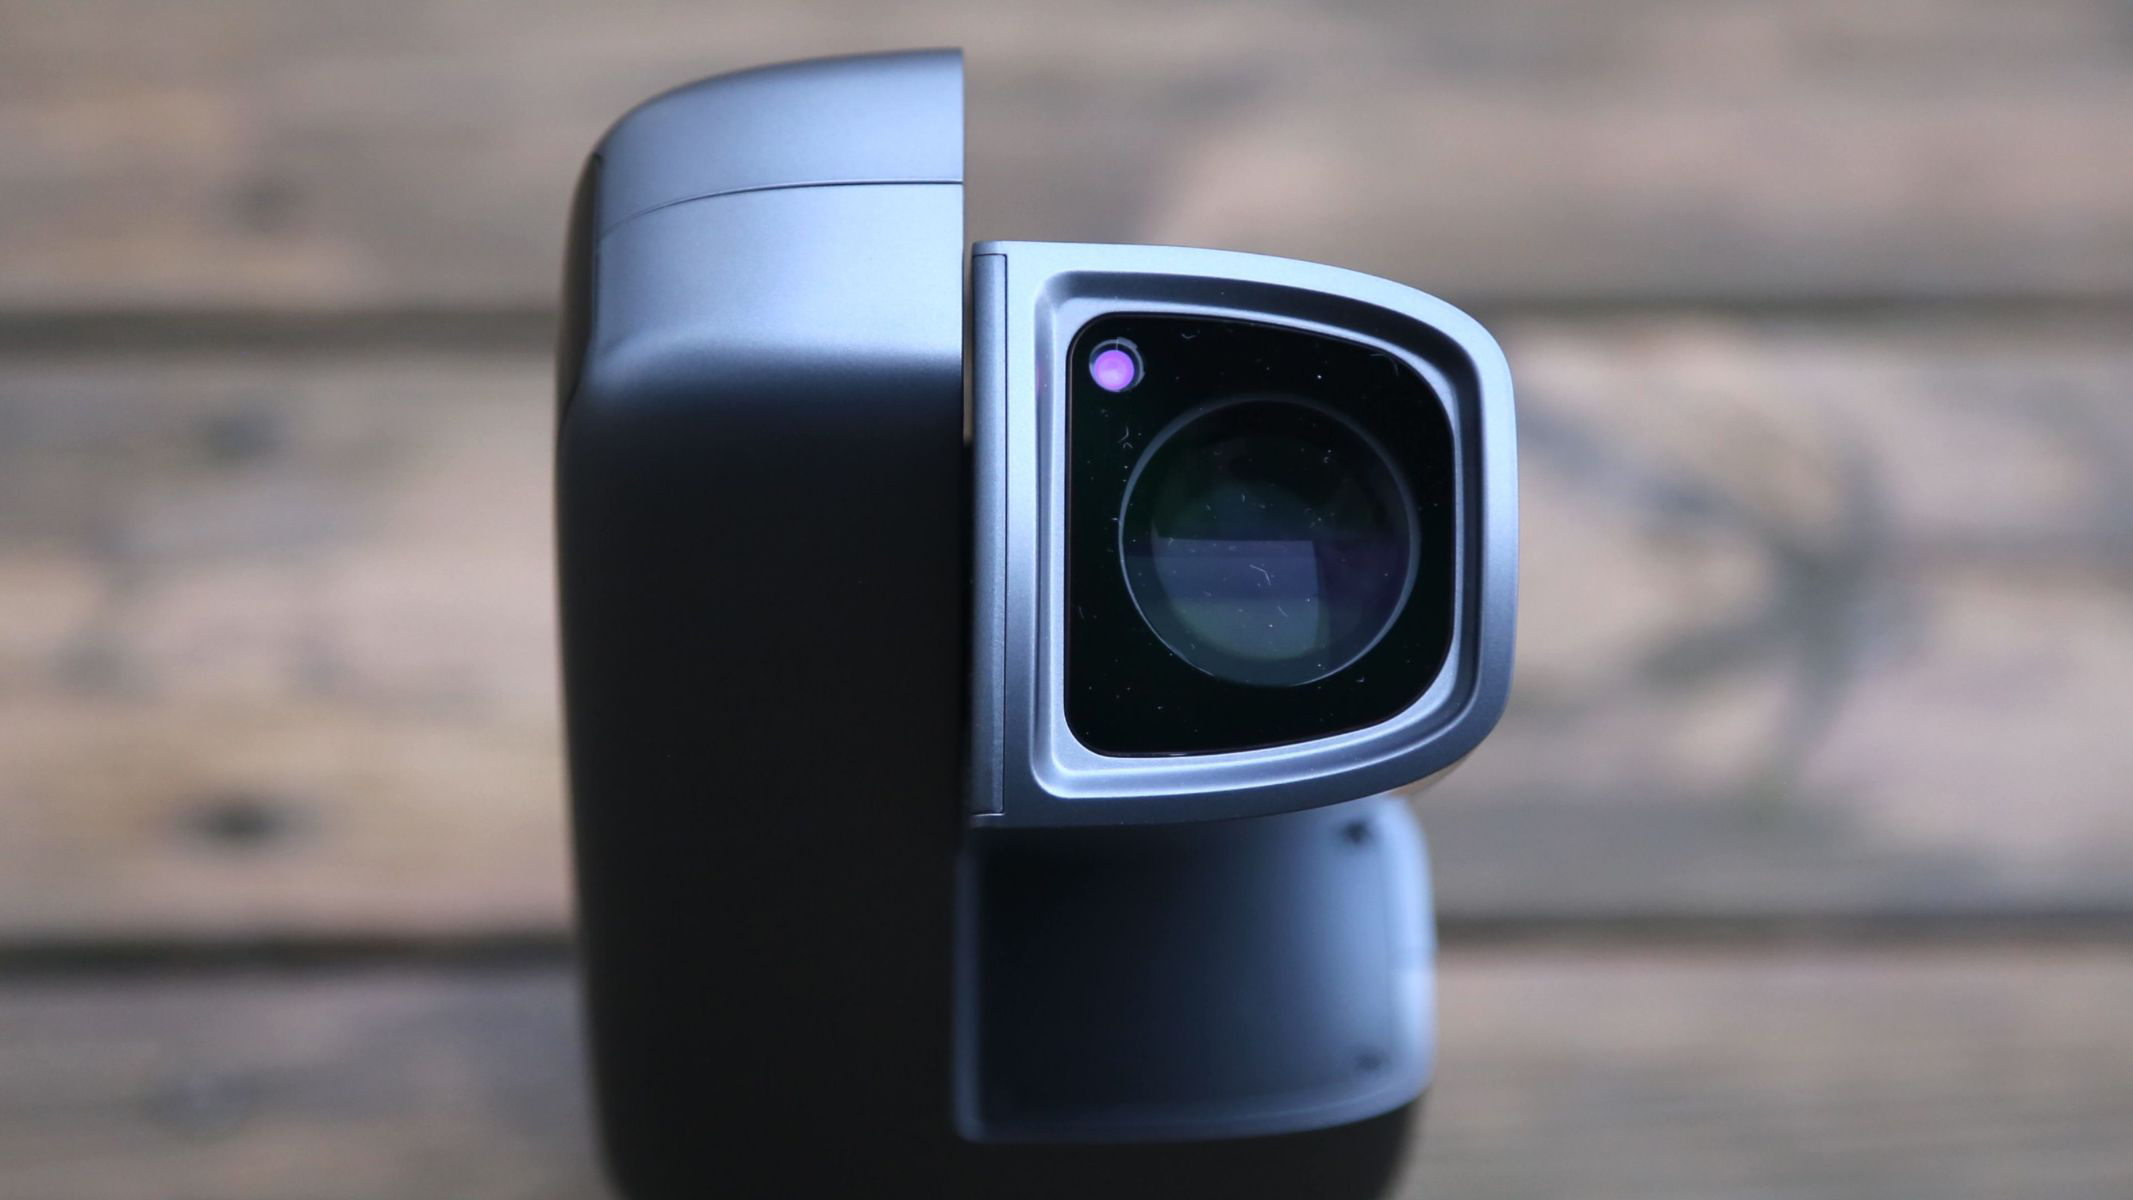
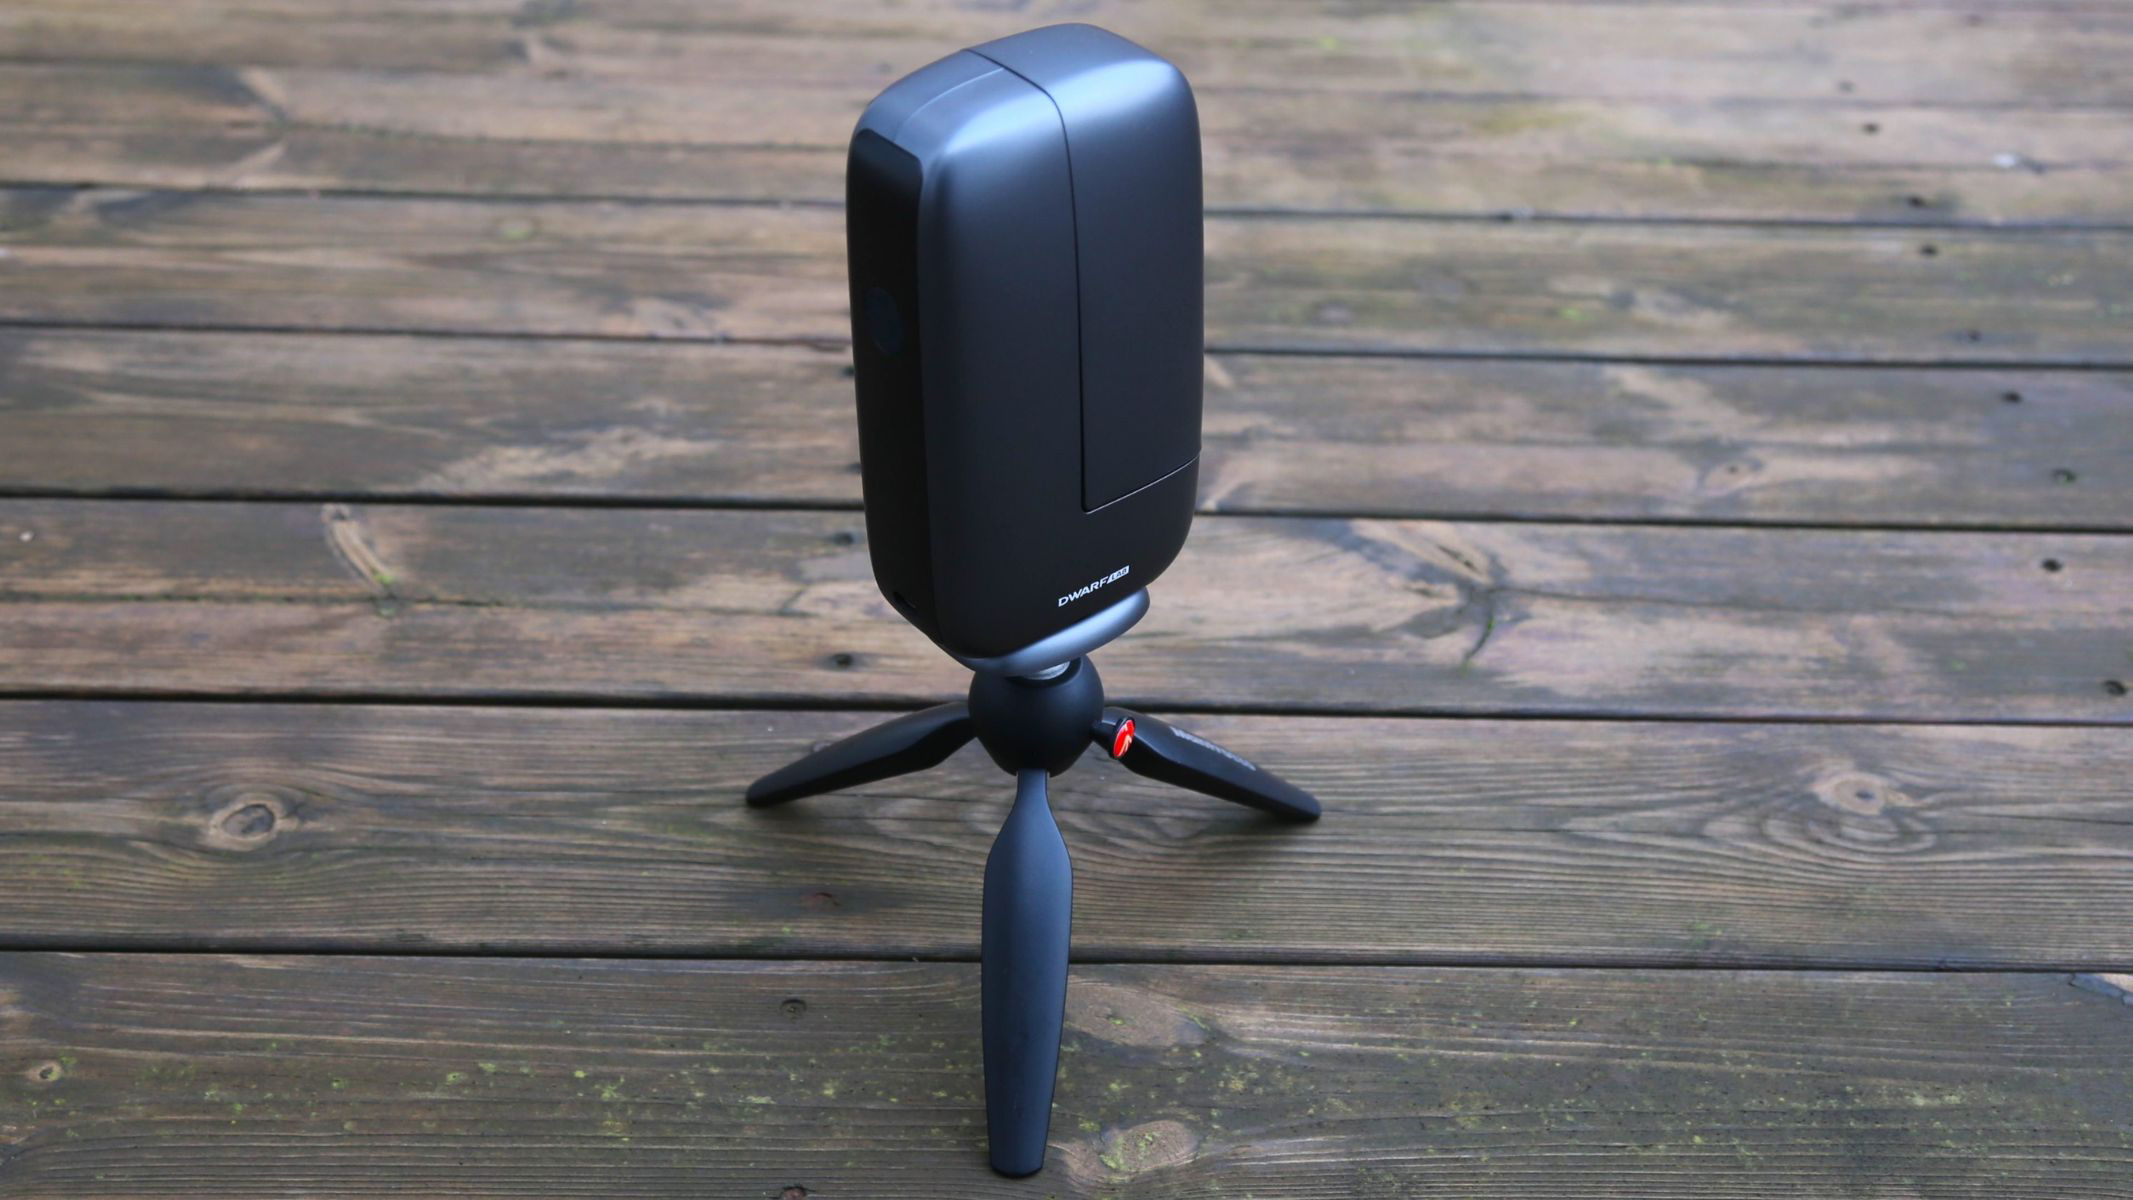
The DwarfLab Dwarf Mini unfolds into a capable mini-telescope. (Image credit: Jamie Carter)
  • Ultra-compact 30mm refractor telescope
  • Internal motorized filter wheel
  • Magnetic solar filter
  • Lightweight design
  • Ideal for travel and eclipse chasing

The defining characteristic of the Dwarf Mini is its size. The body includes a 360-degree rotating base and an articulating lens arm that moves through 225 degrees, allowing the telescope to cover most of the sky. It's significantly smaller than its competitors, including the larger Dwarf 3, making it easy to pack for travel. In fact, it’s easily small enough to slip into a camera bag or carry-on luggage, making it an appealing option for traveling astrophotographers — perhaps including eclipse chasers preparing for the upcoming trio of total solar eclipses beginning in 2026, since a magnetic solar filter is included in the box. Nice touch!

The telescope itself is a 30mm f/5 refractor with a focal length of 150mm. This produces a field of view of about 2.4 degrees, roughly five times the apparent diameter of the full moon. That optical system is paired with a Sony IMX662 sensor, a 1/2.8-inch sensor capable of 2.1MP resolution (1080p). This sensor is all about low noise and sensitivity, making it well-suited to short astrophotography exposures, but not to high-resolution images. Compared with the Dwarf 3’s Sony IMX678 Starvis 2 sensor, which delivers 8.3MP and 4K resolution, the Mini is a step down in terms of detail. However, in practice, the difference is smaller than expected, particularly after image stacking and processing.

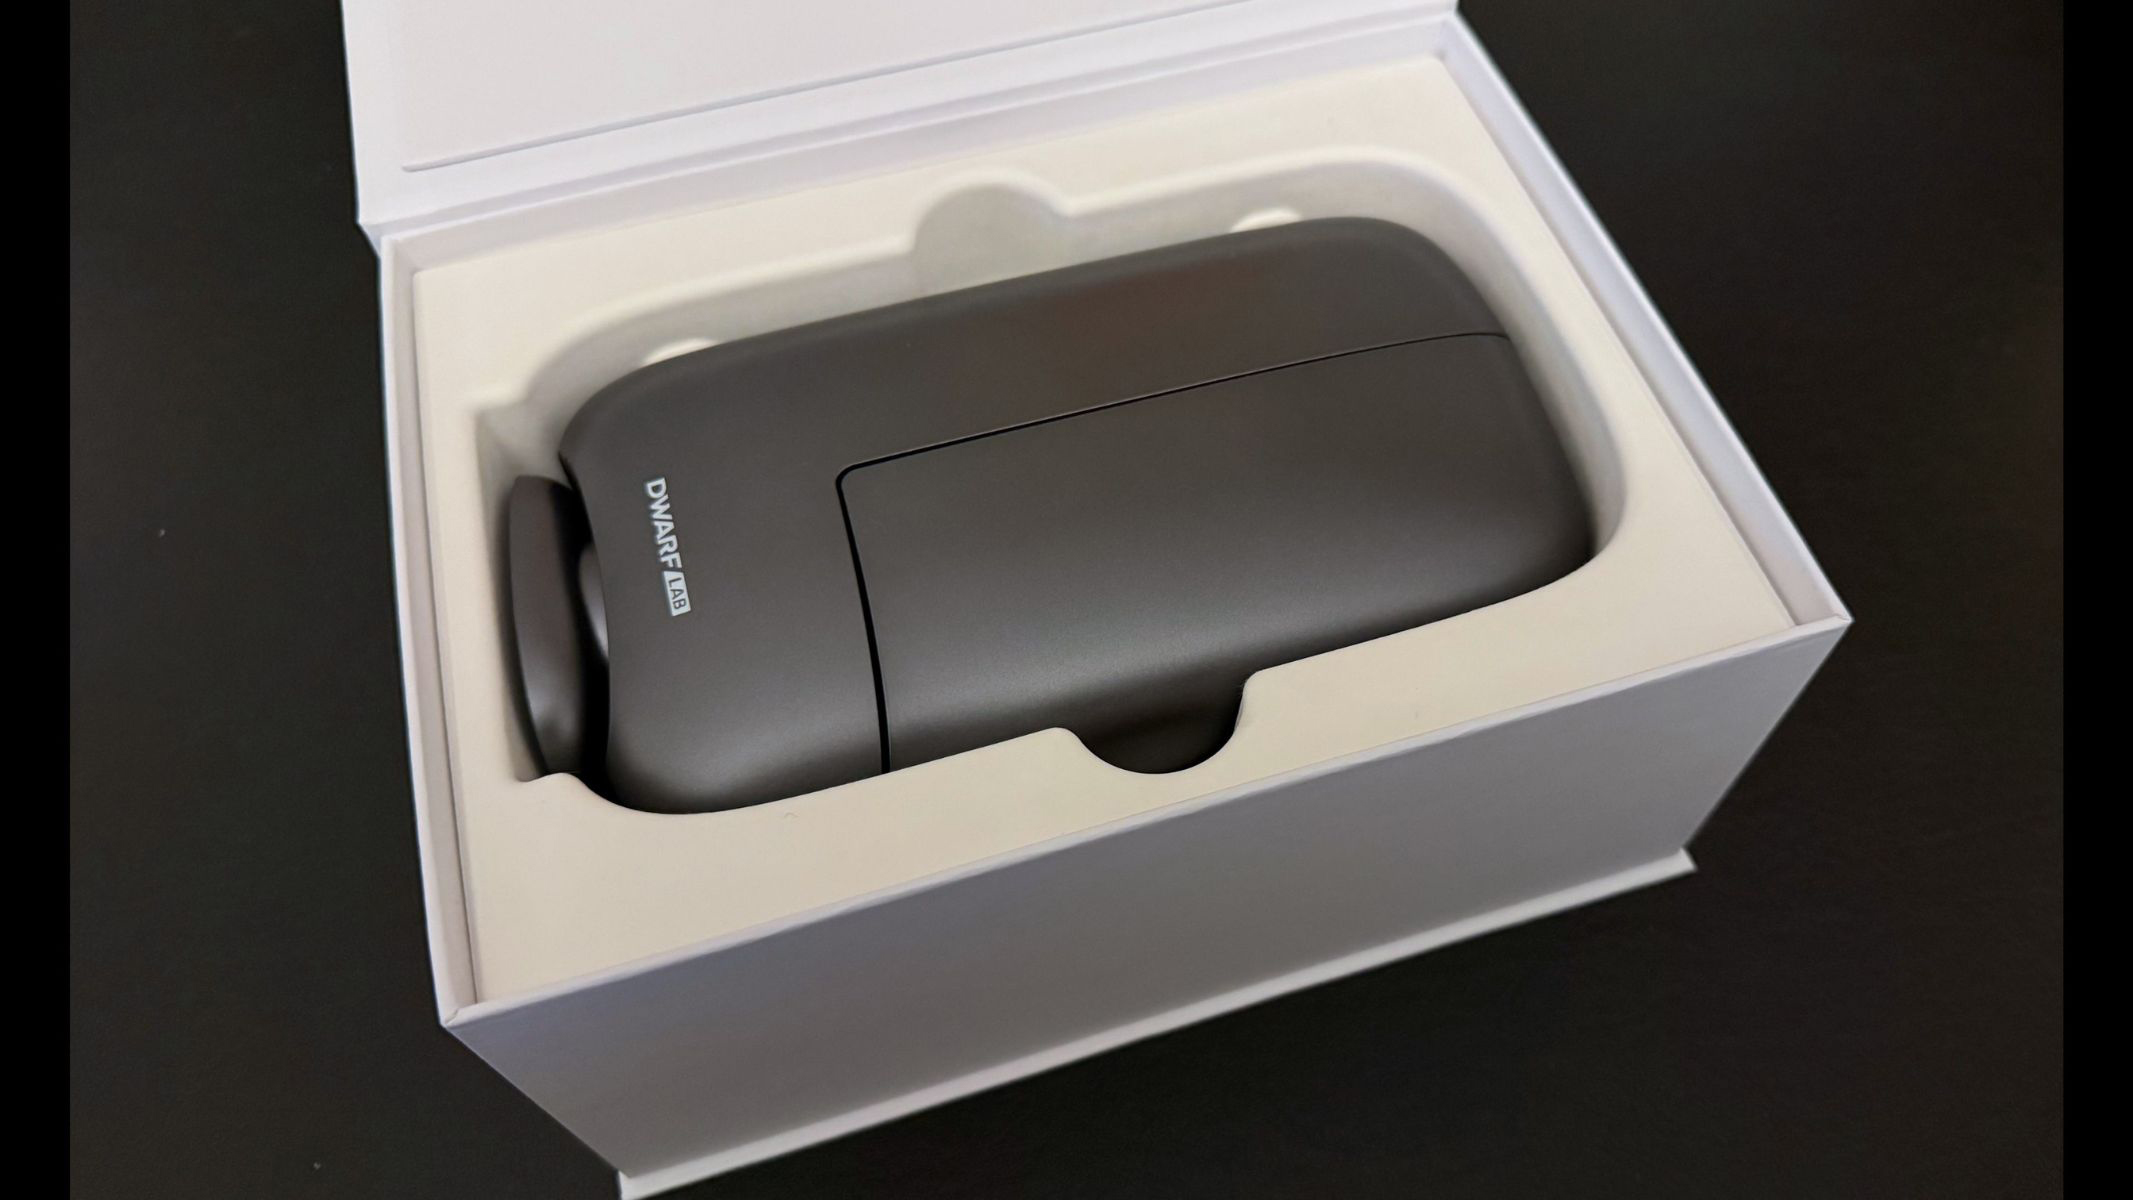
The Dwarflab Dwarf Mini in its packaging.

The Dwarf Mini arrives in a box with few accessories. (Image credit: Jamie Carter)
Specifications

Optical design: Apochromatic refractor

Aperture: 1.18 inches (30mm)

Focal length: 150mm (5.91 inches)

Focal ratio: f/5

Field of view: 50.59 x 45.06 degrees (wide)/2.5 x 2.14 degrees (telephoto)

Total kit weight: 1.8 lbs (840 g)

Size: 7.24 x 3.94 x 2.4-in (184 x 100 x 61 mm)

Mount type: Alt-azimuth and equatorial (EQ)

Storage: 64GB internal memory

Battery: 7,000 mAh rechargeable (4 hours)

The device also features a motorized internal filter wheel, allowing users to switch between broadband and dual-narrowband filters directly in the app to mitigate light pollution and better image nebulae. This avoids the need to install external filters, which are an add-on accessory with some smart telescopes.

The box includes a magnetic solar filter, a USB-C charging cable and a lens cloth. However, a small tripod is not included in the box, which feels like an omission given the Mini’s travel-friendly design. That's not a deal-breaker since any small tabletop (or full-size) tripod can be used, but the all-in-one feel is sacrificed.

DwarfLab Dwarf Mini: Performance

A top view of the DwarfLab Dwarf Mini lens.

Close-up view of the Dwarf Mini’s dual-lens optical system. (Image credit: Jamie Carter)
  • Reveals deep-sky objects even under light pollution
  • Plate-solves stars and stacks short exposures
  • Mega Stack combines data from multiple sessions

The Dwarf Mini performs surprisingly well considering its small optics. During testing, it proved capable of capturing bright deep-sky targets such as the Orion Nebula (M42) and the Pleiades (M45), as well as open clusters like M44, even from suburban skies.

Smart telescopes compensate for small apertures by stacking many short exposures over time, gradually building up a deeper image. In standard alt-az mode, exposures are typically limited to around 10-15 seconds to prevent field rotation (which can cause blur). This technique allows the telescope to perform well even under heavy light pollution and/or strong moonlight, making it particularly useful for urban astronomers, where the chance of seeing faint nebulae is virtually zero.

One particularly useful feature is Mega Stack, which combines multiple imaging sessions of the same targets. Instead of capturing everything in a single session, data from several shorter sessions can be added later — even months or years later — to produce deeper images. That's handy when windows of clear skies are few, or if you plan occasional trips to dark skies where better data might be possible.

A view of the moon through the Dwarflab Dwarf Mini

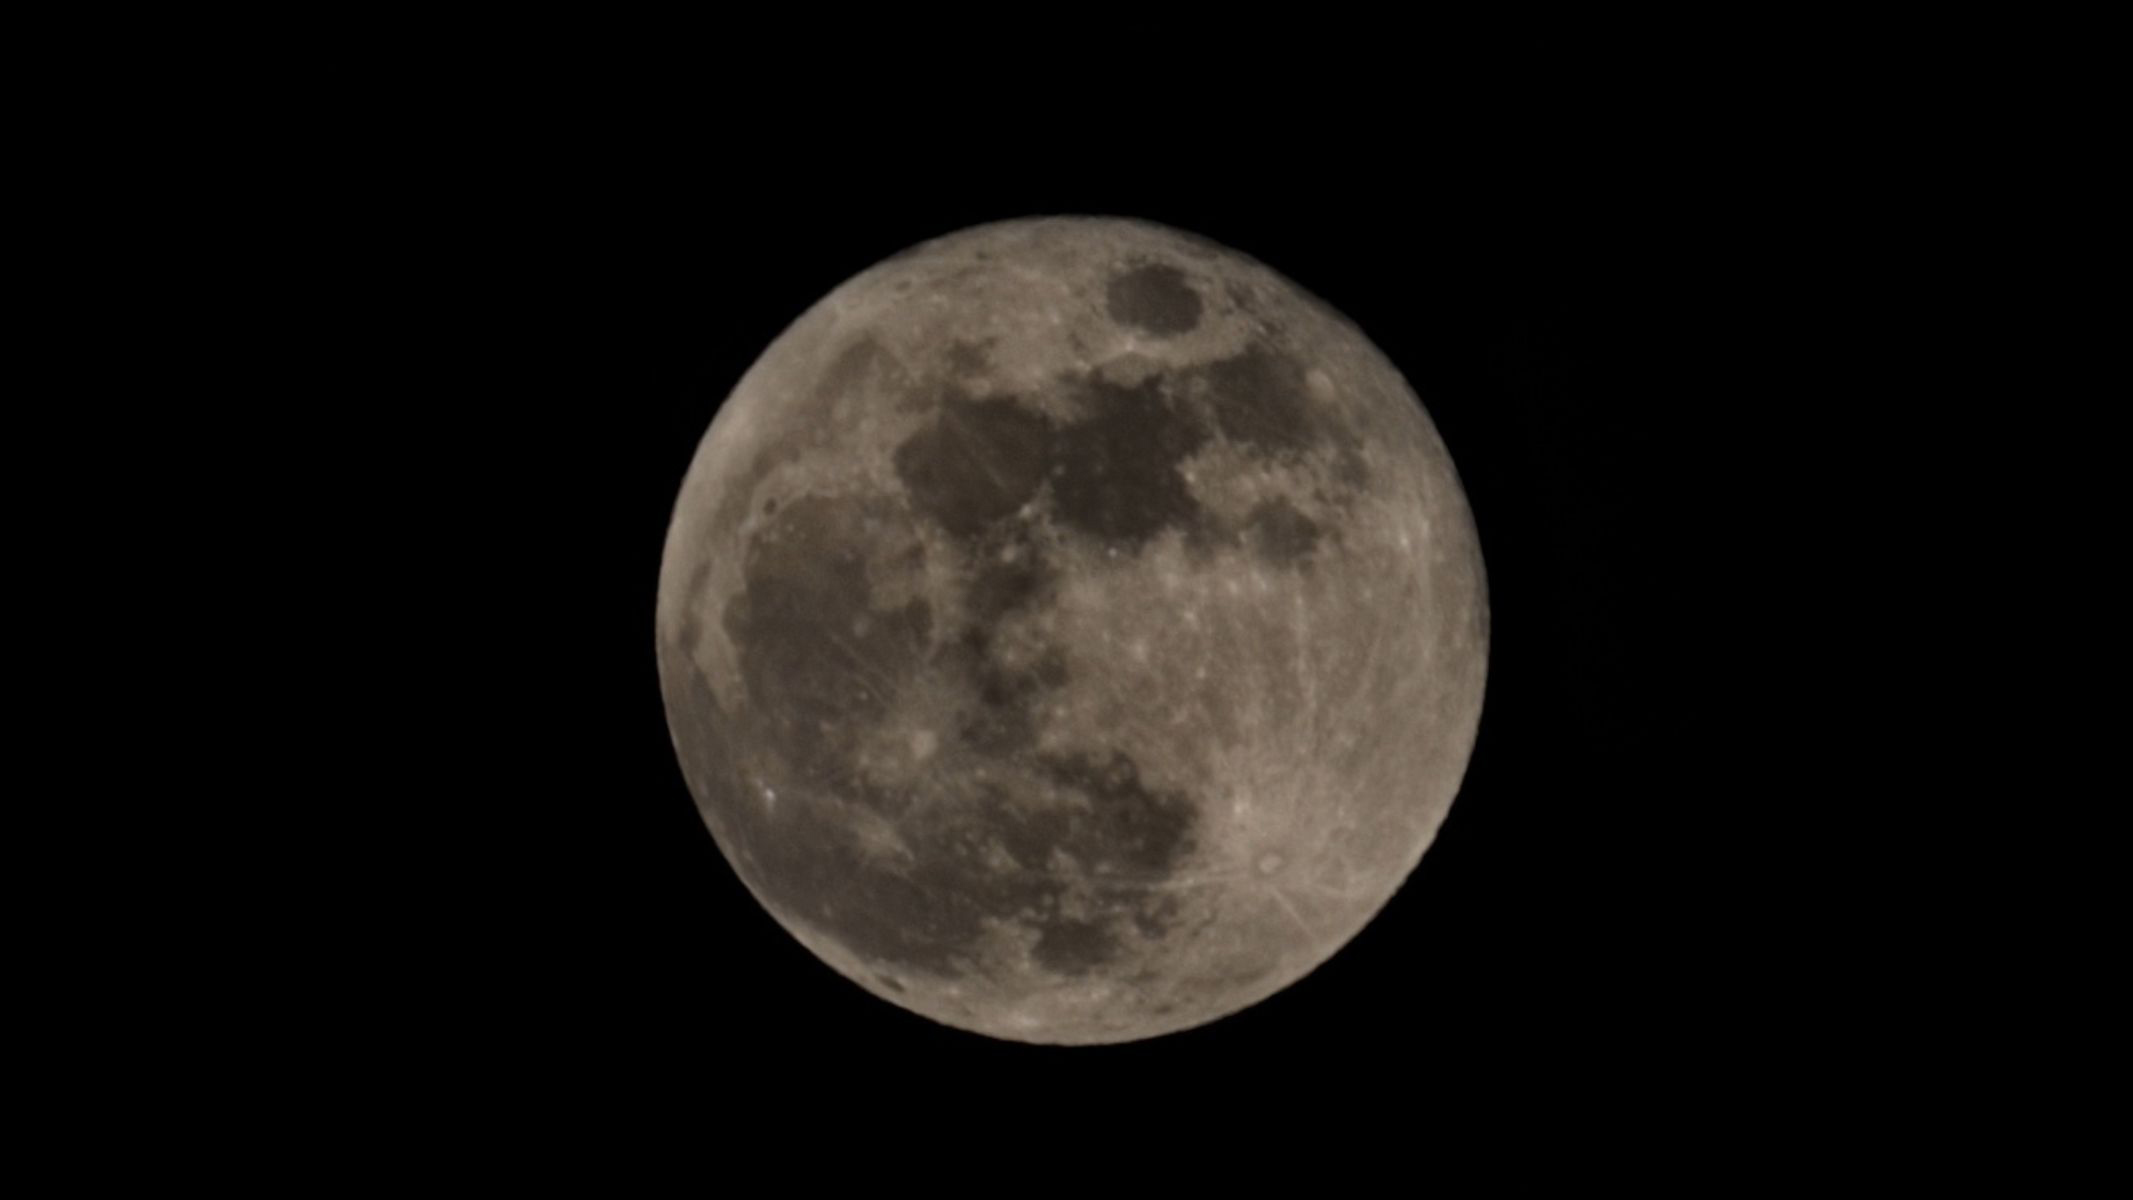
February’s full Worm Moon as seen through the Dwarf Mini. (Image credit: Jamie Carter)

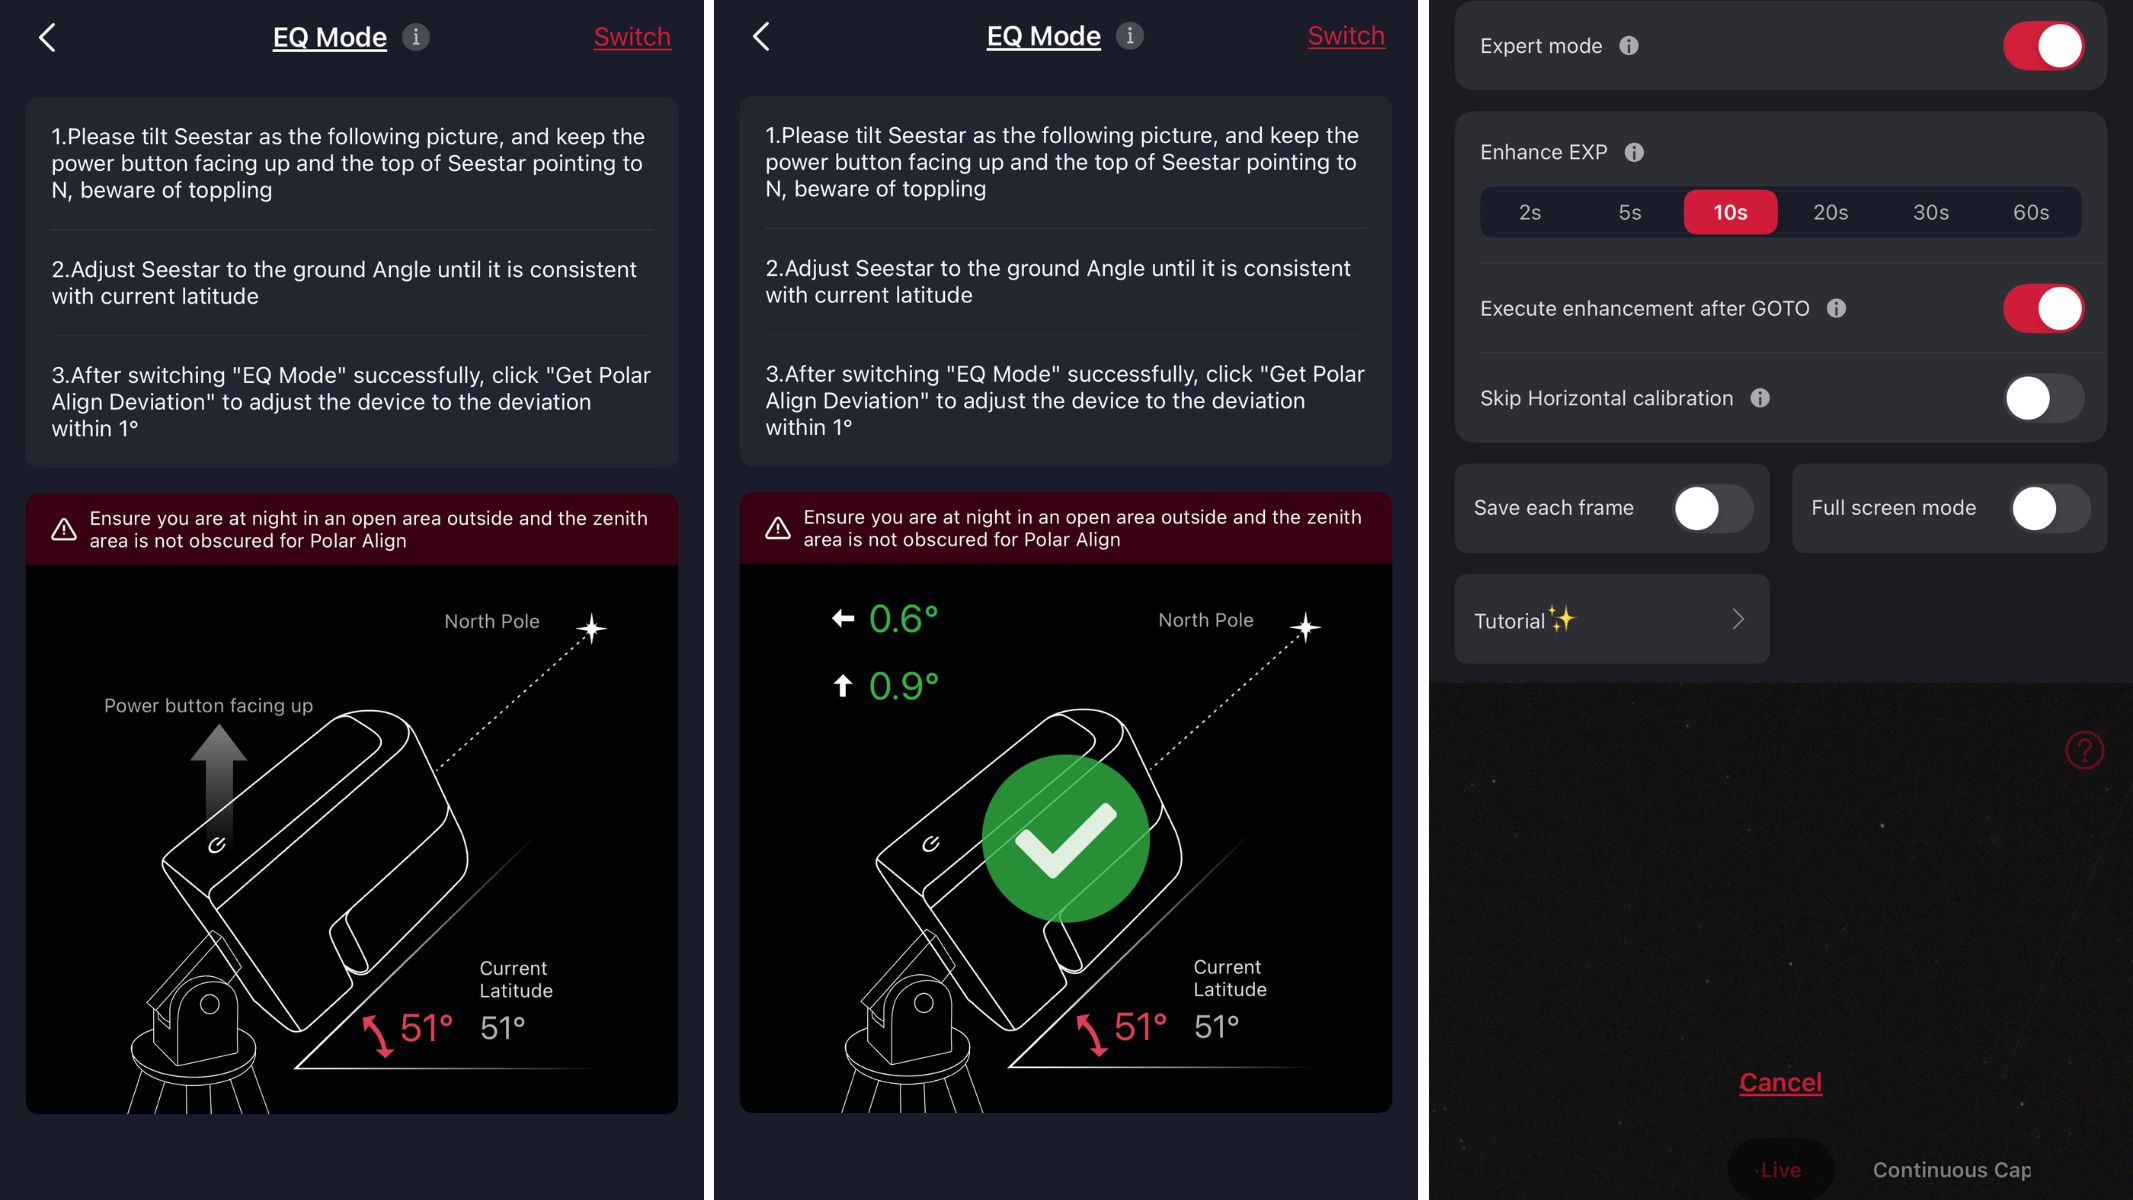
For more advanced imaging, the telescope also supports an equatorial (EQ) tracking mode, something professional astrophotographers insist upon. EQ mode may not be essential on a travel-friendly smart telescope like this, but its inclusion is impressive. It requires the purchase of an equatorial wedge, such as Dwarf Mini’s Mini Tripod accessory, which we were not able to test during this review. After a simple alignment with Polaris, the mount tracks the sky’s rotation, allowing exposures of up to 90 seconds. It can make a marked difference with very faint targets — though it’s not an essential feature on a smart telescope aimed at beginners.

Daytime performance is also strong. With the included solar filter, the Mini easily captured sunspots and solar activity, while lunar images also showed impressive crater detail.

The main limitation is resolution. The 2MP sensor produces images that look excellent on smartphones and social media, but they lack the detail needed for large prints or serious astrophotography. But for a telescope this small, the results are genuinely impressive.

DwarfLab Dwarf Mini: Functionality

A Dwarflab Dwarf Mini on a bench.

Any tripod works with the Dwarf Mini. (Image credit: Jamie Carter)
  • Smartphone control via Wi-Fi or Bluetooth
  • Sky Atlas feature for automatic target selection
  • Manual pointing and mosaic imaging modes

The Dwarf Mini is designed to be controlled entirely through the DwarfLab smartphone app, which connects via Wi-Fi or Bluetooth.

Once connected, users can browse a built-in sky atlas, which displays objects currently visible from their location. Selecting an object prompts the telescope to plate-solve the surrounding stars, automatically align itself, slew to the target and begin stacking exposures. Imaging sessions can be stopped at any point if you’re happy with the result so far. The app also displays session details such as exposure count and total integration time.

For users who want more control, the telescope can also be manually aimed at any patch of sky, which is particularly useful when imaging newly discovered comets or objects not yet included in the atlas database. For objects larger than its field of view, such as the Andromeda Galaxy (M31), Mini has a mosaic mode, which allows the telescope to capture multiple adjacent frames and stitch them together.

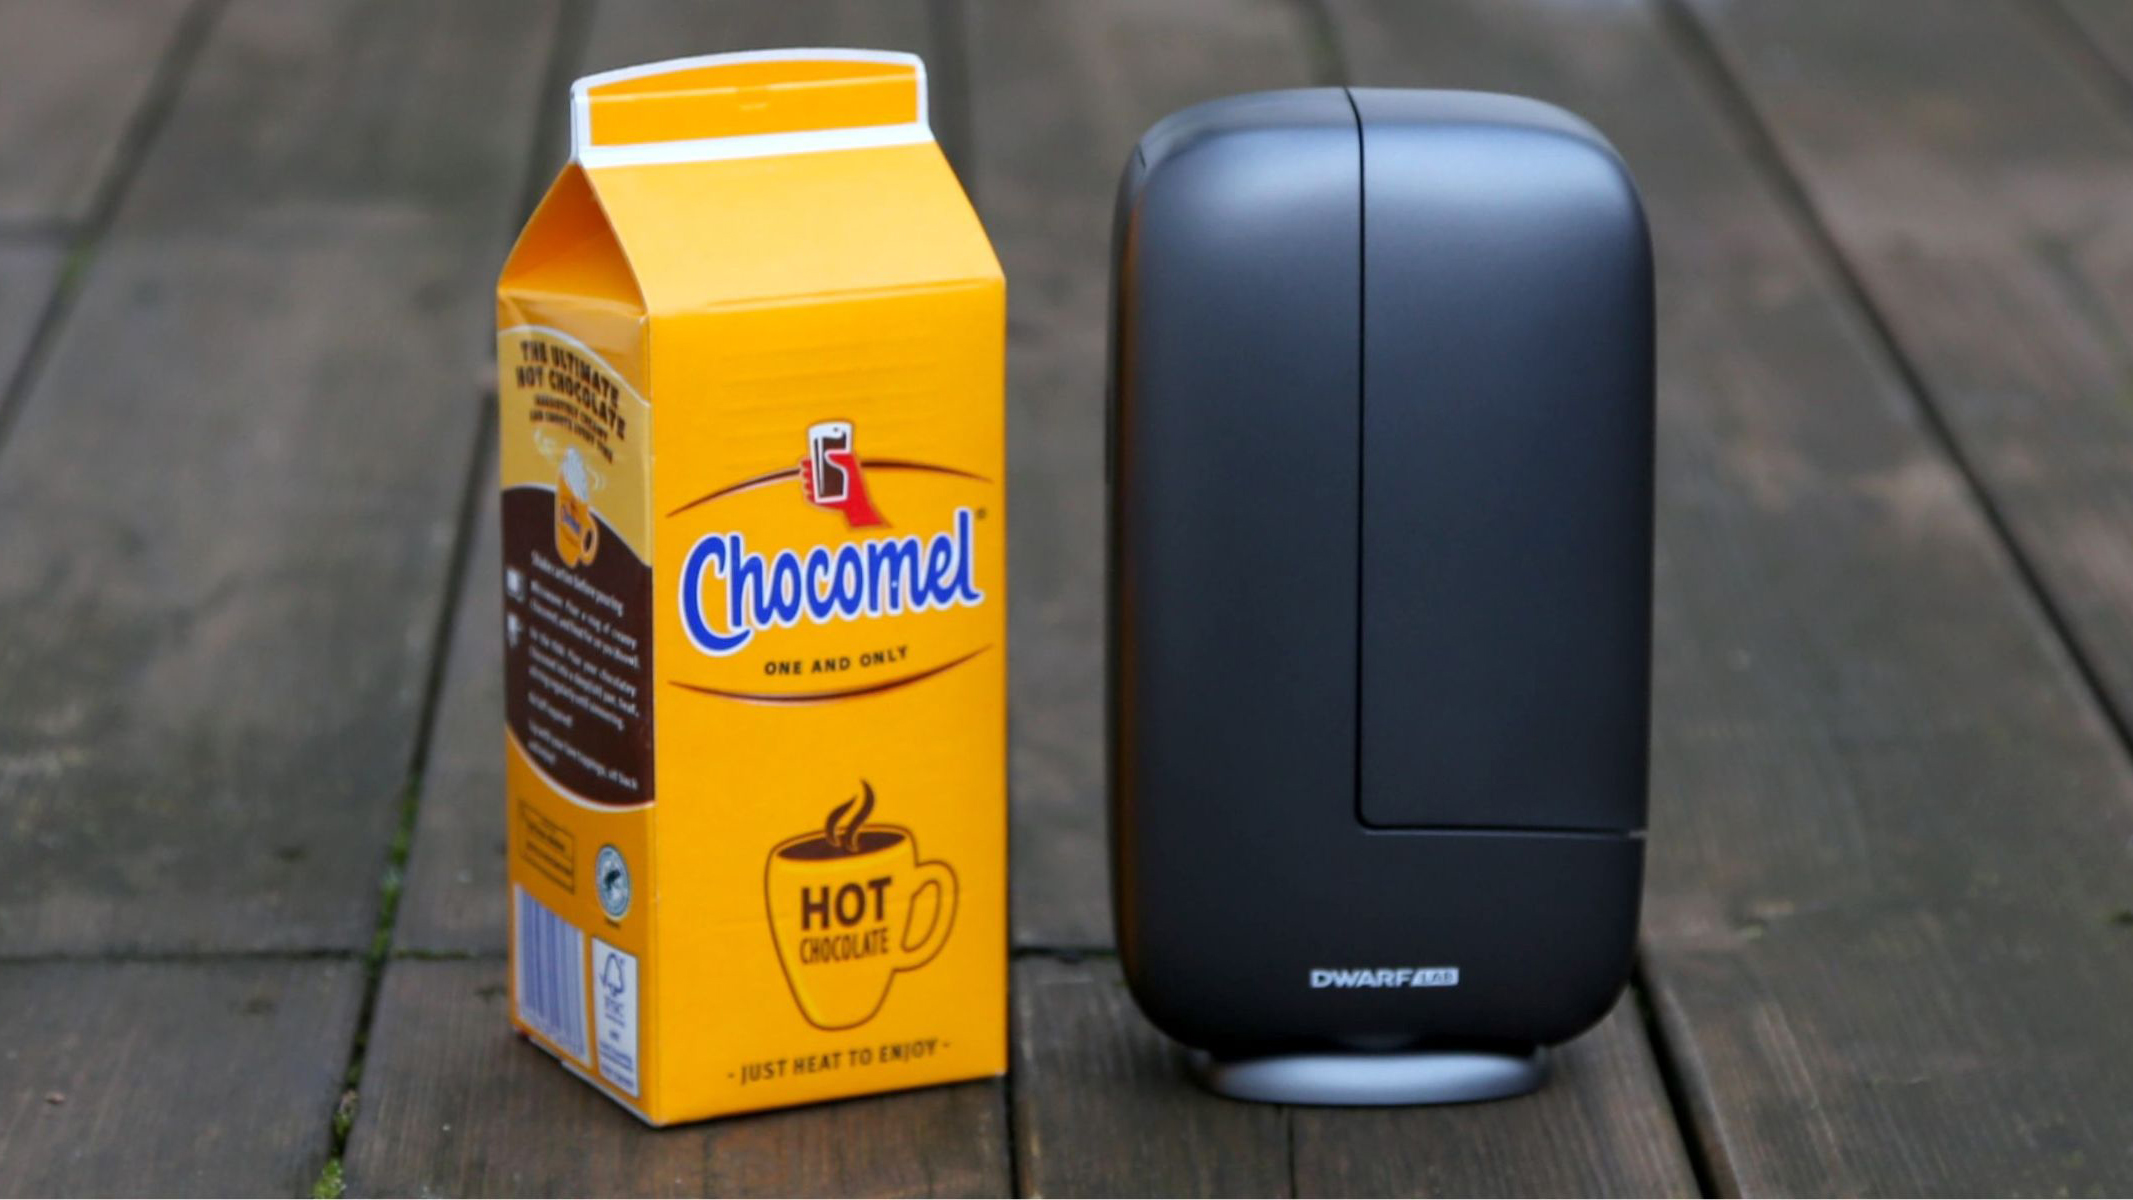
A DwarfLab Dwarf Mini, next to a Chocomel carton for size. They are both the same size.

The DwarfLab Dwarf Mini is roughly the same size as a drinks carton. (Image credit: Jamie Carter)

Captured images can then be processed using Stellar Studio, DwarfLab’s built-in image processing software, which is very good at removing noise and adding contrast. Images can be saved in JPG, TIFF or FITS formats, giving beginners a set of sharing-friendly options and more advanced users the chance to download files into desktop processing software.

A view of the Beehive Cluster

The Beehive Cluster (M44) in Cancer, imaged with the DwarfLab Dwarf Mini. (Image credit: Jamie Carter)

It’s all remarkably easy to operate once you’re comfortable with how the app works. Beginners can capture solar, lunar and deep-sky images within minutes of set-up, while more experienced astrophotographers can still access advanced features such as EQ tracking and mosaic imaging.

Firmware updates are frequent and install easily through the app, so it’s worth connecting the telescope to your home Wi-Fi before heading to a dark-sky site — you never know when new features will appear!

Should you buy the DwarfLab Dwarf Mini smart telescope?

Buy it if:

✅ You want an ultra-portable smart telescope for travel, urban observing or eclipse expeditions.

✅ You’re new to astrophotography and want an automated system that works straight from your phone.

Don't buy it if:

❌ You want high-resolution astrophotography results for printing or detailed processing.

❌ You prefer traditional telescopes with eyepieces and manual control.

The DwarfLab Dwarf Mini offers a tempting combination of portability, automation and surprisingly capable astrophotography performance. It won’t replace a full astrophotography setup, but for beginners, urban astronomers, travelers and eclipse chasers, it provides an easy way to capture the night sky — and the sun — without bulky and expensive equipment.

If the DwarfLab Dwarf Mini smart telescope isn't for you

If you're after something with a little higher resolution, the DwarfLab Dwarf 3 is a larger, more powerful version with a 4K sensor and a slightly larger aperture.

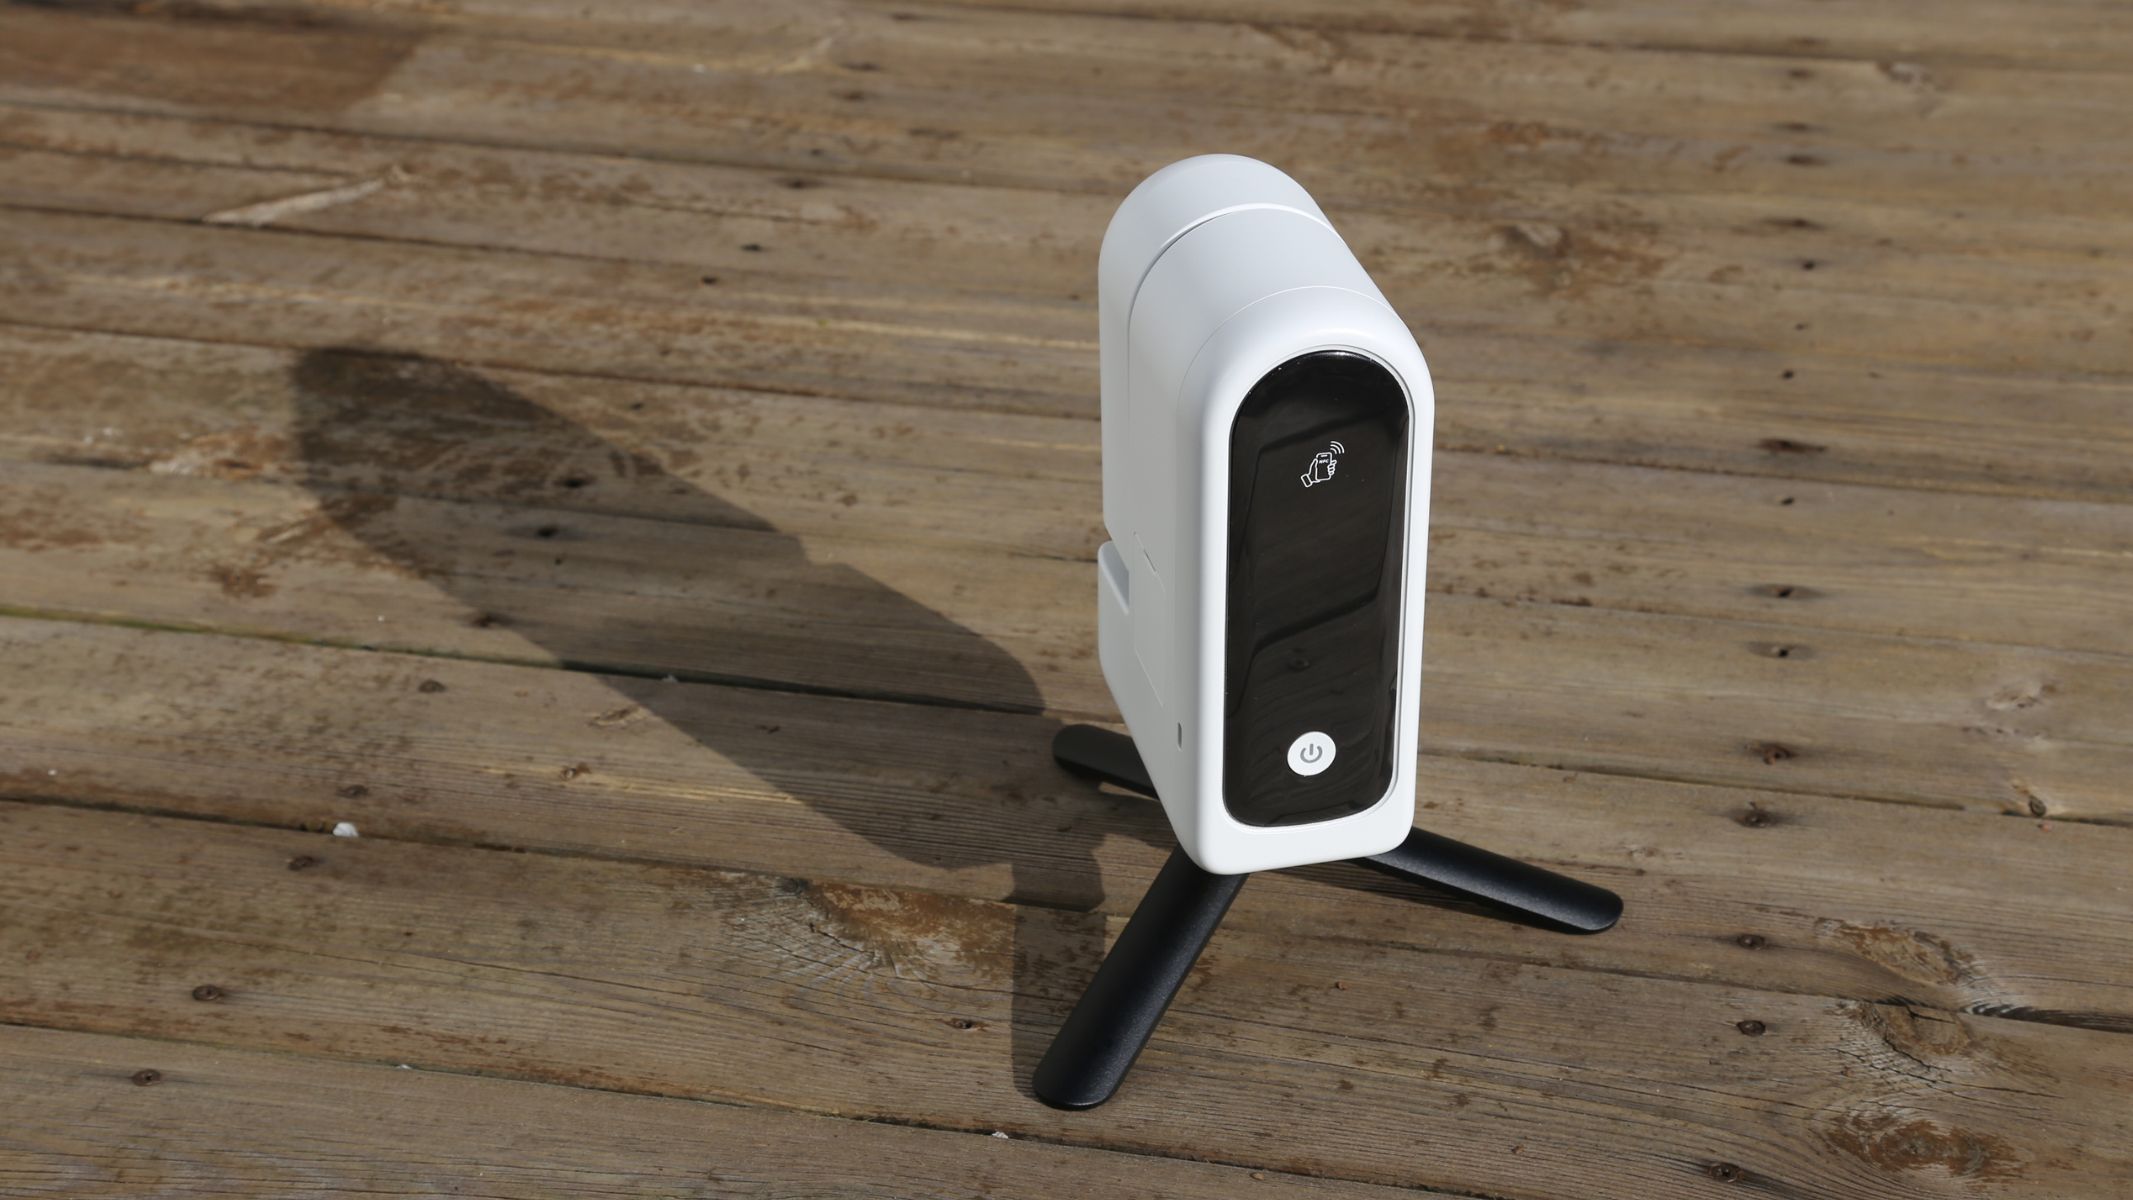
ZWO Seestar S30 is a similar smart telescope with automated tracking and an included tabletop tripod, though it's recently been surpassed by the slightly pricier ZWO Seestar S30 Pro, a higher-resolution alternative that boasts superior optics and imaging.

For an overview of the top telescopes in this category, read our 2026 guide to the best smart telescopes.

User reviews

Online reviews of the Dwarf Mini often highlight its portability, simplicity and image quality. One reviewer described it as a “great piece of kit for deep space astrophotography.”

Another wrote: “I had no trouble getting it imaging within a few minutes out of the box,” praising the image quality, autofocus, GoTo accuracy, tracking, and the app. “It's a brilliant piece of kit,” said another user.

However, several users also reported poor quality in planetary images — and that’s certainly true (though it can find the moons of Jupiter).

How we tested the DwarfLab Dwarf Mini smart telescope

Our observations took place on a few clear nights during February and March 2026, in temperatures down to lows of 43 degrees Fahrenheit (6 degrees Celsius) and highs of about 54 F (12 C). Light pollution was between 5 and 6 on the Bortle scale — urban conditions with bright city lighting. Battery life averaged around 4 hours, though longer imaging sessions were supported using an external USB power bank connected to the telescope's USB-C slot.

We’ve found huge discounts on a range of ZWO astronomy cameras, including three we love

ZWO is well known for its Seestar smart telescopes but they also make dedicated astronomy cameras for use with telescopes to get highly detailed astrophotography. We have reviewed three of these ZWO astrocams and they have delivered beautiful images of the different objects.

The color cameras like the ZWO ASI183MC Pro and ZWO ASI533MC Pro have delivered beautiful colored detail in galaxies and nebulas, whereas the monochrome ZWO ASI175 mono delivered exceptional solar photography.

Explore the ZWO range on sale at B&H Photo and Video, with the ZWO ASI183MC Pro, ASI153MC Pro and ASI175 mono astronomy cameras 10% off.

An astronomy camera has only one job: To be good at astrophotography, nothing else. They are essentially just camera sensors but full of features that only benefit astro. It has active cooling for reducing image noise, no infrared (IR) cut filter to allow nebula colors in Hydrogen-alpha to be captured and a range of different things that sharpen every aspect of image capture during astrophotography. If you want to start using an astrocam, you will need optics to use with your astrocam, so grabbing a telescope or a special astrophotography telescope is essential.

Get $80 off this color astronomy camera. It has a large CMOS chip, a cooling system and a bunch of included accessories for use with a telescope and laptop.

We gave it four and a half stars in our full ZWO ASI183MC Pro reviewView Deal

Save $80 off our best astrocam overall in our best astronomy cameras guide. It's a dedicated astrocam for scope-mounted use with active cooling, full-color capture and accessories for connectivity.

We gave it five stars in our ZWO ASI533MC Pro review.View Deal

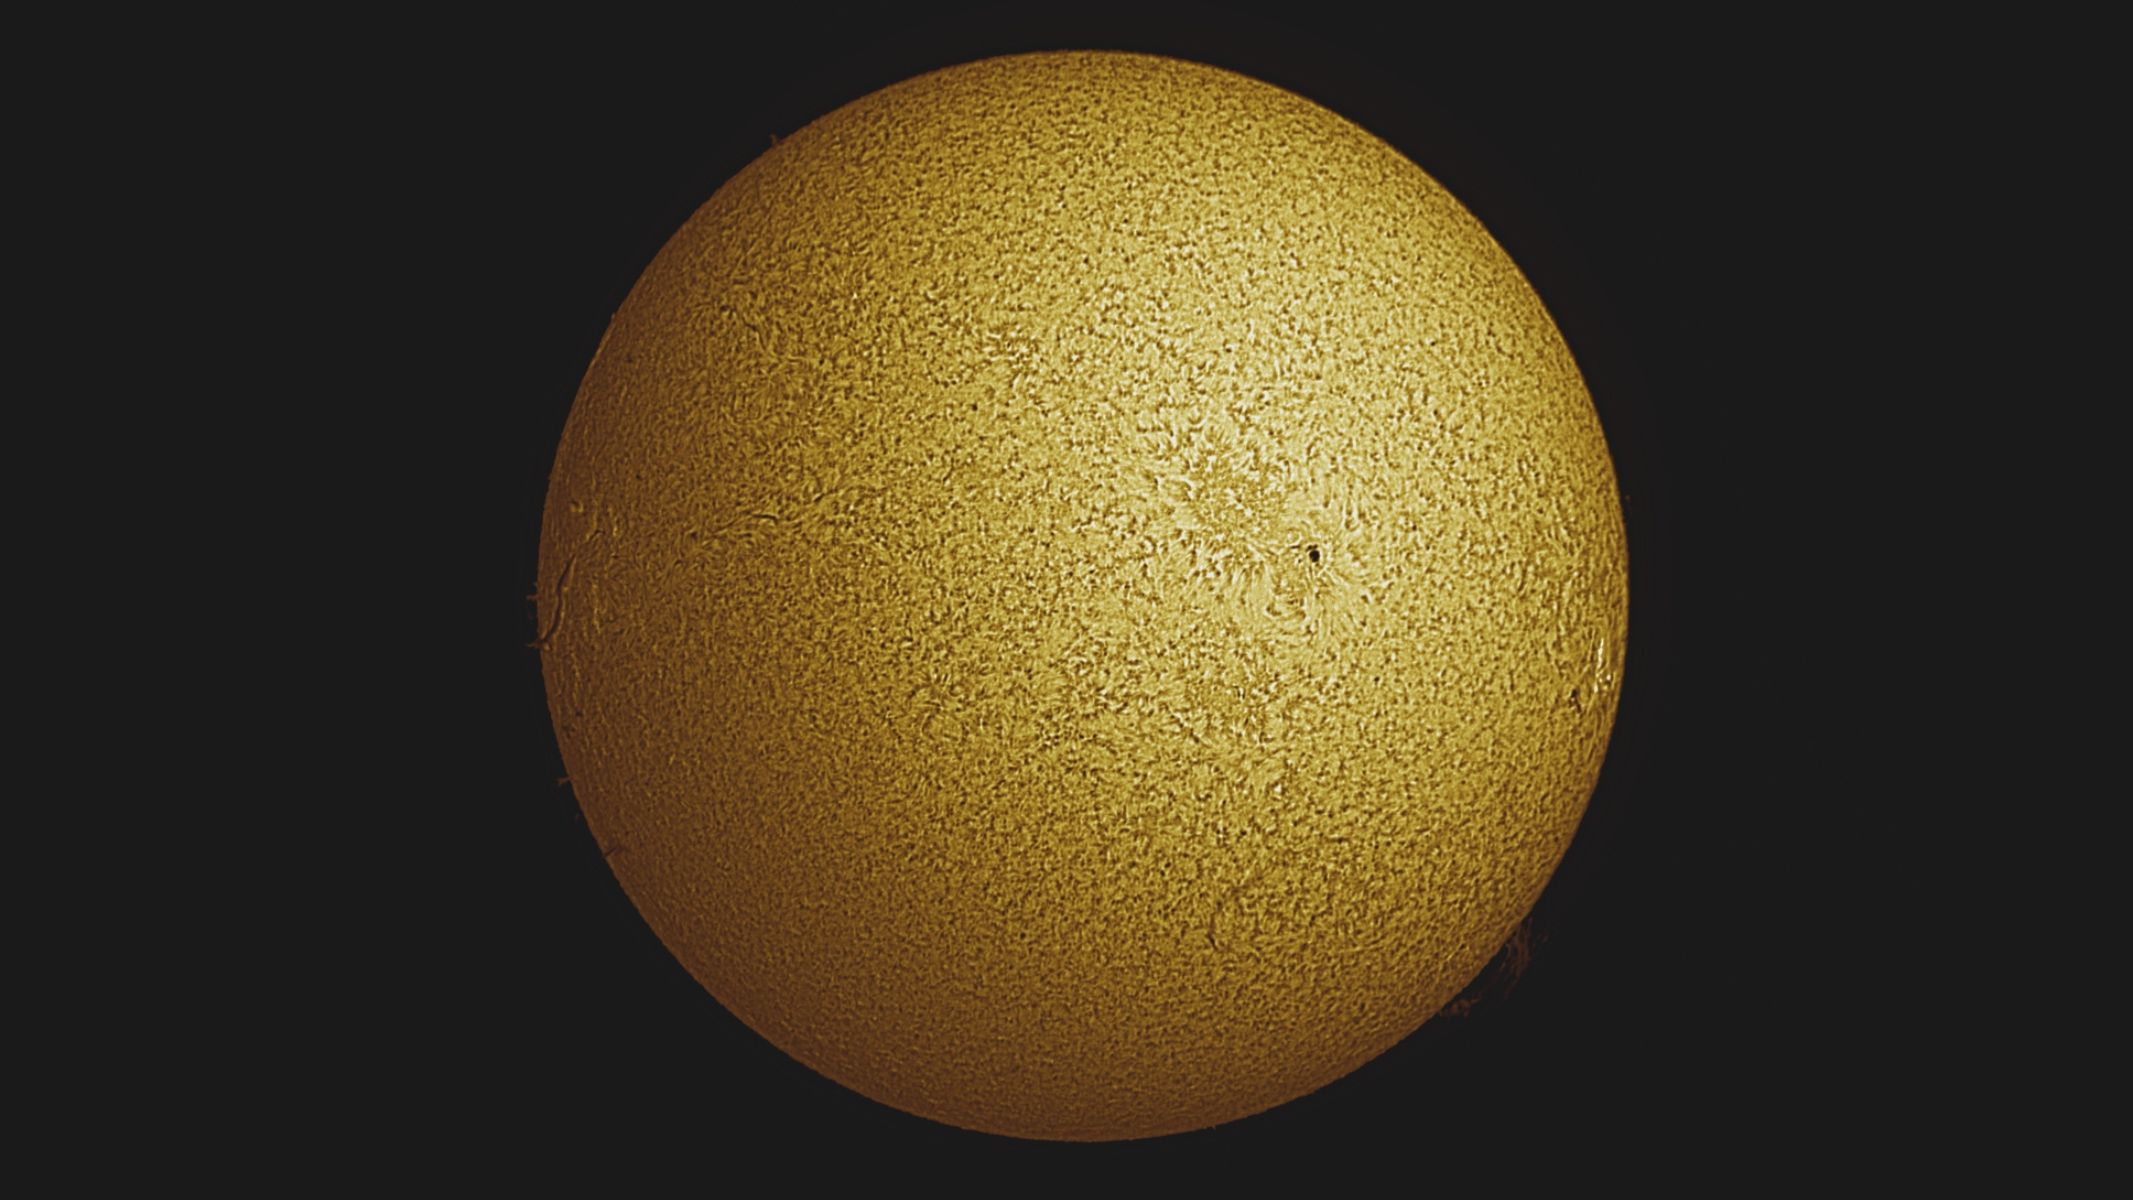
Save $60 on this ASI174 monochrome astronomy camera. It is perfect for taking photos of the planets and the sun because each pixel captures 100% of the light directly. View Deal

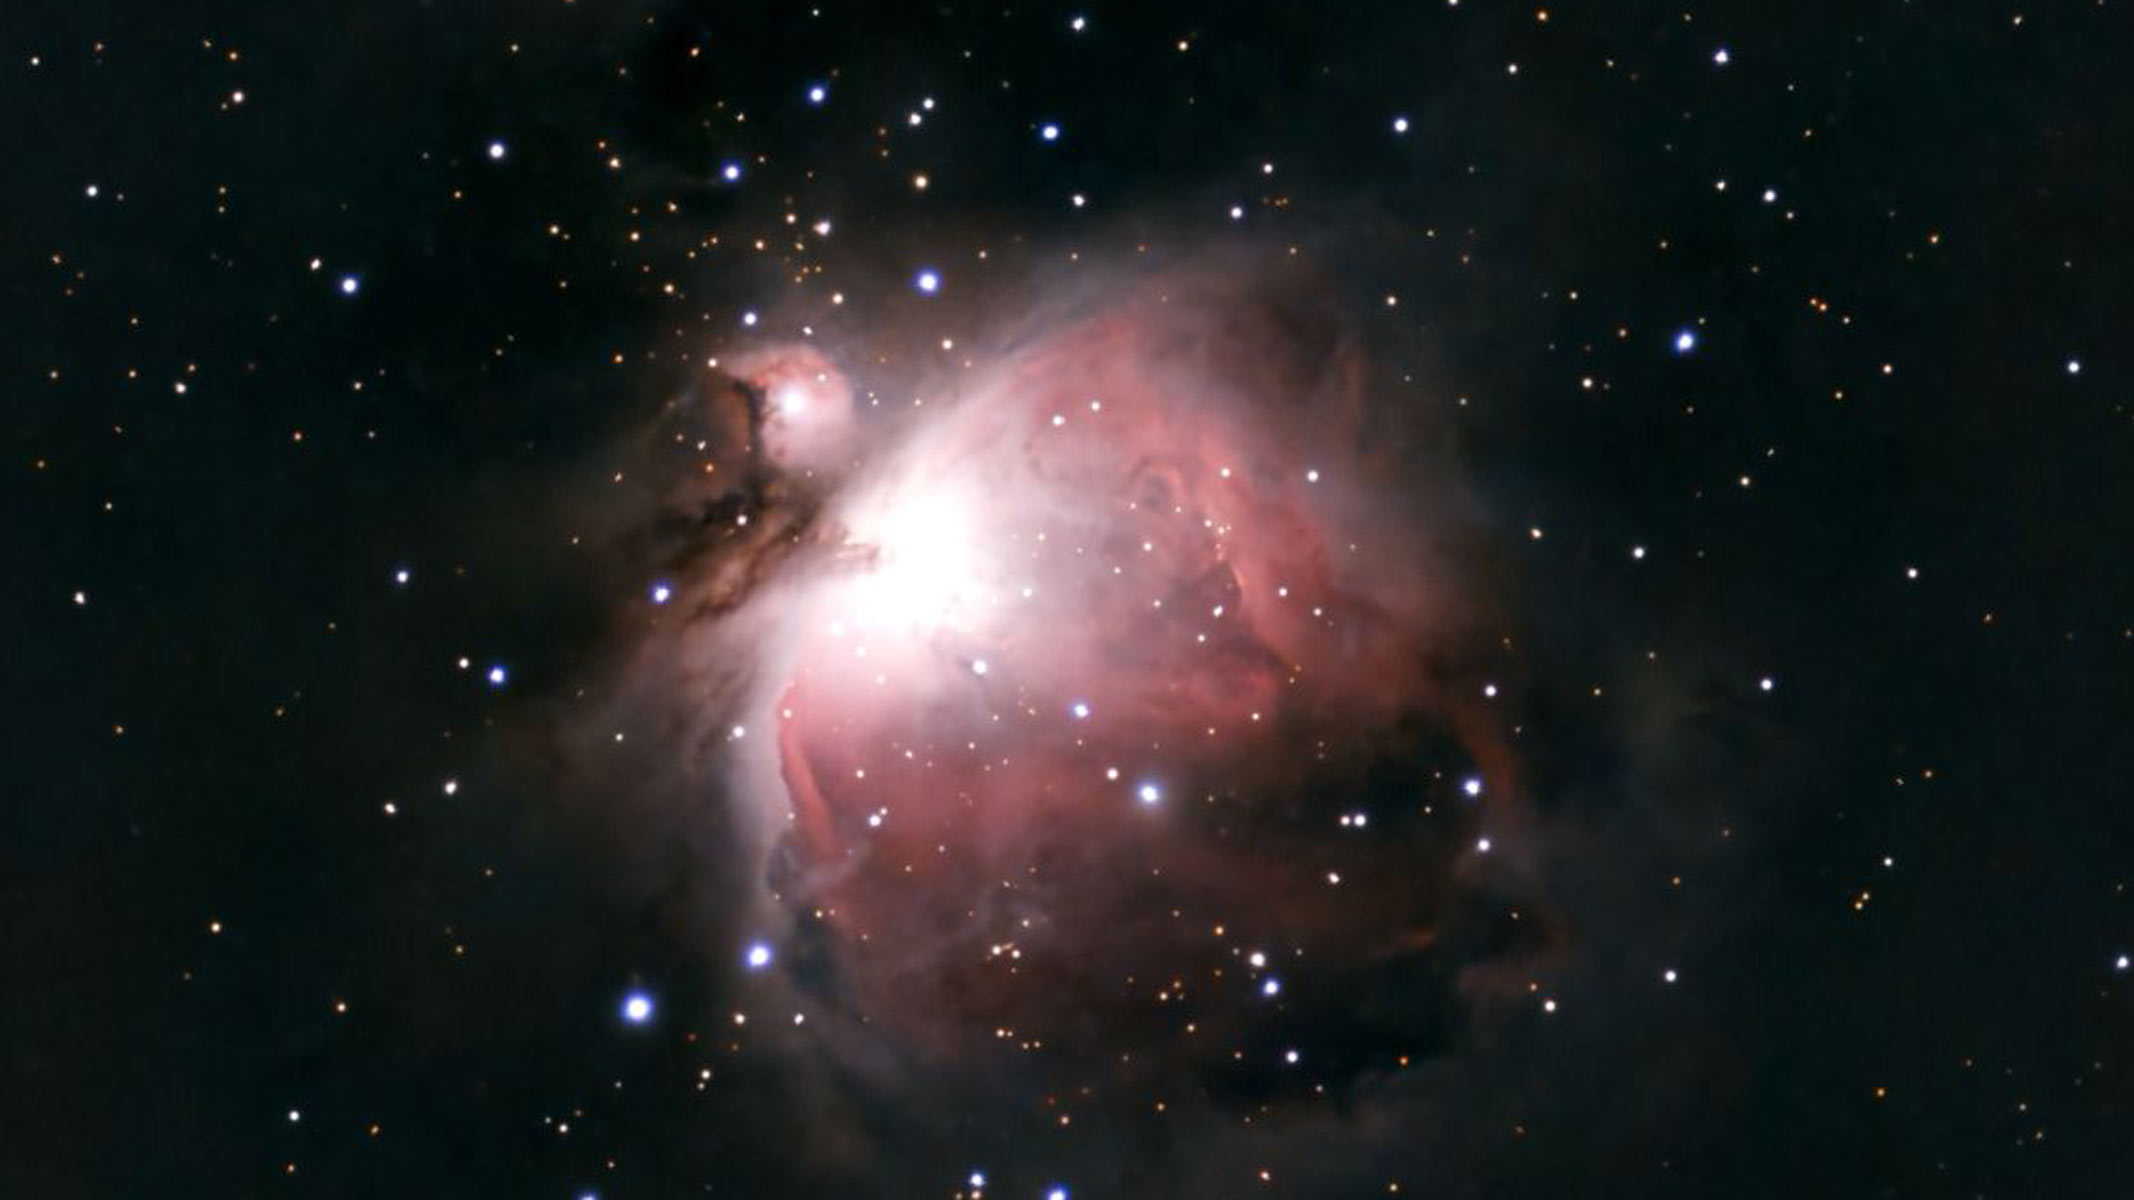
ZWO ASI183MC Pro camera review: image shows Messier 42 star constellation
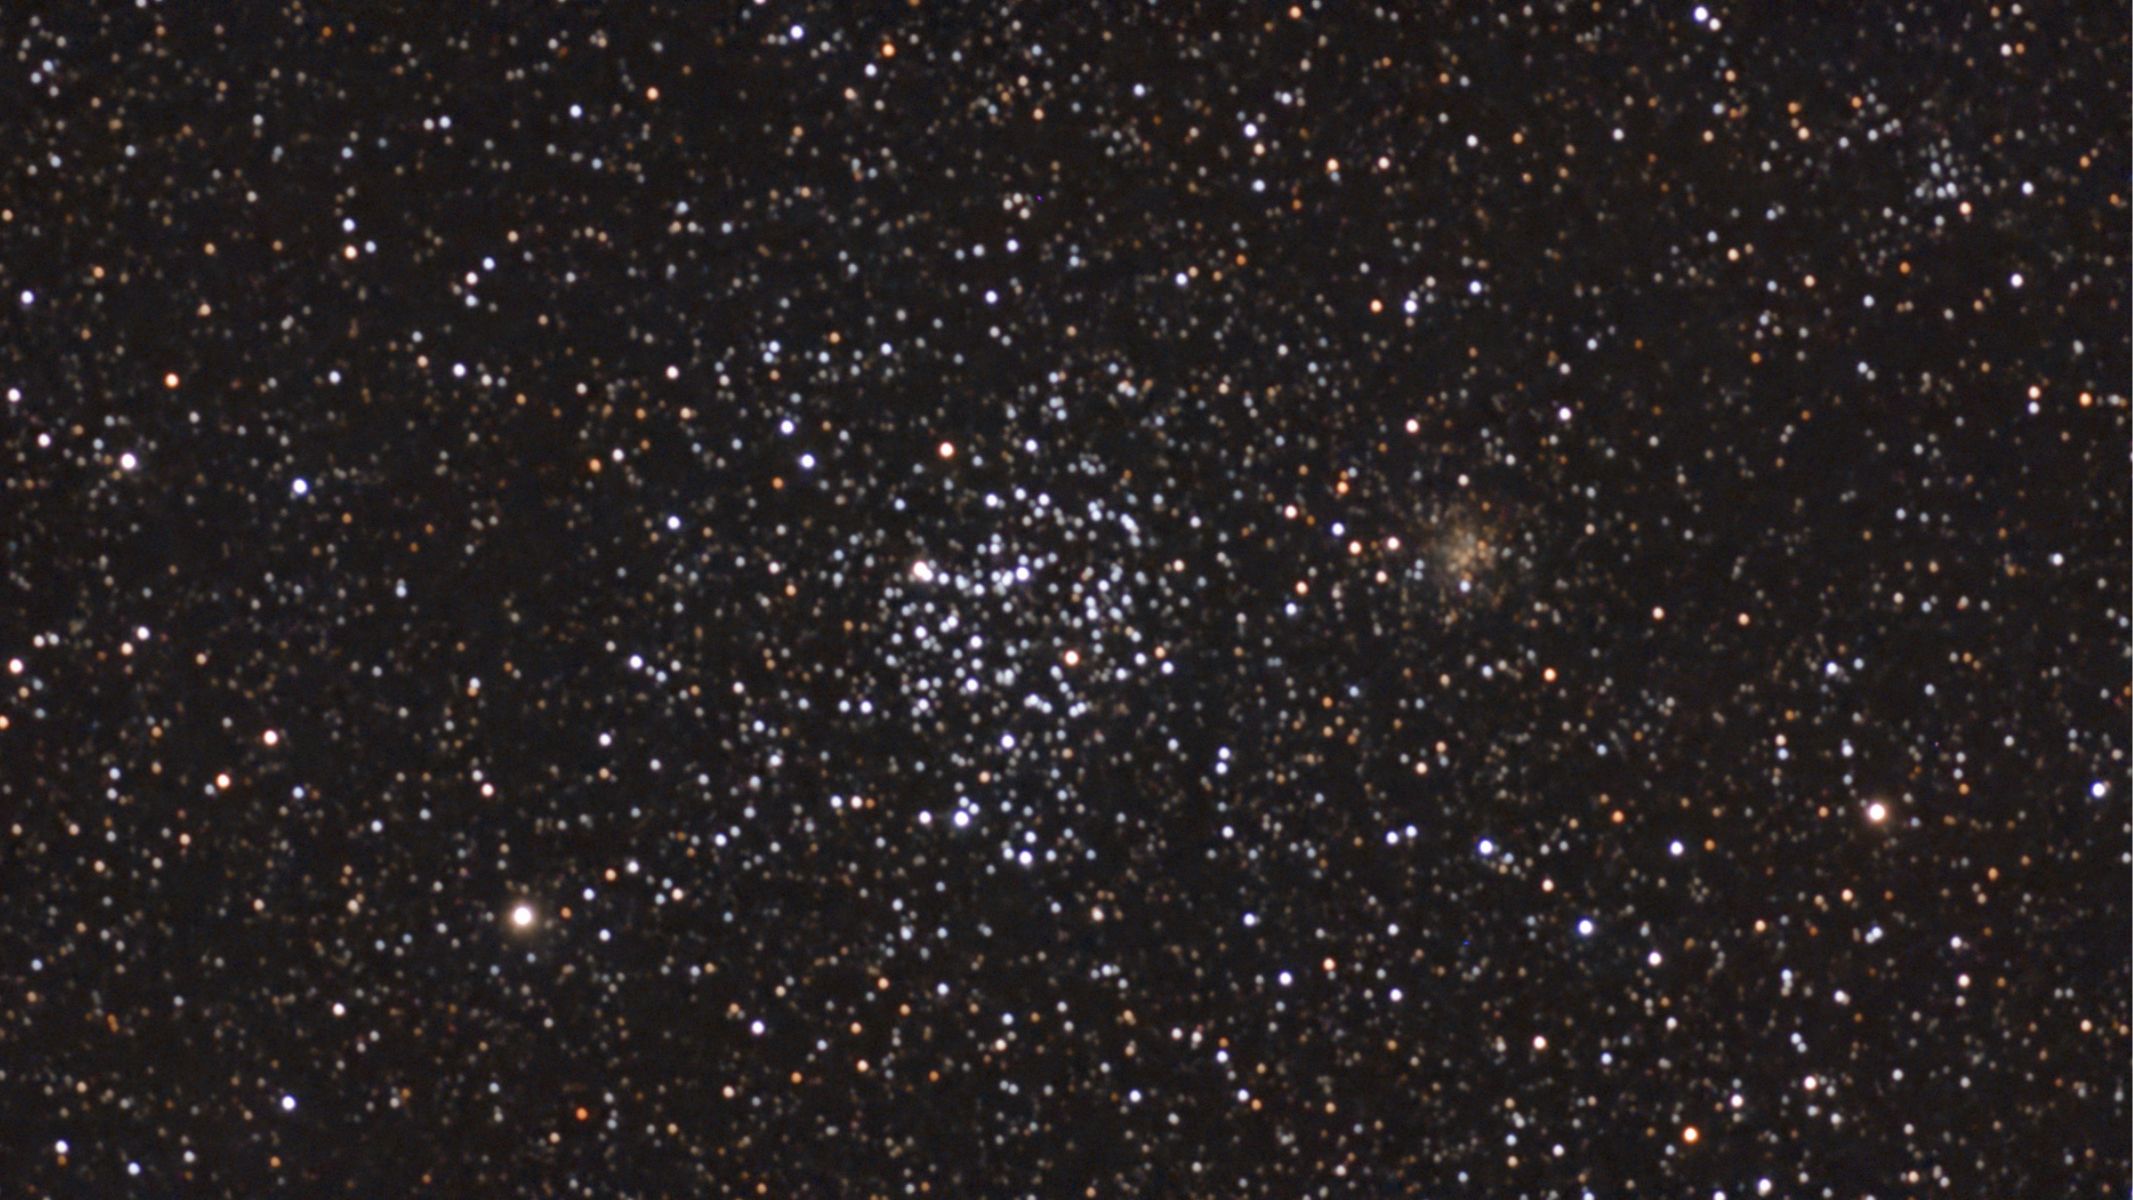
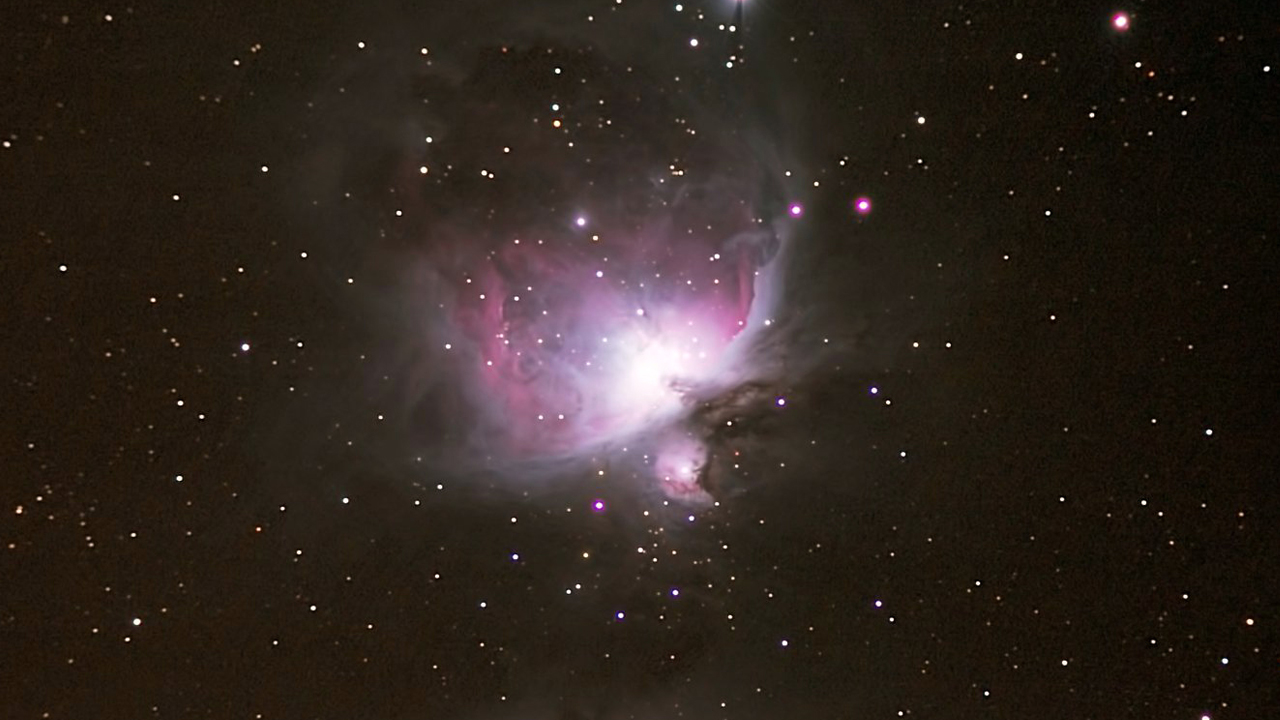
The Orion Nebula (M42) imaged using the ZWO ASI183MC Pro attached to a small telescope. 20 x 60 second exposures were added together for this view. Damian Peach
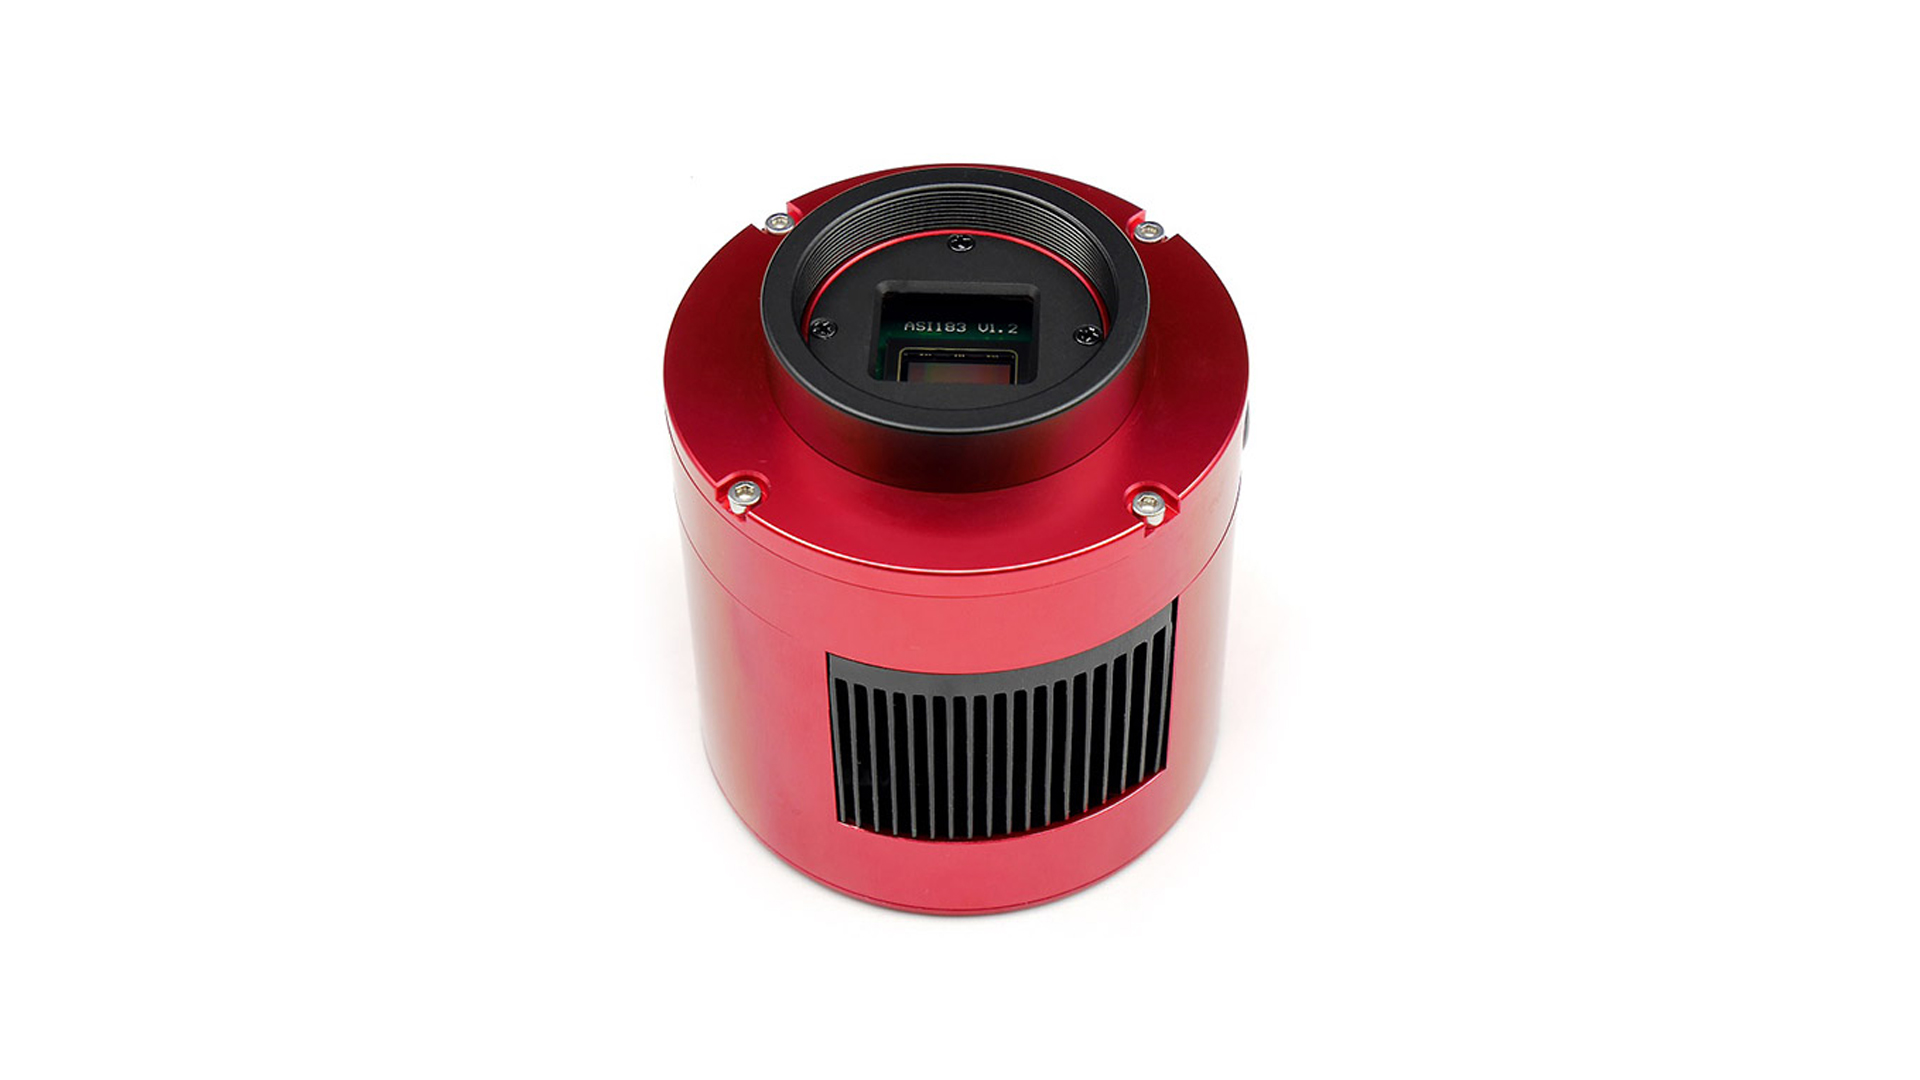
ZWO ASI183MC Pro Review: image shows ZWO ASI183MC Pro
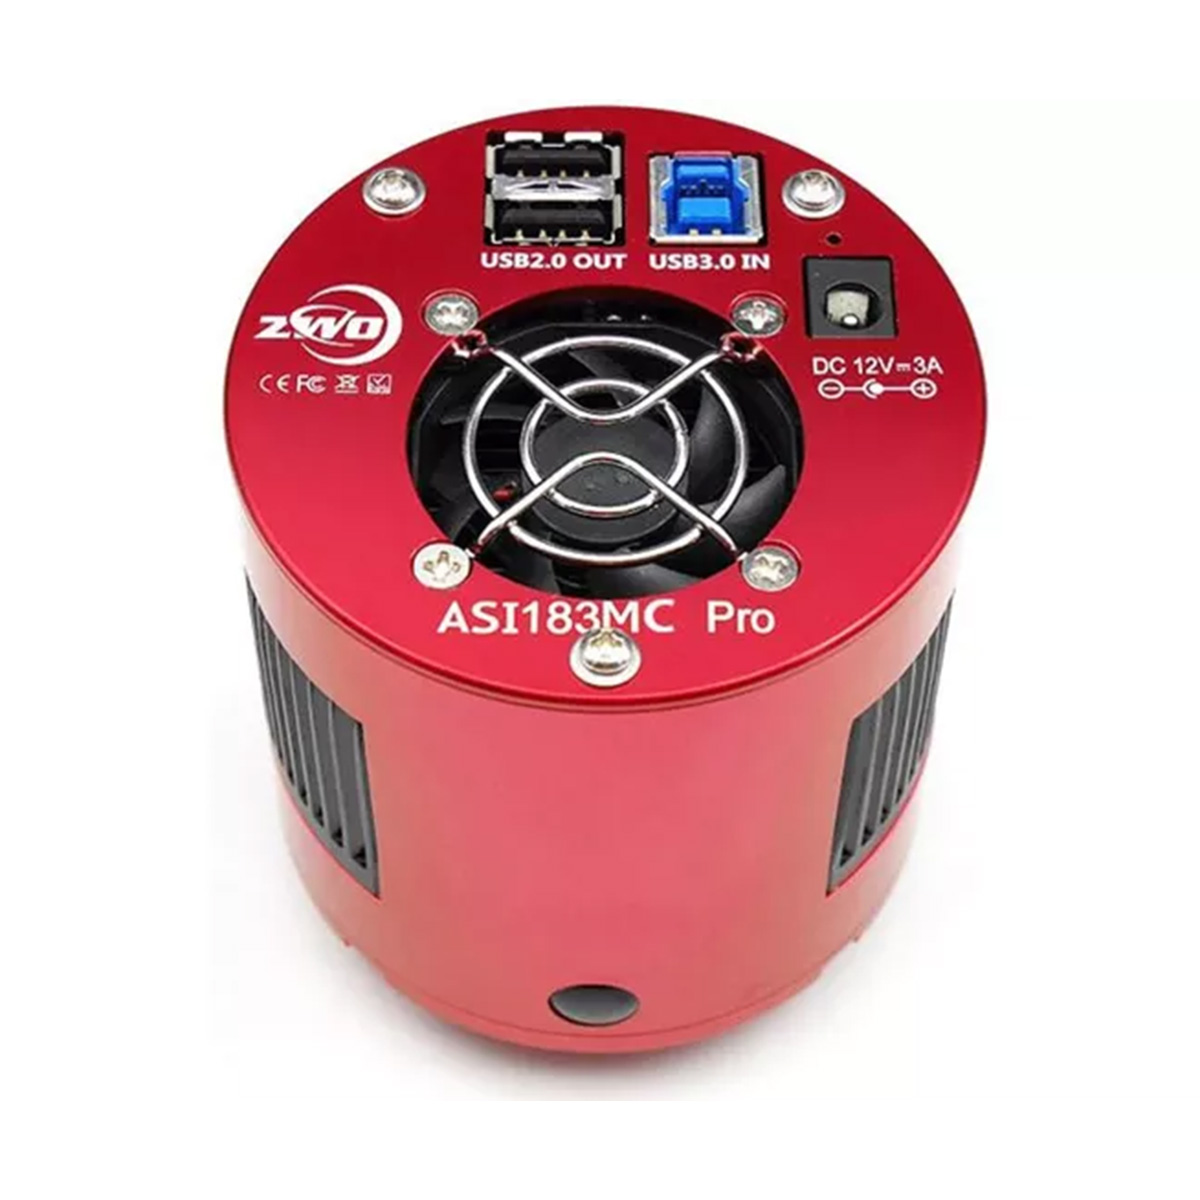
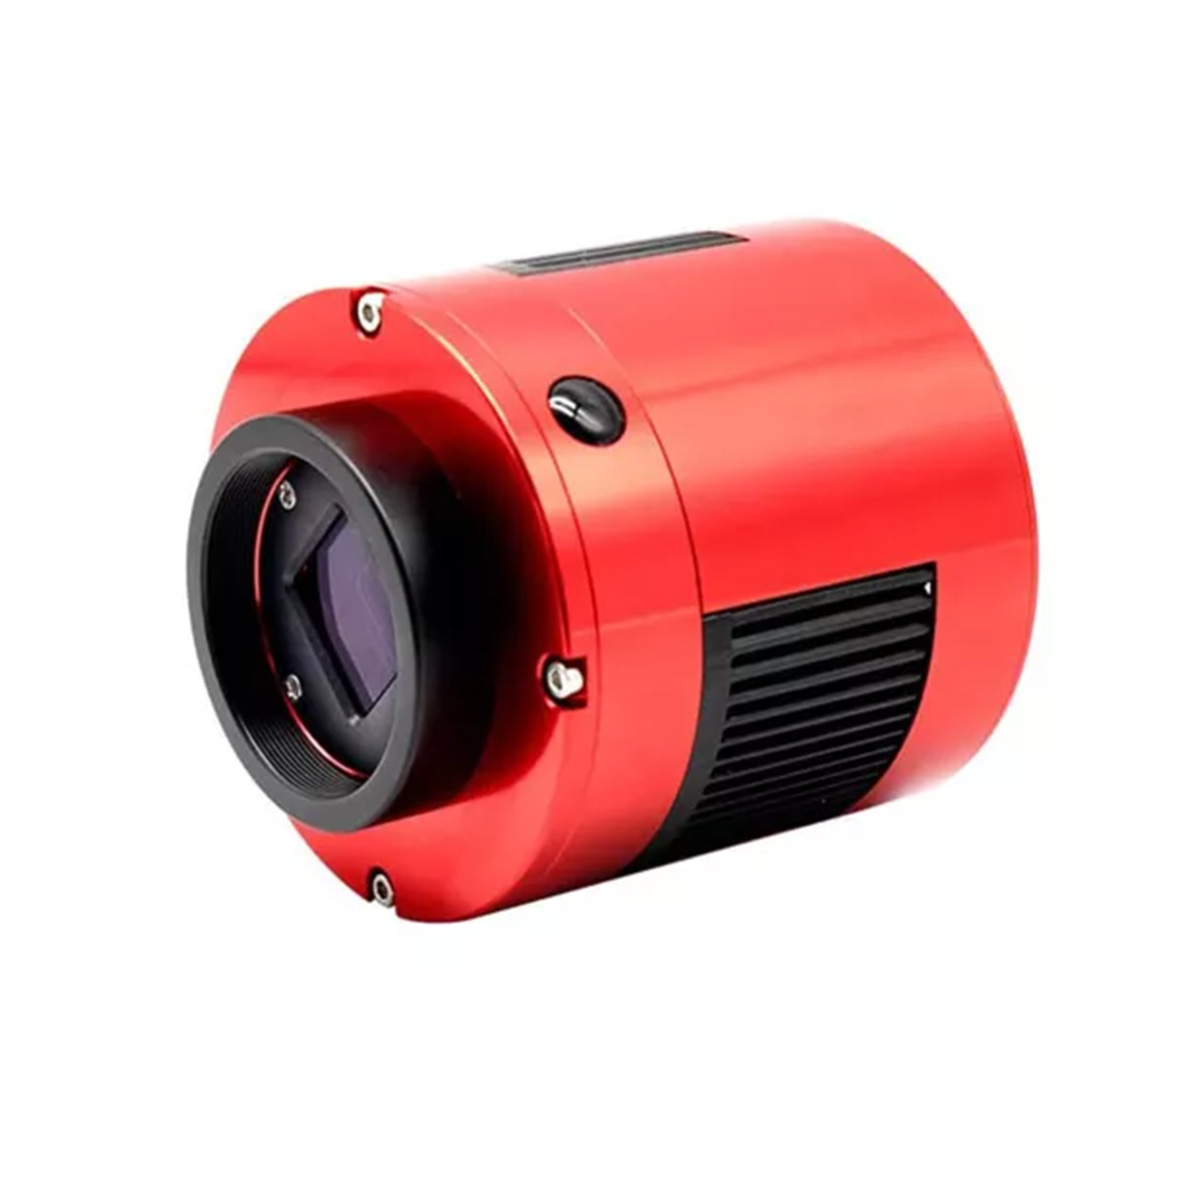
The sturdy body of the camera houses the sensor, ports and cooling vents. Amazon

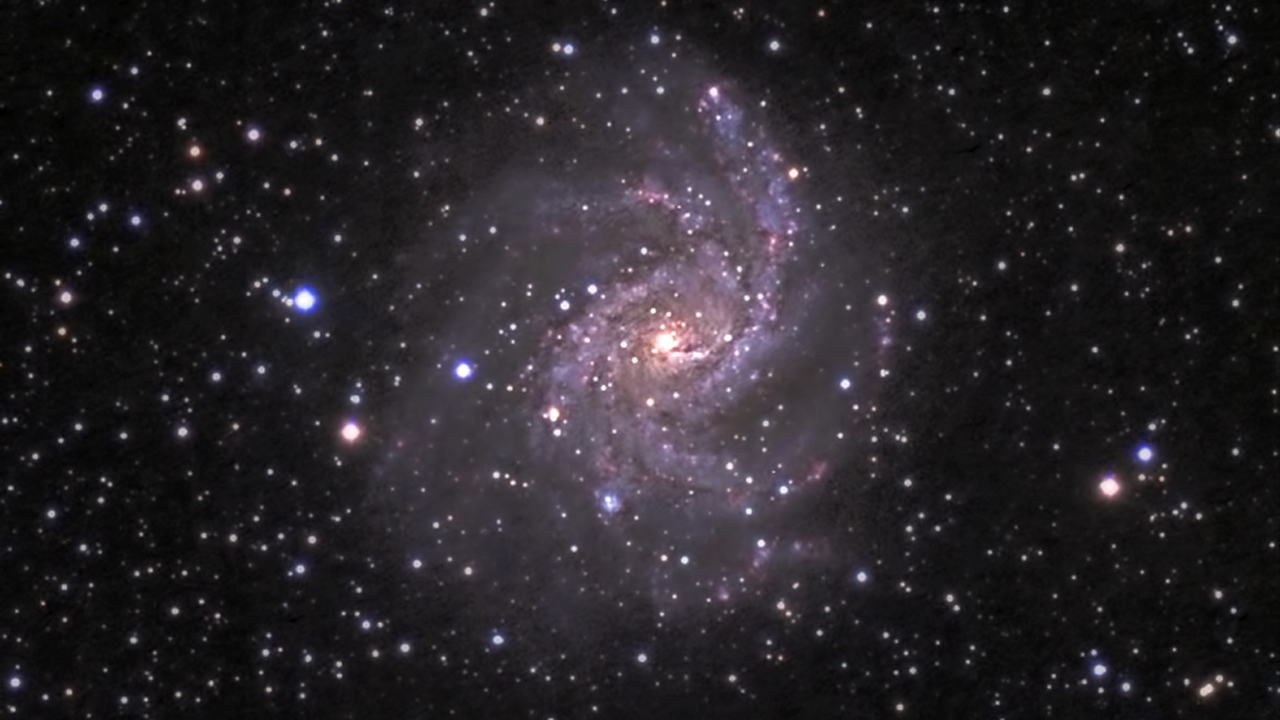
Professional astrophotographer Damian Peach gave strong ratings to these astrocams for their performance in capturing deep-sky targets such as the Orion Nebula (M42), the galaxy NGC 6946 and the planet Jupiter.

He said both the ZWO ASI183MC Pro and ASI533MC Pro are suitable for those looking to get a dedicated multi-use camera for astrophotography, including deep sky objects and short exposure lunar and planetary photography. The ASI533 is the pro choice, as it features newer sensor technology with zero amp glow circuitry, decreasing the need for dark frame captures like with the older ASI183MC.

ZWO ASI533MC Pro Camera Review: image of Jupiter
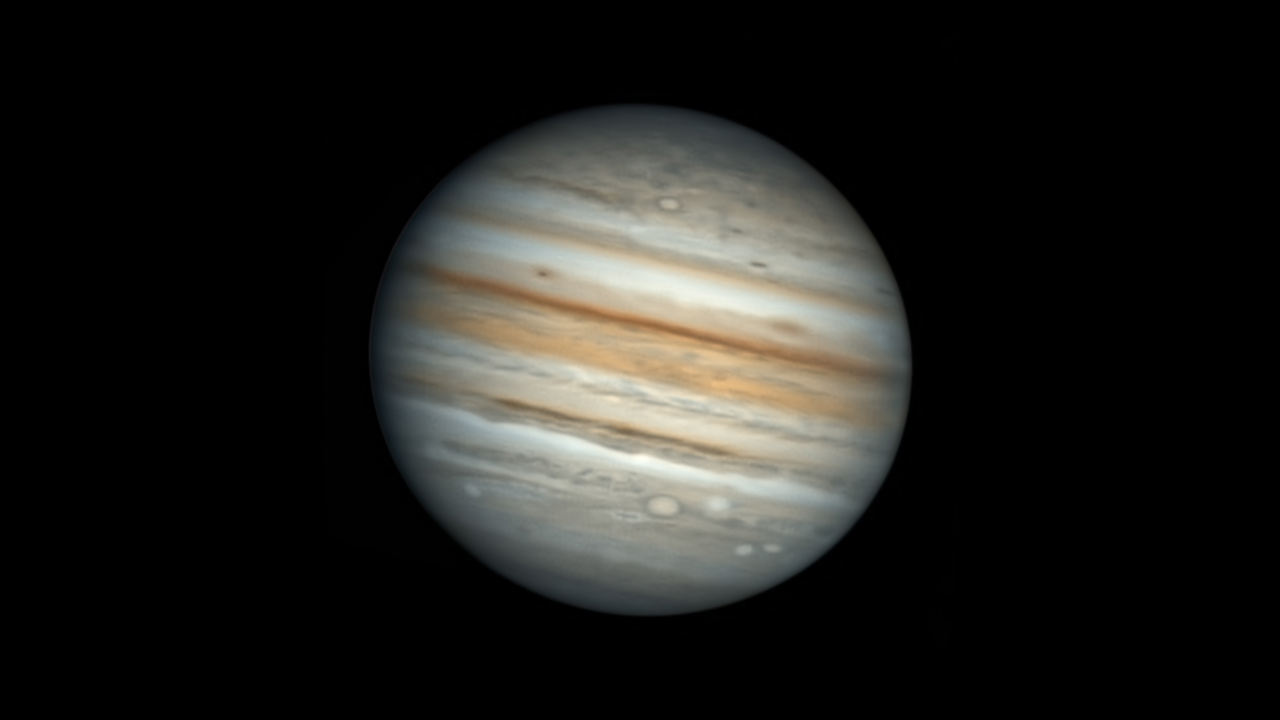
Jupiter as imaged by the ZWO ASI533MC Pro. Future
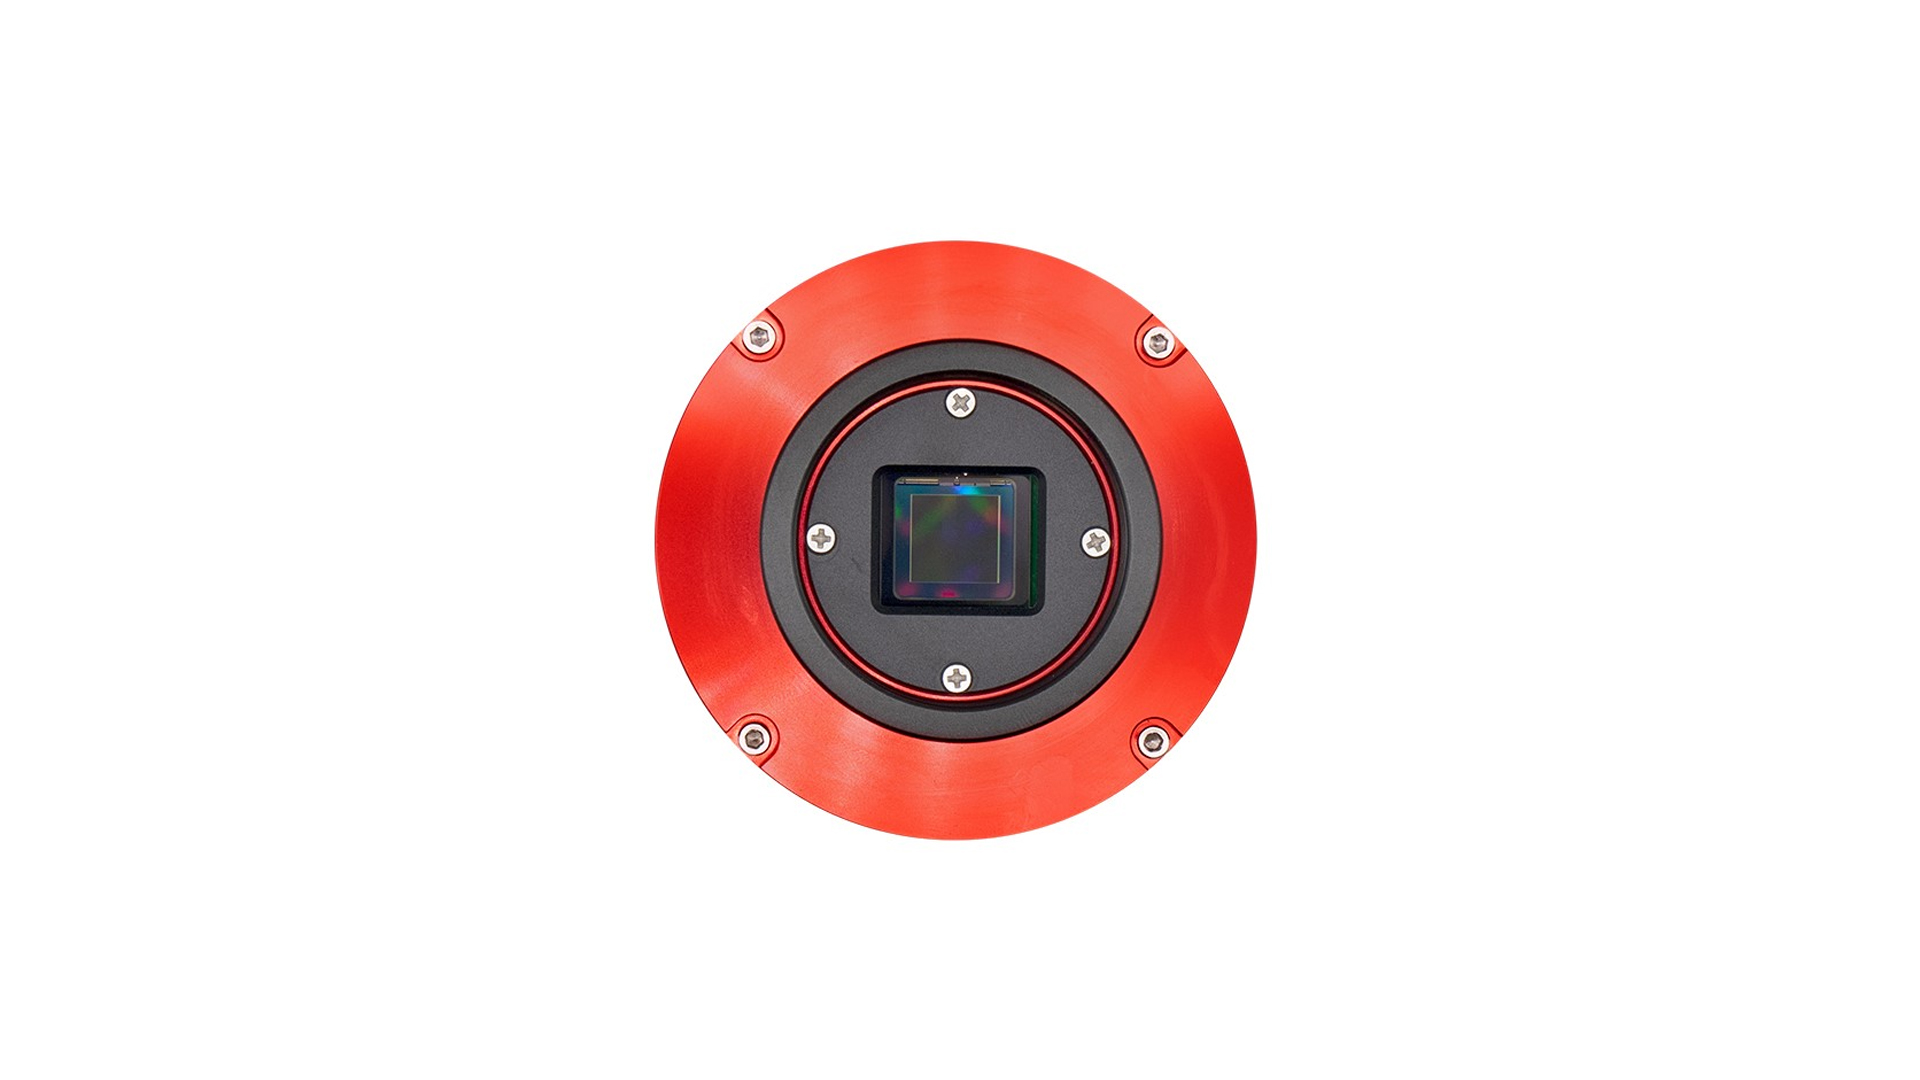
ZWO ASI1533MC Pro Camera review: image shows ZWO ASI1533MC Pro Camera
astronomy-imaging-camera.com
ZWO ASI1533MC Pro camera review: image shows NGC 6946 galaxy
The galaxy NGC 6946 as imaged by the ZWO ASI533MC Pro.Future
The entire solar disk in wrinkled gold colour surrounded by black background, as imaged by the ZWO ASI174mm mono camera.
Monochrome cameras are much better at picking up details on solar and planetary photography, total light capture from the each pixel. Jamie Carter
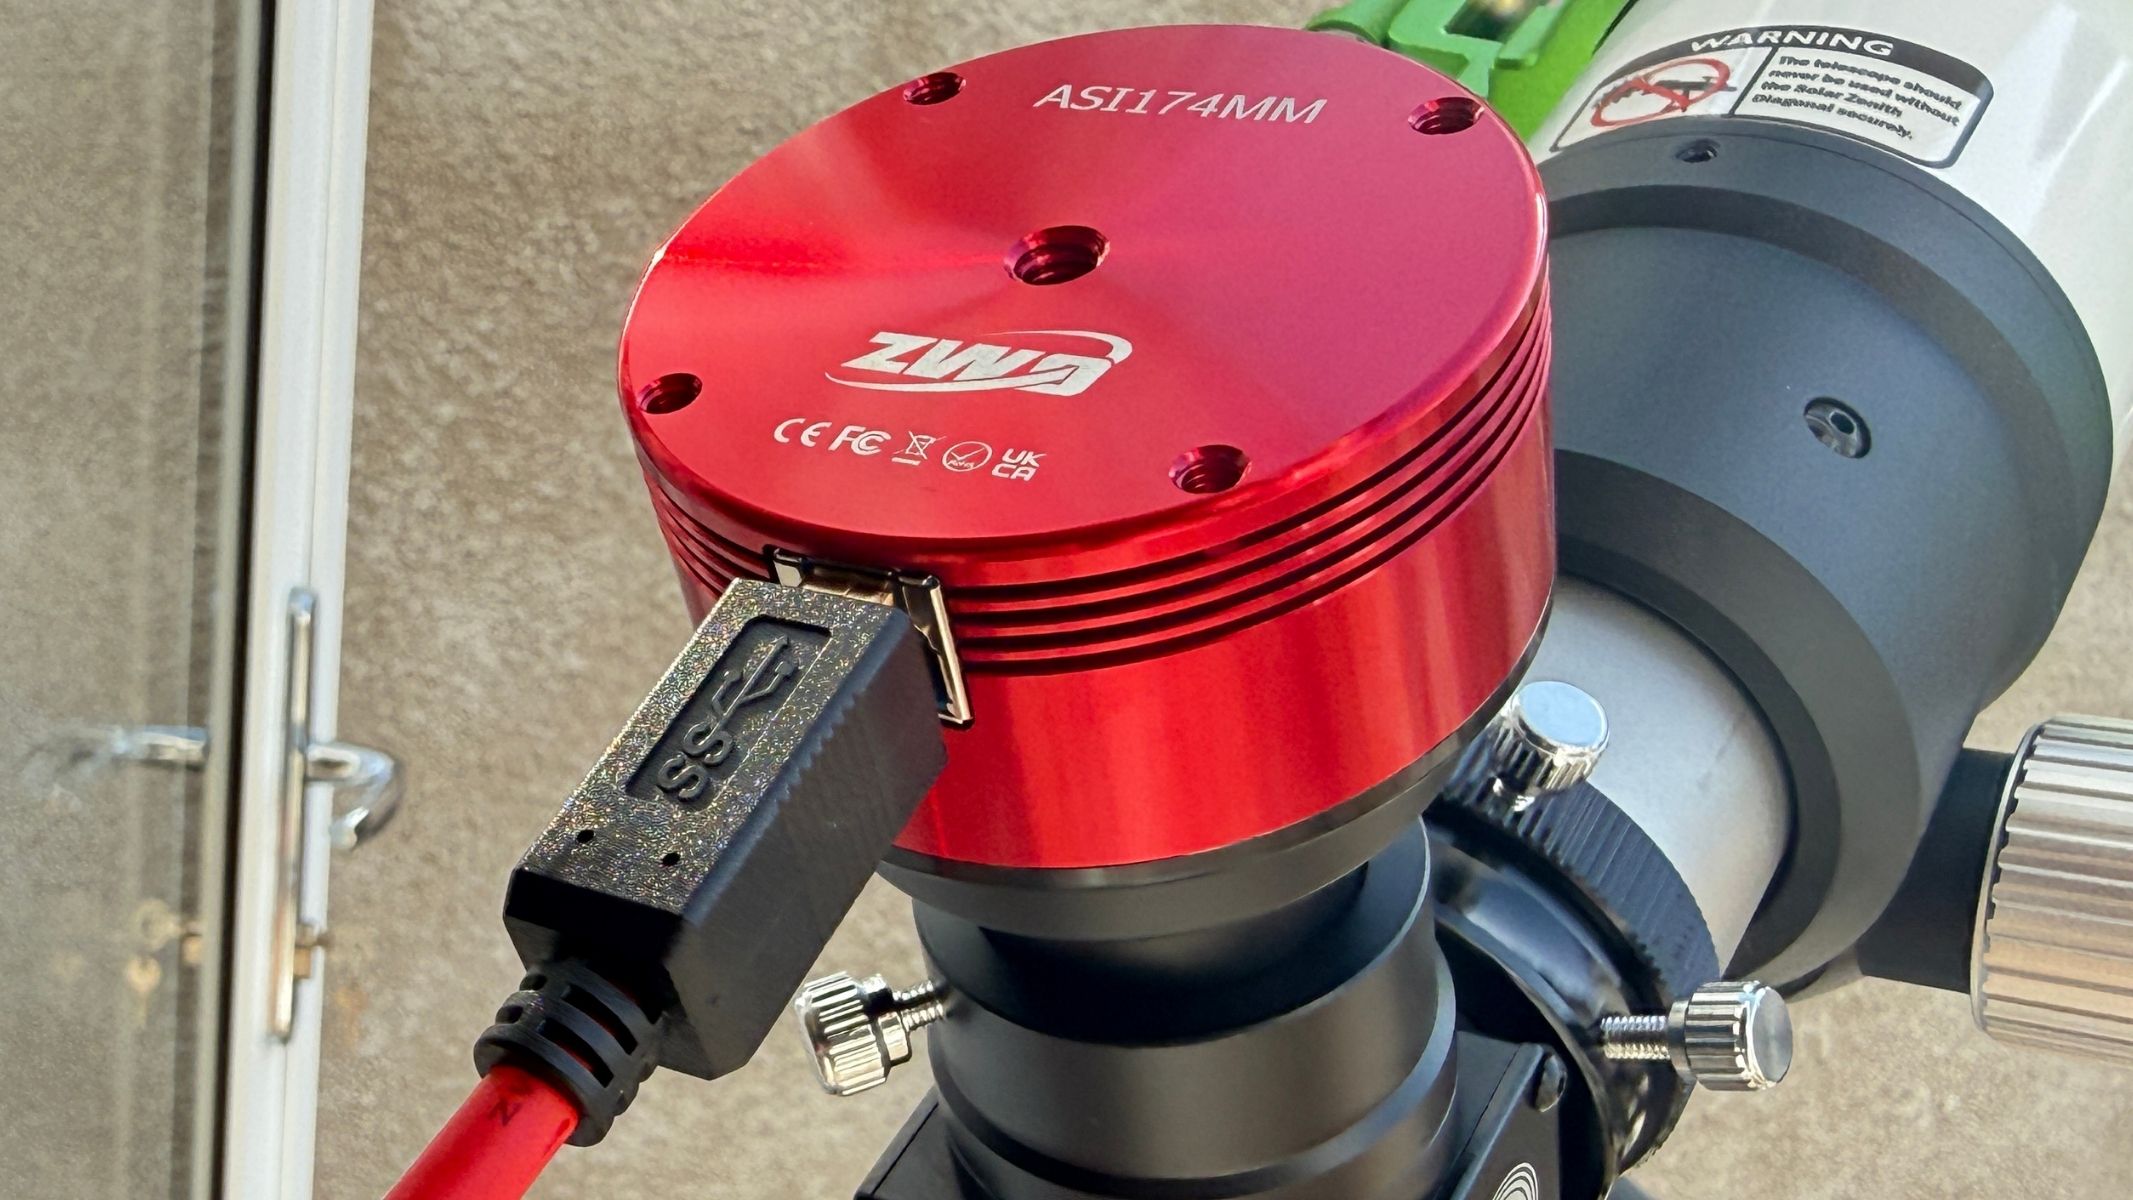
A close-up of the ZWO ASI174mm Mono camera on the Sky-Watcher Heliostar 76Ha solar telescope.
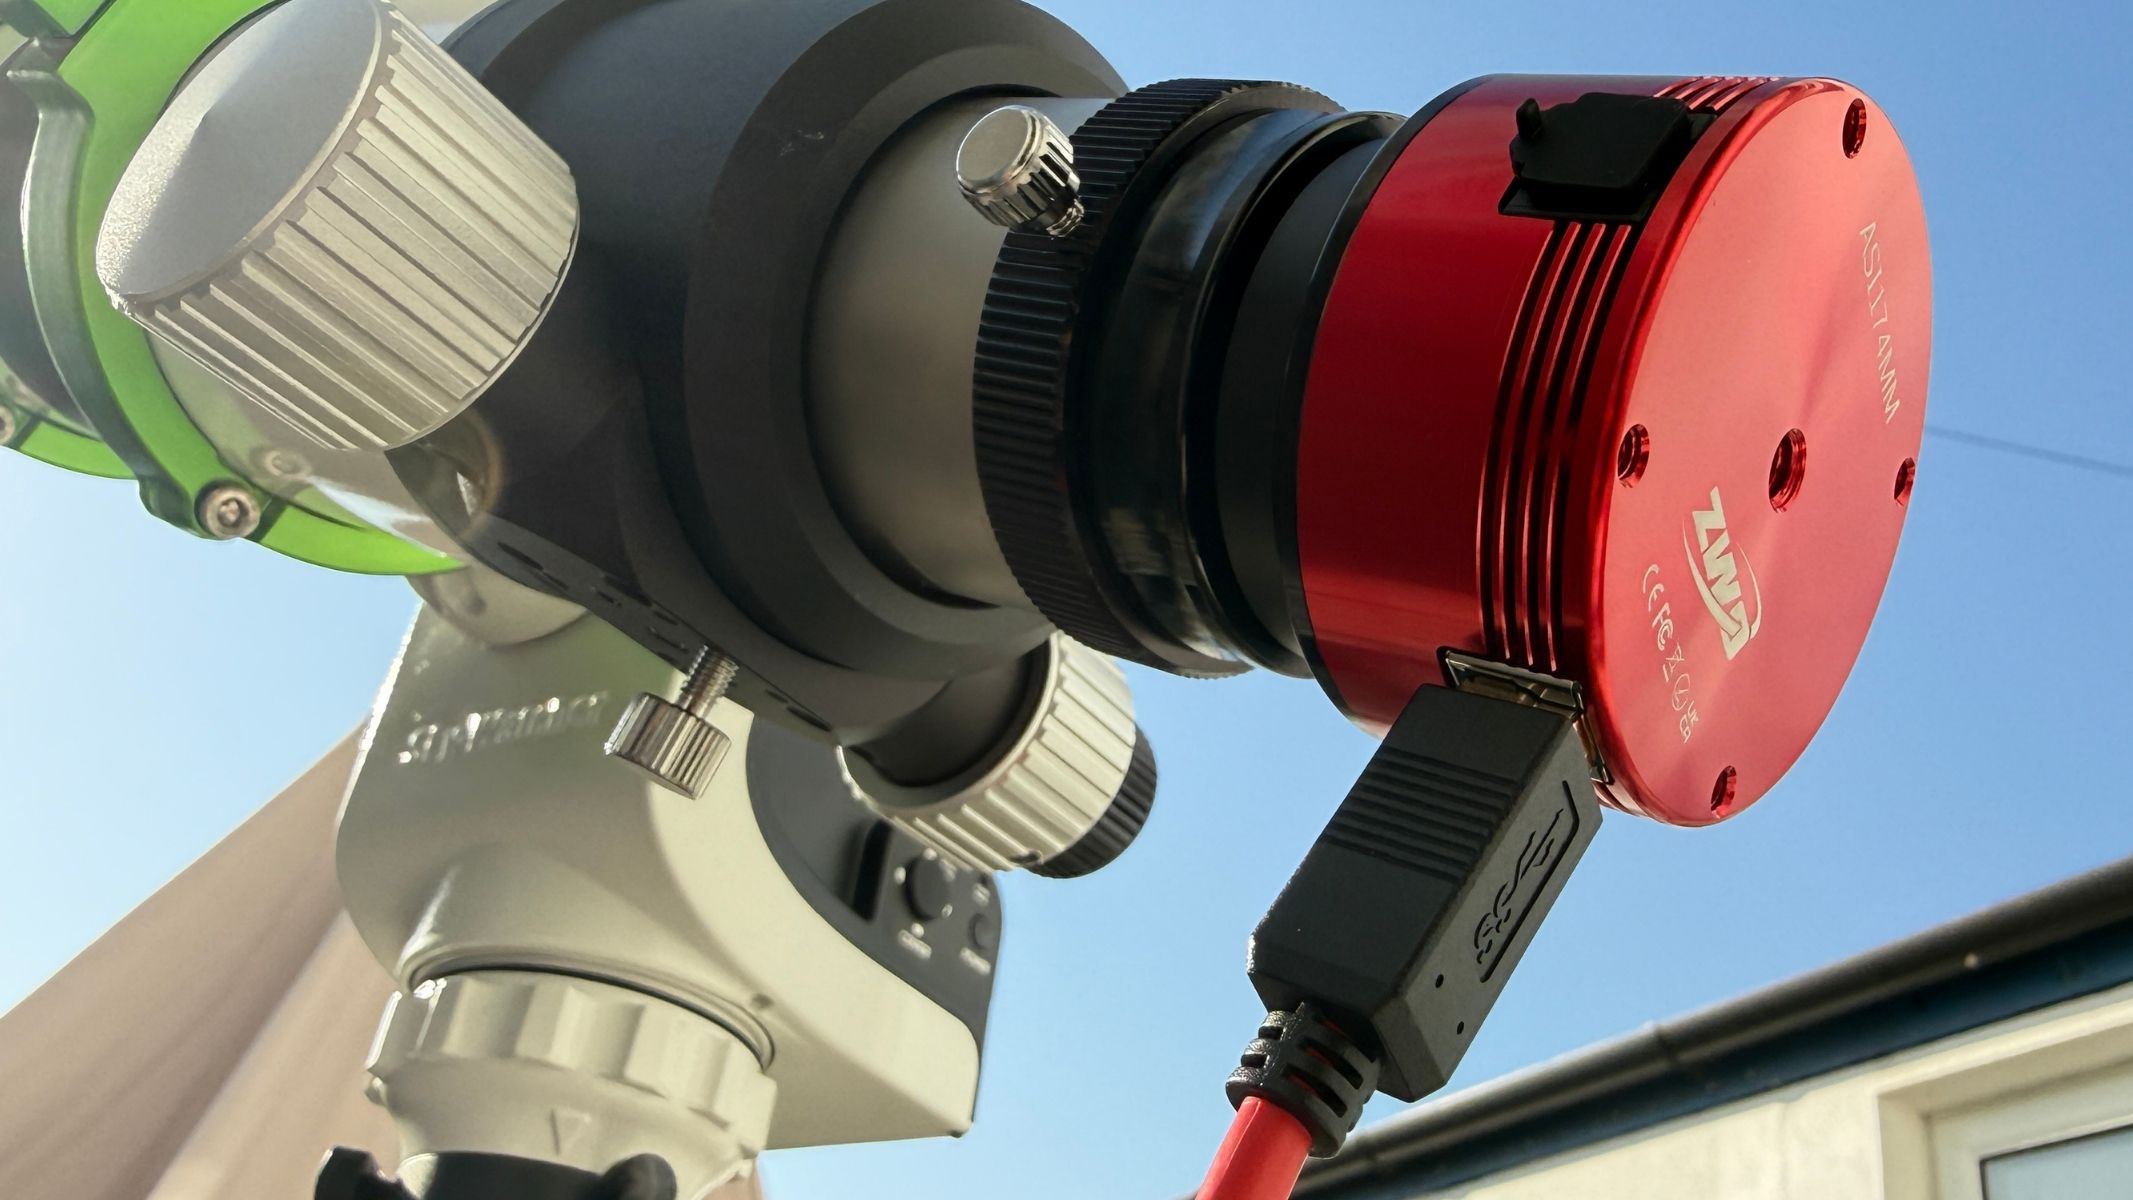
The ZWO ASI174mm mono camera attached to a solar telescope for imaging the sun. Jamie Carter
The ZWO ASI174mm mono camera connected to the Sky-Watcher Heliostar 76Ha solar telescope and Sky-Watcher SolarQuest mount.
The ZWO ASI174mm mono camera attaches to a computer for operation with specialist software.Jamie Carter

Astronomy expert Jamie Carter tested out the ZWO ASI174mm mono camera to photograph the solar surface, along with a Sky-Watcher Heliostar 76mm and Solar Quest mount. He was able to capture some incredibly detailed images of the solar surface, showing features like sunspots, filaments and prominences.

You should grab a monochrome camera like this if you are interested primarily in getting solar, lunar and planetary photography. They can capture more detail in these objects than color astronomy cameras and then color can be corrected in post-processing.

Check out our other guides to the best telescopes, binoculars, cameras, star projectors, drones, lego and much more.

ZWO Seestar S30 Pro smart telescope review

Smart telescopes like the Seestar S30 Pro have changed astrophotography and, arguably, urban astronomy. The Seestar S30 Pro takes that concept further than most. Small enough to fit inside a camera backpack, it combines a refractor telescope, motorized mount, dual cameras and image-processing software into a compact unit controlled entirely from a smartphone. Within minutes of powering on, it can align itself to the night sky, slew to a specified target and begin stacking exposures to reveal galaxies, nebulas and star clusters — even from light-polluted locations.

A close-up of the the logo on the ZWO Seestar S30 Pro.

The Pro version of the S30 adds a higher resolution sensor, advanced optics and upgraded software functionality. (Image credit: Jamie Carter)

It makes astrophotography — once a complex and expensive hobby — possible with a single, automated device, though what makes the Seestar S30 Pro particularly interesting is not just its simplicity, but how it changes the experience of observing. Instead of actively operating a telescope, users watch a digital image build in real time. Sure, your eyes don’t see the photons coming from distant galaxies, but that misses the point — urban astronomers can’t see much of those galaxies anyway when using an optical telescope.

The Seestar logo on the ZWO Seestar S30 Pro.

(Image credit: Jamie Carter)

Positioned as an upgrade to the original Seestar S30, it introduces higher-resolution 8.3MP imaging, equatorial tracking support and expanded imaging modes aimed at more advanced users.

Designed for beginners, urban astronomers and astrophotographers of any level who are looking for a portable rig, the Seestar S30 Pro is about convenience, capability and a different way to explore the night sky.

ZWO Seestar S30 Pro smart telescope review

ZWO Seestar S30 Pro: Design

A close-up on the side of the optical tube on the ZWO Seestar S30 Pro pointing upwards.

The Seestar S30 Pro features four lens elements in an optical design called an apochromatic quadruplet refractor. (Image credit: Jamie Carter)
  • Lightweight design
  • Dual-camera system
  • Full smartphone control

At first glance, the Seestar S30 Pro barely resembles a telescope, being closer in size to a telephoto lens than a traditional optical instrument. That portability is one of its defining strengths — this is a telescope you can realistically take anywhere, whether into a backyard, onto a balcony or on a dark-sky trip. You could even take it as hand luggage on a trip to see a total solar eclipse in a distant land.

The ZWO Seestar S30 Pro mounted on a tripod on a wooden table.
When packed away the Seestar S30 Pro is very compact and highly portable.Jamie Carter
A bird's eye view of the ZWO Seestar S30 Pro on a wooden table.
Weighing just 3.6 lbs (1.65 kg) it is the lightest apochromatic quadruplet smart telescope.Jamie Carter

The design is deliberately minimal. Aside from a power button and USB-C slot, there are no physical controls. Everything — from slewing and focusing to image capture and processing — is handled through the Seestar app. Once connected to a phone via its own WiFi network, the system operates entirely offline, connecting directly to your phone without requiring an internet connection in the field.

The USB-C slot on the ZWO Seestar S30 Pro.
Apart from the power button and USB-C slot on the S30 Pro, there are no physical controls as everything is controlled by the app.Jamie Carter
A close-up on the side of the optical tube on the ZWO Seestar S30 Pro.
The Seestar S30 Pro combines a telescope, camera and automated mount in a single unit. Jamie Carter
Specifications

Optical design: Quadruplet apochromatic refractor (ED glass)

Aperture: 30mm / 1.18 inches

Focal length: 160mm / 6.3 inches

Focal ratio: f/5.3

Sensor: Sony IMX585 (tele) / Sony IMX586 (wide)

Resolution: 8.3MP (3,840 x 2,160)

Field of view: 4.6 degrees (tele) / 63 degrees (wide)

Mount type: Alt-azimuth (EQ mode supported)

Storage: 128GB internal

Battery: 6000 mAh (~6 hours)

Weight: 3.6 lbs (1.65 kg)

Dimensions: 8.25 x 5.5 x 3.15-in (210 x 140 x 80 mm)

A key feature of this new, improved model is its dual-camera system. The primary telephoto camera is dedicated to deep-sky imaging, using a Sony IMX585 sensor that’s capable of 8.3MP (4K) images, while the secondary wide-angle uses an equally capable Sony IMX586 sensor for sky alignment and wide-field imaging modes.

The tripod ZWO Seestar S30 Pro splayed open.

Any tripod can be used with the Seestar S30 Pro. (Image credit: Jamie Carter)

The included tabletop tripod is solid, if small, so users with backyards surrounded by buildings or trees will benefit from mounting the device on a full-size photographic tripod. It also comes with a handy, high-quality padded shoulder bag to store the telescope and all its accessories.

ZWO Seestar S30 Pro: Performance

Cropped view of the Orion Nebula (M42), as imaged by the ZWO Seestar S30 Pro in alt-azimuth mode.

The Orion Nebula (M42) shot in alt-azimuth mode. (Image credit: Jamie Carter)
  • Automatic stacking with intelligent frame rejection
  • EQ mode enables longer exposures
  • Strong results under urban/suburban skies

Using the Seestar S30 Pro is less about operating equipment and more about using an app. After powering on and connecting via WiFi, the telescope automatically plate-solves the stars overhead, determines its position and slews to a selected target. Within minutes, it begins capturing short exposures — typically around 10 seconds — which are stacked in real time to reduce noise and improve detail. Crucially, the system automatically discards poor-quality frames caused by tracking errors, wind shake or star trailing.

Bode’s Galaxy (M81) and the Cigar Galaxy (M82) as imaged by the ZWO Seestar S30 Pro alt-azimuth mode.

Bode’s Galaxy (M81) and the Cigar Galaxy (M82) shot in alt-azimuth mode. (Image credit: Jamie Carter)

The effect of the image stacking is gradual. As more data is collected, a faint patch of light slowly resolves into a nebula or distant galaxy. The longer the telescope runs, the clearer and more detailed the final image becomes, with nebulosity and spiral arms becoming visible. Stars remain sharp across the field of view — the Seestar S30 Pro’s optics may be small, but they are excellent quality. During our test, we produced some superb images of the Orion Nebula (M42), as well as Bode’s Galaxy (M81) and the Cigar Galaxy (M82), the Whirlpool Galaxy (M51) and the Great Globular Cluster in Hercules (M13).

The first-quarter moon as imaged by the ZWO Seestar S30 Pro.

The first-quarter moon imaged by the Seestar S30 Pro. (Image credit: Jamie Carter)

Stacking images is a hugely effective way to do observational astronomy under light-polluted urban skies. By stacking multiple exposures and applying built-in filters (there are three), the Seestar S30 Pro can reveal objects that would otherwise be invisible through the eyepiece of a traditional optical telescope.

The Whirlpool Galaxy (M51), as imaged with the ZWO Seestar S30 Pro in EQ mode and edited with Deep Sky Stack and AI Denoise.
The Whirlpool Galaxy (M51) shot in EQ mode, edited using Deep Sky Stack and with AI Denoise applied.Jamie Carter
The Great Globular Cluster in Hercules (M13) as imaged by the ZWO Seestar S30 Pro in EQ mode.
The Great Globular Cluster in Hercules (M13) shot in EQ mode, edited using Deep Sky Stack and with AI Denoise applied.Jamie Carter

The all-new equatorial (EQ) mode extends performance further, though aligning the telescope with Earth’s rotation requires purchasing the add-on Seestar TH10 Fluid Tripod Head. This is easy to set up, thanks to an in-app setup process that perfectly positions the tripod and ball head. With Expert Mode engaged, exposures of up to 60 seconds are possible. We tried it on two faint targets — the Whirlpool Galaxy (M51) and the Great Globular Cluster in Hercules (M13) — and got much greater detail.

Jupiter and its mons as image by the ZWO Seestar S30 Pro

Jupiter and its moons, as imaged by the Seestar S30 Pro. (Image credit: Jamie Carter)

Planetary imaging is less impressive, with planets appearing small and lacking fine detail. That said, we did manage to image Jupiter and its moons. The telescope is clearly optimized for deep-sky imaging rather than solar system work — the exception being the moon, which looked fabulous through the Seestar S30 Pro.

ZWO Seestar S30 Pro: Functionality

Screenshots from the Seestar app showing object identification, editing capability and astronomical information.

The Seestar app identifies objects, and offers editing and astronomical information. (Image credit: Jamie Carter)
  • Intuitive smartphone app
  • Automated imaging and Plan mode
  • Built-in processing and FITS export

The Seestar app is central to the entire experience. It acts as both controller and processing platform, offering a planetarium-style sky atlas that displays objects visible from the user’s location. Selecting a target triggers automatic alignment, slewing and image capture. Once imaging begins, the app displays real-time progress, including exposure count and total integration time. Users can stop a session at any time or continue it for deeper results. The telescope can operate largely unattended, making it easy to leave running and check later.

Screeshots from the Seestar app showing how to set up EQ mode on the ZWO Seestar S30 Pro.

Equatorial (EQ) mode set-up on the Seestar S30 Pro app for longer exposure times. (Image credit: Jamie Carter)

If all of this is beginning to sound like the Seestar S30 Pro is ideal for lazy astronomers, it doesn’t end there. Cue the app’s Plan mode, which allows users to schedule multiple targets for imaging overnight. Orion Nebula not rising until 3 a.m.? No problem. Pre-sunrise comet? Stay in bed. Assuming you’ve checked for clear skies beforehand, the Seestar S30 Pro can observe while you sleep. However, Plan mode does come with limits: exposure time and gain cannot be fine-tuned per target, so users must rely on default settings. For most, that won’t deter.

Screenshots from the Seestar app's Sky Atlas, showing the location of night sky targets.

The Seestar app’s Sky Atlas makes it easy to find objects. (Image credit: Jamie Carter)

For those interested in post-processing, the Seestar S30 Pro supports FITS file export, enabling images to be refined in external software such as Siril, PixInsight, DeepSkyStacker or Photoshop (though advanced users dealing in FITS files may find that the system’s 128GB internal storage needs frequent attention). Alternatively, the built-in Deep Sky Stack provides quick results with minimal effort, allowing frames to be discarded and the effective AI Denoise pipeline to be engaged — something that takes a little patience, but delivers excellent results.

How we tested the ZWO Seestar S30 Pro

A bird's eye view the ZWO Seestar S30 Pro pointing upwards.

The Seestar S30 Pro has a tiny footprint. (Image credit: Jamie Carter)

Testing took place over multiple nights during late winter and early spring, under suburban Bortle 6 skies in cold but not freezing temperatures. It was also used in Bortle 2 skies in sub-zero temperatures, with no ill effects on the 6-hour battery life. The telescope was used to image a variety of deep-sky objects, with sessions ranging from short captures to integrations lasting several hours. Both standard alt-az mode and EQ mode were tested.

Should you buy the ZWO Seestar S30 Pro?

Buy it if:

✅ You want an easy, automated entry into astrophotography: The S30 Pro is incredibly easy to use and highly portable without skimping on optical quality.

✅ You observe from light-polluted locations: Built-in image processing and stacking allows fine details to be resolved on deep sky objects even when observing from light-polluted locations.

Don't buy it if:

❌ You want full manual control over imaging: Whilst having equatorial (EQ) imaging mode and certain modes for the Milky Way and 8K wide-field stitching, it actually lacks custom exposure times and gain control for precision tweaking.

❌ You’re primarily interested in planetary observation: The S30 Pro is capable of imaging planets but they just aren't as impressive as its deep-sky images.

The Seestar S30 Pro is best understood not as a traditional telescope, but as an automated imaging system designed to make astrophotography accessible. It’s also an upgrade on the Seestar S30 that may or may not be worth the money, depending on your needs.

For beginners, it provides a clear pathway into astrophotography without the usual financial or technical barriers. For more advanced users, it’s an efficient grab-and-go system for casual or supplementary imaging.

If the ZWO Seestar S30 Pro isn't for you

If you’re looking for a more affordable entry point, the ZWO Seestar S30 offers similar ease of use, but with lower (2MP) resolution and fewer advanced features. For those who simply want basic, shareable images, it remains a strong alternative.

The DwarfLab Dwarf Mini is even smaller and more portable but it is limited to 2MP imaging. At the other end of the market, the Unistellar Odyssey is a premium smart telescope offering much larger apertures and access to citizen science campaigns, albeit at significantly higher prices.

For an overview of the top telescopes in this category, read our guide to the best smart telescopes.

Get stabilized views of the cosmos with the Canon 18×50 IS binoculars, now almost 30% off

The Canon 18x50 IS binoculars are ideal for stargazing and are able to deliver clarity on night sky objects, thanks to their image stabilization. The 50mm objective lenses are the benchmark for stargazing binoculars and are able to deliver bright views of the night sky. They are currently 30% off their retail price.

You can get the Canon 18x50 IS all-weather binoculars on sale for $1195 from Amazon.

When it comes to stargazing, image-stabilized binoculars are a cut above the rest. Even at high magnifications, you get detailed views of night sky objects like star clusters and nebulas, instead of shaky worms of light. Our expert reviewer gave the Canon 18x50 IS binoculars four stars and called them 'stargazing ready' thanks to their high 18x magnification and image-stabilization.

Save a huge $454 on these stargazing ready binoculars. They have 18x magnification, 50mm objectives and excellent image stabilization. They also feature weather proofing to protect them in harsh weather and rain.

We gave them four stars in our full Canon 18x50 IS binoculars review.View Deal

A male using the Canon 18x50 IS binoculars, facing the camera with the sea behind them.
The Canon 18x50 IS binoculars don't need a tripod for stargazing thanks to the image stabilization.Jase Parnell-Brookes
A close up of a person holding the Canon 18x50 IS binoculars close to their chest, showing the top of the binos.
Whilst quite big, the Canon 18x50 IS binoculars are packed full of great premium features like 18x magnification, 50mm objective lenses and of course the image-stabilization.Jase Parnell-Brookes
A male by the sea holding the Canon 18x50 IS binoculars, adjusting the eyecups.
They have a nice wide field of view so you can capture a spacious view. Jase Parnell-Brookes
A close up of someone demonstrating the eyecup positions on the Canon 18x50 IS binoculars.
The eyecups are rubber and can be flipped up or down depending on whether you want any eye-relief.Jase Parnell-Brookes
A close up of the eyecups being adjusted to the flap up position on the Canon 18x50 IS binoculars.
They feature a generous 15mm of eye relief.Jase Parnell-Brookes
A close up of the back of the Canon 18x50 IS binoculars, showing the strap holders.
I loved the design and performance of the Canon 18x50 IS binoculars.Jase Parnell-Brookes

Stargazing with regular binoculars or image stabilized binoculars is the same difference as night and day. Especially at higher magnifications, image stabilization becomes a necessity when using the binoculars without a tripod and you can struggle to get a shake-free view without it.

The Canon 18x50 IS binoculars offer a powerful 18x magnification and 50mm objective lenses for great astronomy performance. You don't need to worry sacrificing low-light capability for image-stabilization. The star clusters, galaxies and nebulas are bright without becoming lines of squiggly light. They are brilliant for bird watching and general use, too, with the image stabilization adding to the quality of all views.

The optical technology stands out with ultra-low dispersion (UD) glass elements for virtually no chromatic aberration (color fringing) and doublet field flatteners for sharp stars from edge-to-edge. Optics expert, Jase Parnell-Brookes, gave them four stars in their full Canon 18x50 binoculars review for enabling a relaxing and impressive session of stargazing. They highlighted the strong grip for sturdiness in challenging conditions but even though they are advertised as all-weather, they are not fully waterproof. At 27% off asking price, this is a huge saving on a pair of binoculars we think are among the best for stargazing.

Key features: 18x magnification, 50mm objective lens diameter, 3.7-degree field of view, 15mm eye relief, 41.6 oz (1.2 kg).

Price history: The Canon 18x50 IS binoculars have a retail price of $1,648 but are often discounted from Amazon for $1,549. This deal from an Amazon seller brings the price down to $1,195, with the official Amazon listing on sale for $1,199.

Price comparison: Amazon: $1,195 | BHPhotoVideo: $1,449 | Adorama: $1,149

Reviews consensus: In our Canon 18x50 IS binoculars review, we praised their the premium features that made it perfect for stargazing: 18x magnification, 50mm objective lenses and superb image stabilization.

Space: ★★★★

✅ Buy it if: You want high powered views of the universe from handheld binoculars without the need for a tripod.

❌ Don't buy it if: If you don't need high magnification or image-stabilization, a lower magnification pair might be more suited to you, like the Nikon Action 7x50 binoculars.

Check out our other guides to the best telescopes, binoculars, cameras, star projectors, drones, lego and much more.